


Primo S
Hi,
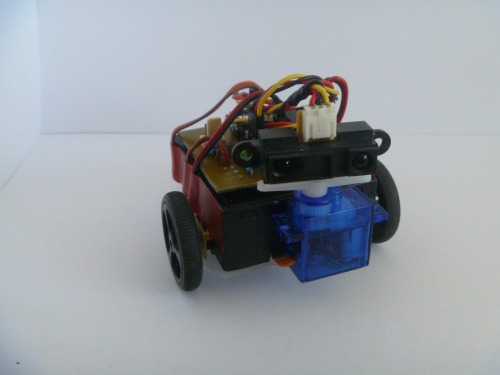
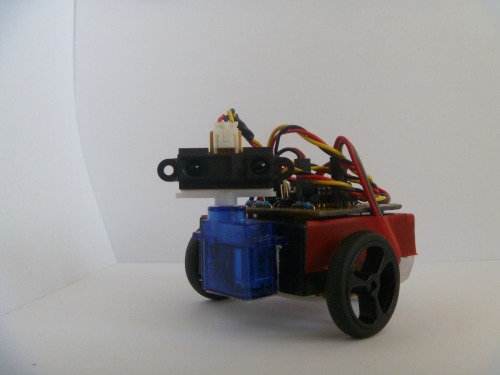
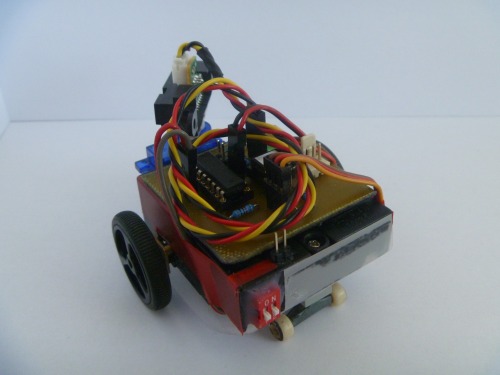
This is second version of my robot Primo. It is Lighter, Faster, Smaller and nicer (I think :D ). It is controlled by Picaxe-08M. I used one IR sensor connected on pin 4 (ADC), two geared motors connected on pins 0 and 1, and finaly one servo connected on pin 2. On pin 3 I want connected bumper, but the motors do not go backwards :( . H-bridge is L293D. I am going to build next Primo with three servos, bumper, and ultrasonic sensor.
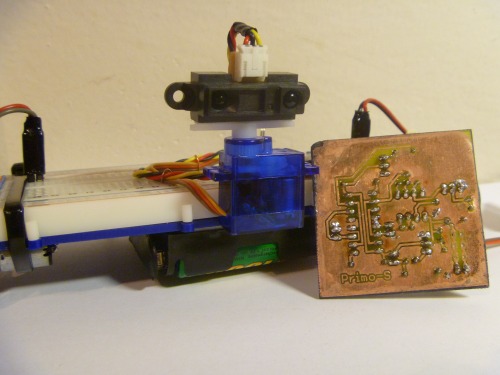
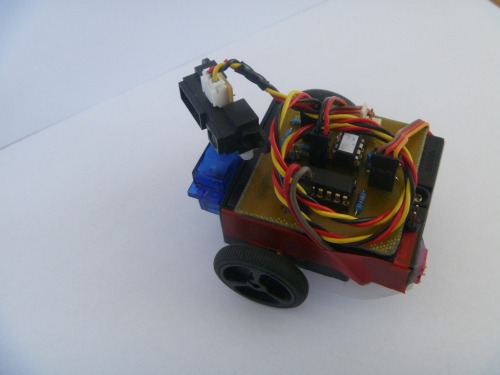
Primo and Mainboard of Primo S.
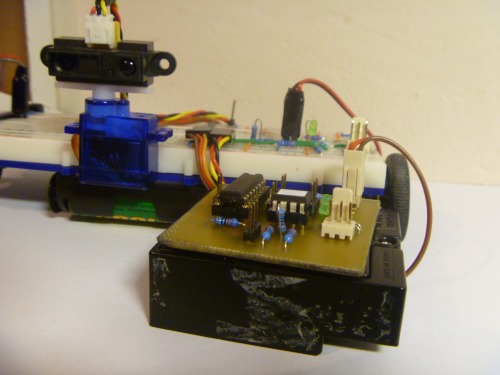
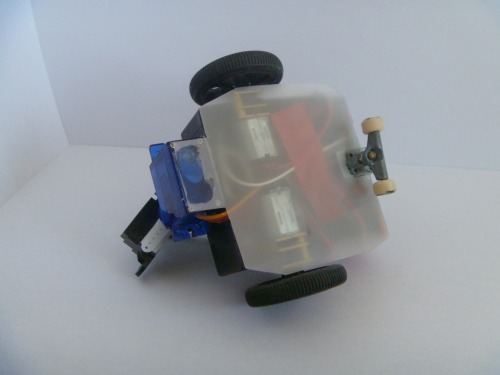
Primo and Mainboard with baterry pack.
Some Photo:

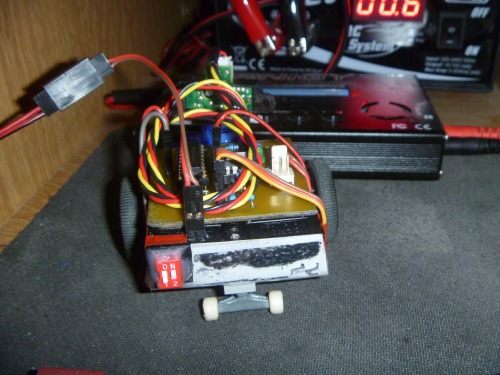
Charging. I used battery with 1000mAh.
Navigate around via IR
- Actuators / output devices: 2 geared motors, 1 Servo
- Control method: Autonomus
- CPU: PICAXE-08M
- Power source: 4 AAA bateries
- Programming language: Picaxe basic
- Sensors / input devices: Sharp IR
- Target environment: indoor