


Patches the robot
This is my first robot im attepting to build, I want it to do the basic things to start with such as to avoid obsticals and such.The base is made of some ply wood i found around my house, lego and two gearboxes i baught from my local electrical store.
The robot isnt to big but not to small either, I intend to add sonar and light resistors soon after getting my robots locomotion in order :).
The microcontroller it will be using is a Picaxe 28A basic board like the one found in the start here guide although mine cant have as much code. (I might upgrade to the X1 soon) :)
here is aditional pictures of my robot (Knowledge bot).
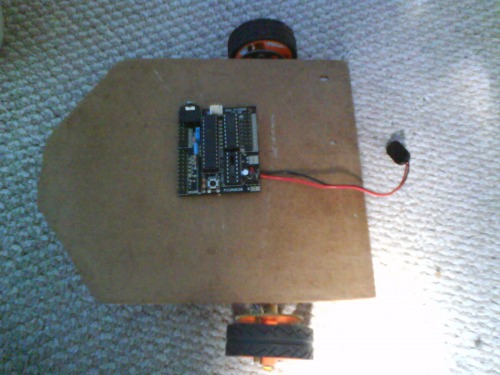
This is my robot so far shown from the top as you can see my microcontroler is just sitting ontop :).
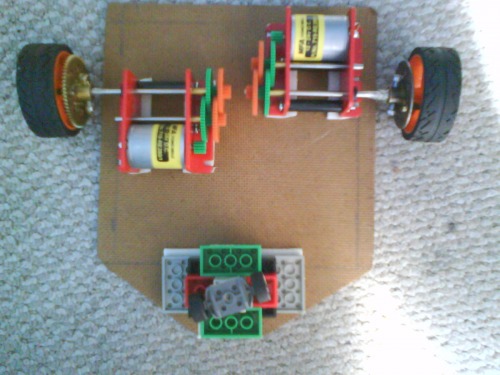
This is my robot form beneath it shows the lego wheels at the back (pointed bit) this is going to act as a caster.
As you can see its no made in lego, i done this because it is now alot stronger and easier to change. There is a front bummper wich will have two switches behind it so that when it hits somthing it can take evasive action!!!.
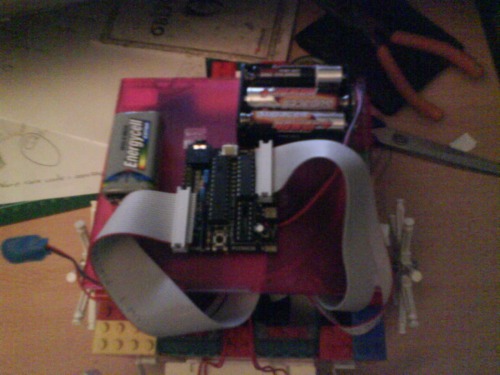
As you can see here is the top it is now useing two batterys a 9v and a 6v batery pack, the 9v is for the motors i have made a circuit on two bread boards that controll my motors with a motor controller.
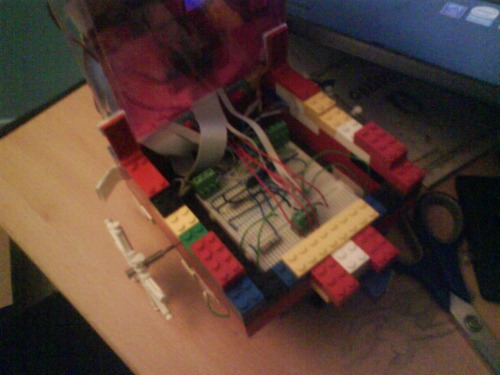
This is the two bread boreds connected inside the robot, as you can see i have used a CD case and used some hinges so i can acsess the insides easily.
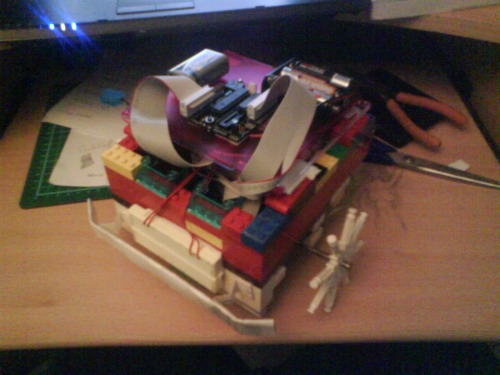
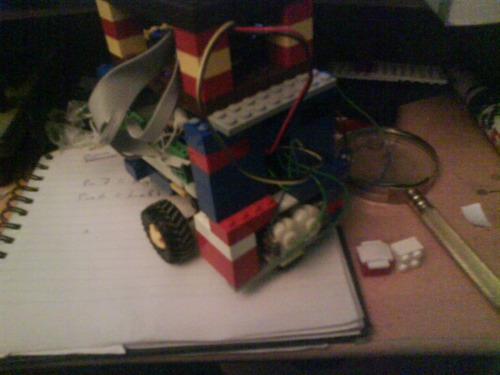
Compleatly had to remake this bot apart from the code (it was to heavy).
Here she is now :)
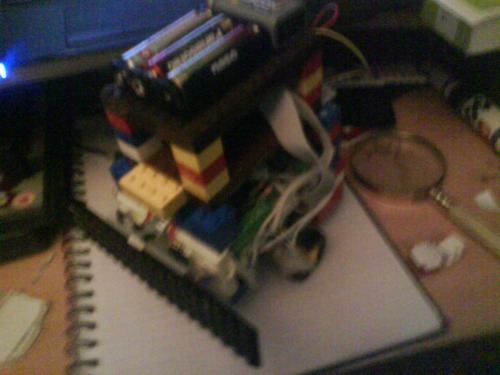
Here is another picture>>>
I will post a video shortly atm it is uploading so give me 10 min's =].
Navigate eventualy
- Actuators / output devices: one servo
- Control method: autonomous
- CPU: Picaxe 28A
- Programming language: Basic
- Sensors / input devices: ultrasonic, light sensors
- Target environment: Indoors is best