


P.R.E.P. - Bot, now w/ video!
The PREP - Bot is my first robot using a Propeller Microcontroller, and my first robot post on LMR. P.R.E.P. stands for Propeller Robotic Experiment Platform. Mainly, this robot is mainly for my to experiment with my Prop and use it with a robot, instead of just testing it on a breadboard. So I mainly will use a breadboards and perfboards. I may try to get some PCBs, if im planning on making permenant circuts. So I will add to this robot, but wont make alot of updates unless it is really cool upgrades. This robot's only purpose is for experimenting.
Planning & Construction
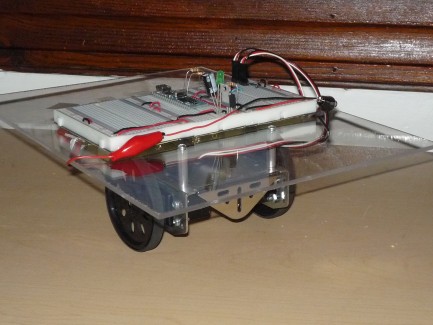
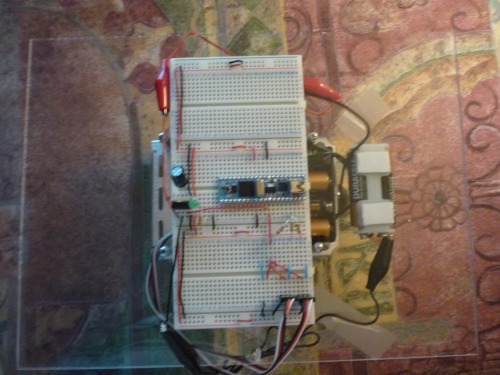
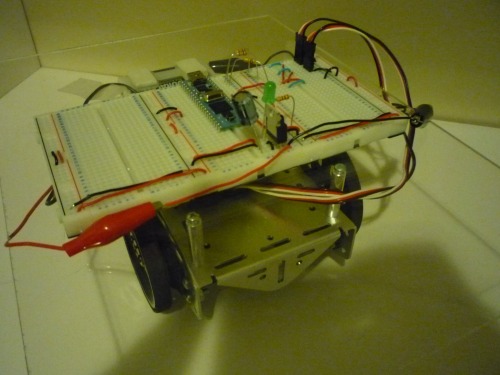
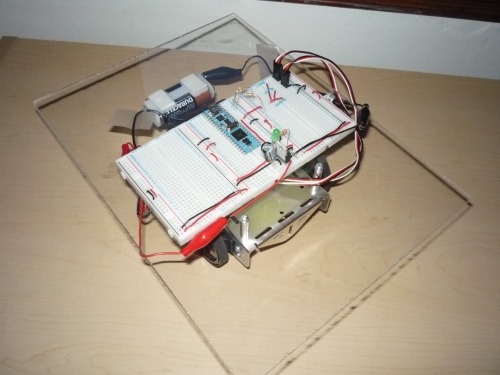
I didn't really plan it out at first. I was learning more and more about using and coding with my prop. So then I decided to buy a Ping, test it out, and then use some servos. Then I changed from a 9v to 6AA, which I had alot of help with( thanks Ctc). After that it was alot of programming. I tested the PING, and finally got a good wiring for my Servos. I decided to use cardboard first, and it was pretty good. But I finally got a sheet of plexiglass, used my cordless drill to make some holes, and mounted my chassis to it. Then I used some double sided foam tape and it kept my board down really well. Then I used some regular tape and double sided tape to hold my battery packs and wires. Well thats basicly the set up of my bot for right now.
The Coding
The coding I actually planned more on, I planned three main parts of it. The Main, which ones in Cog 0, would first Launch the two other objects into different cogs. Then, it would monitor the Ping's range variables. It would have this big If statement to choose which turn to make. Thats really all for now on the Main. Then there is the object for Ping... it moves the servo for the PING))), and stores the ranges in variables. Finally, the one that controls the wheels, it has a method for all my turns. Each turn is called if the Ping needs to go a different direction. THen goes back to the code for going straight. I plan on making a blog to show all my code.
I will see when I can get videos up.
I will add more info tomorrow also.
Pictures uploaded
Navigates with a PING))) currently. Used for experimenting with Propeller on a robotic platform
- Actuators / output devices: 3 servos
- Control method: autonomous
- CPU: Propeller PropStick
- Power source: 6 AA batteries
- Programming language: Spin
- Sensors / input devices: PING))) Ultra Sound on a servo
- Target environment: Indoors currently