


Otto DIY - opensource biped robot that you can build
Who is Otto?
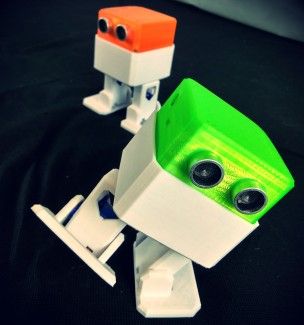
An interactive robot that anyone can make!
Otto walks, dances, makes sounds and avoids obstacles.
Is completely open source, Arduino compatible and 3D printable
Otto was inspired by another robot BoB the BiPed and programmed using code from another open source biped robot Zowi.
CC-BY-SA
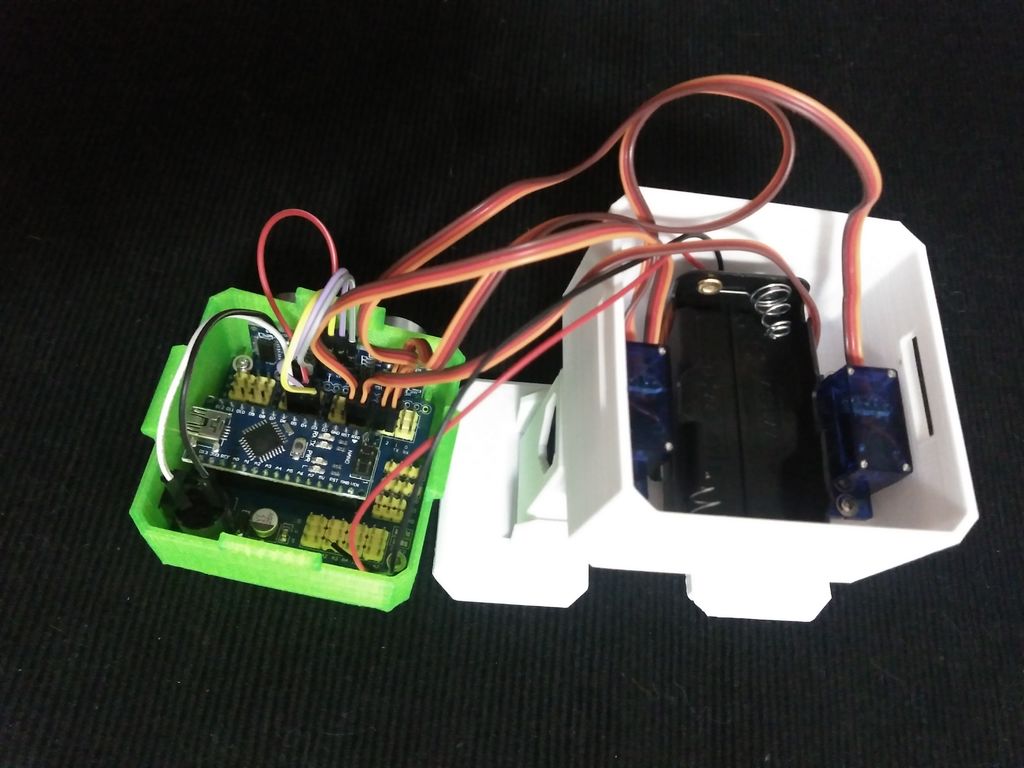
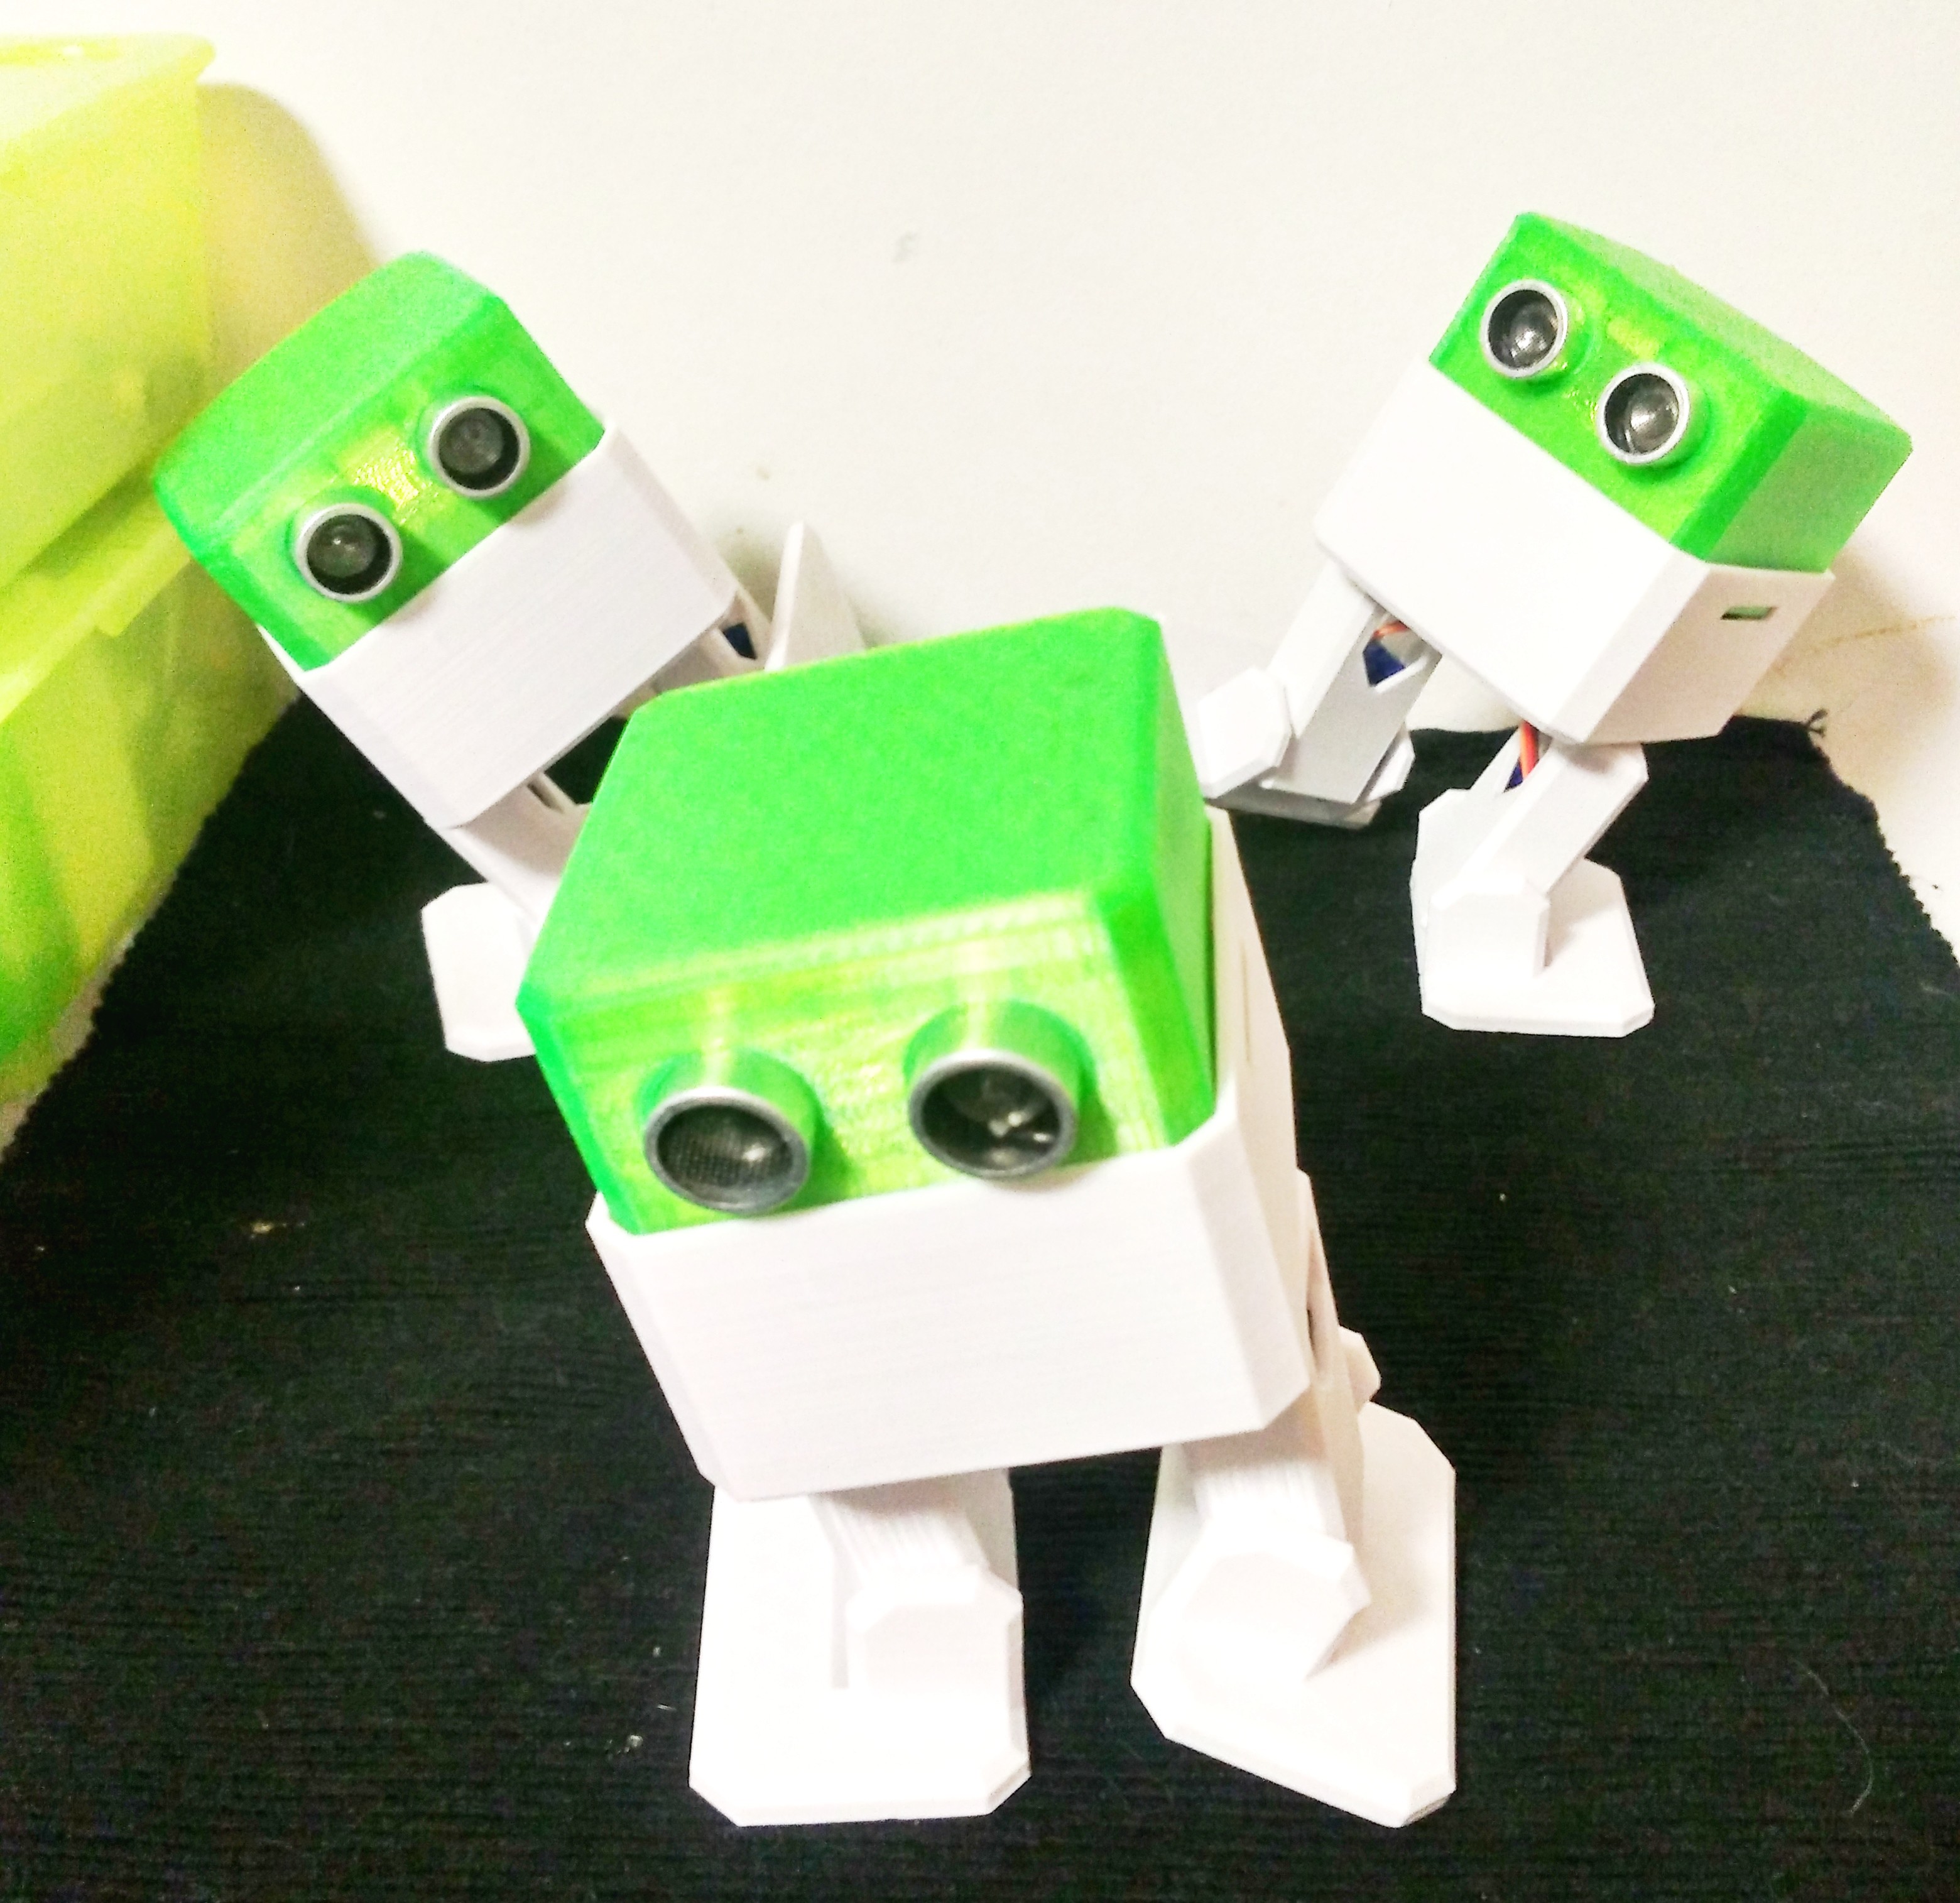
Otto's differences are in the assembled size (11cm x 7cm x12cm), cleaner integration of components and expressions. Using off the shelf and 3D printed parts, simple electronics connections (almost no welding required), and basic coding skills, you will be able to build your own cute Otto friend in as little as two hours!
Otto is designed using Autodesk 123D Design software you can modify it for customization or further improvements!
Gather all the off the shelf parts that you'll need for this assembly.
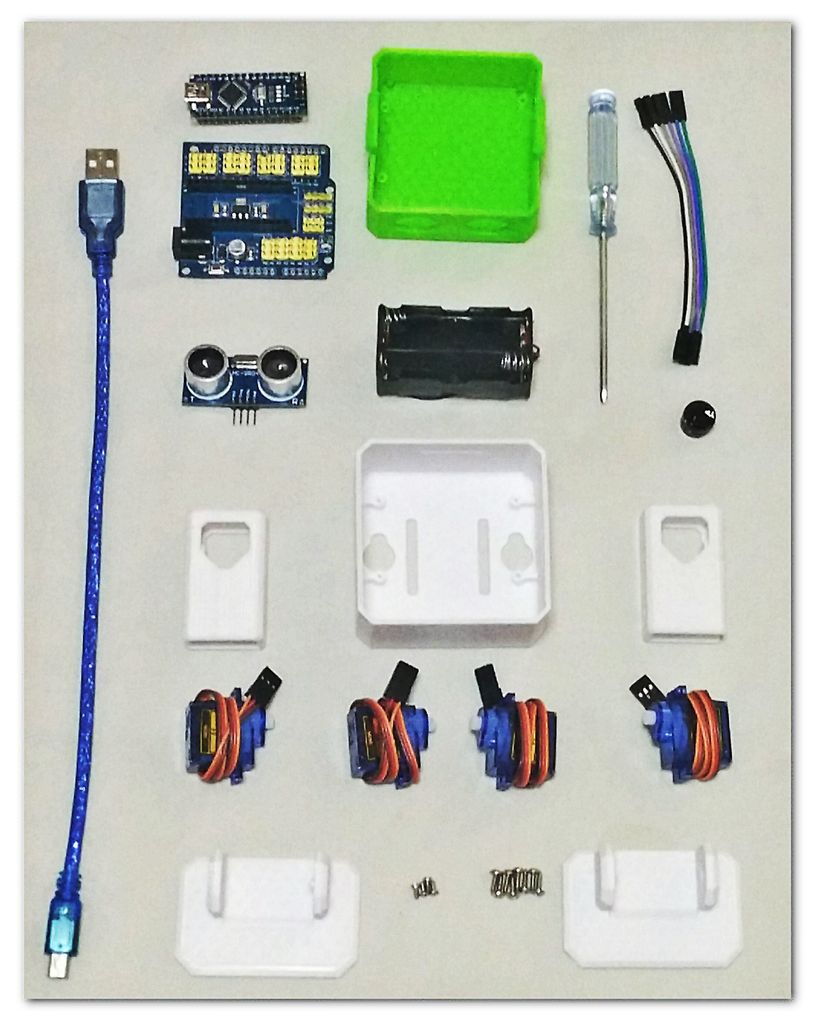
List of parts:
- Arduino Nano; preferable with the pins already weld it
- Arduino Nano Shield I/O Extension Board Expansion XD-212
- Mini usb cable. (most Arduino dealers provide the cable)
- HC-SR04 Ultrasound sensor.
- Mini servo SG90 9g x4 (each one should come with 2 pointed screws and one small screw).
- 5V Buzzer.
- Female to Female breadboard connectors cable 10cmx6.
- 4 AA Battery case
- 1.5V AA batteries x4.
- Mini cross screwdriver. important magnetized
And then you only need to 3D print 6 parts in total:
- 3D printed head.
- 3D printed body.
- 3D printed leg x2.
- 3D printed right foot.
- 3D printed left foot.
Print in A6 sheets or download to your device the manual
For the programming:
Download & Install Arduino IDE:
https://www.arduino.cc/en/Main/SoftwareCopy Oscillator libraries to C:\Users\user\Documents\Arduino\libraries (or wherever your library folder is installed):
- Finally open & upload OTTO_smooth_criminal.ino code to your Arduino Nano for dancing Otto.
More codes in https://github.com/OttoDIY/
Version 3 update!
Place in the body for a 8x8mm switch
Place in the body for buzzer
Better snap, shorter leg option, new codes and dance moves
Version 4 update!
Use the key horns from servos for easy assembly so you don't need a high precision 3d printer to make it functional.
Otto walks, dances, makes sounds and avoids obstacles, is completely open source, Arduino compatible, 3D printable.
- Actuators / output devices: SG90 micro servos
- Control method: Arduino, Semi-Controlled / Autonomous (Bluetooth)
- CPU: Arduino Nano 328
- Operating system: Arduino
- Power source: 4 AA batteries, USB power for Arduino
- Programming language: Arduino
- Sensors / input devices: HC-SR04 ultrasonic sensor
- Target environment: Indoor or outdoor