


Object Avoidance Robot MK1
Hello everyone. My ultrasonic sensors arrived (4 in total) but instead of using them on my scrapbot, i found some 360 degree servos that i had gathering dust from a previous project.so i decided to make use if them. The scrapbot was too loud because of the build materials so i settled with this.
In the video it has the distance set to 30cm.
Materials:
Body: Tamiya universal board (leftover from an onld tank project)
Wheels: 38mm diameter. (i wanted them ASAP but the ebay Australian store only had this size in stock. $8 for both incl postage.
Propulsion: 360 degree servos 6.2kgcm @60rpm @6v. from ebay china. $15 for 2 incl postage
Sensors: HCSR04 ultrasonic sensors from ebay china. $2.41 each incl postage.
Brain: Arduino UNO from ebay australia. $15 incl postage they cost $18-20 now (for the R3 Model)
Turret Servo: old 9g servo
Power pack: 6v 1300mah sealed lead acid. $12 at Jaycar.
Jumper leads/ connectors: arduino jumper leads male and female from ebay china. $2.50 for 20. incl postage.
This started out as a piece of aluminium and i cut it to fit with tin snips. its not the best looking but it would do.
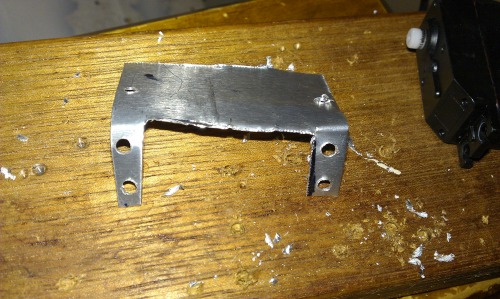
The support bracket to prevent sagging and basically bolt the servo and bracket to the tamiya board.
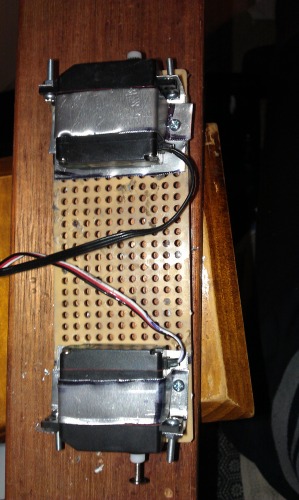
1 down one to go. The holes are spaced out perfectly i did not need to drill any holes in the board.
Both servos bolted on. I used 3mm diameter nuts and bolts from Mitre 10. The SLA battery will be placed between the two servos.
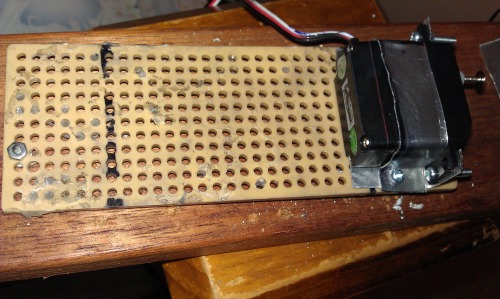
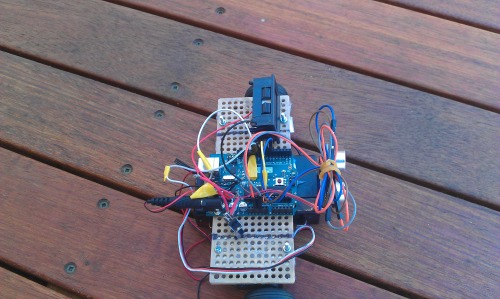
This was the early setup. I used double sided tape to hold the arduino to the tamiya board. The NIMH battery packs fully charged @5.6v did not provide enough power to move the bot. so i opted for the SLA battery as t provided ample voltage and current.
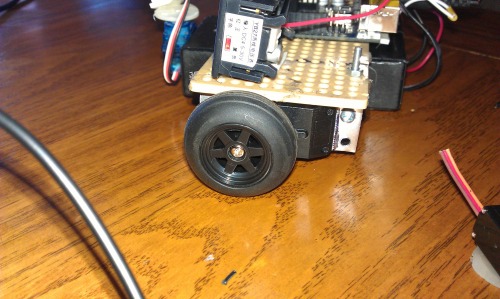
The wheel in place. The only size the australian ebay stores had in stock was 38mm. Average but they are great.
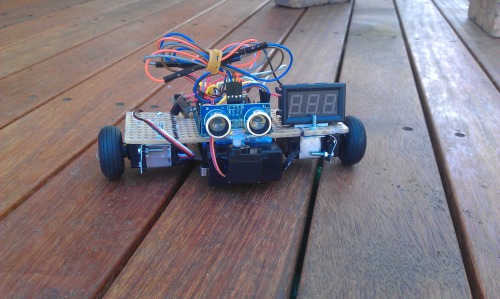
There she is! fully assembled.
Front view. I replaced the front servo with a blue one later on as this one was giving me issues.
Thank you please watch the vid and give some feedback.!!!!
EDIT:
I will use the rest of the sensors with my bigger platform soon when i have sorted out the code:
Navigate around via ultrasound
- Actuators / output devices: 360 degree servos, 6.2kgcm
- Control method: autonomous
- CPU: Atmega 328
- Operating system: Arduino
- Power source: 6v SLA
- Programming language: C
- Sensors / input devices: HCSR04 ultrasonic sensor
- Target environment: indoor. or outdoor on flat surfaces