


NewBOT
9-Oct-08 - First Drive!
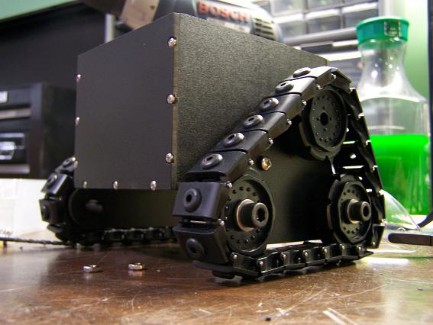
Always a proud day, like baby's first steps. In the video i'm using the WASD keys to drive and steer. The speed control is working very nicely. With the manual control I am currently dividing the 10-bit pulse width into 10 gradients which makes it a little jerky. When autonomous it will be allowed 100 discreet speeds in either direction. It's open loop for now because i haven't found any encoders small enough/cheap enough.
The install of the motor controller into the track unit was frustrating (very short wires) but it turned out nice. I'll post somepics and a video demoing the ease of disassembly soon. I have been collecting inspiration over the last couple of weeks and will leave you with this:
http://www.youtube.com/watch?v=Y6ljFaKRTrI&feature=related
29-Sep-08 - Finally....POWER!
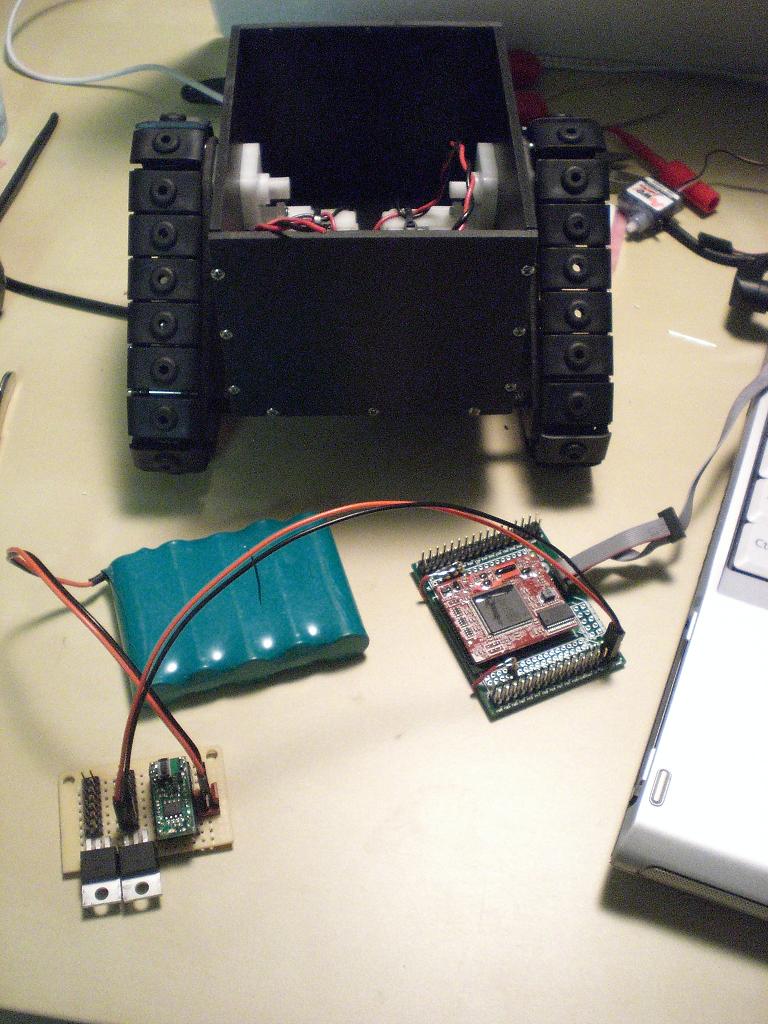
So, after a lot of playing with different power sources, I decided to go with some good quality, 3A low drop-out linear regulators. I'm still playing with the boost circuit, but I didn't want it slowing down this project, so they are diverging for now and hopefully I will add it back in later.
Last night I got it up and running a few test programs. The Pololu soft power switch is very, very nice. I tested one of the motor controllers (just fwd and rev) and wrote some routines to handle the pulse width so tonight I should have some first drive video for you. But here are some pics for now.
25-Sep-08 - A Step Back in Power
So due to an error in the digikey catalog, the voltage regulators that I bought don't work for my application. The catalog says the drop-out voltage is 3 Volts when its actually 7V!!! So I'm redesigning the power circuit to mock the power circuit on the Pololu 3pi, which runs down to 1.6Volts!!! They do it with a very nice Boost regulator that runs at 9.25 Volts and feeds a linear regulator. Check out the schematic if you're interested, its a REALLY nice way to run a robot off of 4-6 AA batteries and really get all the juice out of your batteries:
http://www.pololu.com/file/0J122/3pi_quickstart.pdf (top of page 2)
They wouldn't tell me what the boost regulator was because they are going to start producing/selling thepower circuit, but luckily I have a friend that has a 3pi prototype so we figured it out. They parts are on the way! This will set back my first drive till sometime next week. Sorry Fritz :-)
23-Sep-08 - Change of motor plans
So I've decided not to use the Solarbotics GM10 (http://www.solarbotics.com/products/gm10/) motors. I have 4 of these to spare if anyone needs them send me an email at [email protected] and we can talk about it. Please do NOT post in the comments section, just shoot me an email.
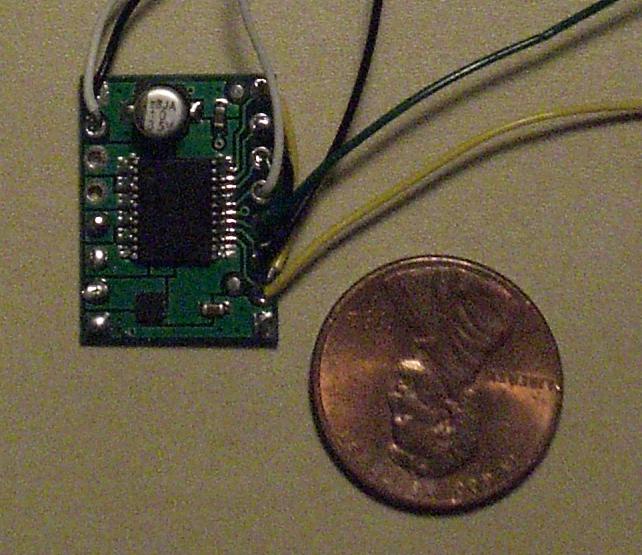
As for the robot, i'm building the power circuit today (pics tonight) and starting on the code. I've decided on the pololu TB6612NFG motor controllers for the drive wheels (http://www.pololu.com/catalog/product/713).
19-Sep-08 - Another Elaborate Chassis
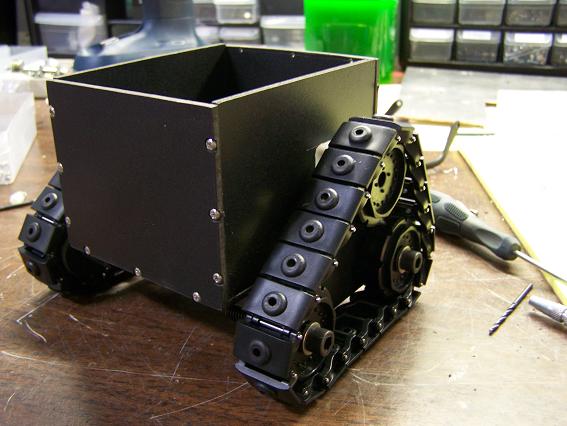
OK, OK...I broke away from the minimalist simplicity of my last project (https://www.robotshop.com/letsmakerobots/node/1996) and built a slightly more elaborate chassis. The box is made from sintra and is held together using counterbored 2-56 screws. The "tread units" come off with a single screw (later a single screw and connector for power and control) and i'm planning on housing the motor driver inside the individual tread units making them fully detachable. I like compartmentalisation for some reason. check back soon!


19-Sep-08 - Ground Clearance
Great idea voodoobot! Check out the new pic to see this implemented. It allows for 1.5" of ground clearance. This is with 22 links of Solarbotics tread with a 3" wheelbase. I used 1/4"-20 shoulder screws to mount the idlers (had to bore them out just a little) and 3mm Sintra (expanded PVC) for thesupport structure. Now that the treads are done, today i'll be working on chassis design and motor controller/processor placement. Check back soon!
![]()
18-Sep-08 - A Clean Start
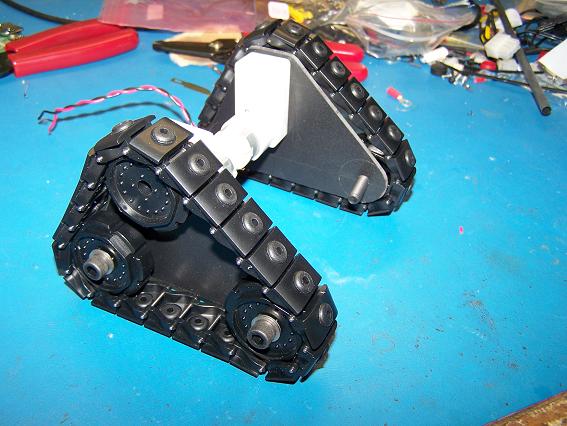
So I've wanted to build a tracked robot for quite some time, but have never found any tracks that I really liked until I found this website, saw the YDM, and fell in love with the solarbotics tracks. So here is the start of my next robot. I won't give way too much right now except that i'm using an RCM3400 processor from rabbit semi and am going for a YDM-like final result.
Pictured is my track layout. I integrated the GM8 motor into the track holder so that the track-drive mechanisms are separate components.
Oh, and I never name robots till they are done...hence NewBOT.
- Actuators / output devices: 2xGM8 Motors
- Control method: autonomous
- CPU: Rabbit RCM3400
- Power source: 6xAA NiMH
- Programming language: Dynamic C
- Target environment: various