New to robotics, attempting to build an obstacle avoidance robot, looking for some guidance
Updated post with new parts, ideas, pictures, and questions
Hello robotics community! This is my first post I have made here. Im fairy new to robotics and am looking for some guidance. Im looking to build a object avoidance robot but in all honestly I am lost. I am hoping to show you the parts that I currently have with hope that some of you will tell me how to put this robot together.
I did model flight for 6 years before this. I've flown everything from collective pitch sport helicopters to glow fuel large scale aircraft. Robotics seems like something new and interesting. The possibilites with robotics seems unlimited, its exiting! (also cheaper, hehe)
Here are the parts that I have right now and some details that I know/noticed about them from either packing, research or past knowledge
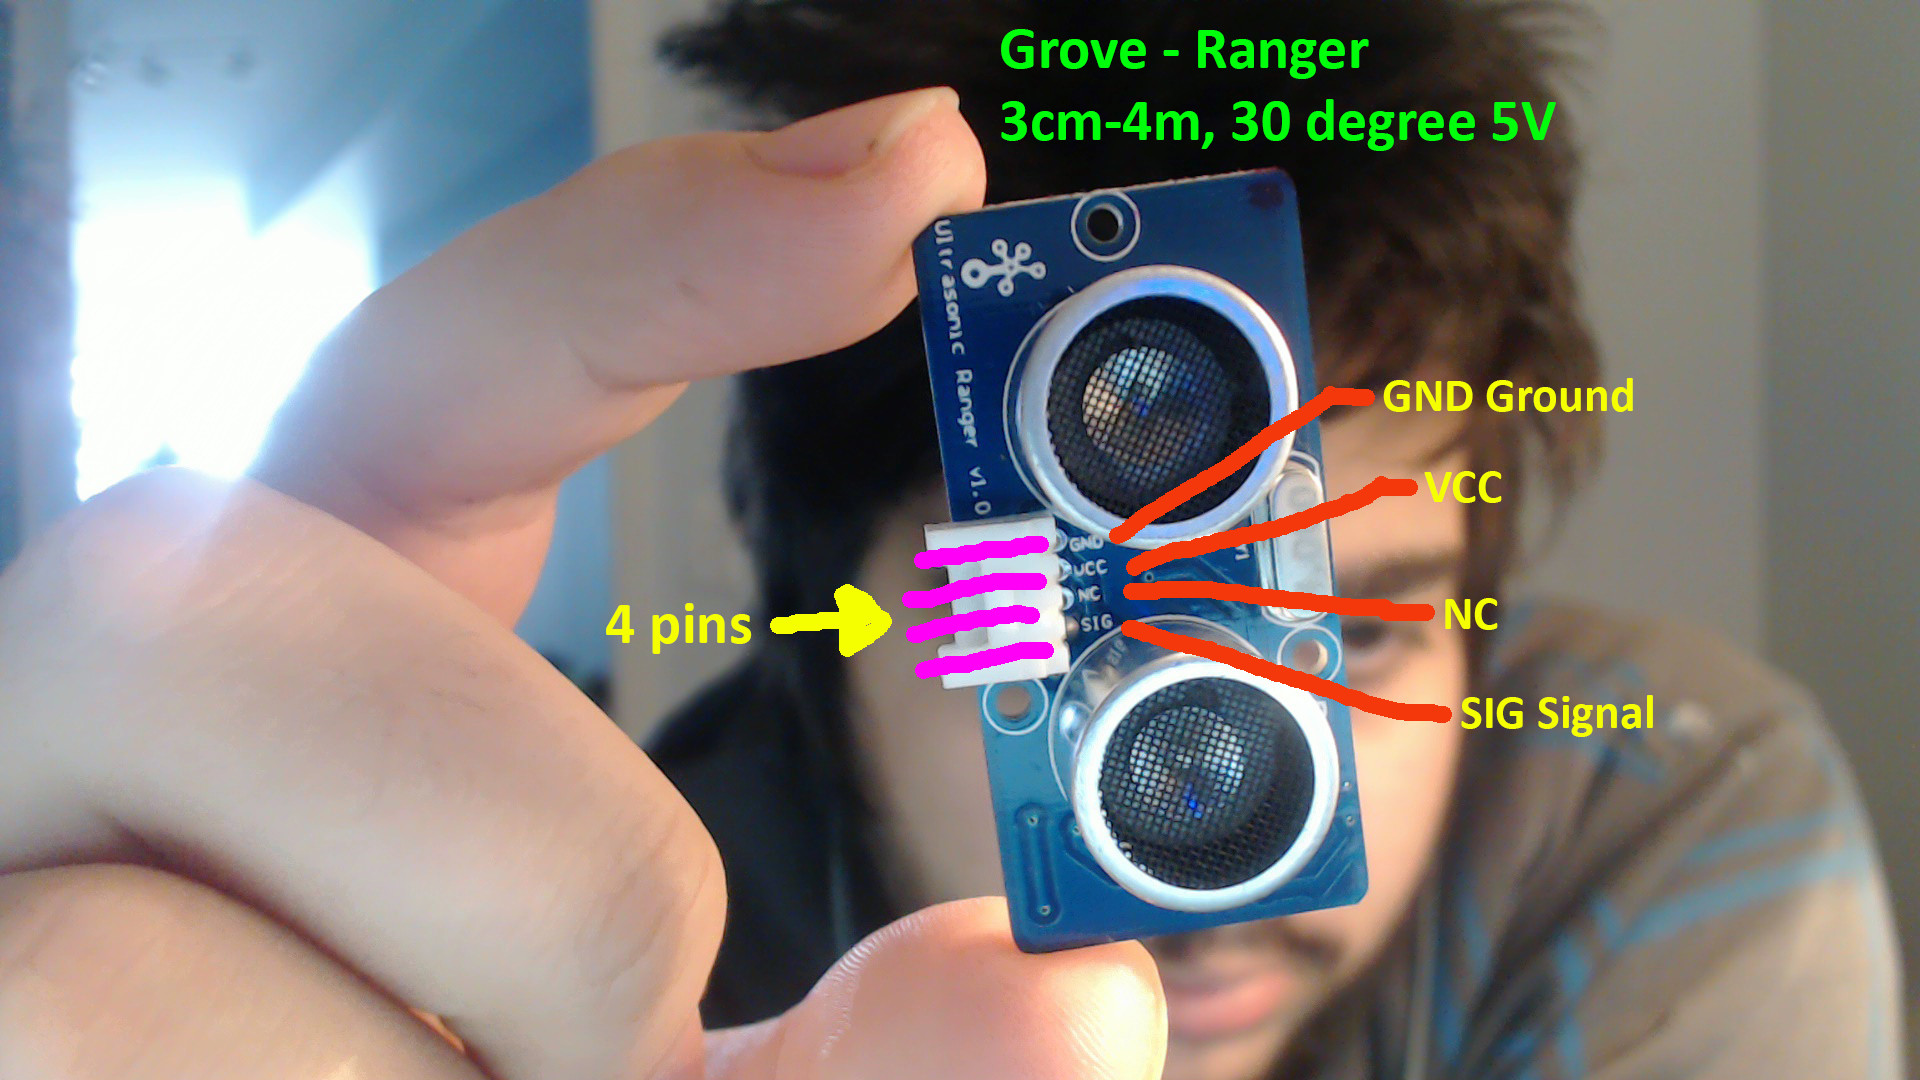
Ulrasonic Sensor
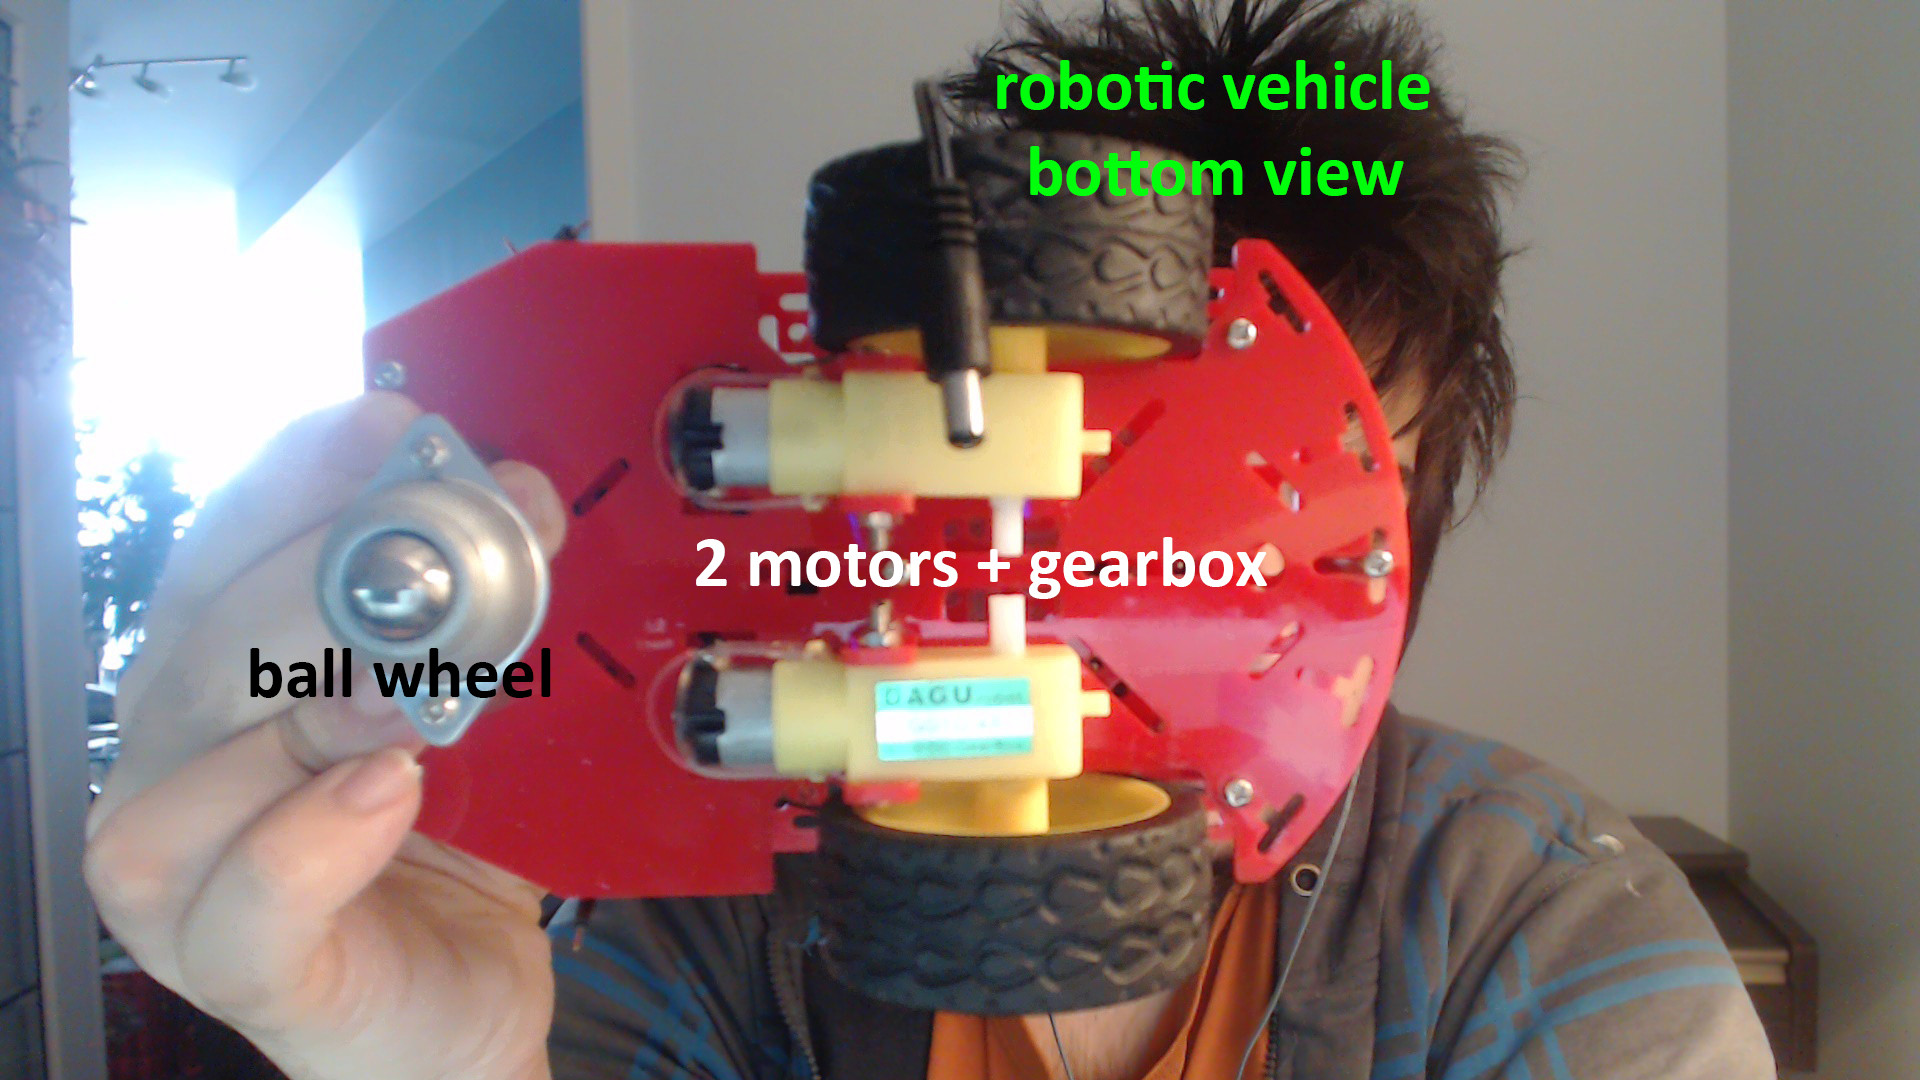
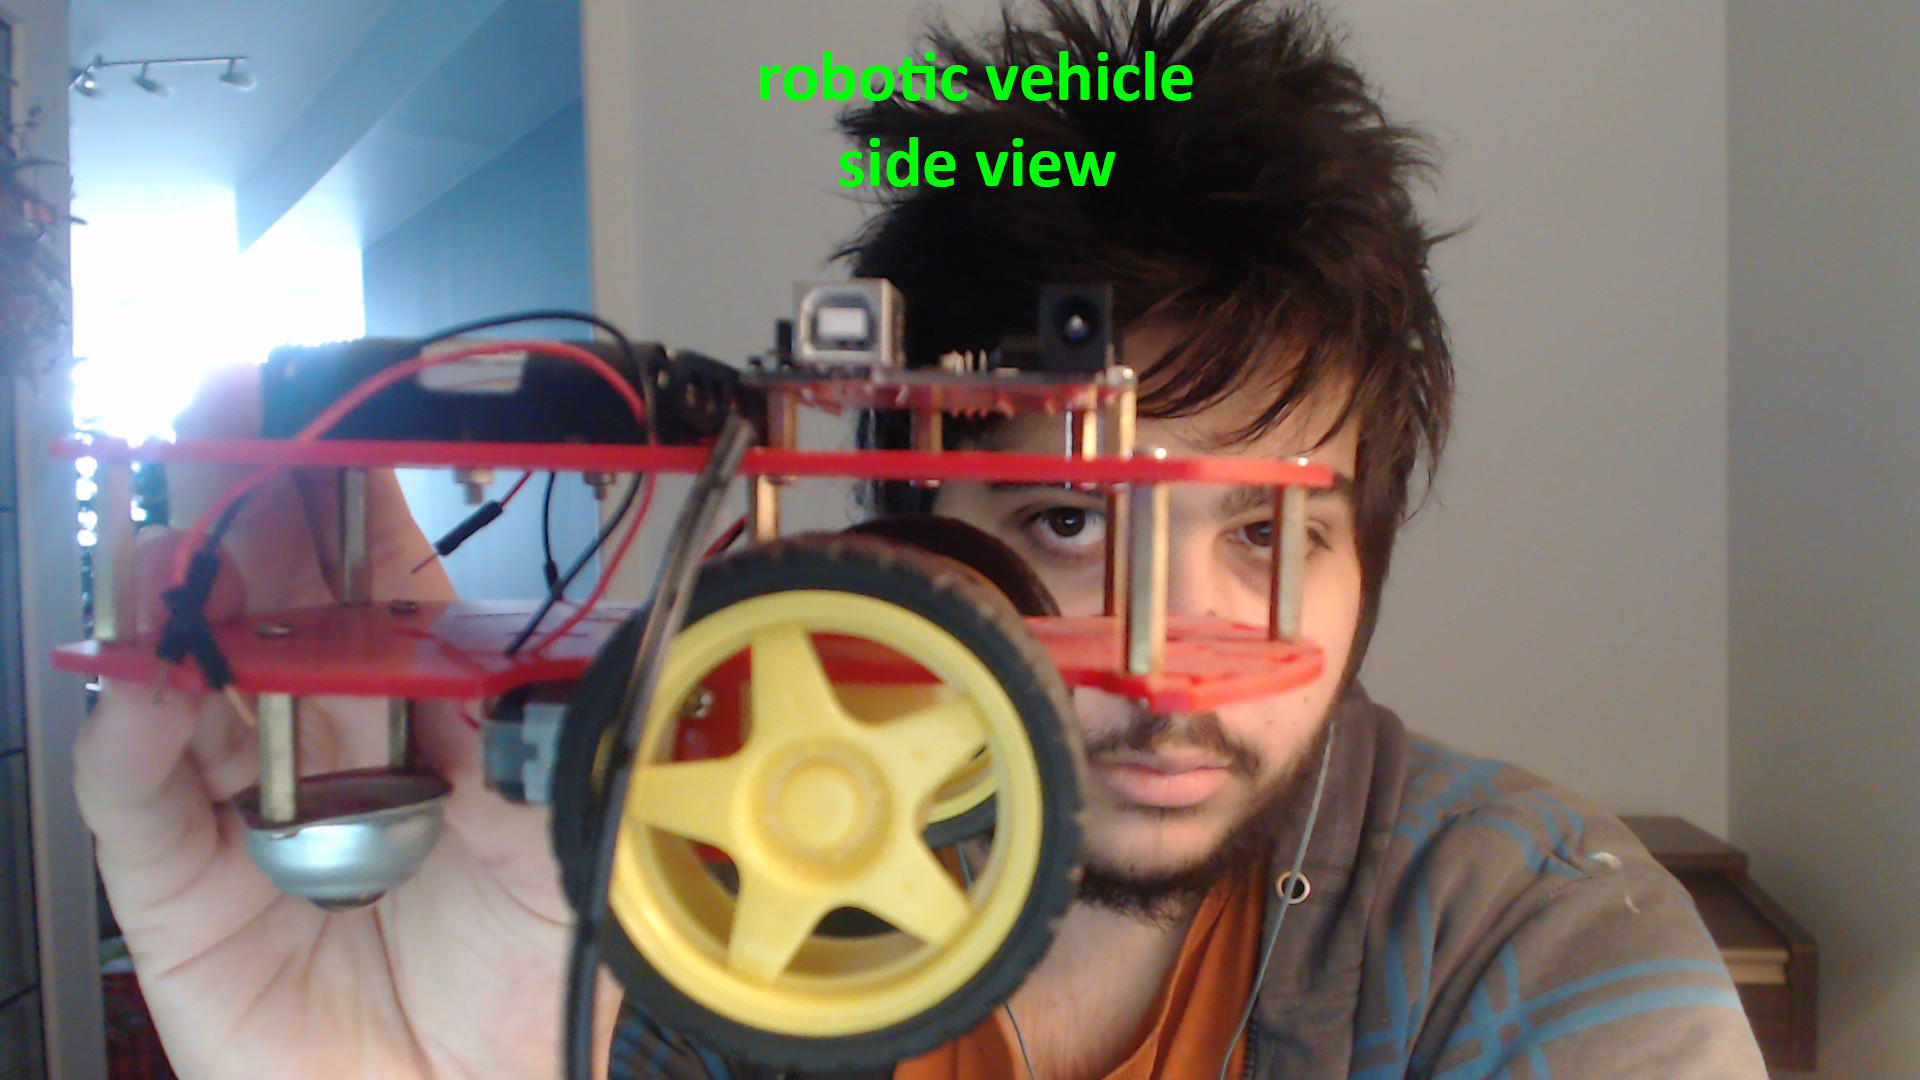
Robotic car kit (comes with body, wheels, 2 gear box motors, 1 metal ball wheel)
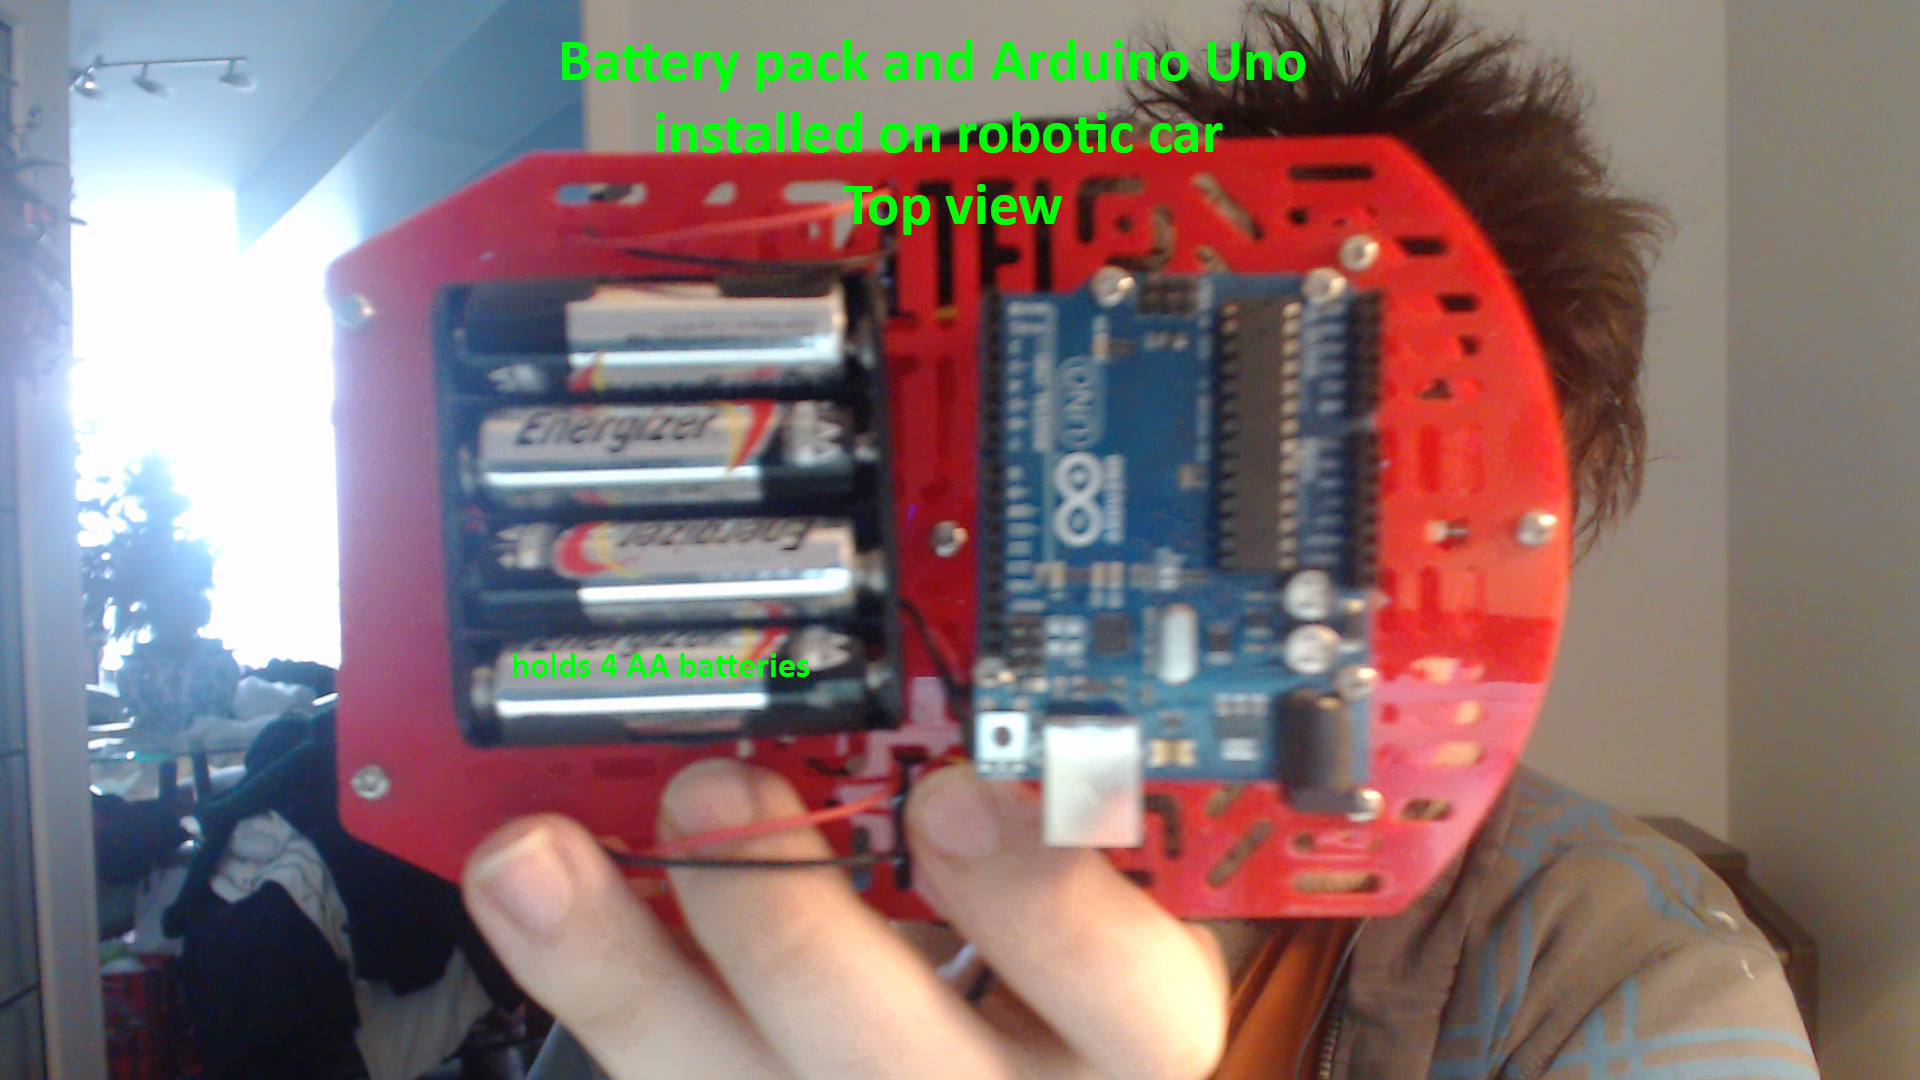
Arduino Uno & 4 x AA battery pack
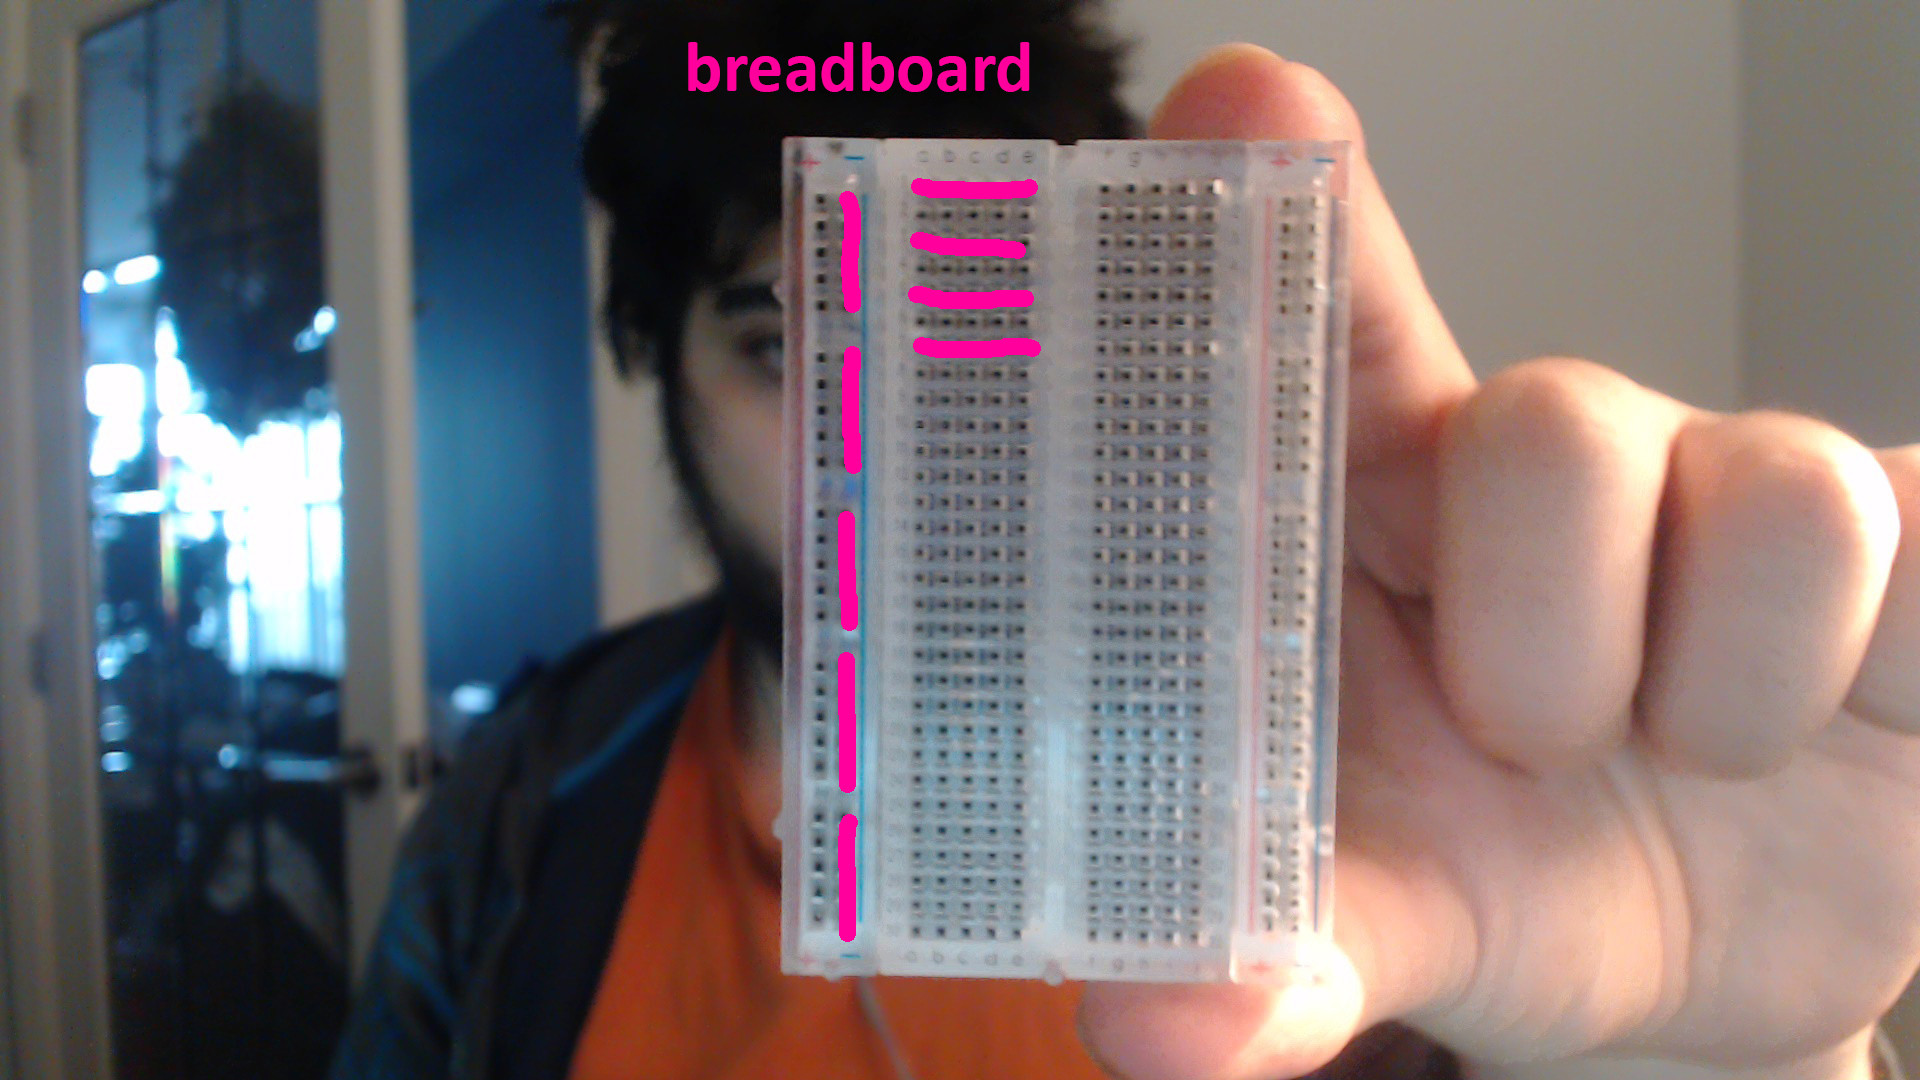
Breadboard
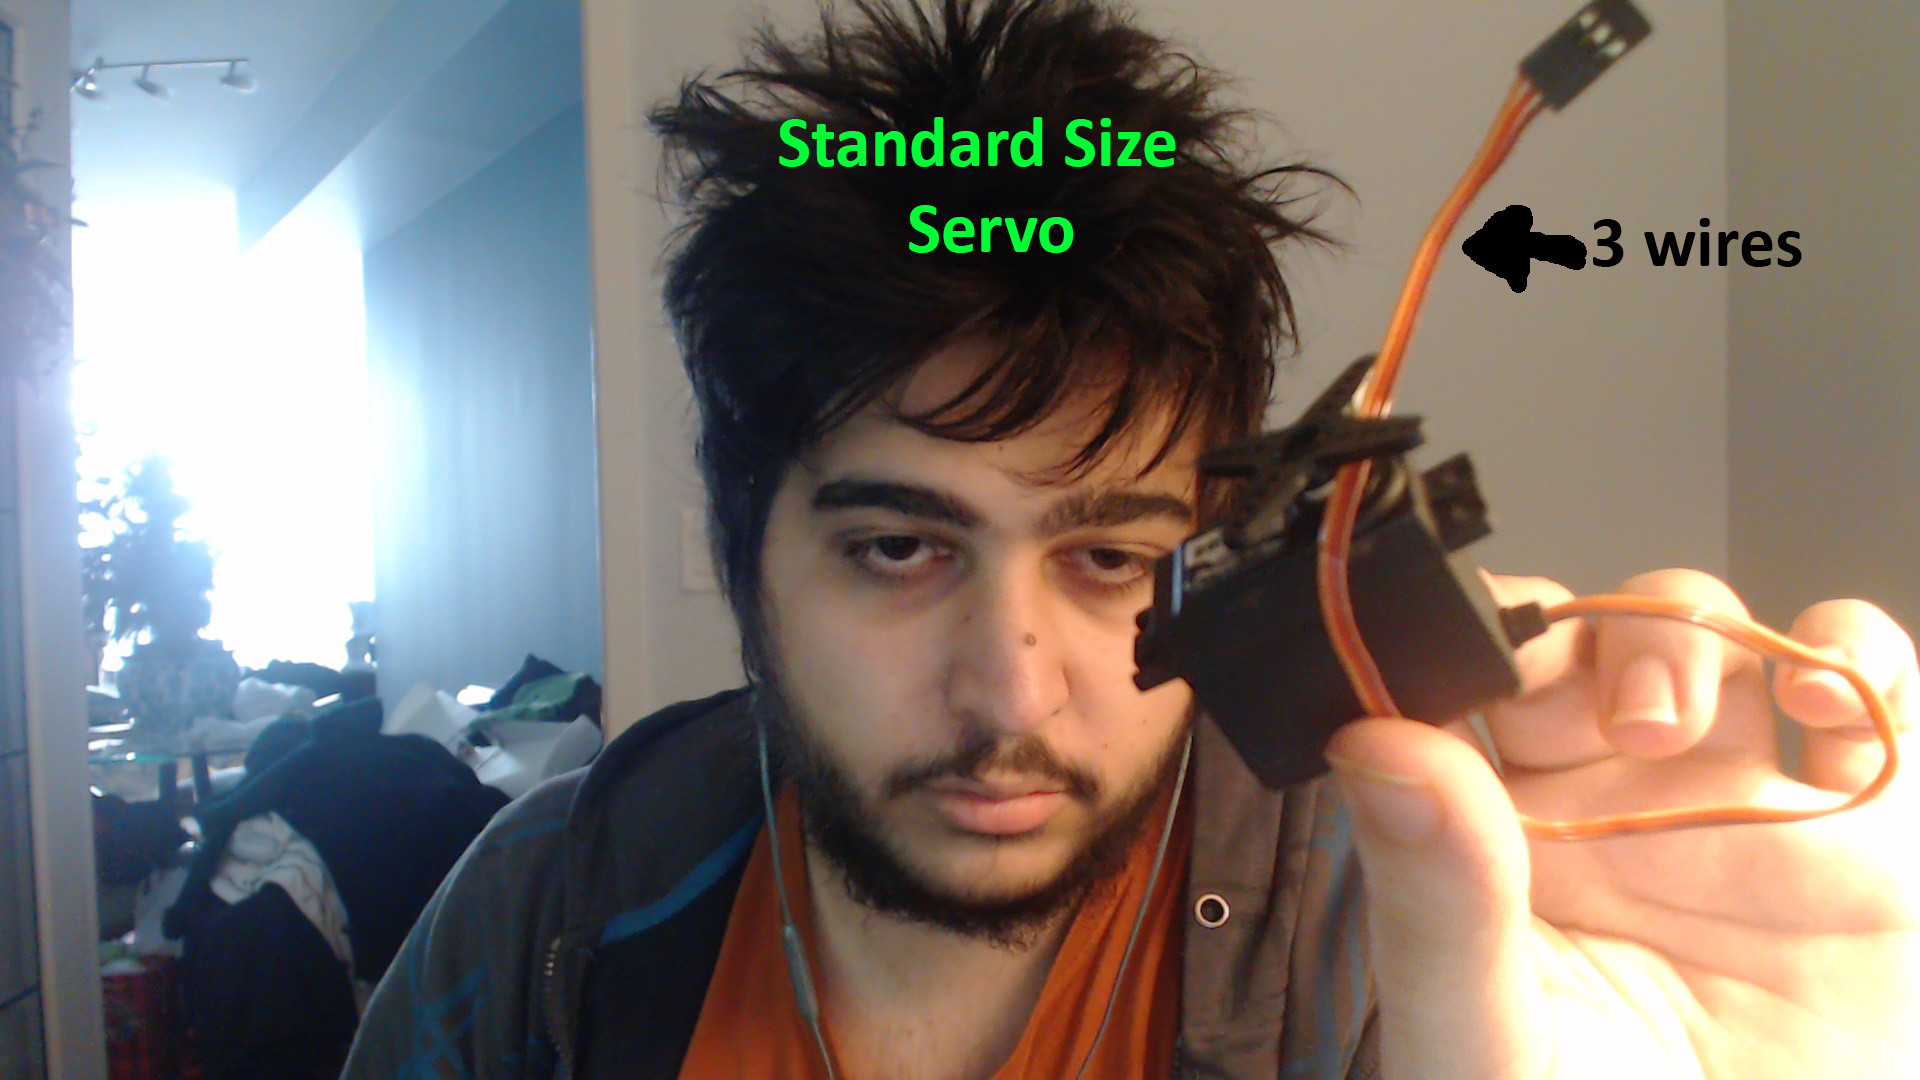
Servo
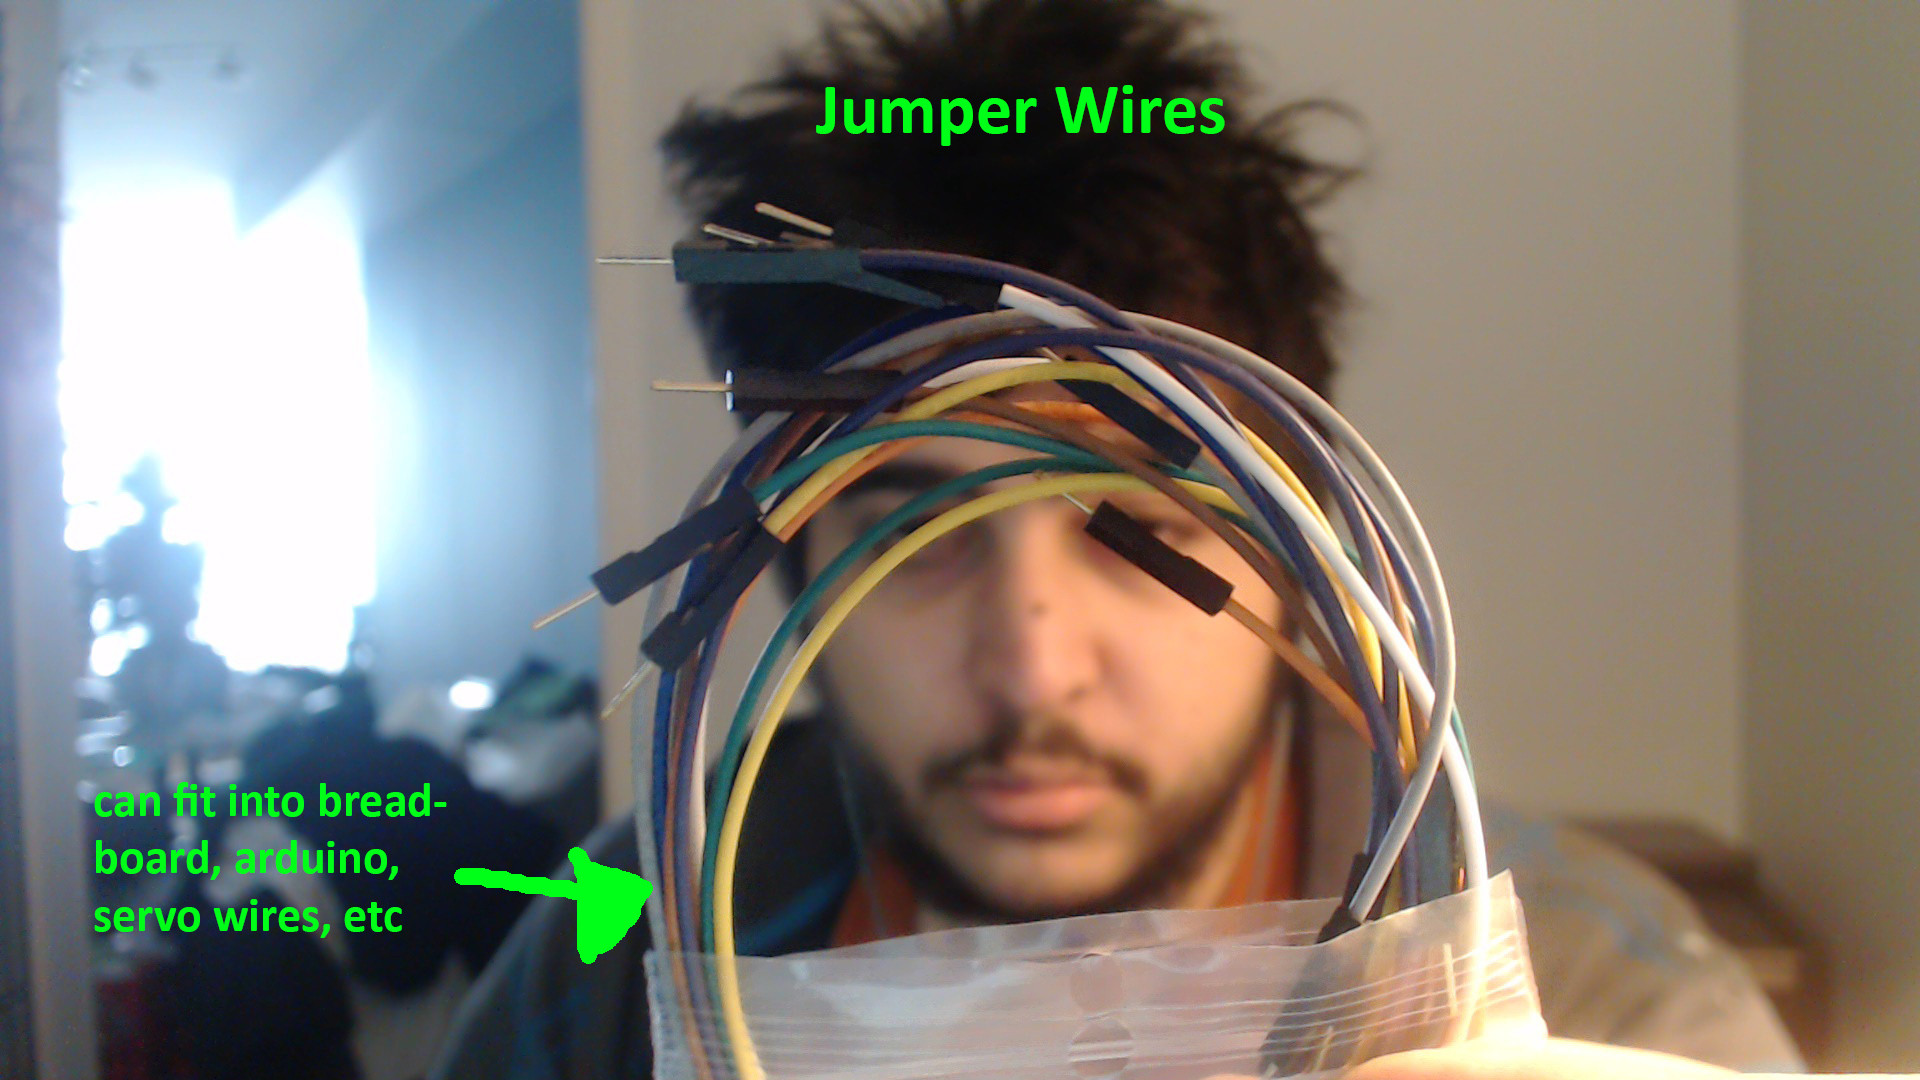
Jumper Wires
My main problem is the fact that I have zero idea of how to put it all together. I don't know what wires go where, what connects to what. I understand some of that changes depending on the code and what pins you choose to select as outputs, but generally Im clueless. I've looked for online guides but most of the guides use ultrasonic sensors with 3 pins, and some of the pins are labeled differently.
If someone could help me out I would be so greatful. Im pretty sure I have everything I need, I just need the knowledge now.
New Update #1
Most parts are attached where they should be.
Going to go out and get an H Bridge in a few hours, doing my best to keep the breadboard wiring clean since I know wiring the H Bridge is going to take some space.
Right now it can detect things in front of it and choose a direction. I hope to get the motors working so it can move and hope to get some LEDs to shine like car lights when turning and moving.
Here is what it looks like, used some photoshop to make the colours(Canadian) look better since my phone camera is bad and it was a cloudy day.
New Update #2
Visted a local electronics store and picked up these items for this robot.
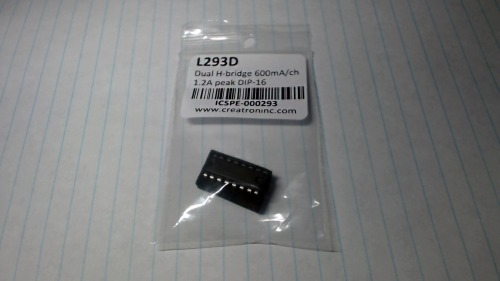
L293D Dual H-bridge 600mA
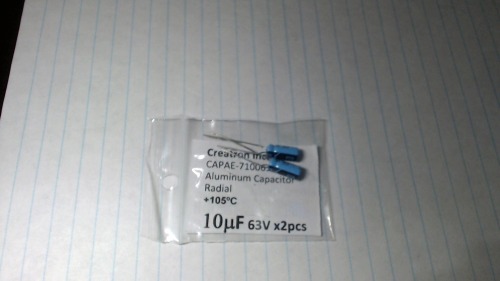
10 µF 63V capacitor
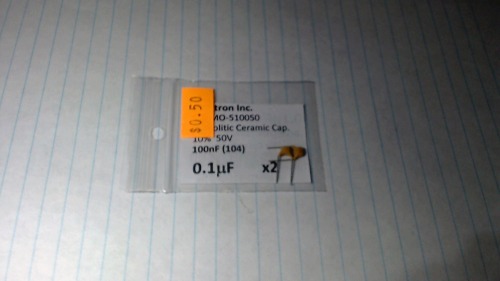
0.1µF/100nF 50V capacitor
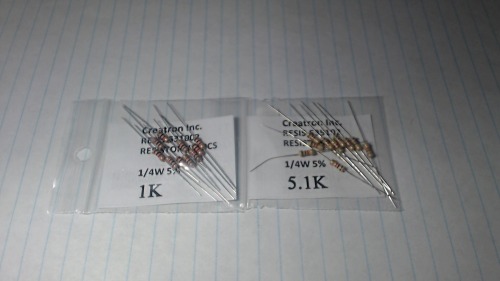
1k & 5k resistor
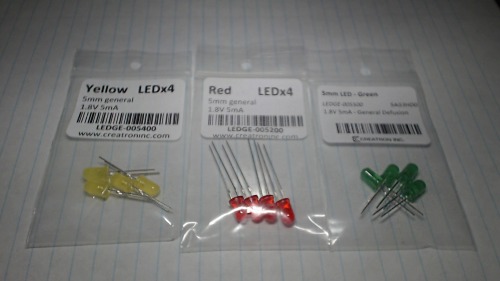
Yellow, Red, Green LEDs 1.8V 5mA
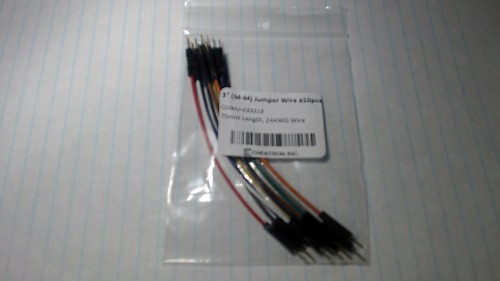
3" jumper wires
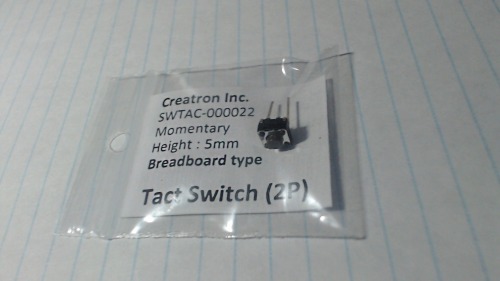
Switch 2pins
With these new parts I hope to complete the robot.
Future ideas.
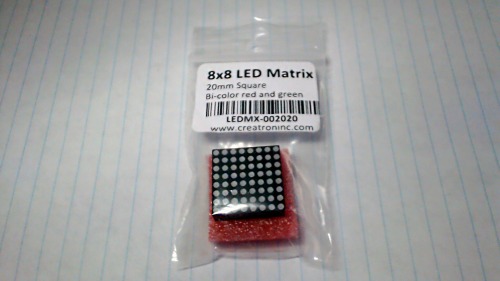
I also picked up this 8x8 LED matrix. I thought I could add this to the robot and display the distance to the wall in front of it as it moves. Maybe even add an arrow. It is a bi-color matrix with red and green, but red + green = yellow so I think I can have 3 colors.
Question
I purchased these items (everything from L293D to the 8x8 matrix) for just under $20. I just wanted to know if these prices are normal. Do the stores you buy from cost less? More? I myself was very happy with these prices. Im used to paying nearly $100 for an ESC, lipo and 1300kv brushless motor.
UPDATE 3
It has been tough figuring out how the L293D works, but I think I have the basics down.
Here is a picture of the wiring for Power
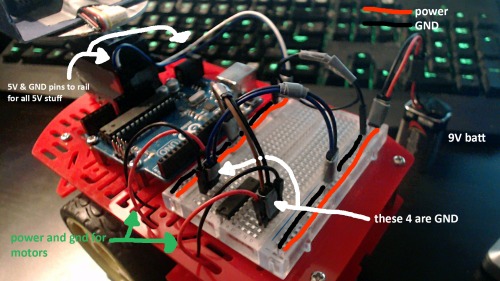
The 9v battery being plugged into the rail on the right side.
The 5v and GND pins are plugged into the rail on the left side. There is a black wire (with a loop) connecting the GND of the 9v rail on the right to the 5v rail on the left.
Now for the L293D.
The 4 GND pins in the middle have been plugged in. The left side of the L293D is plugged into the 9v GND rail and the left side has been plugged into the 5v GND rail.
(As far as I can tell it makes no difference the position of the wires, as long as they are plugged into GND, that is why the GND are plugged in different places, because I want the wiring to be clean, and having them all in one place would force the wires into awkward non-natural positions)
The motor wires are plugged into their output slots.
Next will probably be the rest of the wiring, hopefully It can be as clean as this. (imo this is clean, idk about ya'll)
UPDATE 4
Got new parts to hopefully finish the robot. Also got parts that I hope to add to the robot in the future.
Here they are. They were a bit pricy ($70) but Im confident I can use these parts for many things in the future, a good investment imo.
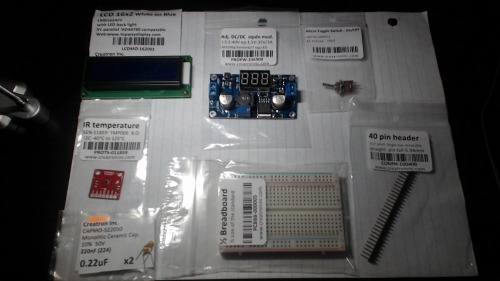
Hopefully my next update will be the robot working.
Any updates after that will be upgrades like IR heat sensor to locate flames and hopefully put them out :D
UPDATE 5
The first completed version of the robot has been completed. The algorithm is crude but gernally effective. I hope to add new updates with better built aglorithms that compenstate for non-perpendicular angles of attack into objects and pwm to change speed depending on distance.
The video can be seen here, or at the top of this post where the videos are embedded.
https://www.youtube.com/watch?v=69WIRMbgllA
This is a picture of the robot.
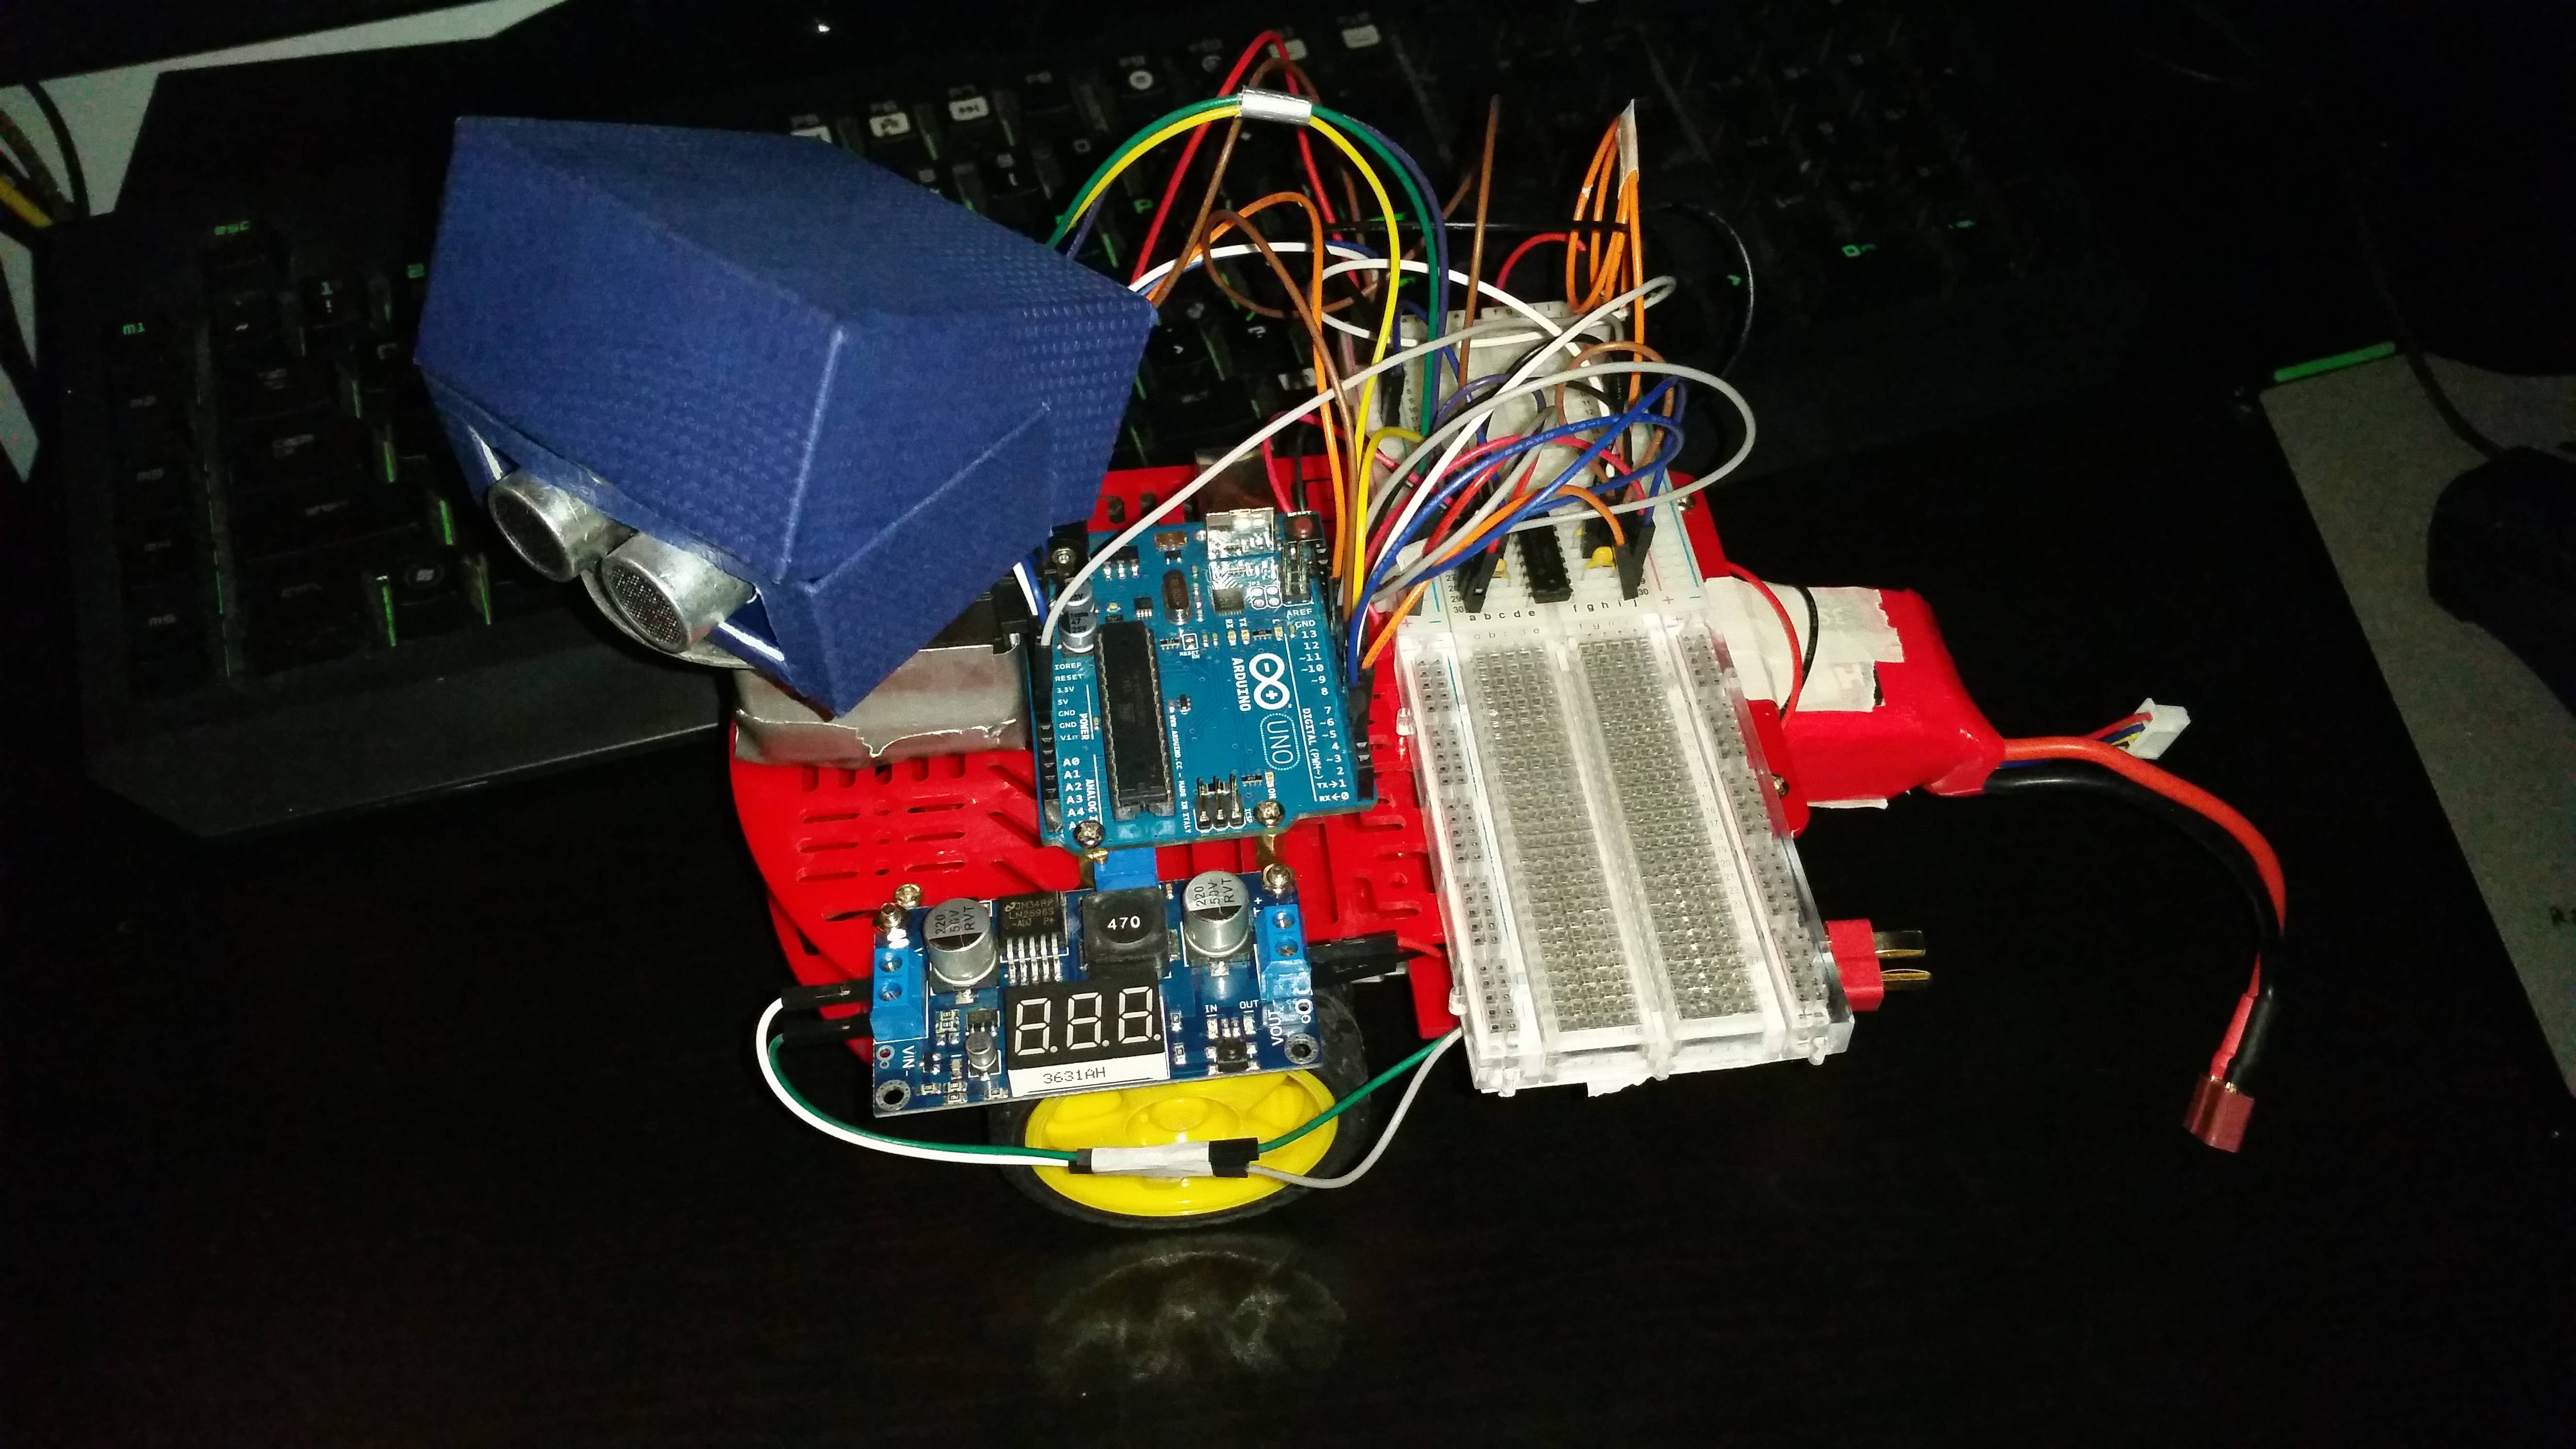
Obstacle avoidance using ultrasound sensor


