


Nano Rover
UPDATE 8/24/2014 : Testing out a new design in the form of MB-3434
Thanks to Lumi, I have a set of 3D printed parts of MB-3434 to layout a similar base for Nano Rover. The problem with my "custom-chassis" so far is instability and a mediocre set of wheels. Apart from that, the programming routines look pretty ok. Nano Rover is attempting to be the next little brother of MB-3434.
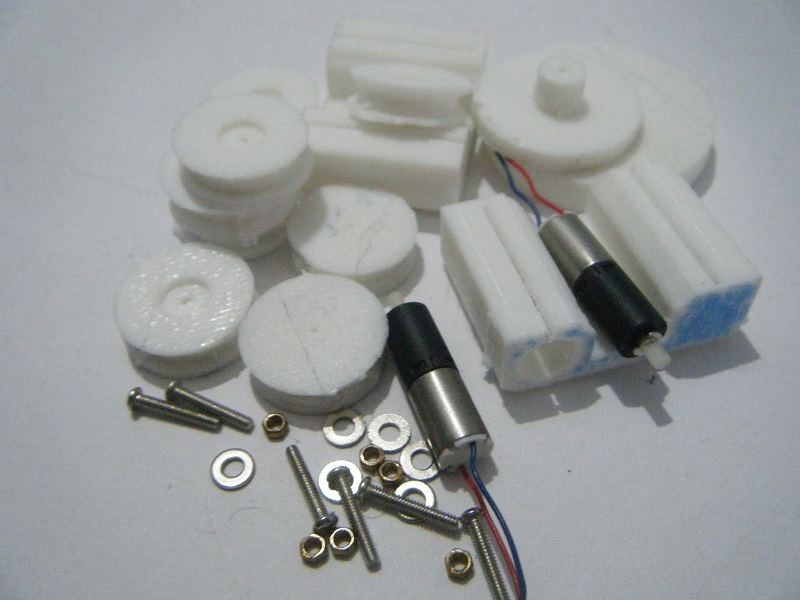
3D printed parts, along with motors and hardware sets, for a new and improved Nano Rover.
I also gave a shot at casting the silicone tracks and the first one went pretty well.
Hope to get this little buddy running really soon.
UPDATE 5/26/2014 : Changed motors/Testing a Buzzer/Trying out various designs.
Hey guys.
Although Nano Rover has started moving ( a bit better ), it's not near it's goal.
I tried the l293d and a voltage drop might have been why the motors didn't get enough power? Switched back to my good old TB6612FNG and gave it a few tries. Anyways, I plan to pause this build for a while as I have a few big exams in the upcoming months. In the next update, I hope you will see something better with an arduino pro mini and gm15 pager motors, better wheels, etc. For now, I leave you with some more pictures from my build. Bear with me and find the courage not to doze off!
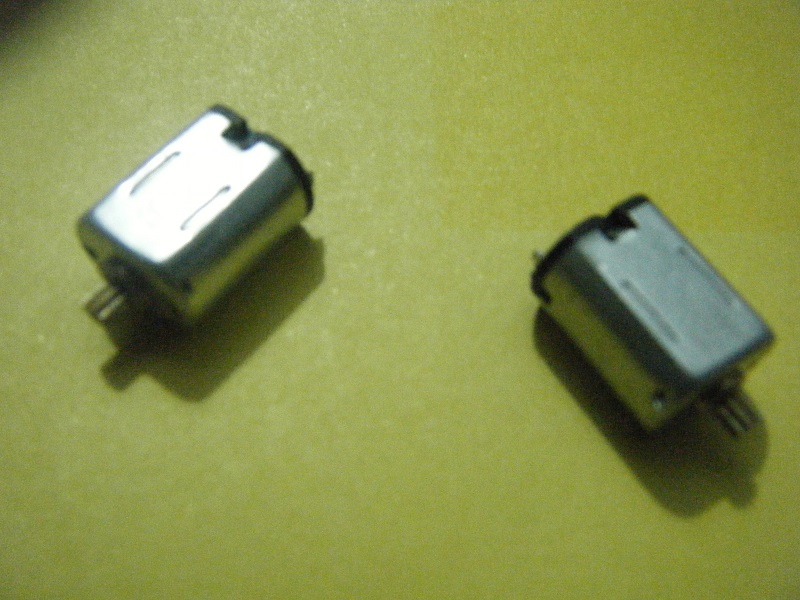
I decided to use slightly stronger motors and so removed these tiny motors from a 9G servo. ( didn't work well )

Trying to figure out the best position to hot-glue the motors.
Front view of an orientation.
Side - view. I decided to try placing those motors somewhere else.
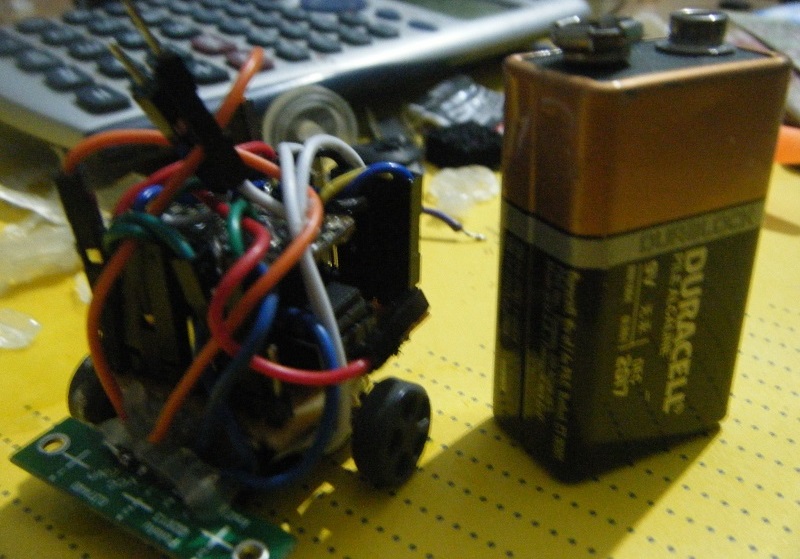
It's getting taller. A side-by-side comparison with a 9V battery.
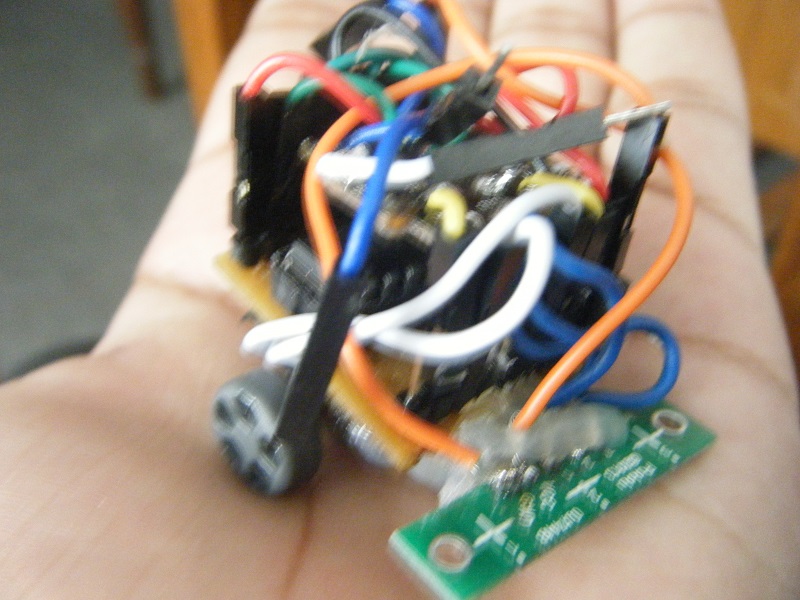
Sorry for the recent surge of blurred images. I say the camera didn't focus well and it says that my hands were too shaky.
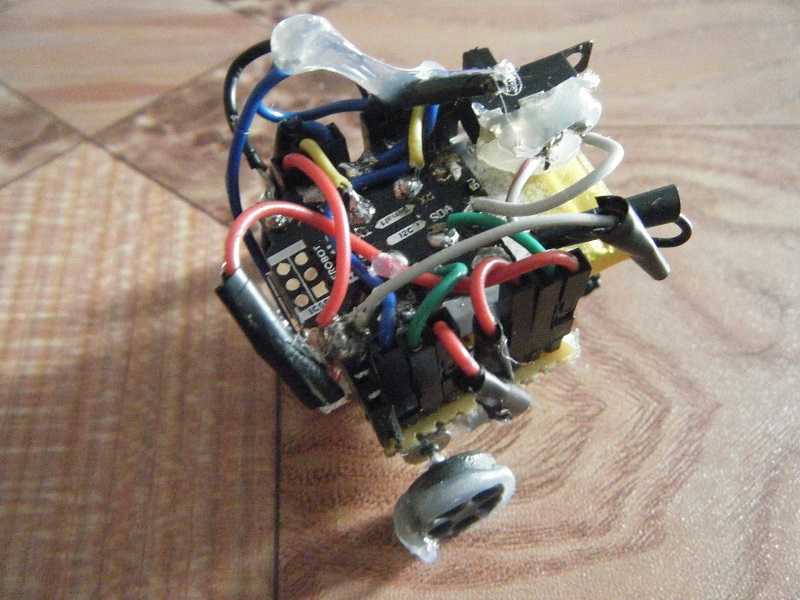
What Nano Rover's like while your reading this.
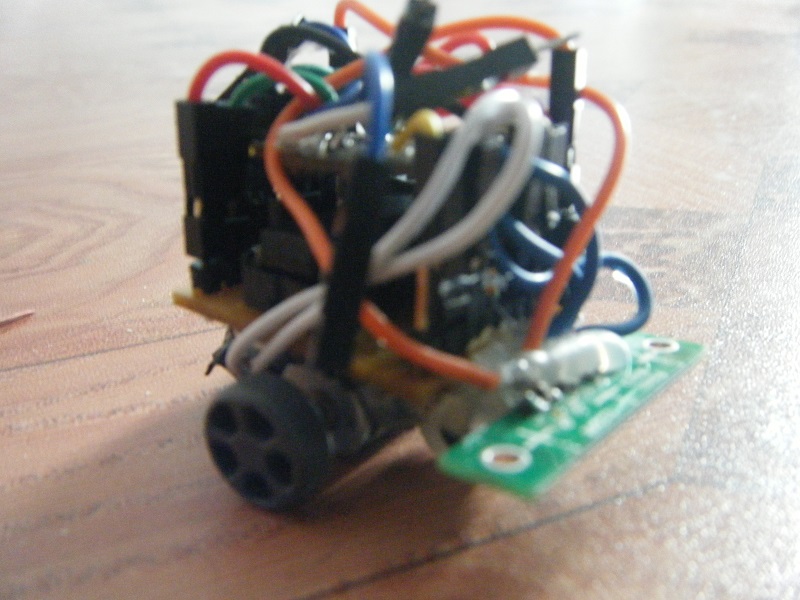
Taking a stroll around. Sadly it's not a walk in the park right now. ( Definitely will/should be soon )
That's all I have guys. I am not leaving this project, just putting it on hold for a while. Meanwhile, I just want to thank the others for posting some inspiring microbots here, and Yahmez for sending me those tiny motors ( although not in use ) that ignited the flame in me to try my hands at building a tiny robot.
Oh, and another huge thanks goes to the 3.7 V 350 mAh Li-po battery for not losing his temper and withstanding all the torture unleashed upon him by the wrath of the hot-glue gun! Sincerely!
See you soon and stay tuned for updates!
********************************************************************************************************************************************************
UPDATE 5/18/2014: First movements detected! :D . Uploaded a video of Nano Rover's embarrassing moves.
As you may have noticed, the whole robot is a tad too heavy to be swiftly moved by the motors. Also, this is just a test video of it, so improvements are likely in the next few days.
The problem right now is not only with the torque but with the wheels as well. Once I wrap something smooth around the wheels, or change the wheels to something smoother, I have a feeling the movement will be swifter.
Anyways, here is how it looks right now.

The thing did not balance completely so I glued a random piece of foam at the front. ( Just a test )
*******************************************************************************************************************************************************
UPDATE 5/18/2014 : NCB (Nano Circuit Board) is Ready. It's not nano in size though, just small enough..
To minimise the complications with wiring the whole robot and to add some weight ( because the robot hops, jumps, bounces due to light weight currently ), I made a simple circuit board. Now it's straightforward testing with some code to get this robot moving. However, one thing I fear right now is that while these motors are really fast, they have very little torque and that might be an issue when it comes to getting this thing rolling. Let's see how it goes.
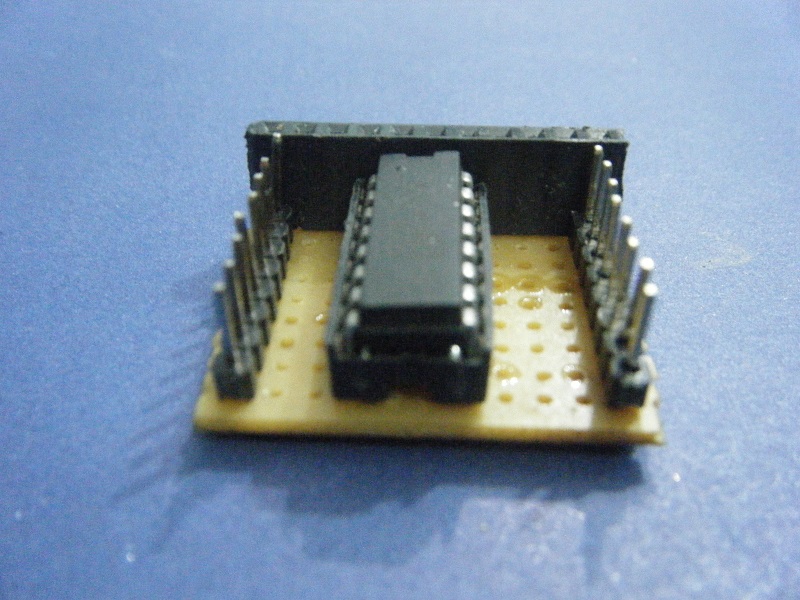
An L293D motor driver IC on NCB.
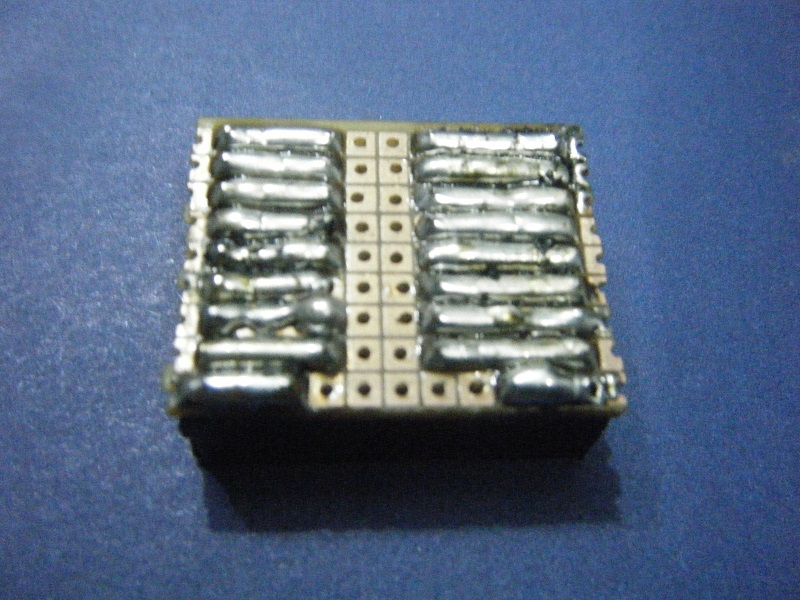
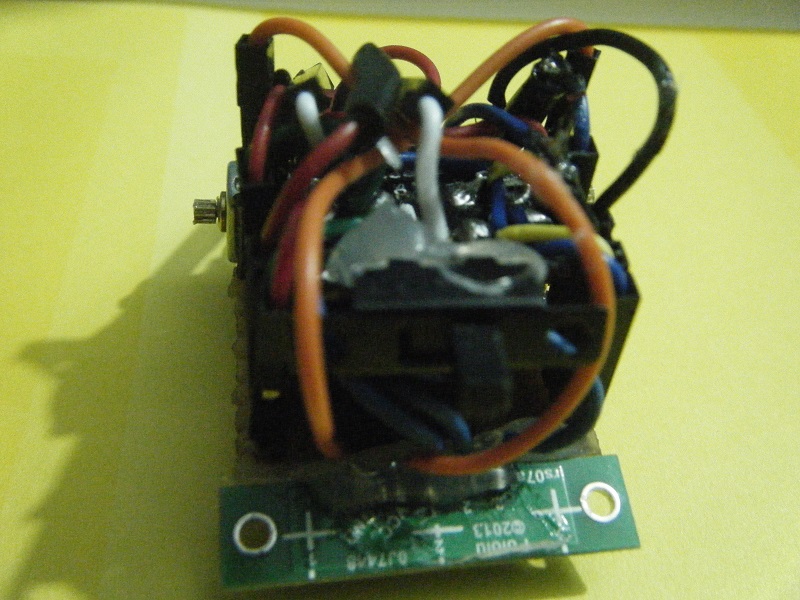
Underneath NCB
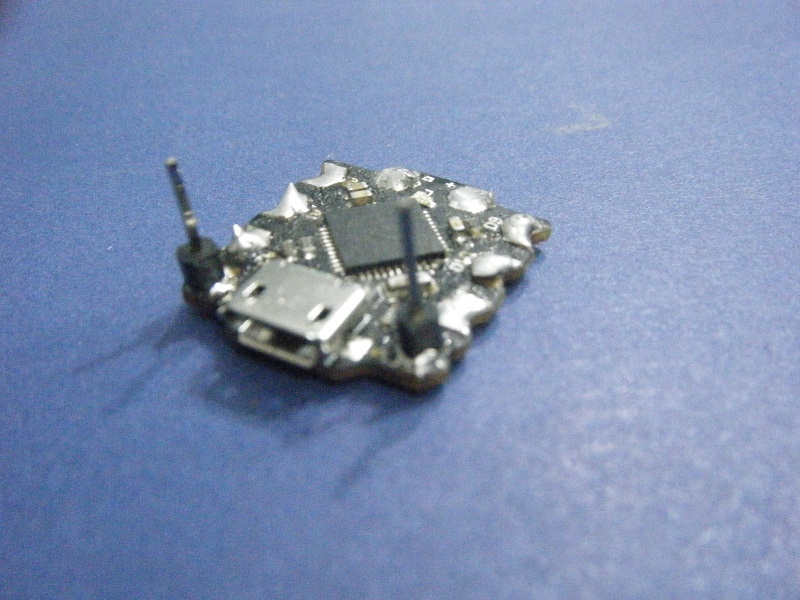
Here comes the beetle that mounts on top of NCB.
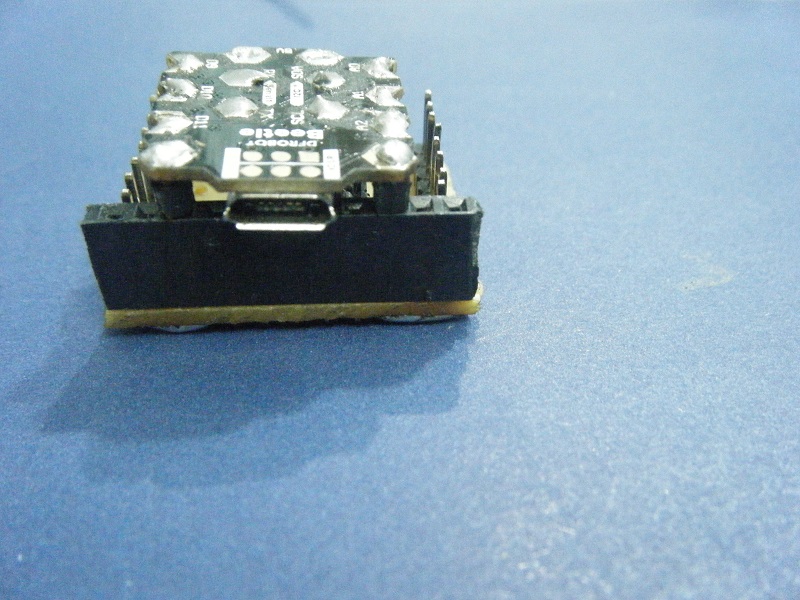
Just like that.

Jumper wires connected to some header pins on the circuit board.

Another view. Sorry for the blurry image!
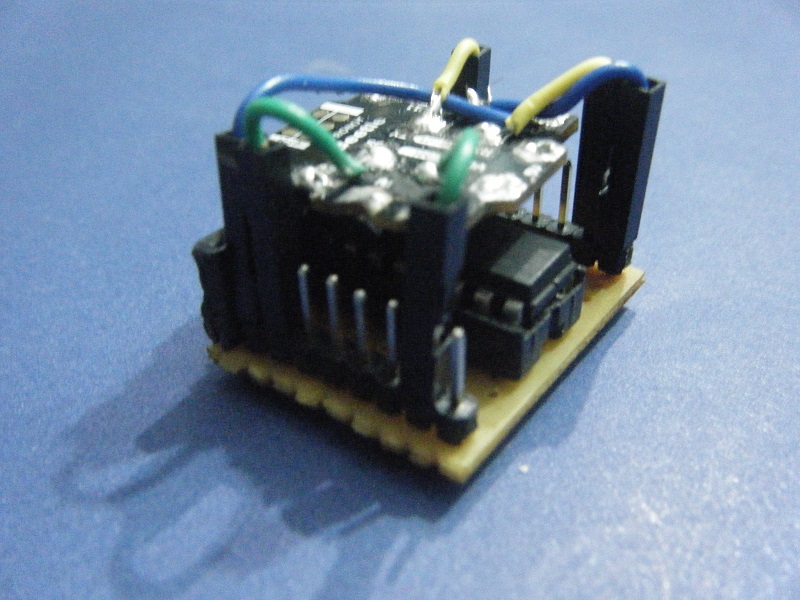
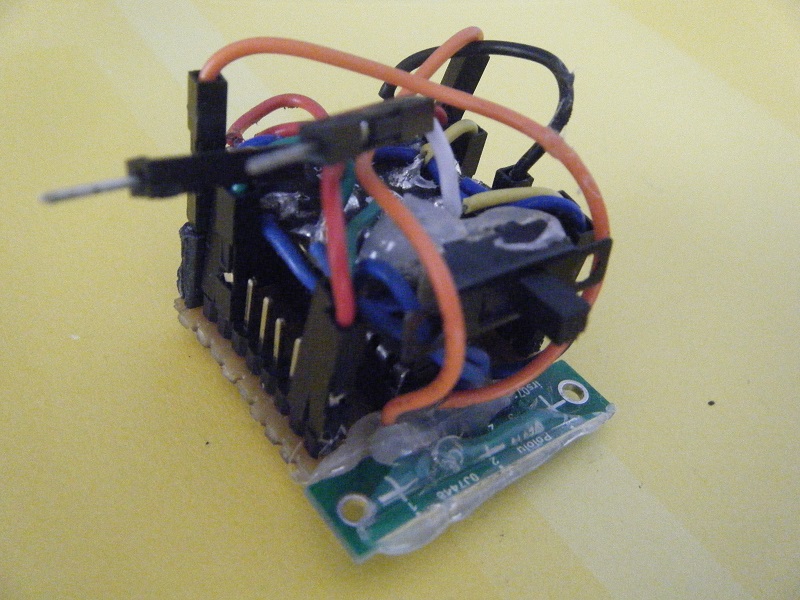
Cut off the jumper wires and soldered them to respective pins on the beetle.
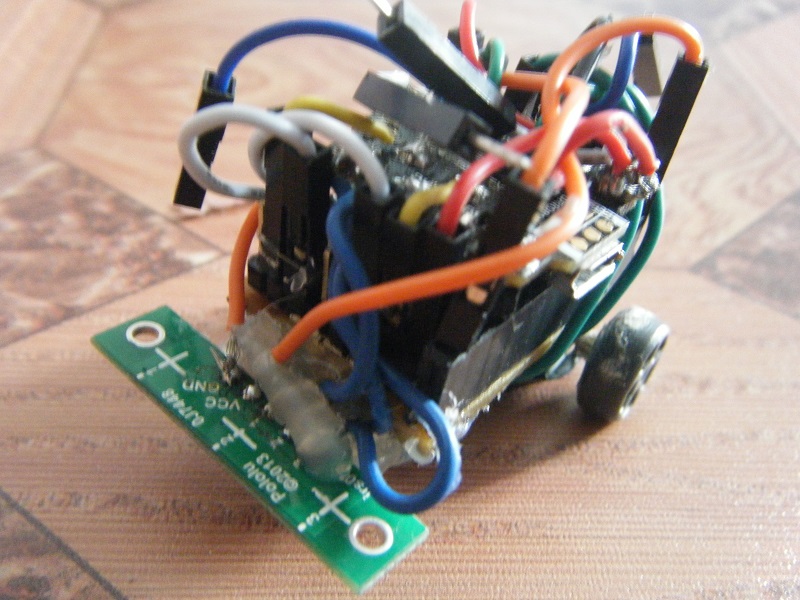
And this is the current status of Nano Rover.
And as expected, the whole body weight is too much for the motors to push forward. Hmm, now what do I do? I am looking to use those tiny motors from a SG90 servo. But I am also thinking of changing the position of the motors used right now. Lastly, if getting rid of some weight does the trick, I might have to replace this whole circuit board again.
But the good news is, I have run some sample code and it's working perfectly. So I am back to where I started : the machanics portion. All that is left now is to get this thing moving and yes, a video!
********************************************************************************************************************************************************
UPDATE 5/16/2014 : Nano Rover is getting changed to a 2 wheeler. This thing doesn't roll but apparently bounces a lot on 4 wheels.So, I have made a few changes to the wheels as well.

Took off a roller from an old mouse wheel.
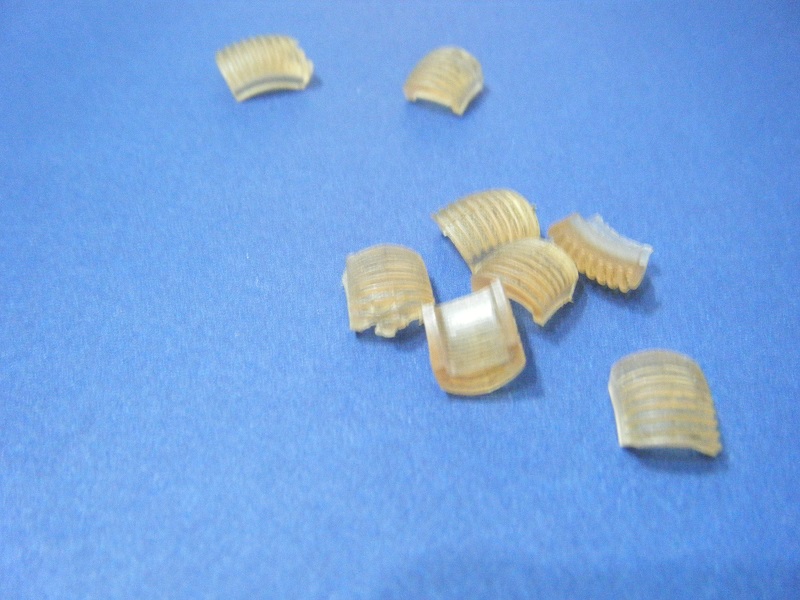
I cut it into 7-8 pieces because the entire thing wasn't long enough to wrap around completely on both the wheels. ( And I am not getting another mouse just for that! )
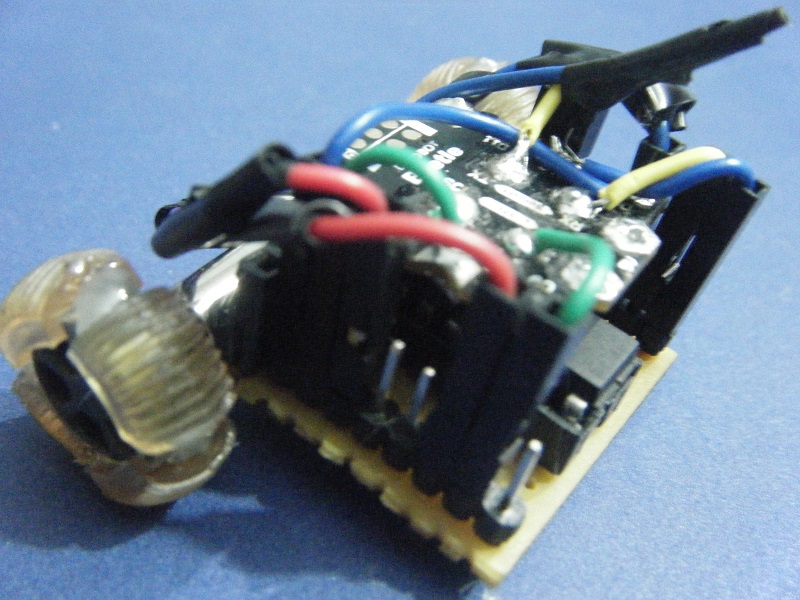
The wheels at the moment. These offer more grip to the surface right now.
I am working on the programming and electronics too, right now. Hoping for a video soon.
*******************************************************************************************************************************************************
UPDATE 5/14/2014 : Nano Rover looks a bit different right now. It has shrunk a bit and looks somewhat tidier ( I guess). It's just themechanics that I am working on right now, so the motors are connected to the battery with a switch in place. I tried to get a video of it too, but the motors, until they remain unprogrammed, are super fast to handle. As a result, only one tire remained in place after I turned on the switch. :D
I need to find some way to fasten the wheels to the motor tightly. I am planning to use a mini drill set to drill a hole in a new set of tires with a diameter less than that of the motors shaft so that it turns out to be a tight fit. But that's just a plan right now. Let's see how Nano Rover turns out to be in the days to come.
But, I have some updated pictures for you so that you don't get bored of just the lecture-like updates!
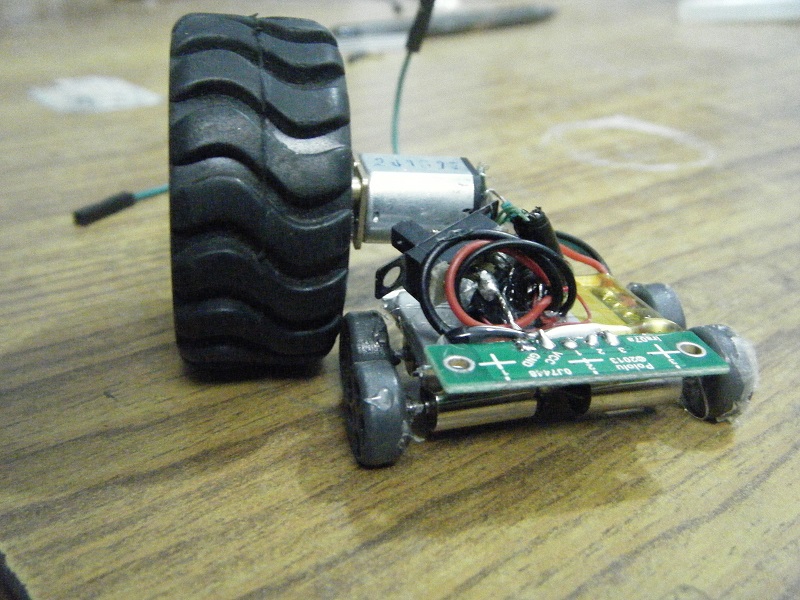
Nano Rover standing next to one of those pololu tires.
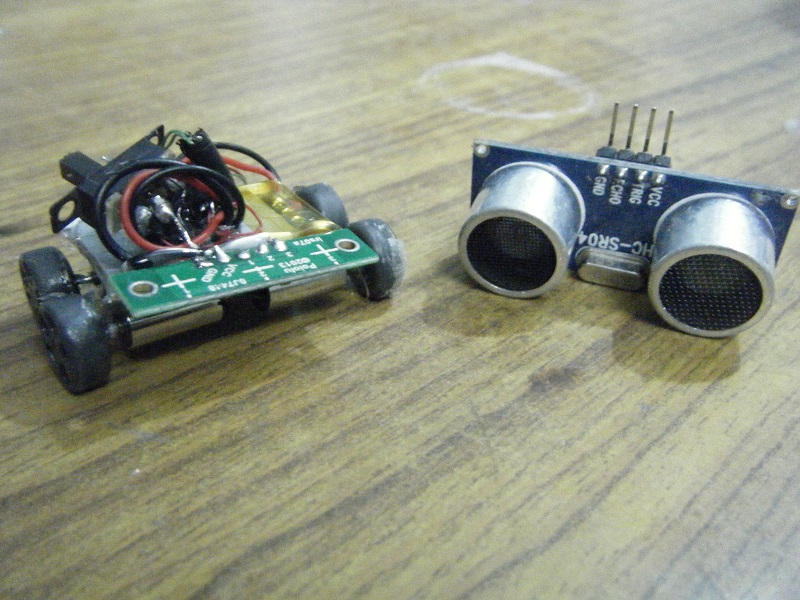
Alongside an ultrasonic sensor.
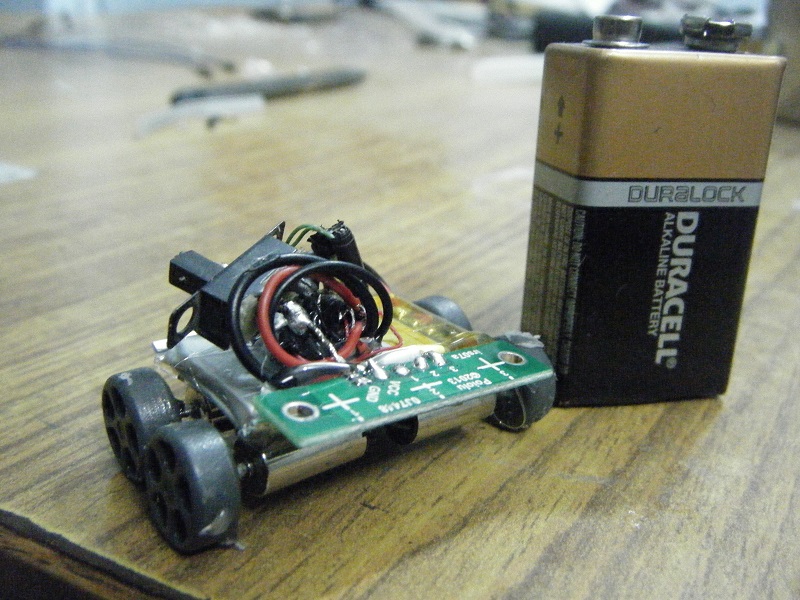
Next to a 9V battery.
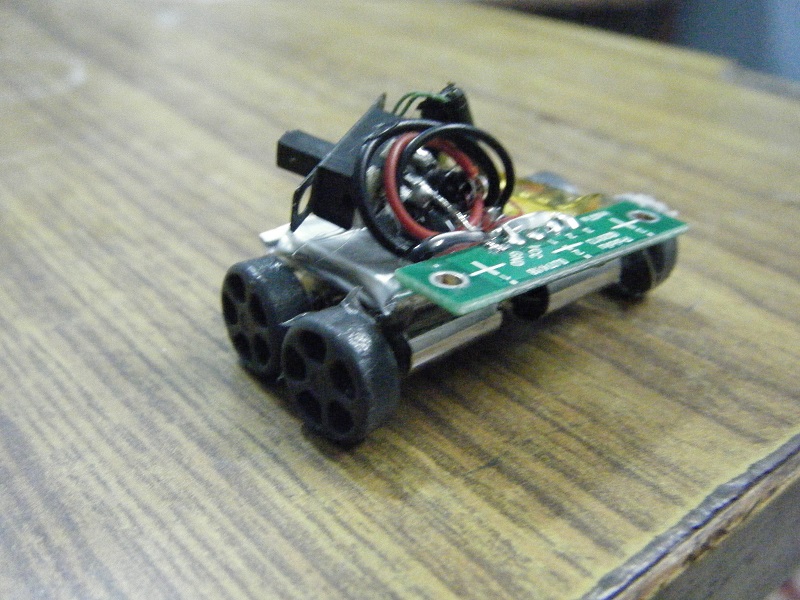
This is how Nano Rover looks at the moment.
Next up is the programming part but only after I find a final solution for fixing the wheels. See you then!
***************************************************************************************************************************************************************
Hi guys,
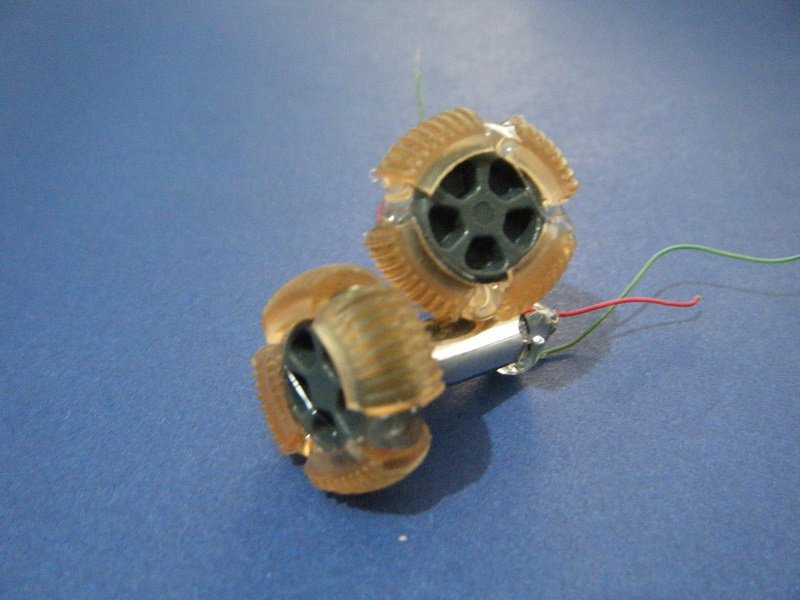
This is a small little robot I built from those tiny motors Yahmez had sent me. I love those motors, great to make a little robot. And Nano Rover is a similar outcome.
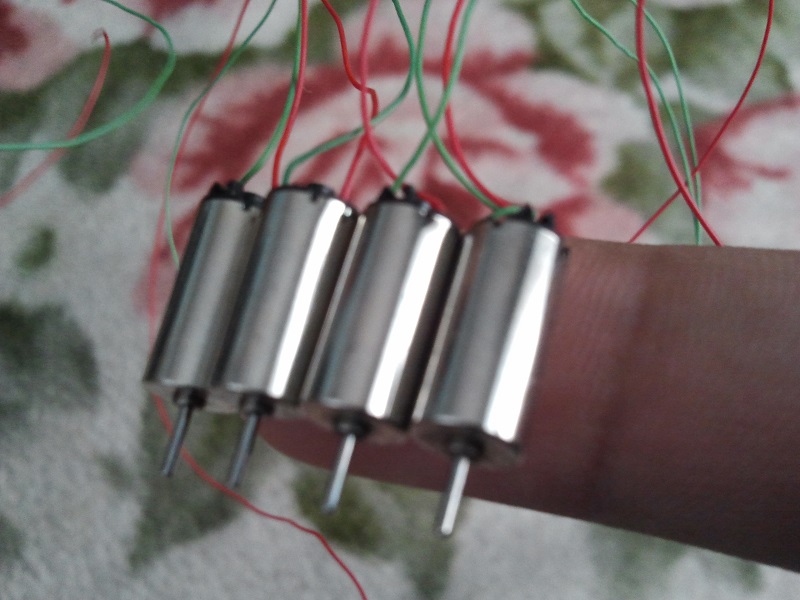
The tiny motors.
Nano rover is powered by the Beetle controller. The beetle has been taken off from the shield for a minimalistic size. Motor drivers are the Pololu TB6612FNG. For line following ( and maze solving in the near future ) purposes, it has a small digital IR array sensor at the front. Right now, it's just the design that is ready. Programming, a triple check at the connections, better tires ( and tire mounts), and yes, a couple of exams, suggest that the robot is yet to be up and running, but I'll try my best to get a video of it in action soon.
THE BUILD:
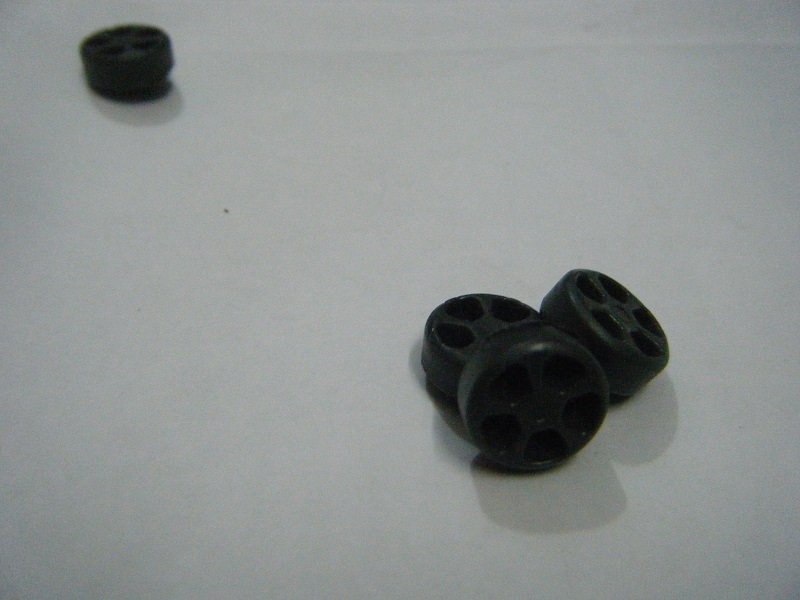
I snapped off some small-sized tires from a little toy car to use it on Nano Rover.
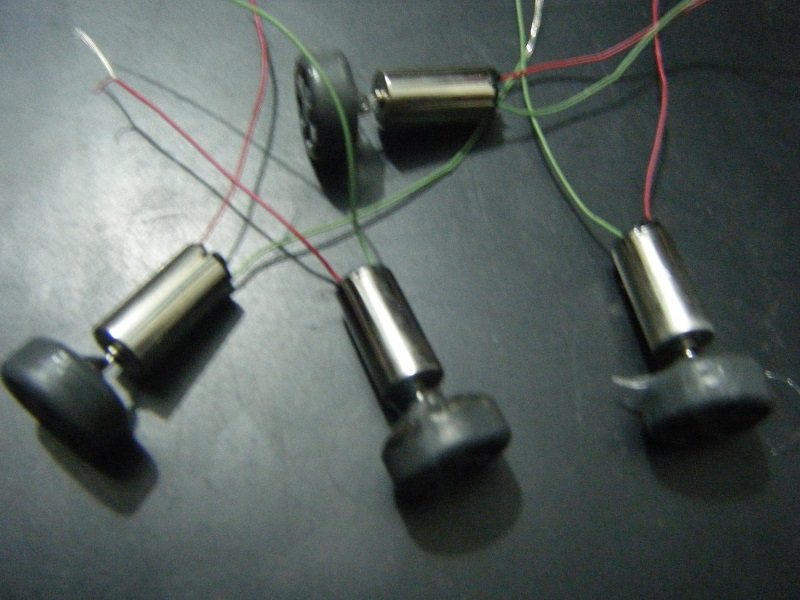
Next, I snapped off the long tangling wires of the tiny motors to a shorter length. I made a small hole on each wheel and hot glued it to each motor. Not the best idea, so here's one room for improvement. And....
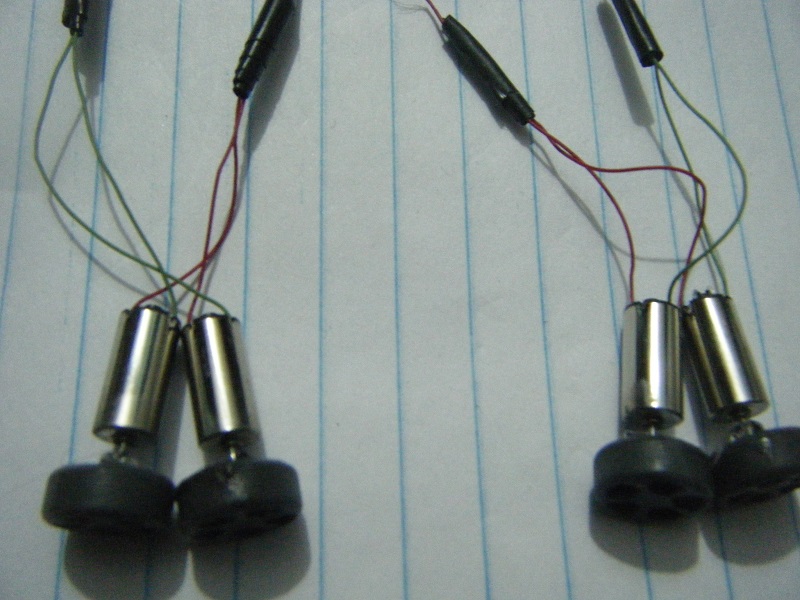
..... I wired up each pair of motors in parallel.
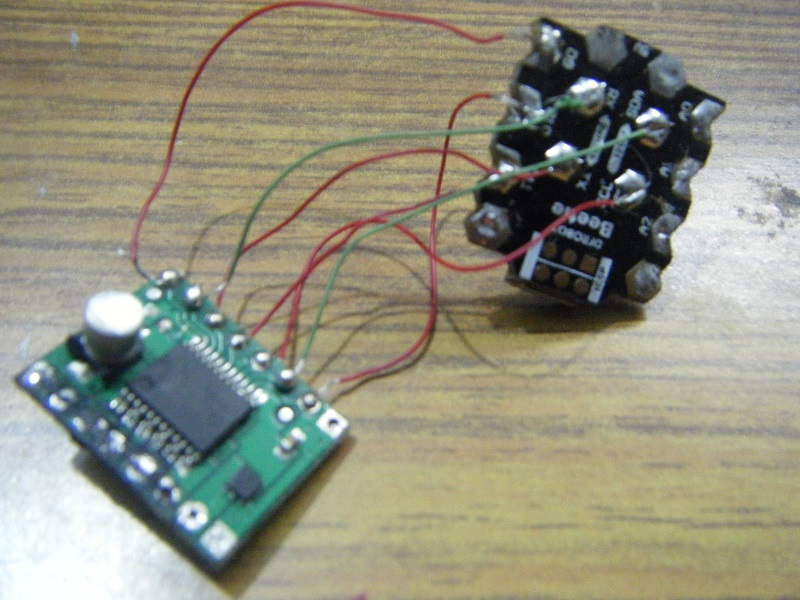
Then, I soldered the respective pins across the Beetle Microcontroller and the Motor Driver.
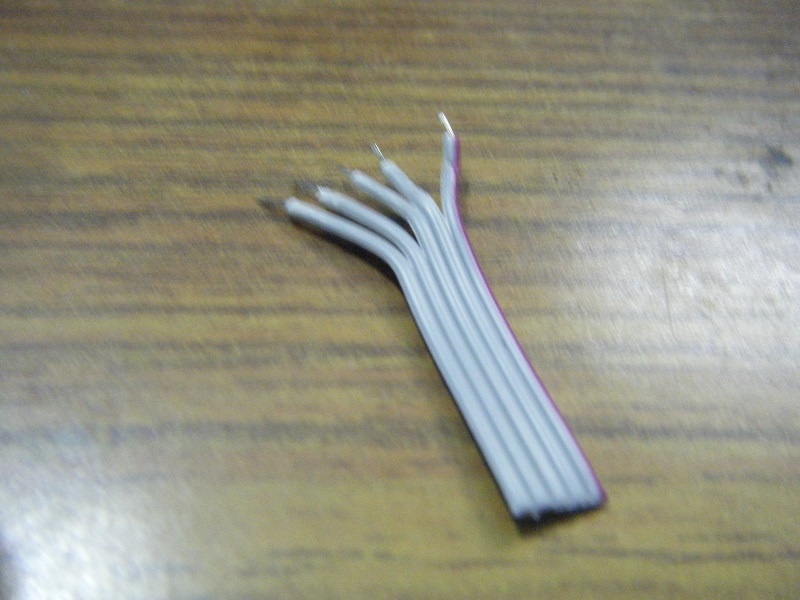
Wires for soldering on to the IR array sensor and....
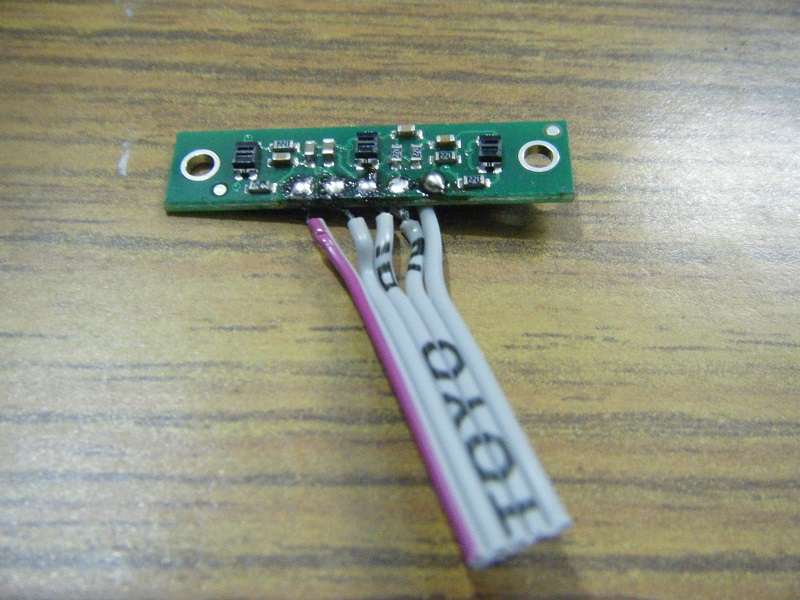
.....there, done!
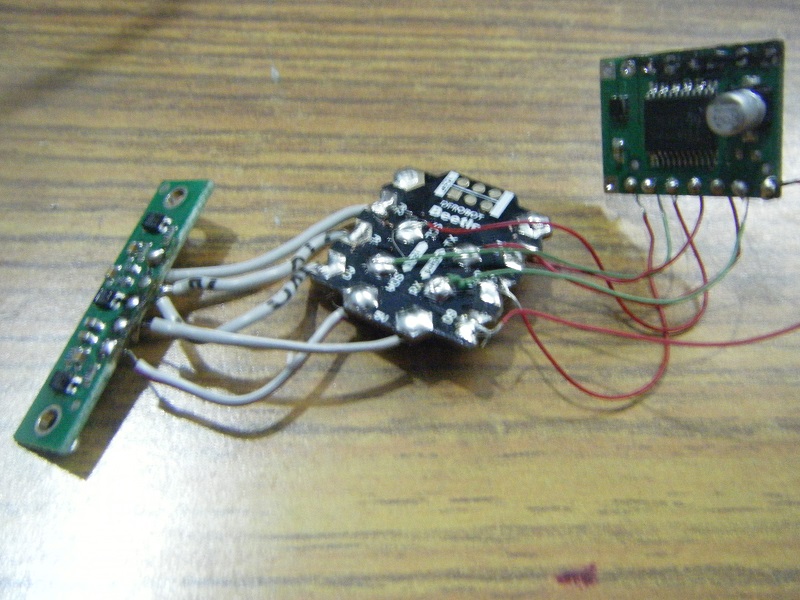
Wired up the entire system by completing the connection between the sensors and the Beetle.
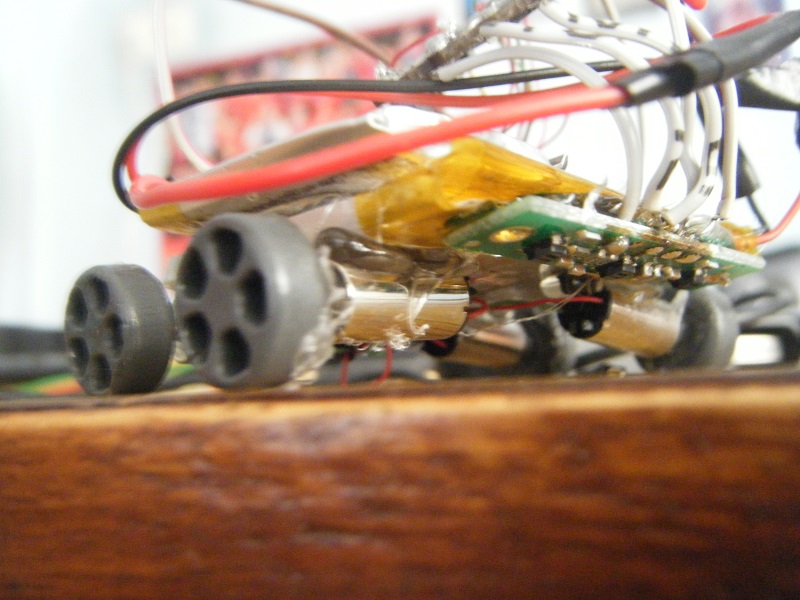
A current table-side view of what I have right now.
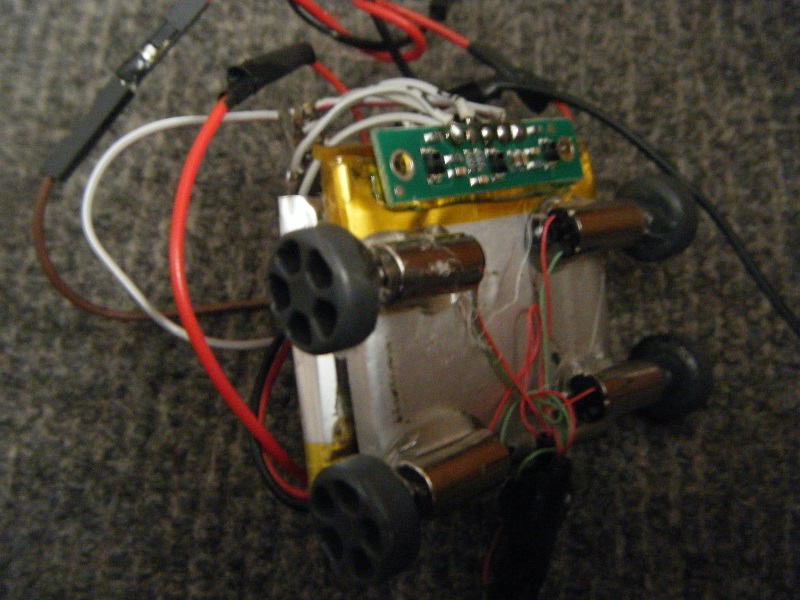
An underside view. As you can see, it's everything mixed up together. I have hot-glued the motors and sensors on to the Li-po Battery.
Future Updates:
1) A better looking robot with less tangling wires!
2) Better wheels ( These don't seem to have enough traction so I might use some mouse wheels or try some tricks with hot glue on these)
3) A more compact design. As you can see, Nano doesn't quite fit the robot's size so I'll try and work on the size too. ( Limit battery to one, use a 2WD design, arrange motors more closely, etc.) Current size is : 3 cm X 5 cm ( Yep, it's a fatso :D )
4) Above all, a video. and maybe some more close up pictures. ( Enough clumsy poses for now! )
And kudos to all the microbots here on LMR as an inspiration (MB3434, Liliputian, nCee and many more). I hope Lumi and Proto won't mind if I borrow some tips from their arsenal to implement some on this fellow!
See you guys soon!
Ashim
Plans to follow a line, dreams of solving mazes