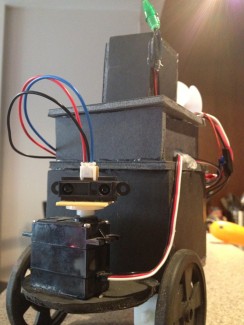
My "start here" with slow-turbo action!
This is my very first robot.I started it a year or so ago. I had a lot of fun just following the "start here" instructions. I added a LED to help me with some debugging and to feel the crazy rush of going outside of the tutorial. Even found a way to make it a green light. (slipped it into an old pen head bit thing).
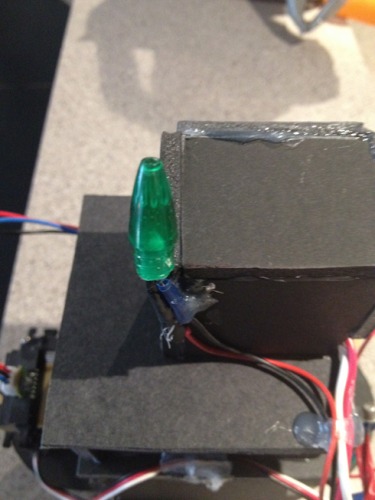
I wanted to make it green so that it would look good with the very nice switch I had.
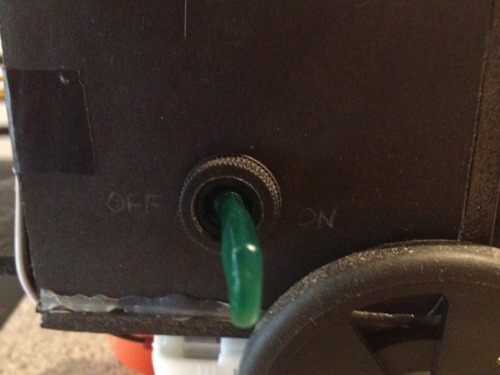
After a few weeks of tuning and working on it in my very rare spare time I started having some erratic behavior and after some very light poking around decided to abandon it.
Fast-forward to a month ago.
I started getting very excited about robots again and decided to disregard the last few frustrating memories and start again.I removed all the pieces, ripped apart the chassis and started from scratch again. I made a basic shelf to rest the board on and then another shelf on top of that just big enough to slide the battery pack in.
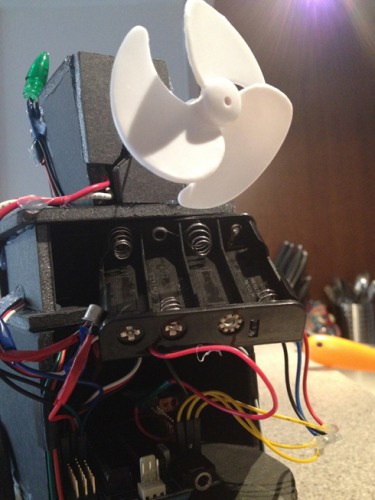
Added a little leg-like thing at the back for stability. Using some high-tech bits I had laying around.
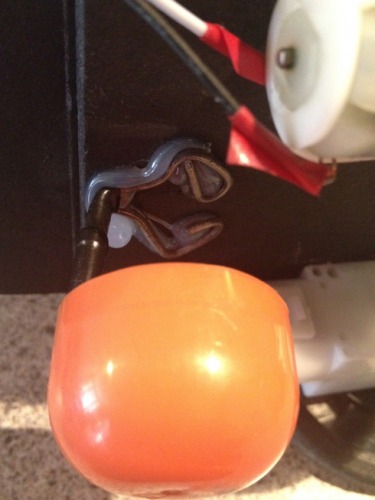
As you will notice, I build most things out of foamcore and a hot glue gun. Frits talks at lenght about the joys of hot glue and he is not wrong. That stuff is fun and the best tool for instant creativity. Also great to tidy up the loose wires and other dangly bits.
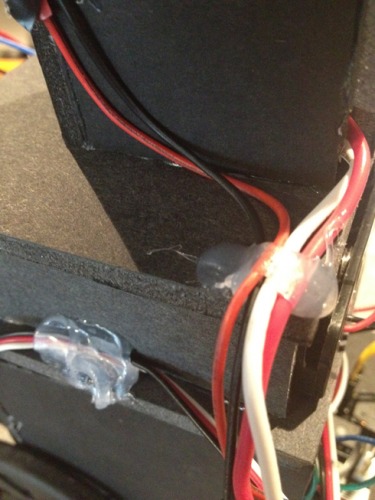
Everything was working well separately but when I put it all together I had, once again, a lot of erratic readings and strange behavior. I finally discovered that my batteries were faulty and old. After getting a fresh new set, charging them to the brim and flipping the switch... everything went smoothly. Woohoo! I was back on track to go on to phase two of my initial dream.
See... what I wanted was to add a propeller at the back that would turn on when the robot had been going forward without obstacles for a little bit.
My main issue was that I could turn the propeller on by plugging it directly between V and G but that meant it was always on. If I plugged it on the output signal from the picaxe the motor did not turn on. This is all obvious to all of you out there with the circuitry thing figured out but it was a huge puzzle for me. That is when I decided to go and build a line follower from scratch to try and figure out some of the basics of electricity. I ended up creating this guy.
All that to figure out that I if I added a transistor (the right way around) I could get enough power to turn my propeller on and off with a signal from the picaxe.
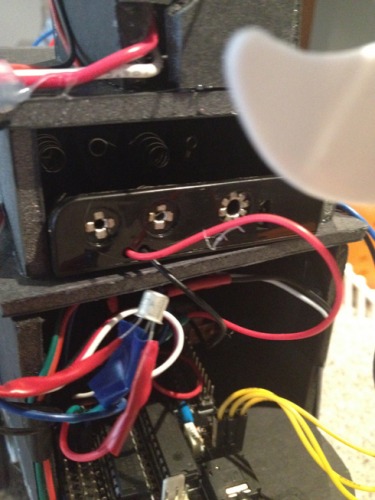
I already knew that this would be a purely esthetic change that would not increase speed, just the appearance of speed. In this case, the appearance was good.
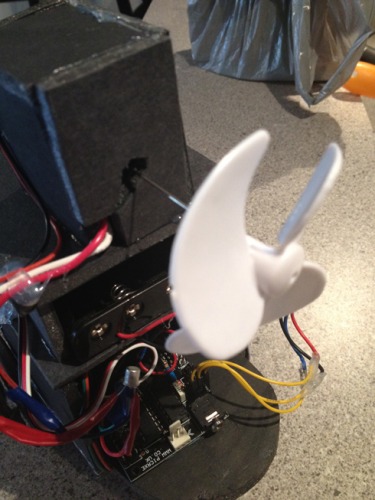
Only after did I realize that in fact, the extra strain on the battery from the propeller motor would in fact slow the robot down a little. Hence the name.
Still, after all this, I am quite happy with the way this little guy turned out.
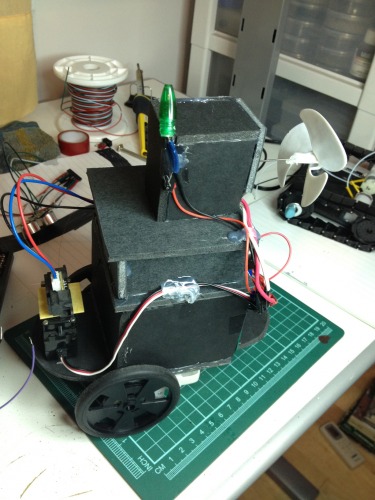
Basic navigation using IR and an awesome turbo propeller for "appearance" of speed
- Actuators / output devices: one servo, 2 geared motors, 1 led, 1 motor propeller
- Control method: by a switch
- CPU: Picaxe 28x1
- Operating system: Picaxe basic
- Power source: 4 AA batteries
- Programming language: Picaxe basic
- Sensors / input devices: Sharp IR
- Target environment: indoor flat surfaces


