


My "Start Here" Robot *Update 1*
This is my "Start Here" robot. I got the parts from Solarbotics in their kit. I have always wanted to build a robot and I didn't think that I was smart enough to build one. But this kit gave me a lot of confidence with assembling and with programing a robot. I am already thinking of upgrading the robot with a ultra sonic detector , a speaker for beeps and a new body. Oh and i want to send a special thanks to this website! If it wasn't for this site I would have never realized my dream of building robots!
**Update**
Ok so right now the robot has a nickname of Joe Jr. or Jr. for short. I have been doing some research and I have installed a small speaker to Jr. He currently plays the imperial march tones when he starts up. I also used the tone wizard created the tones from close encounters. I will put it on another project later. Im just proud I did it.
I got the speaker out of an old PC I had and hooked the speaker up to output pin 1 on the positive and the grounds above the outputs. after doing some research and some help from the help forum I plan on putting a 10uF capacitor in series on the positive wire soon. I also put the "low 1" command after my tones to tell the micro controller to turn off the speaker per one of the tutorials I was reading.
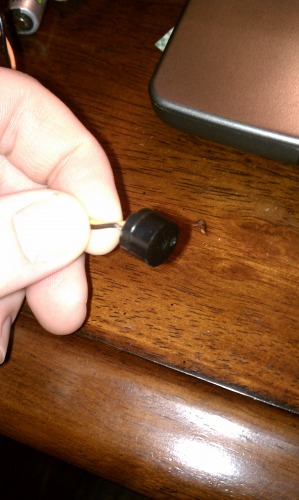
The small speaker I pulled out of the PC. just the right size for a small robot!
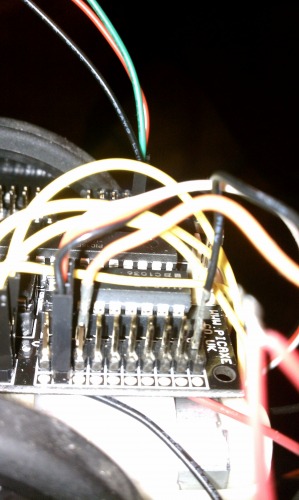
This just shows where I plugged the pins for the speaker.
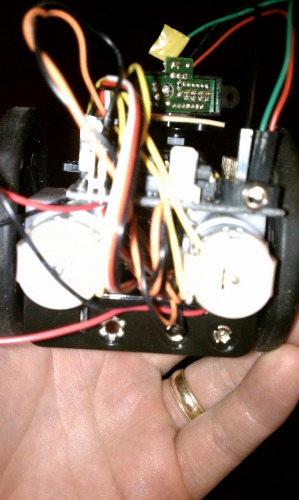
As said in the start here tutorial this little was a good place to put loose wires.l I just put the speaker in this cavity with the other loose wires.
- Control method: autonomous
- CPU: Picaxe 28x1
- Power source: 4 AA rechargeable batteries
- Programming language: Picaxe basic
- Sensors / input devices: Sharp GP2Y0A02YK0F
- Target environment: indoor