


My Start Here Arduino Bot S.t.A.r.K
This is my first attempt at a robot..
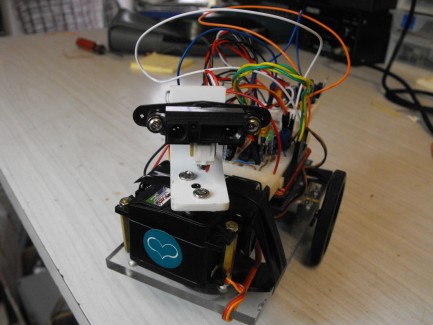
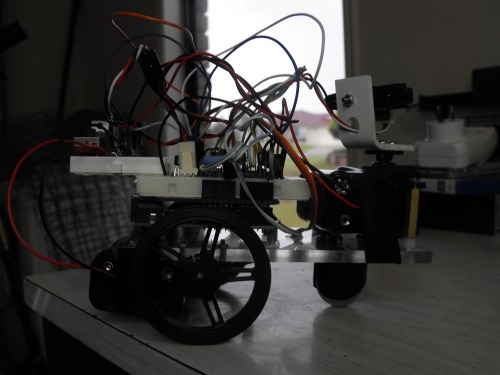
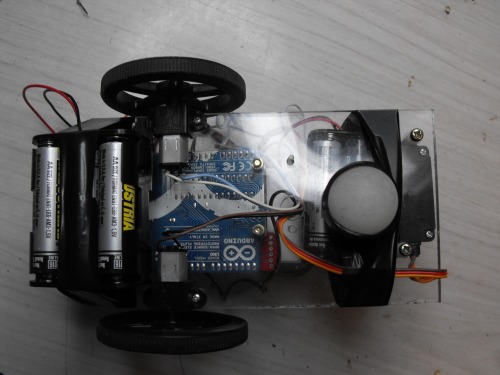
The structure of the robot is very simple 6mm rectangle piece of perspects with Micro Metal Gearmotors with polo wheels and a balance ball screwed to it. After some tests i probably should have put the ball at the back not the front of the robot to help with movement. I'm not too worried, it is good enough for testing and as you can see i have the batteries held on with insulation tape to prevent them sliding off.
I did not want to spend alot of time on the body as of yet because i have been spending most of my time on the electronics and programming first and then i will come up with a better design later. The Arduino is mounted to the perspects with pc standoff screws and then a blank shield sits on top of the Arduino to better fit the bread board until such time when i actually solder components to it. I have a servo attached to the front via long pc standoff screws to act as a turrent for my IR sensor..
Currently this robot can be programmed to move only, it uses a H-bridge SN754410 and supporting capacitors and leds to control the 2 motors via the Arduino board and i have made up a 5v 7805 regulated power supply for the circuits.
My aim is to add a Sharp IR sensor, i have it on but currently not working and just using a H-Bridge test program..
- Update 28/3/11
Finished this basic robot i now have it avoiding obsticles with a Sharp IR Sensor with Arduino programmed. I am going start a new project with a much better chassis and add a different variety of sensors to it..
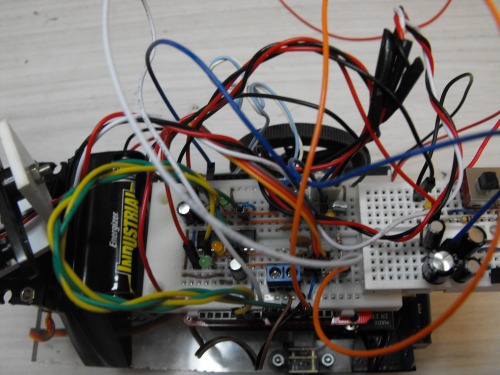
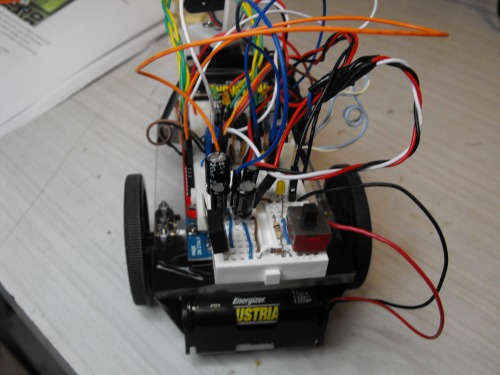

H-bridge for the 2 motors, 5 volt power supply.
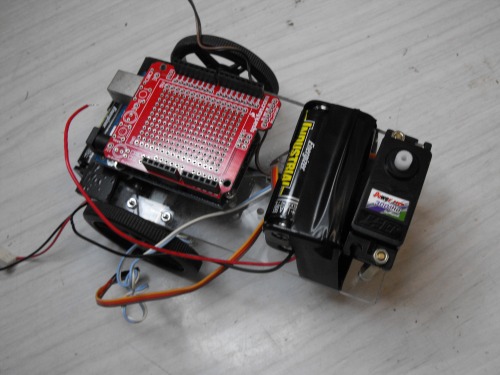
Proto board mounted on Arduino to easily seat bread board.
Obstacle avoidance robot
- Actuators / output devices: Currently - 2 x 100:1 Micro Metal Gearmotors, 1 x Standard Servo
- Control method: autonomous
- CPU: arduino uno
- Power source: 6x AA for circuits, 4 x AA for motors
- Programming language: C
- Sensors / input devices: SHARP IR sensor
- Target environment: indoors