


My second robotic project : a biped with 10 DOF by leg :)
Hi everybody :) This is my second robotic project : a biped with 10 DOF by leg, build with home made linear actuators with standard servomotors.
This is how i built my linear actuators :
First I found some copper tubes, and a M4 fixing-plate : 
They need to slide perfectly :
then I fixed a 608ZZ (20mm of diameter) ball-bearing to the M4 fixing-plate with some tape (I think i may use some copper string ;)
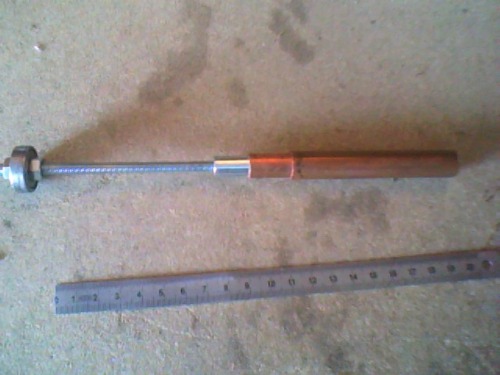
Next step : I fixed a M4 threated tube with cyanoacrylate glue to the smaller copper tube (the one witch will slide into the bigger one)
The result :
After that, I made a fixation for the servomotor always with fixed with cyanoacrylate glue: :
And I made a support for the entire linear actuator, to simplify the future fixation to the structure :
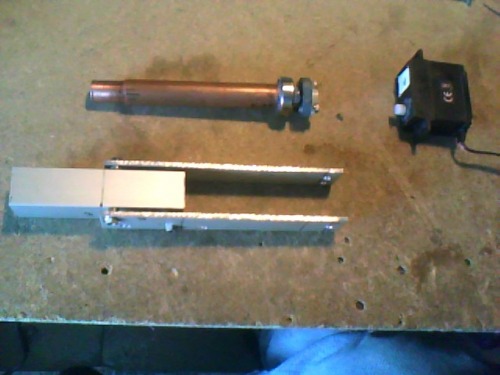
The result with the servomotor :
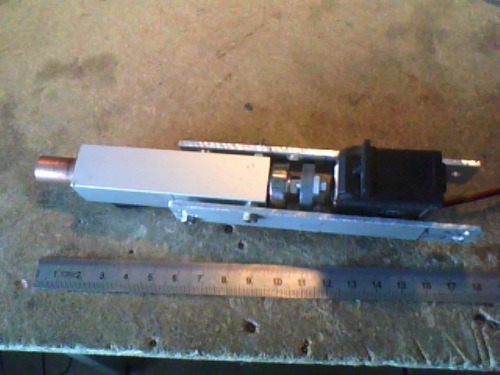
The deferents positions :
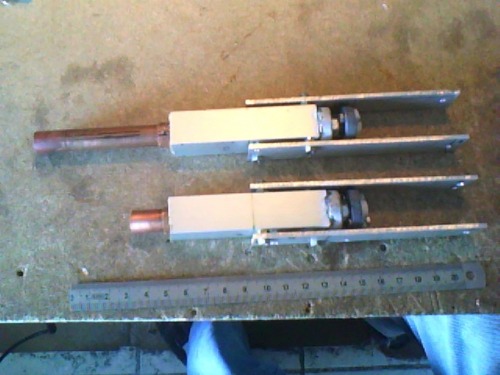
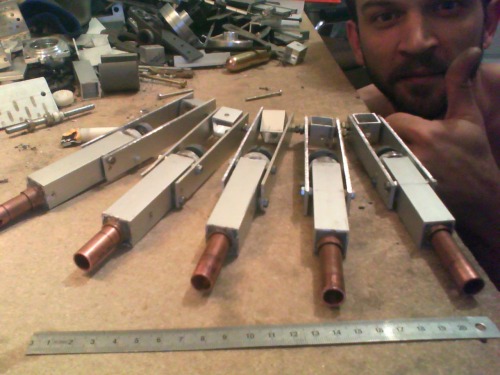
And I repeated this five times :
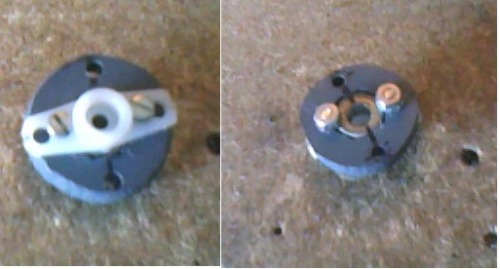
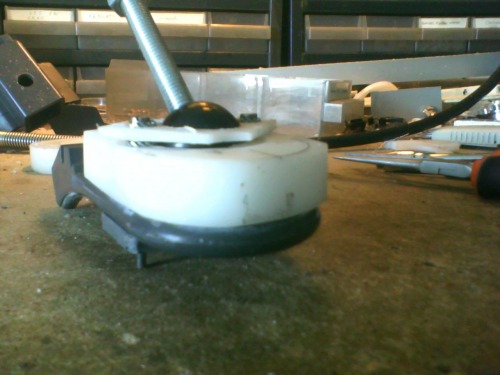
Then i created a prototype of knee-cap with a piece of nylon, a door button and a M6 fixing-plate :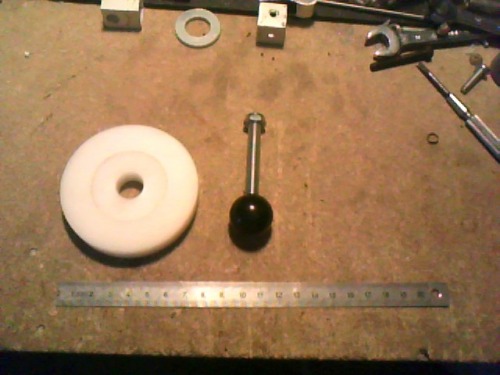
I dug a spherics hole with a reamer since almost the half of the height of the door button :
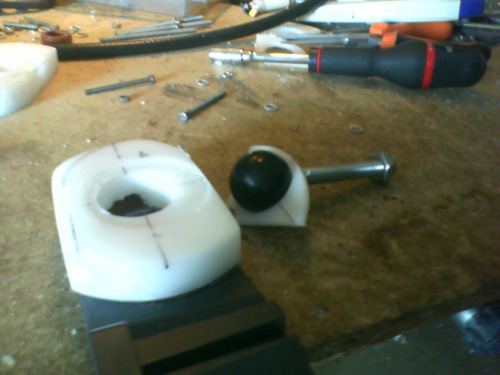
and a small fixation with a spheric hole too :
After that I used some small pulley with ball-bearing :
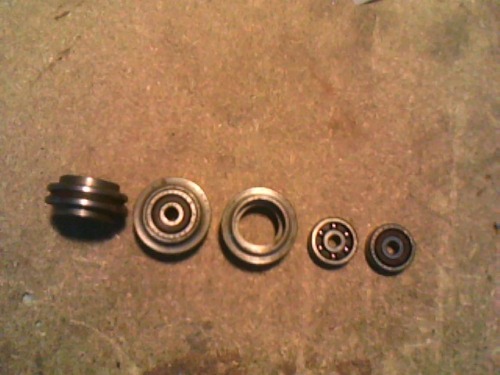
and split them in two parts (pfiouou quite stuff metal ;), and fixed them to aluminum square :
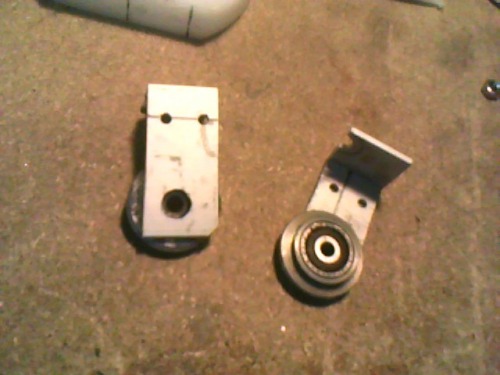
I used them as fixation for the linear actuators.
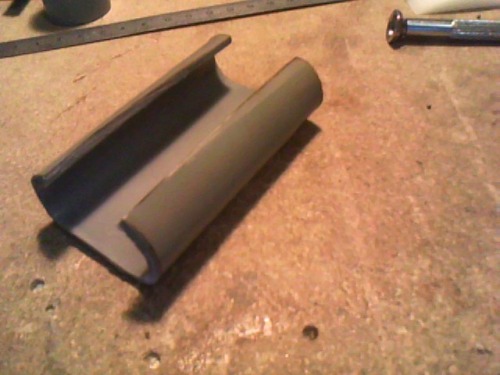
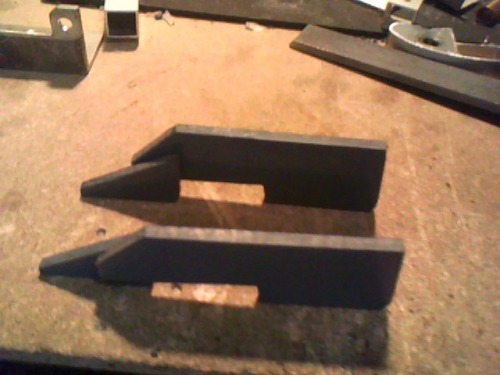
Now a smelly realization : PVC folding with my poor cooker ;) for making a support for the linear actuators (but i did not keep this fixation in the prototype as you can see in the next pictures.
It was only the first prototype of shinbone.
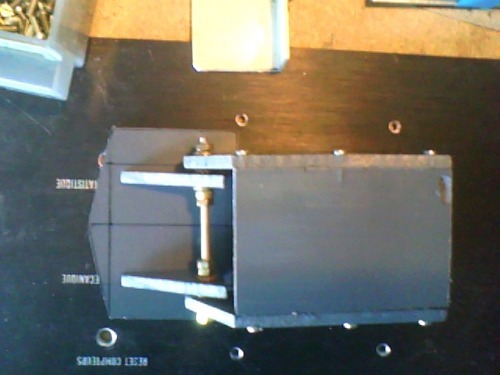
and finally built a shinbone prototype with all of that :)
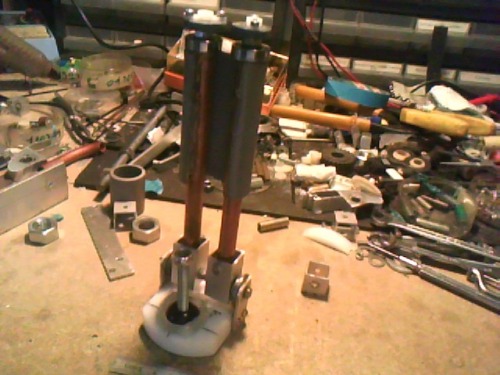
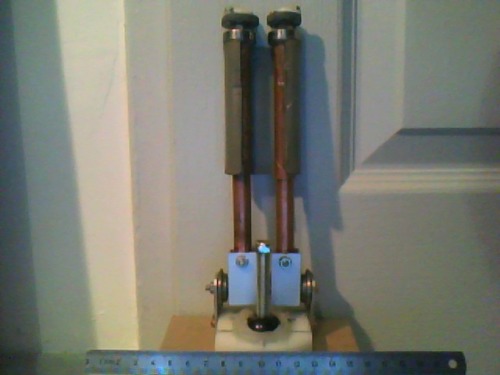
Here the deferents positions of the shinbone :
The right position :
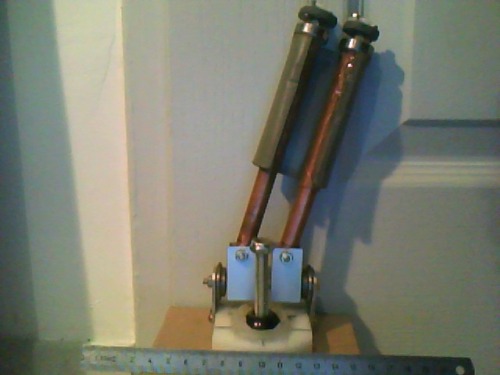
by moving one linear actuator in one sens and the other, in the opposite sens , it could move to the right :
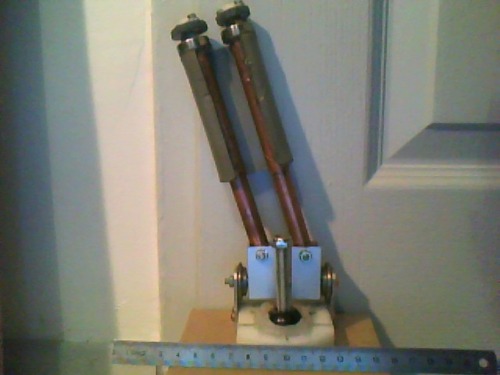
or to the left :
Well now this shinbone need a foot , so I used some pieces of PVC (2mm of thickness) :
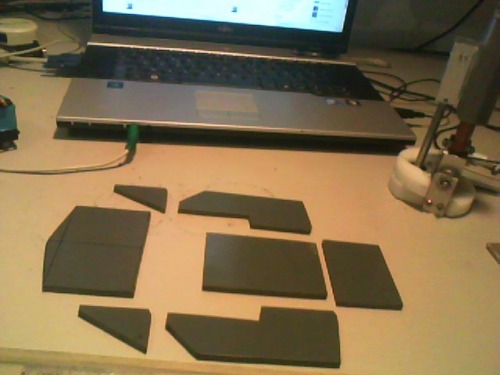
and created a foot with an articulation for the front, that will permit to be more smooth (I hope LOL):
The sides :
The top :
The bottom :
The result with a spring , useful when the robot will rest on it's leg (I hope ;) :
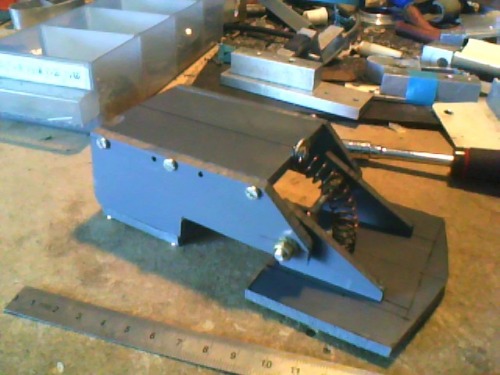
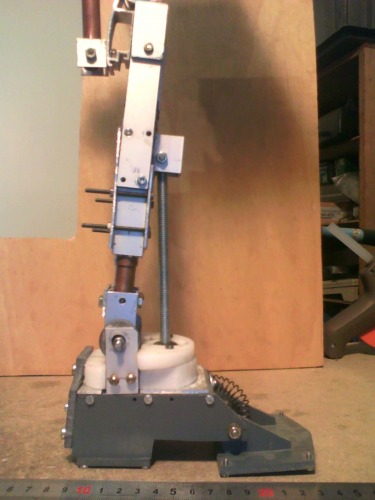
The result with the shinbone :
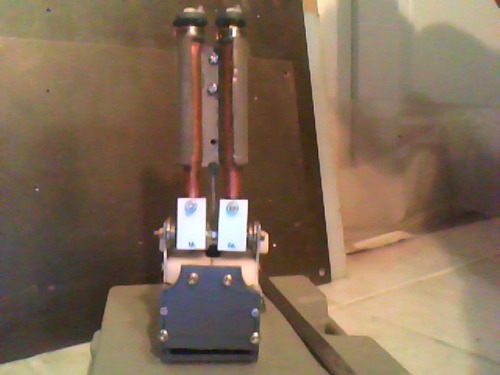
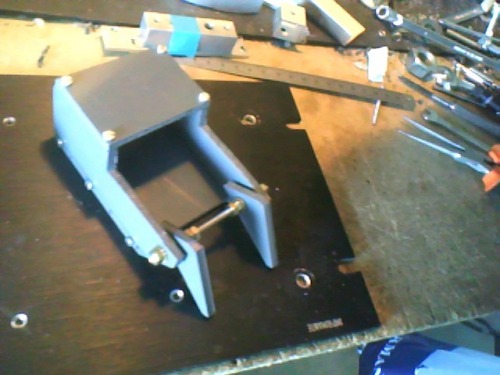
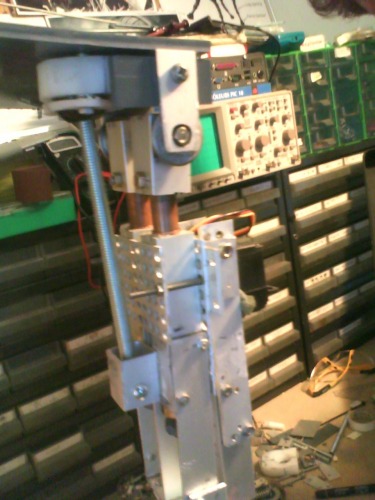
Now the evolution of the prototype (the linear actuator's fixation changed , I replaced the PVC by aluminum pieces) :
After that i made a knee fixation with a ball-bearing , and the rest of the structure with aluminum square tubes :
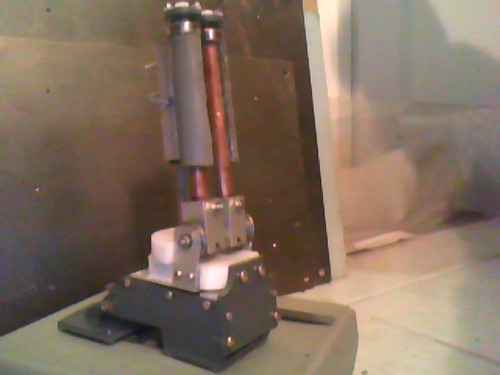
I built the hip like the articulation of the shinbone :
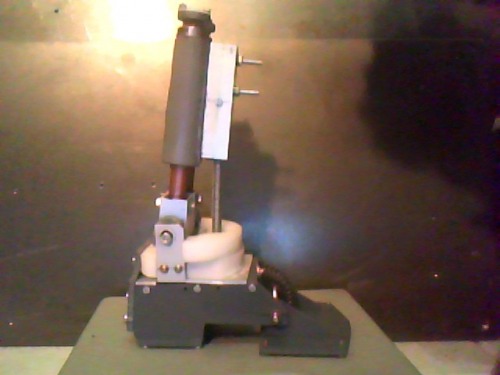
The result of my first robotic leg prototype :
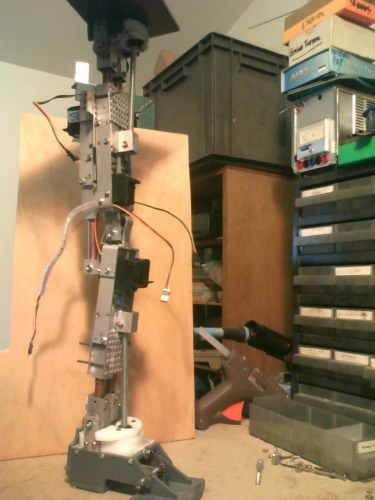
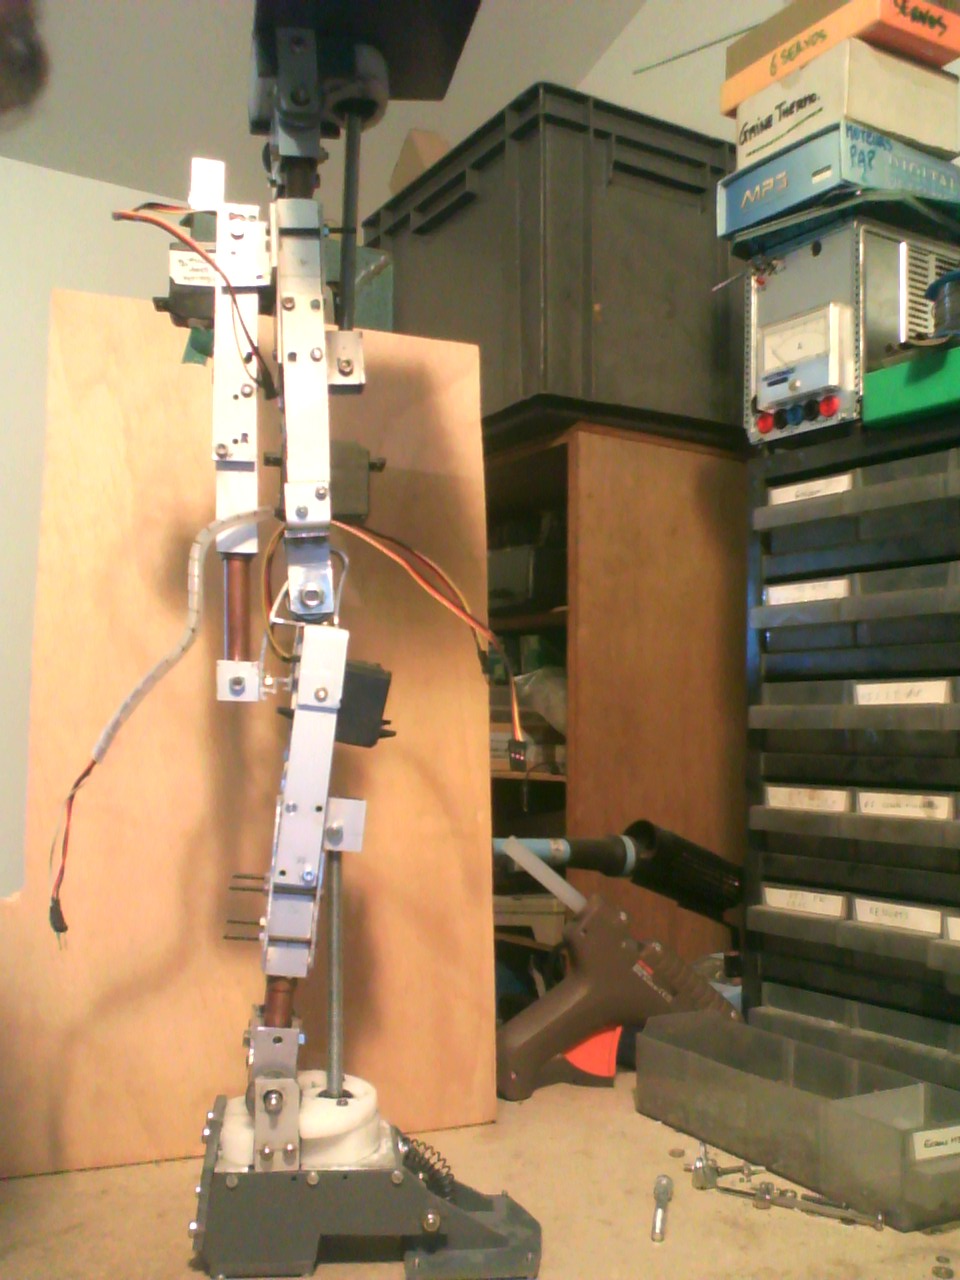
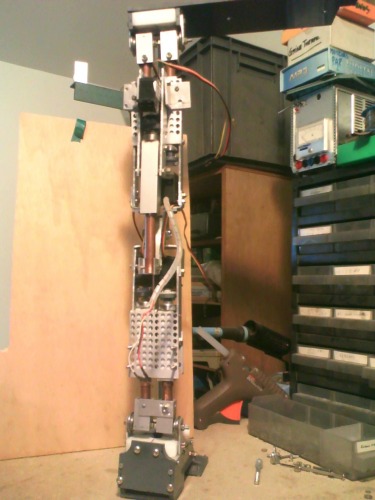
ET VOILA :)
Now the big outstanding : did the leg will works ?! o_O ... we are going to see that step by step, with all the programming part :) ...so the Arduino softwarecall me ......