


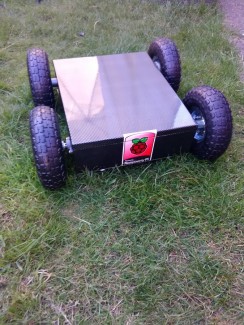
My Little Robot
So this is my very first robot build, have been wanting to build something since my little boy was born 2 years ago. felt that the rubbish plastic quad bikes were so over priced for what they were.
I Also work in Education and wanted to build something for kids to program, either for a lesson or an after school club.
I love the raspberry Pi and hope to program all controls through bluetooth PS3 controller.
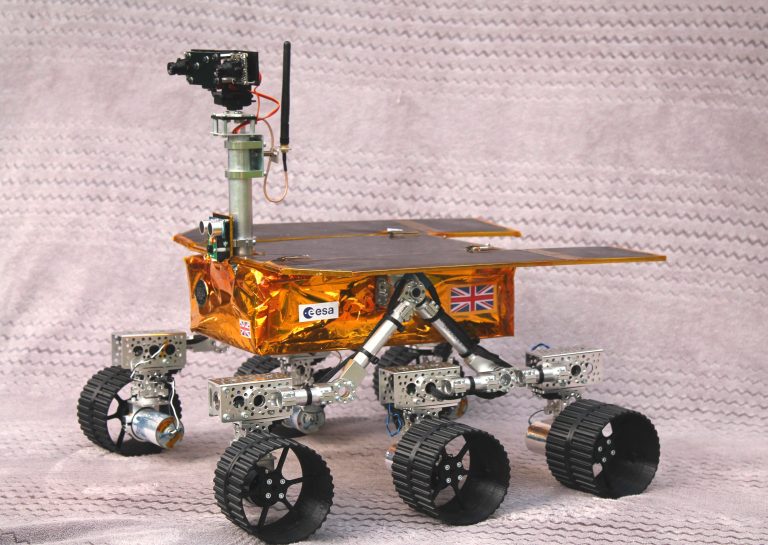
My Brother In-Law has also inspired me with his Raspberry Pi: Mars Rover.
I have set a budget of about £160, about the price of a ride on kids vehicle (A Good One ).
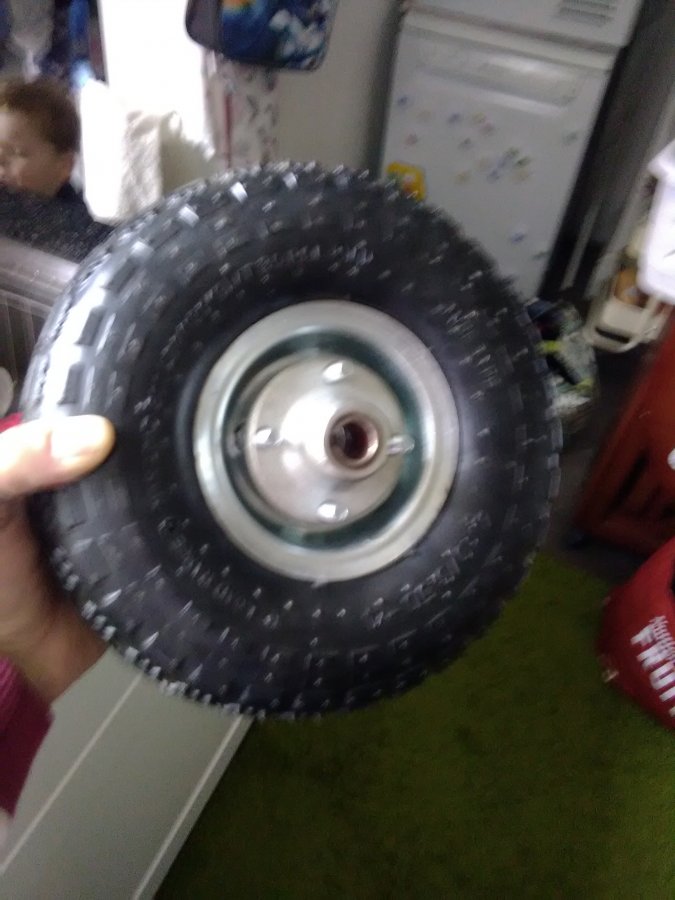
So far I have bought my motors,pillow blocks, wheels, axles and other bits and bobs. I did at first struggled to work out a way of finding some hubs to fit my wheels. I ended up buying the Invacare wheelchair wheels (with hubs) removed the hubs, which was really really hard since they had been added on with lock tight.
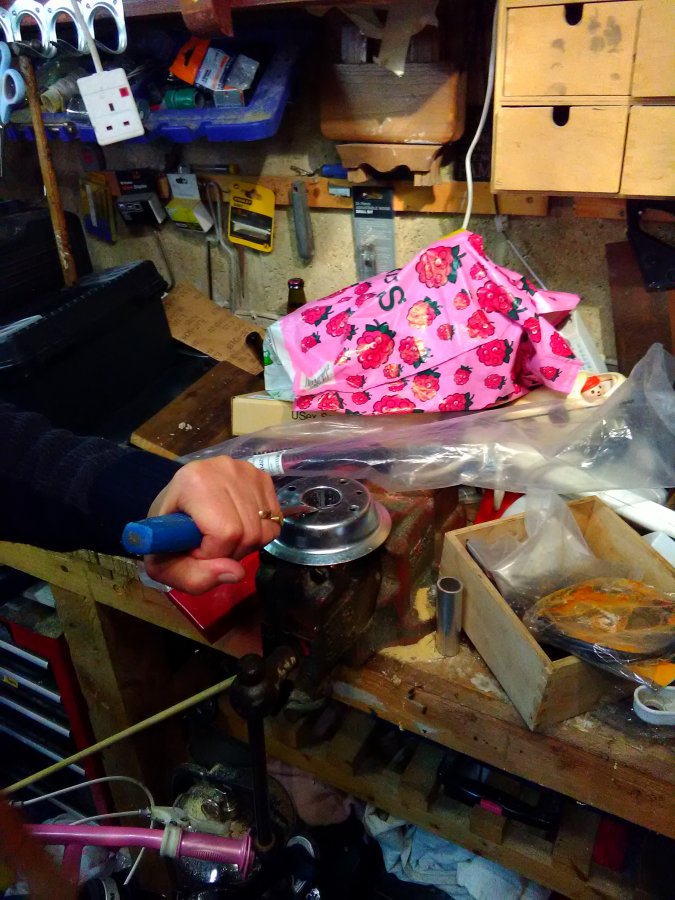
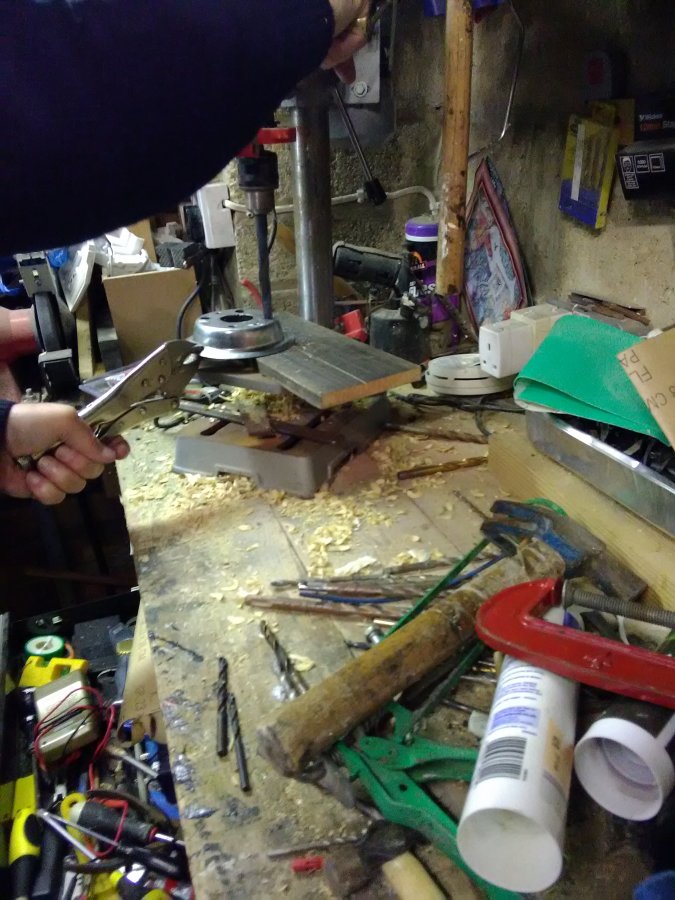
Once they had been removed, my next challenge was to remove the hubs from the Pneumatic wheels, this was a task and a half, had to hammer them out, i was expecting them to come apart after Unbolting lol. Once I removed them I used the drill to make the 4 holes just slightly larger so that it would fit my hubs. bought some new bolts from good old screw fix (x10 £1.50, Bargain) and they bolt in lovely.
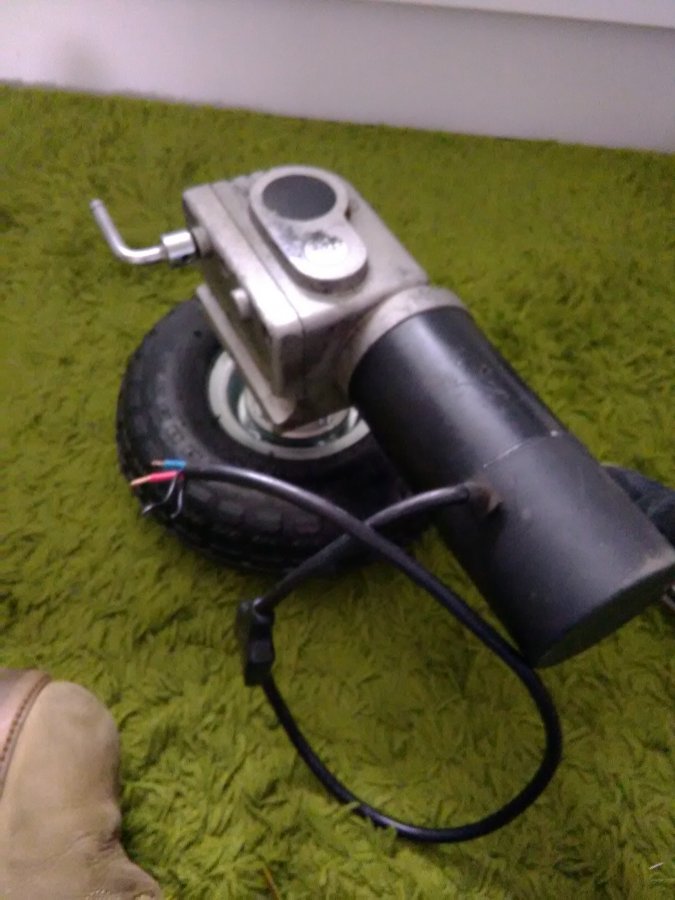
Over the next few days I will be measuring up and drilling my holes to fit my 2 wheelchair Motors and back wheels.
..........................................................................................................
lots of fun had over the last few 2 weeks.
I ruffly fitted my pillow blocks and motors so i had all my holes already drilled
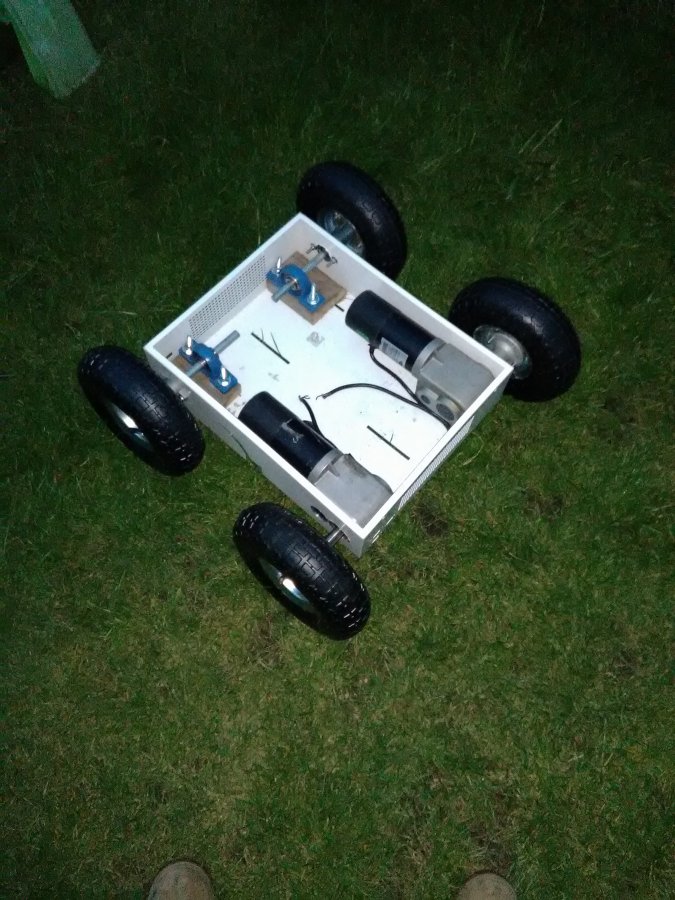
I used a few lengths of solid wood, made a cross to reinforce my chassis, jumped up and down on it to test. all good and no blood. Then i unbolted everything back down to the chassis ready to cover.
The metal cage i had was full of drilled holes from what it was used for in its previous life, so I popped to the trusty old Pound shop and bought a load of vinyl flooring tiles, 4 in a pack for a quid ! bargain lol
Cut them all up to fit, leaving a few mm at the top to allow the lid to pop back on.
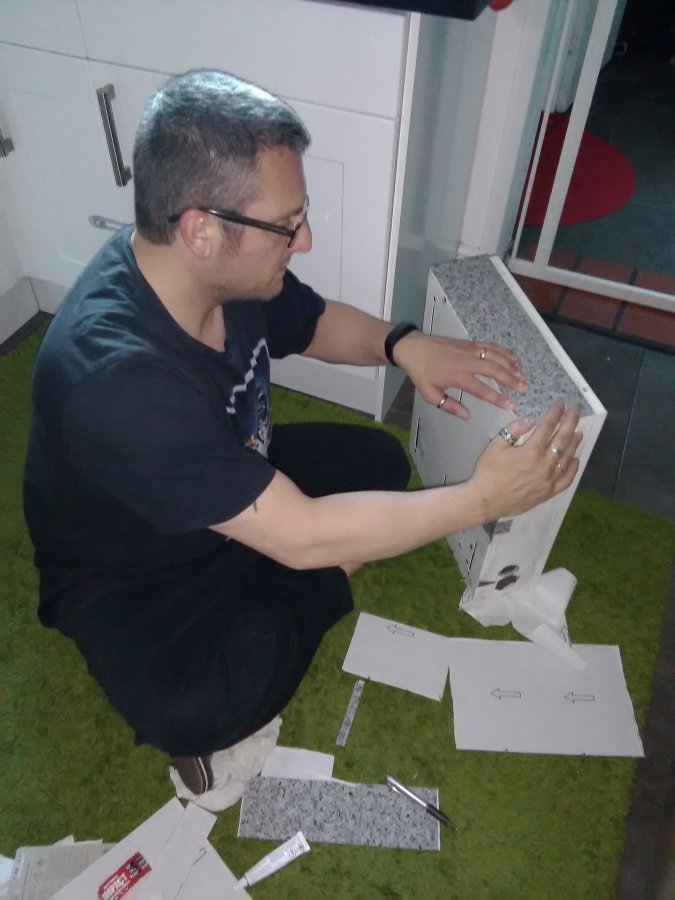
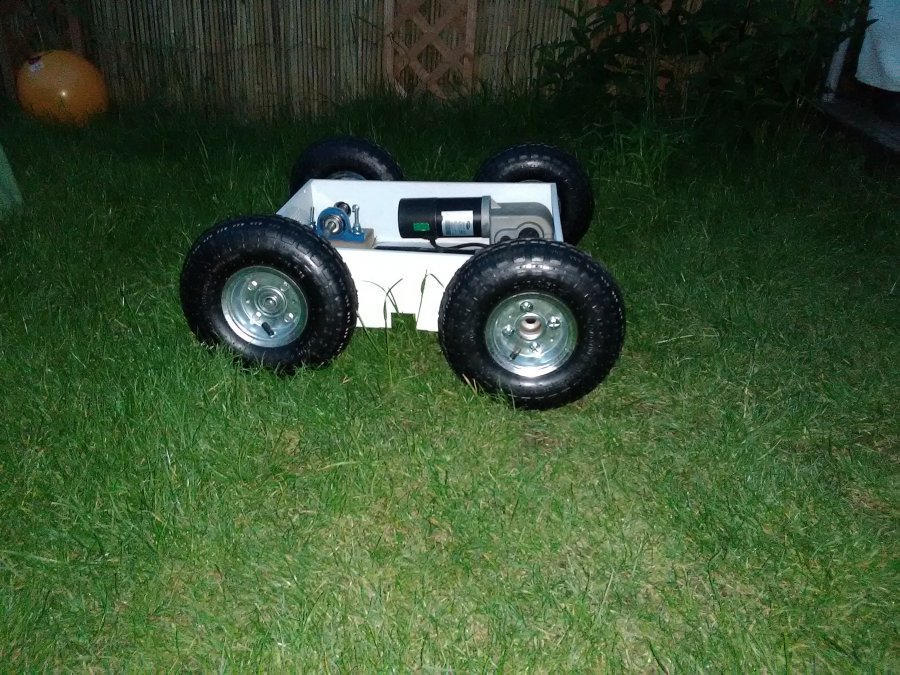
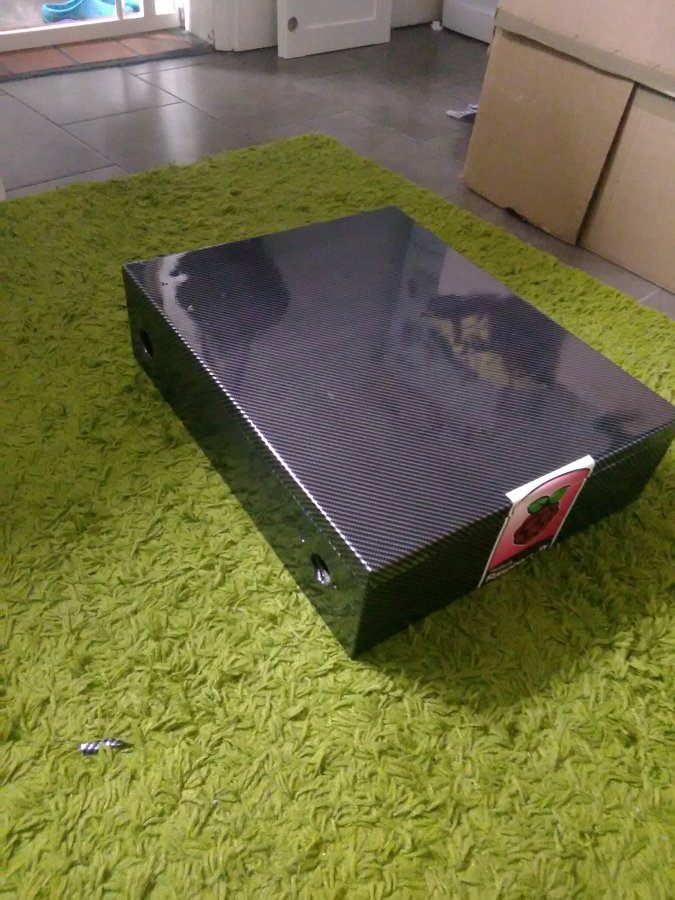
Once I'd covered all around the the sides and inside, i bought some carbon fiber vinyl wrap.
Went half way from the front end to half way to the back end, then folded over and under.
Top part was a little harder as i had to use the wife's hairdryer on max heat setting. this was to loosen up the corners and pull them down, was a pain, but I managed to pull it off.
Quite pleased with my result.
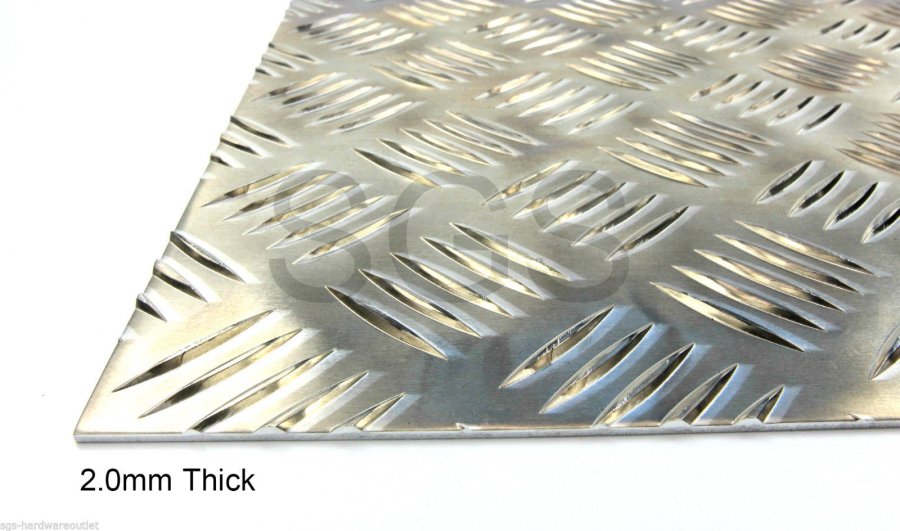
Added a metal plate underneath to reinforce even more.
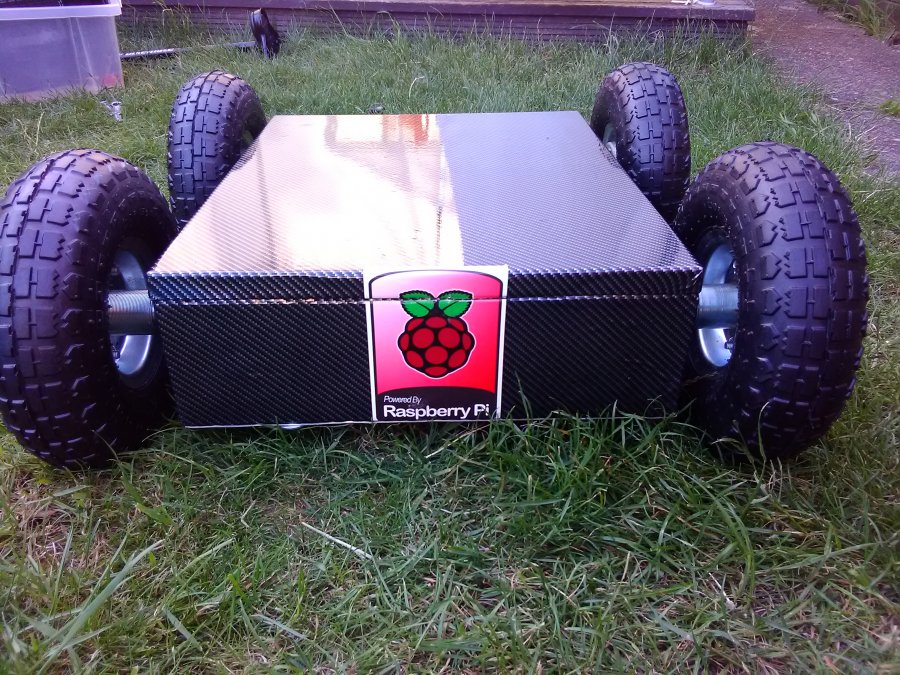
Refitted all my motors and pillow blocks
Then added the wheels

Still loads more to do, looking at Sabertooth ESCs but 2x32 is about £100 trying to find alternatives and of course batteries to power.
Currently using my quad copter 3s batteries to power and flight gear to control, but only a temp solution.
Just a little update, I have managed to grab 4 UPS 12v batteries and have bought a MDD10A which i've hooked up ruffly and tested. runs lovely, even better when at 24v. will add pictures etc when installed
Inside almost done, just need to do a be a rewiring and hook up the Pi to the motor controller, then its python time
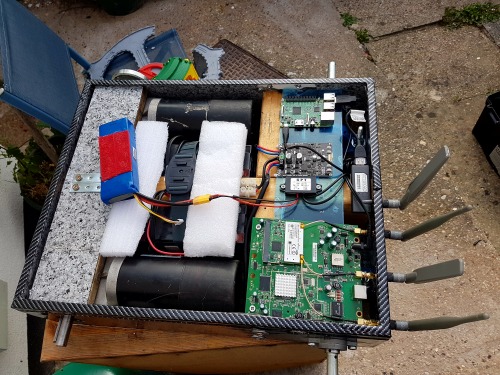
After a few weeks of messing around with the MDD10a with the raspberry pi, found that its right pain to code. I have now bought a Sabertooth 2x12 and hooked it to my old Cheerson CX20 quadcopter TX and RX. Worked really well. heres a video of my son driving, hes pretty good for 2 years old.