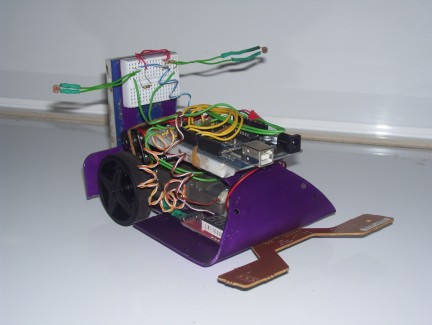
My little robot

Posted on 10/02/2010 by amando96
Modified on: 13/09/2018
Project
Press to mark as completed
Introduction
This is an automatic import from our previous community platform. Some things can look imperfect.

If you are the original author, please access your User Control Panel and update it.

Hi guys, this is my current project, i thought the programming would be easy, but since i havent used my arduino for months, it's not going so well, lol. Well there's more in this blog: https://www.robotshop.com/letsmakerobots/node/16010 Started out as a simple google sketchup plan... Anyway, i plan on removing my arduino board when the project is close to finished, and making a bare bones arduino, and stack the other circtuitry on top of the barebones arduino by using female and male headers... i ...


My little robot

Hi guys, this is my current project, i thought the programming would be easy, but since i havent used my arduino for months, it's not going so well, lol.

Well there's more in this blog:

https://www.robotshop.com/letsmakerobots/node/16010

Started out as a simple google sketchup plan...

Anyway, i plan on removing my arduino board when the project is close to finished, and making a bare bones arduino, and stack the other circtuitry on top of the barebones arduino by using female and male headers...

i plan on it being able to follow, or avoid light, following, and avoiding objects, following a black, or white line, and knowing when to stop if the floor sudenly disapears(stairs).

also thinking of adding a current measurer to the motors, so when it senses a stall it turns around 180º(in case the IR beam fails to inform the arduino of an object) 

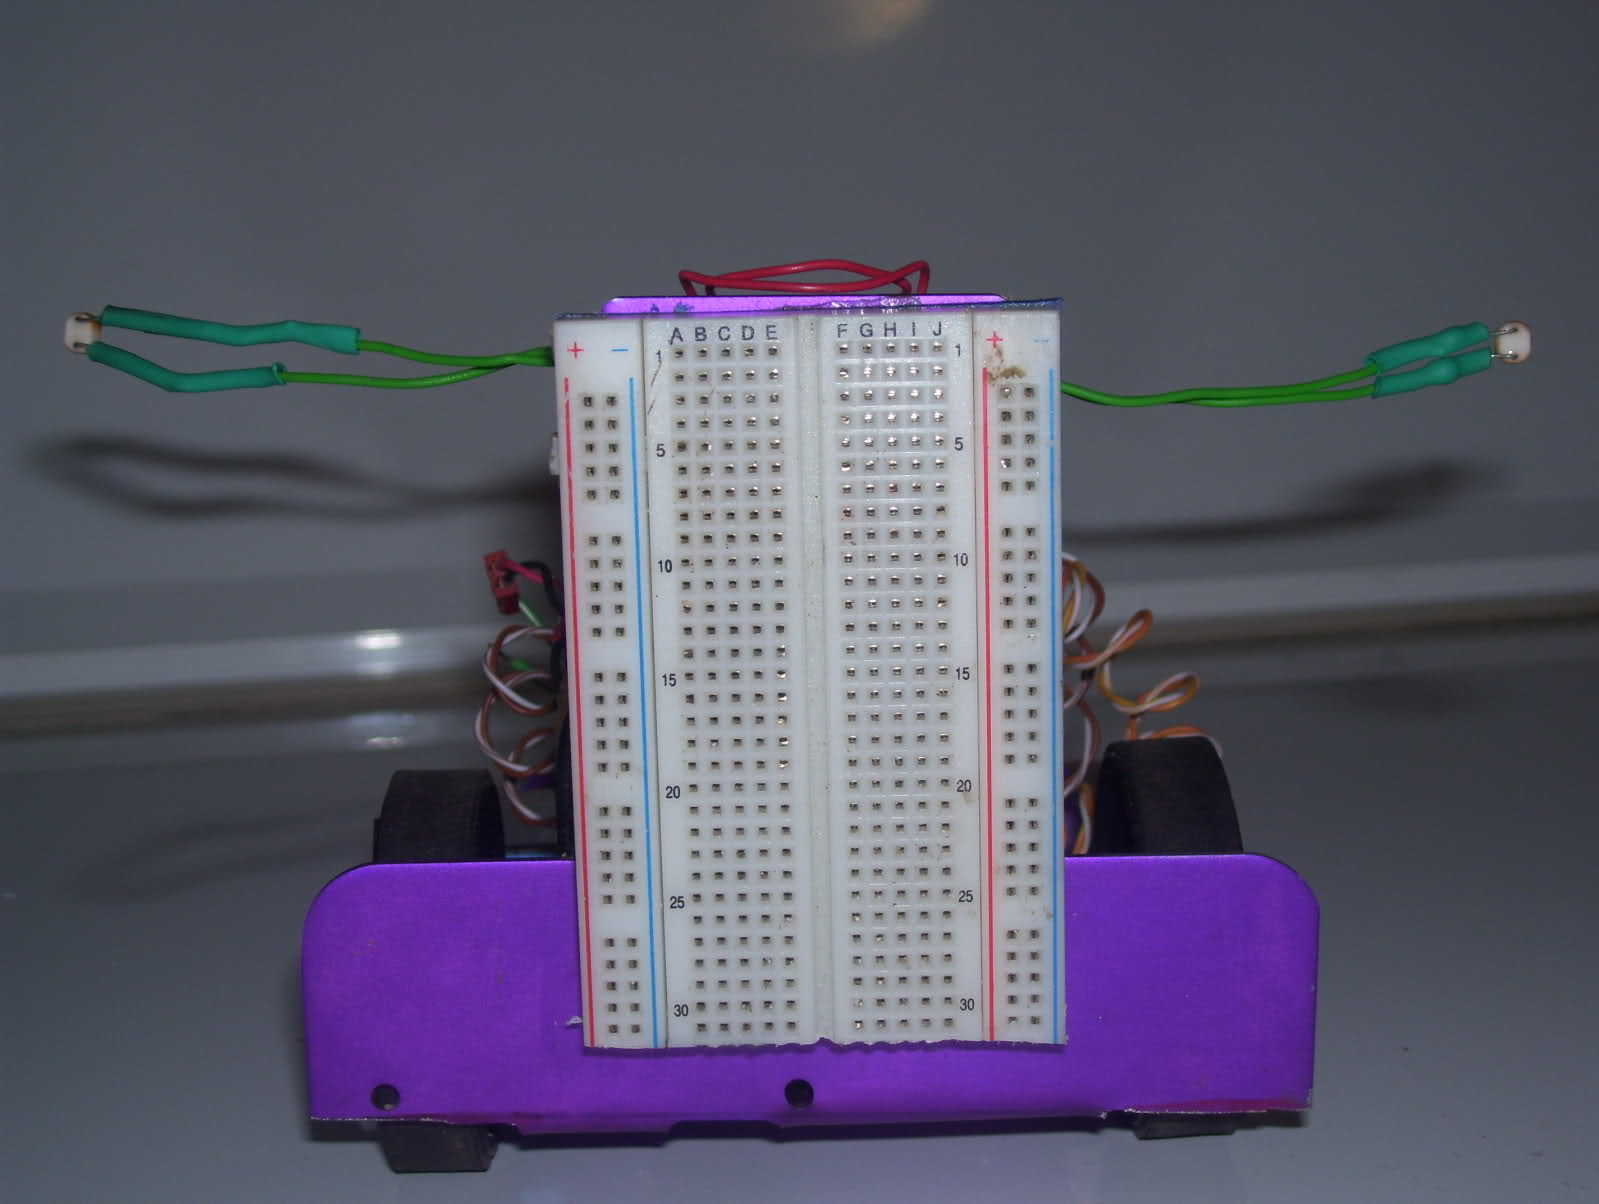
i was lucky to find this PCB in an old printer:


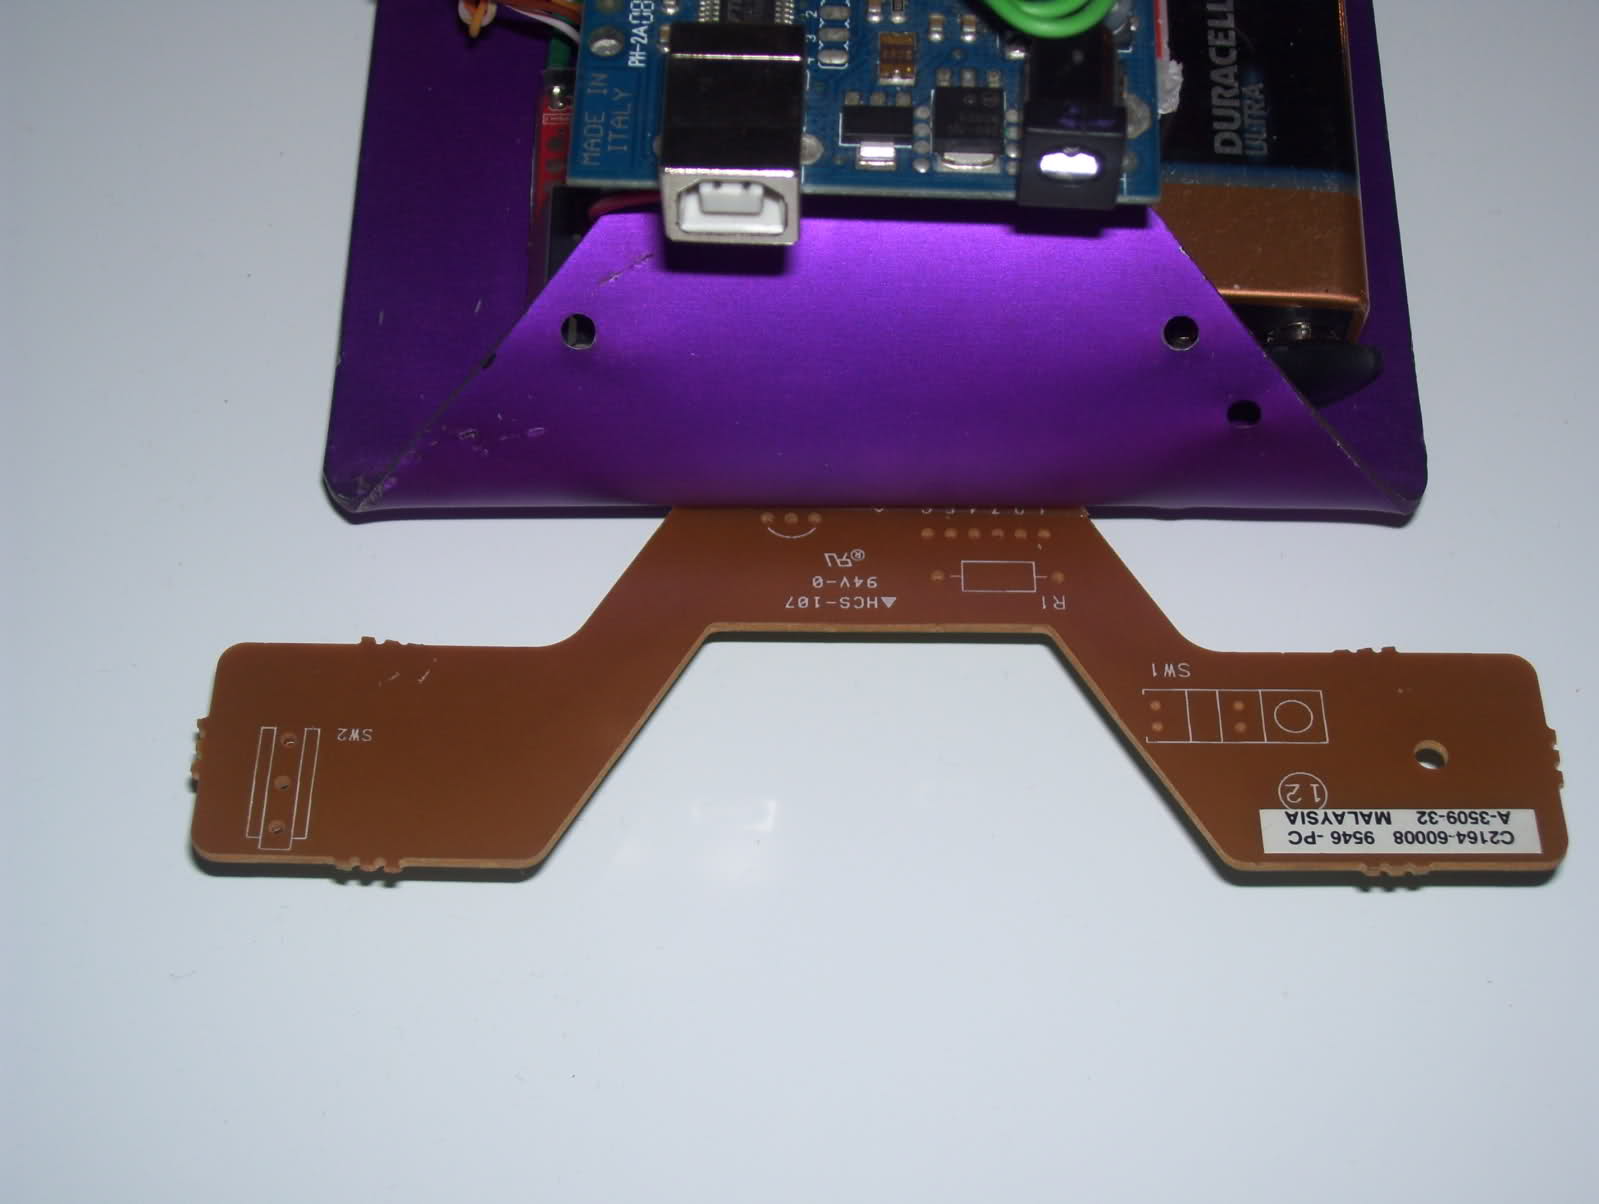
 It has a fun looking shape, using it for the line follower.

 here's some more shots:


That triple 7 segment display is a battery tester , got it off dealextreme for 3 dollars, and free shipping!


Plenty of breadboard trunk space for more developing :D
 
here's the battery tester in detail:


I tested that battery pack with my multi meter, and it read 6.20v so not bad for 3 bucks!
it's suposed to read 6 lipo batteries, though it can also read a normal battery, it scans through all the batteries automatically!
 
 
those ''antenas'' with the ldr at the end are going to be removed, i just put them there to try out the light seeking, they will most like be placed on the cool shaped PCB board at the front :D 
 
oh, and the wheels are from an old printer, fixed them to the gearbox shaft with polymorph, i'm really liking how it's going, when my shift register arrives i'll add the LCD, and then i'll what more good will come from here :)
 
as for the ''play zone'' i plan on getting a large wooden base and make markings on it so the bot can read them, and interpret them to do things, it will also be easier to try, if possible adaptive mapping! 
 
thanks to anyone who reads, and have a nice day!


For now, follows light(badly)

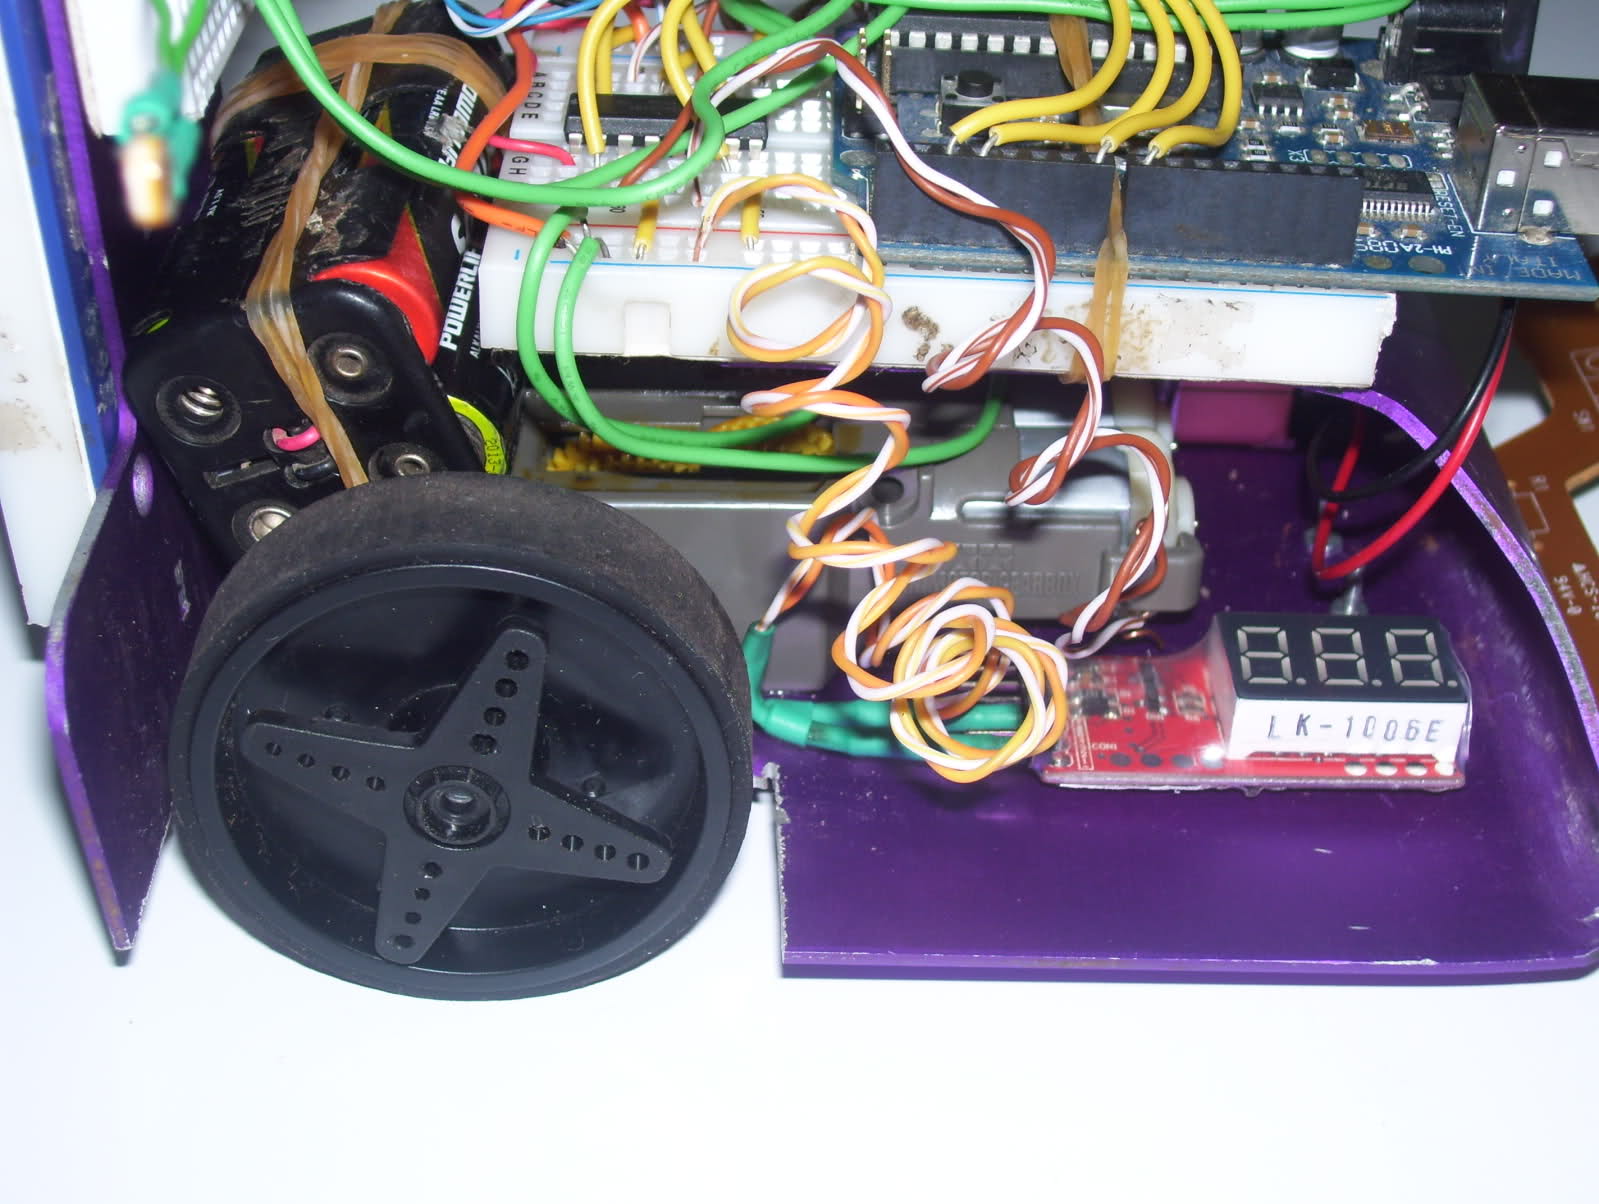
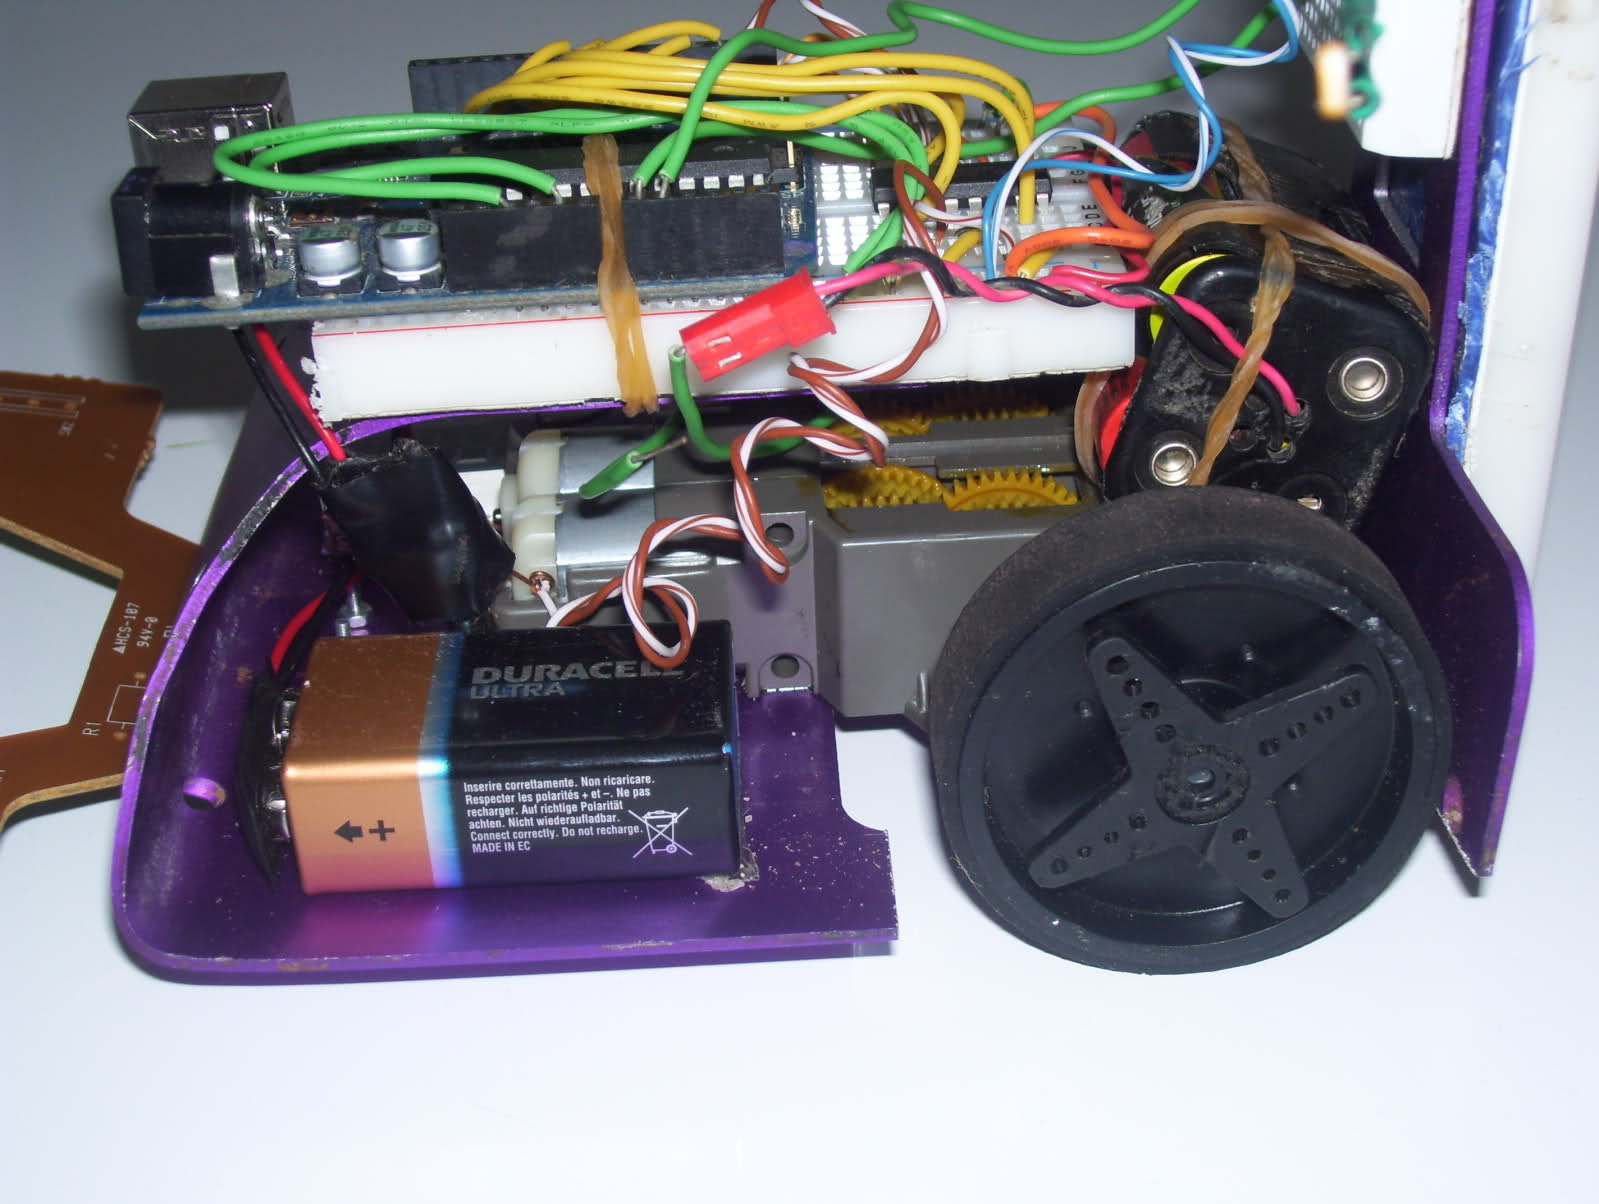
  • Actuators / output devices: Tamiya dual gearbox
  • Control method: autonomous
  • CPU: arduino board, soon to be barebones(the board makes it easier to test)
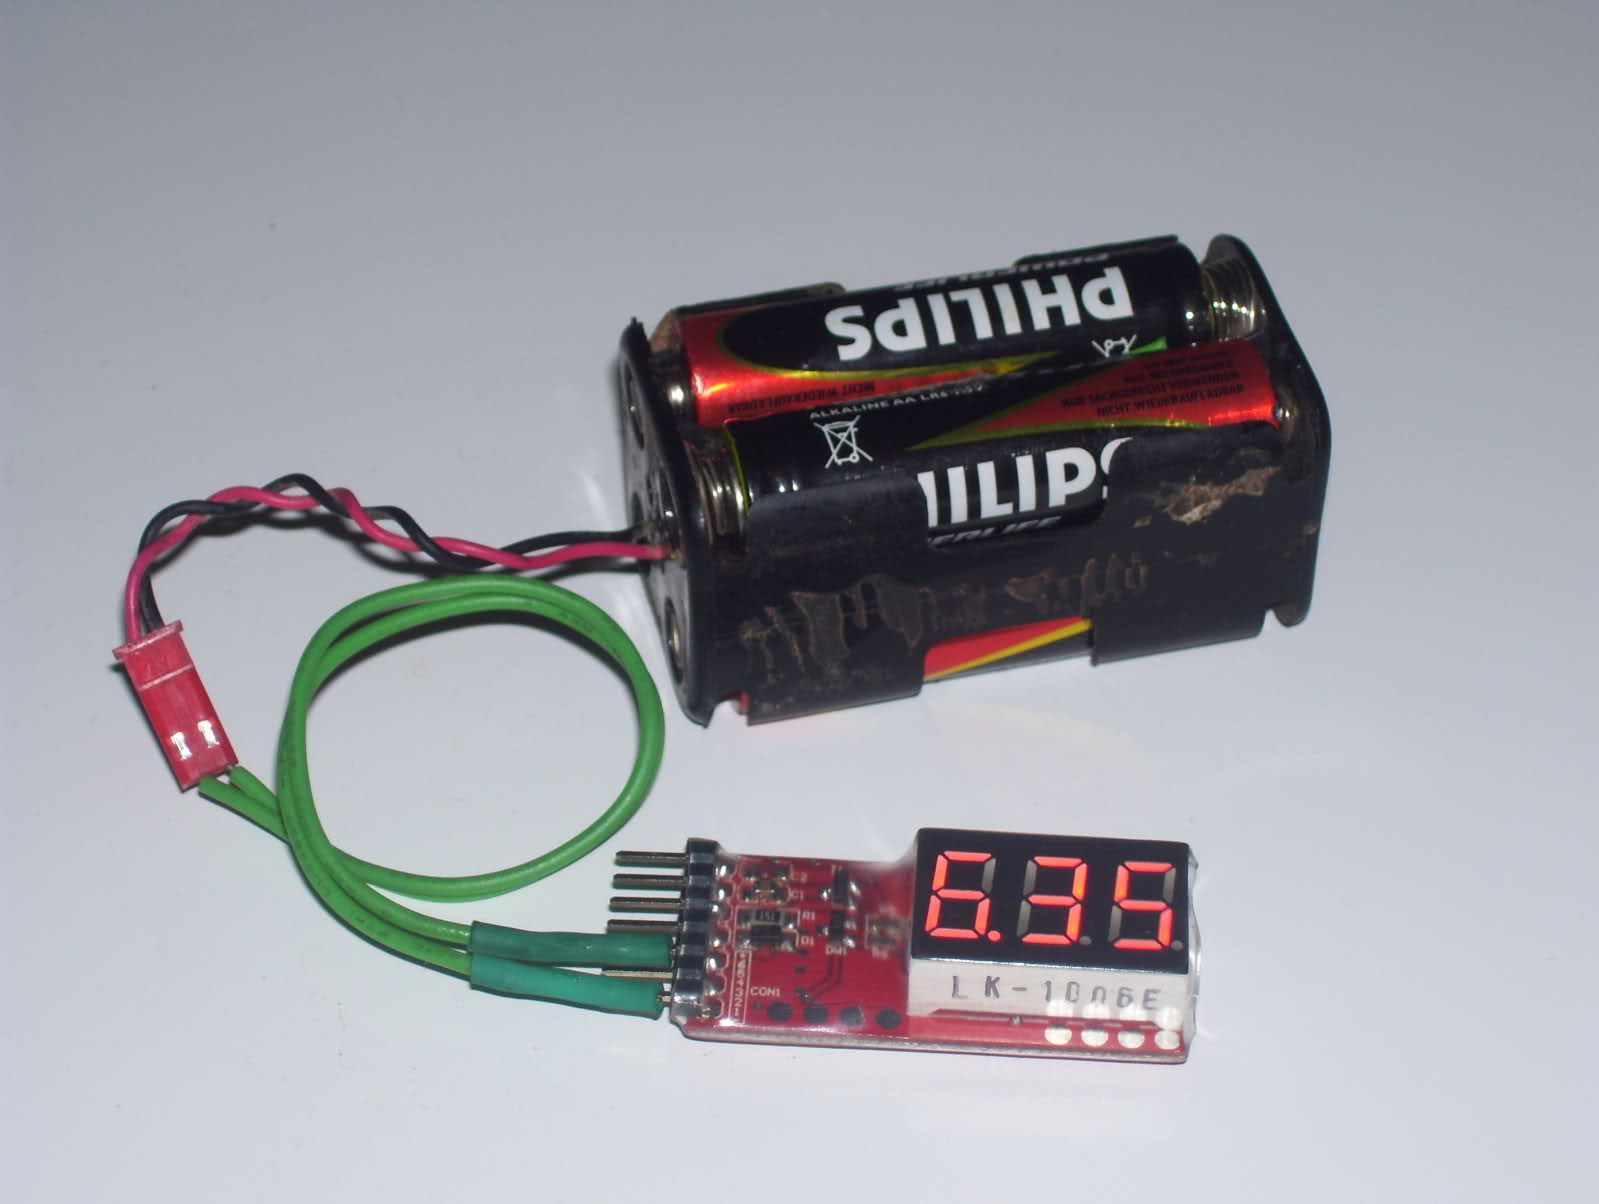
  • Power source: 4 AA batteries, and 9v battery to arduino
  • Programming language: Arduino C
  • Sensors / input devices: 2 LDRs, for now
  • Target environment: indoors, or special ''play zone''
LikedLike this to see more

Spread the word

Flag this post

Thanks for helping to keep our community civil!


Notify staff privately
It's Spam
This post is an advertisement, or vandalism. It is not useful or relevant to the current topic.

You flagged this as spam. Undo flag.Flag Post