


My LED Cube
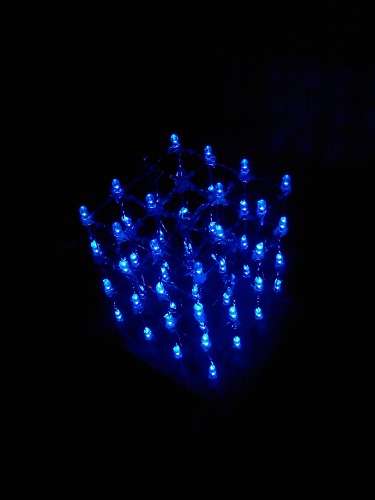
Video 3: Completed LED Cube with 8 patterns
I just got the LEDs for the cube yesterday as a backorder from sparkfun. The were for Christmas! I'm using a design where all of the rows on both pairs of levels and all of the columns of both pairs of levels are connected. That way, I use all 16 outputs of the picaxe 40x1. I will be multiplexing the LEDs Here is what I got done today:
100 high-brightness LEDs!
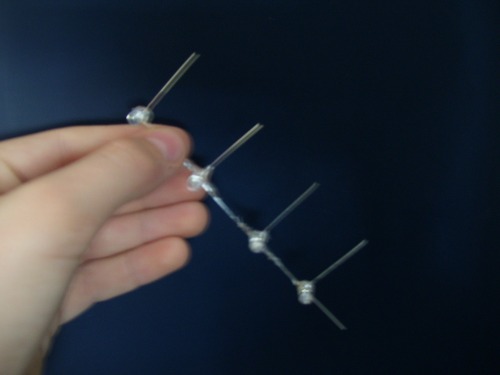
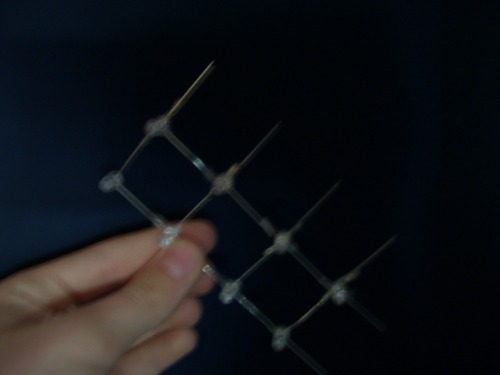
the first level in its "mold" (about 3cm spacing)
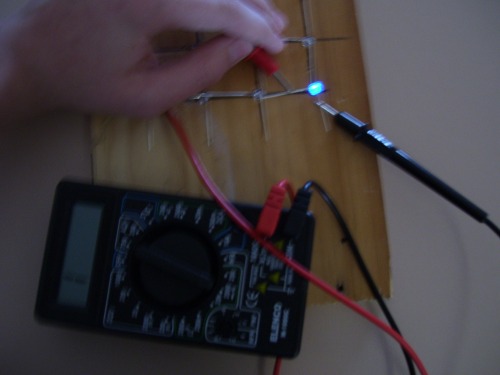
testing the LED
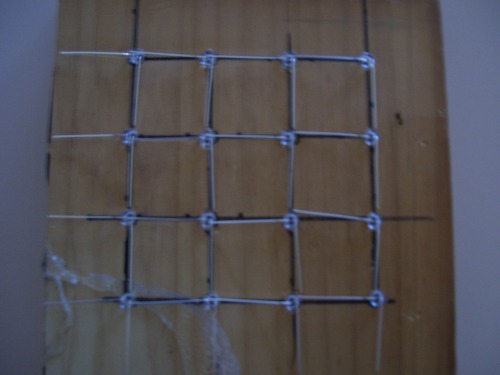
first row (common GND)
2 rows!
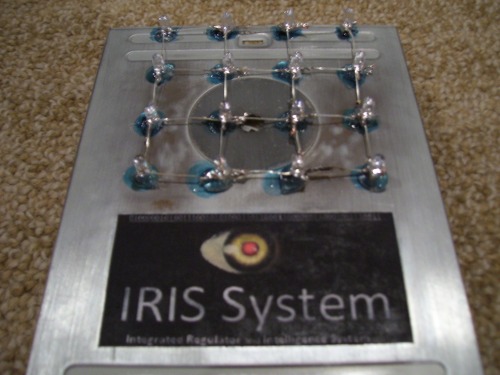
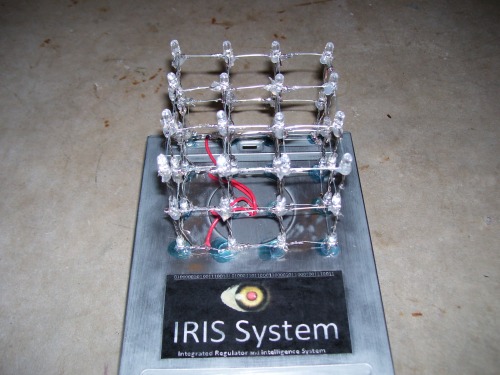
The base row mounted on the IRIS System (master control)
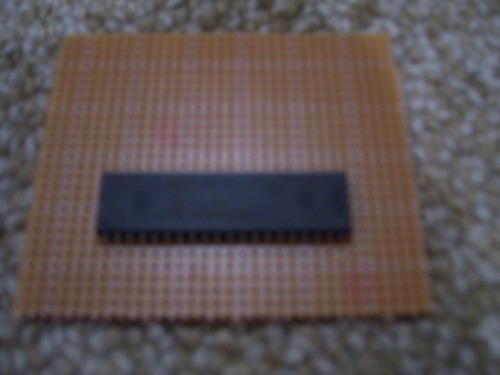
The picaxe 40x1 (NEVER AGAIN WILL I SOLDER A WHOLE CHIP!)
two layers and I'm starting the third right now! (wow, I don't leave myself enough time to post)
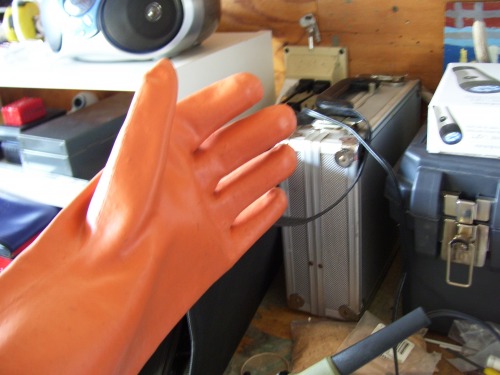
Orange gloves for insulation because of a few comments below
3 layers!
The fourth layer is done!
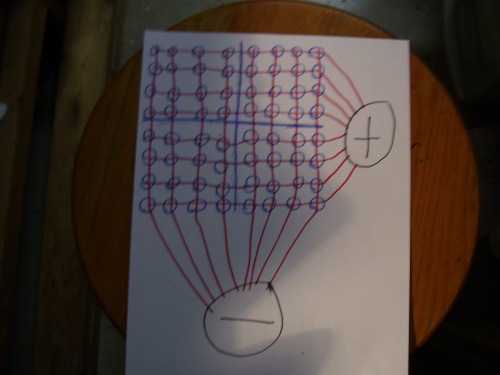
This is how i'm going to wire my LEDs. Level one is in the top left and level two is next to it. Level three is below level one and level four is next to it. My picaxe 40x1 has 16 outputs, so I layed out the cube like a grid and have 8 positive controles and 8 negative controls. I will multiplex it.
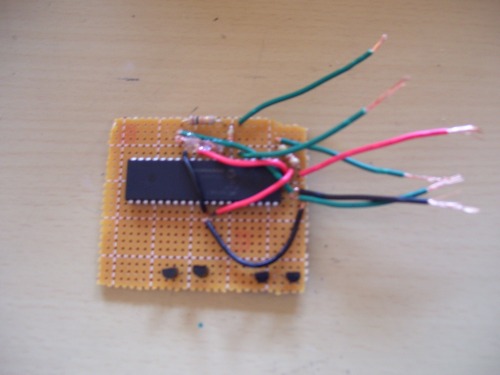
The control board has all of the minimum requirements for the picaxe 40x1 set up and some extra transistors on the side.
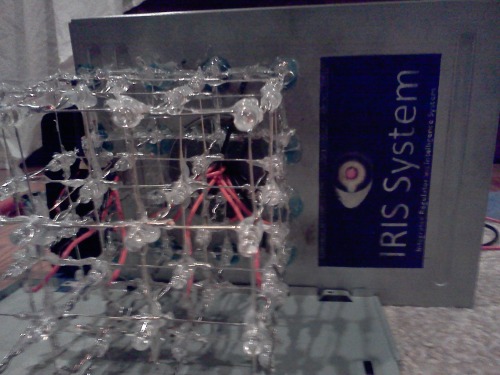
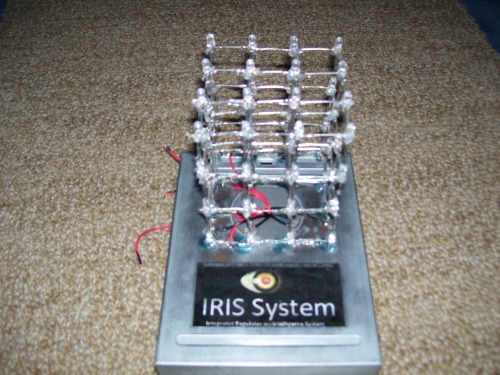
Completed cube with positive and negative layers done.
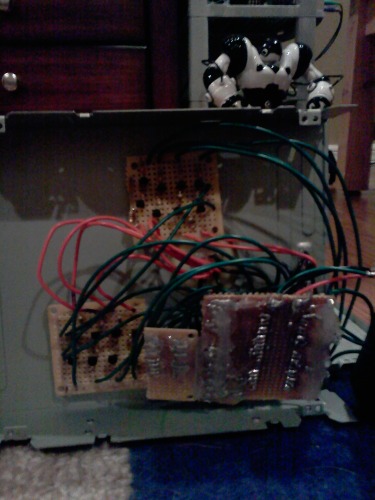
The guts of the cube from left to right: two LED switching boards, a resistor board, the PICAXE control board.
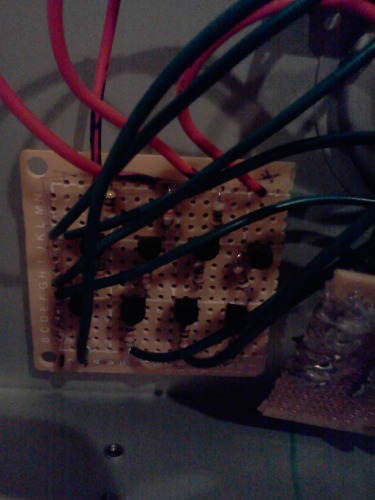
A closer look at the LED control board. It's there to prevent burnouts of my chip.
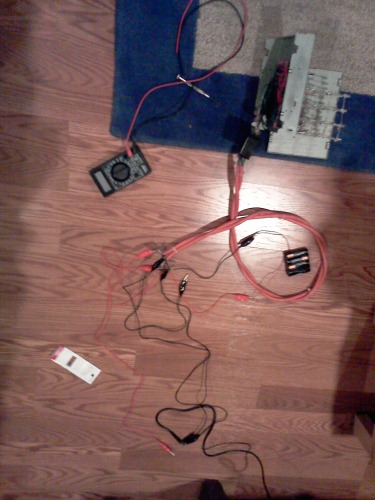
My crazy programing setup.
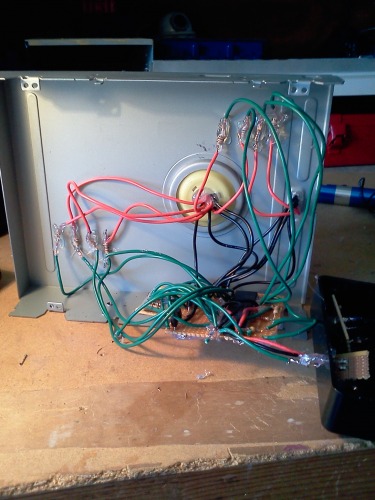
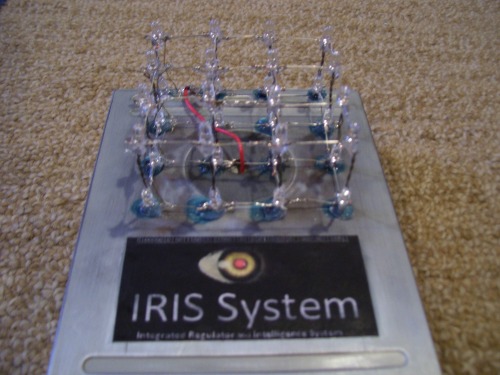
I removed the protection boards due to loss of current, now I just have to tripple check my code.
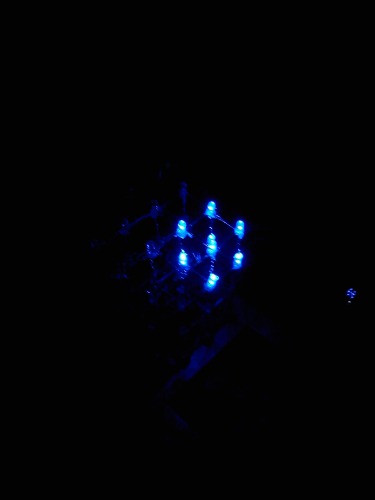
Look! A cube!!!
Multiplexing the whole cube.
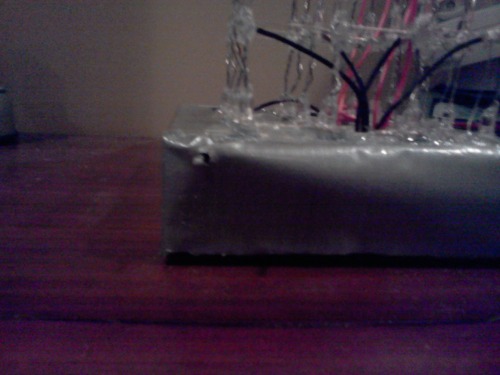
I've added a switch and a temporary cover. No more wires hanging out the back!
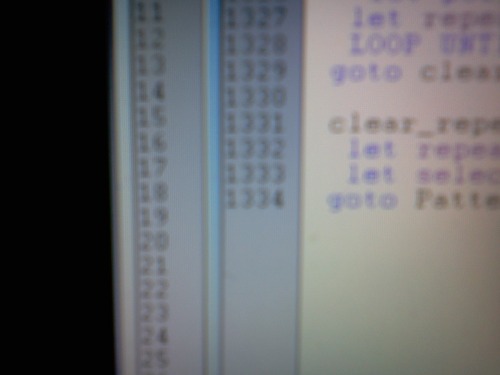
I've also added 1334 lines of code to the cube. It now plays eight patterns (see video 3)!
I'd like to thank JAX for helping me with the high/low portc commands and birdmum for helping me with the random selection of patterns.
Flashes LEDs in cool 3D patterns
- Actuators / output devices: 64 high-brightness LEDs
- Control method: IRIS system
- CPU: PICAXE 40X1
- Operating system: Windows
- Power source: 9v battery
- Programming language: Picaxe basic
- Sensors / input devices: A microphone
- Target environment: On a desk