


My first robot : a quadruped with 3 DOF by leg
Update 2 : new video of the "spider style" walk
Hi everybody my name is MoX First i want to say sorry for my english : I'm French ...(and sorry for my president too...lol)
So this is my first robot, a quadruped with 12 standard servomotors and 3 dof by leg.
I make all the part myself with aluminum plate.
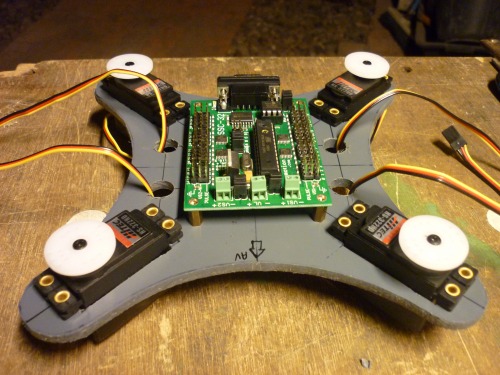
For now, it's just control by my computer link to it with a RS232 connection, and a SSC32 controlling servomotor card by Lynxmotion (a real good card i think :)
Today I'm trying to control it with an Arduino car but the com with UART between the two cards is not operational for the moment :( I'm also trying to include a URM37 ultrasound sensor :)
The first step was to create a second axis for all servos.
I used some support of roller-blade ball-bearing, and I stuck it to the servo with cyanoacrylate adhesive :


Now , let's use my best enemies (which offer me a lot of blister ! ) : Saw, file, and tech vice (lol not the same signification in French MDR)
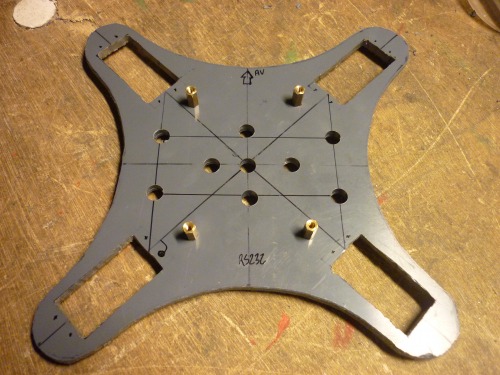
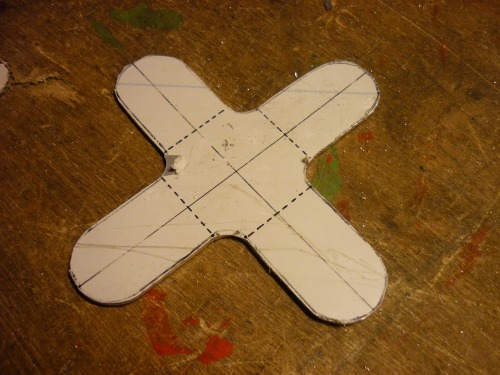
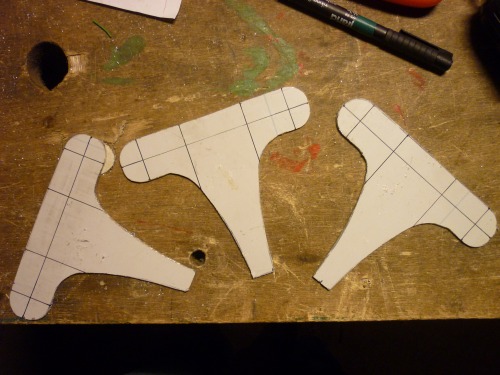
The body : PVC plate (dimensions 180x180mm,5mm of thickness) :

Now the legs : I am going to use the terms of "shoulder", "leg" and "scratch" for the 3 parts of the legs... (sorry I know that my english vocabulary have to increase .....)
All the aluminum parts are from an old 19" computers rack ( 2mm of thickness )
First type of servos support : for the 2 servos of the "shoulder"
I have fold the plate following the dotted line, using a tech vice :
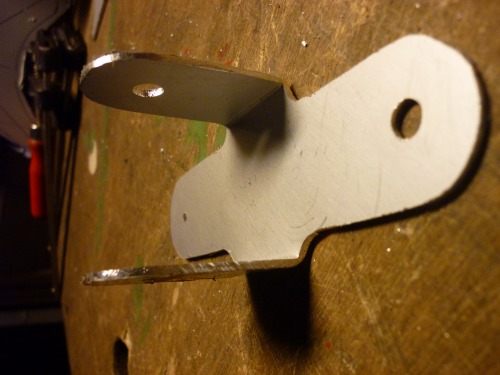

It's very important to align correctly the axis of the servo with it's new axis (the bearing part) and to follow this alignment with the aluminum support of servomotor. Personally it's not perfect (i wish i had a numeric CNC :) future project ?!

when you love, you don't count (French proverb)...so 3 more to make ... or you could count your blisters LOL : 600W blister by hand !! thank you Miss metal file ! ........ heuuuu if you don't understand the blister thing....just French technical joke LOL
And the result with servos , but not yet fix to them ( one of them is on the "leg")
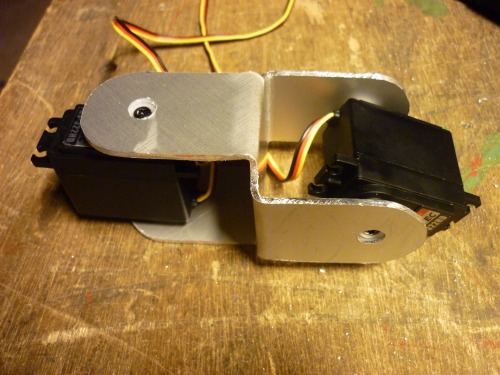
The result with the 4 supports of "shoulders":

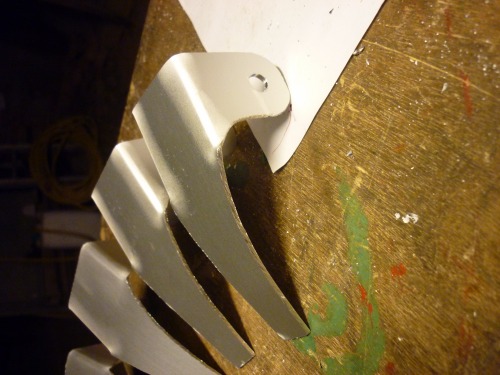
Now the support for the "leg" : more simple than the other LOL ...... but... but ...it's just a poor piece of aluminum ?? ... YES o_O
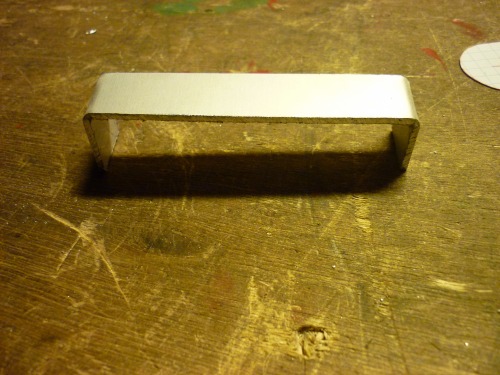
The leg:
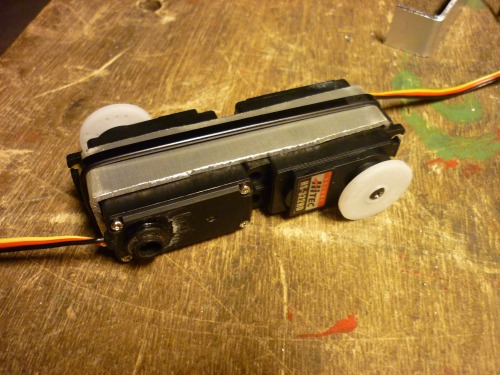
The result with 4 legs :

Now my favorite part : the scratch:

Same idea : Saw, file, and tech vice ...and blisters !
Result :

ET VOILA !

It just trying to walk correctly for the moment :)
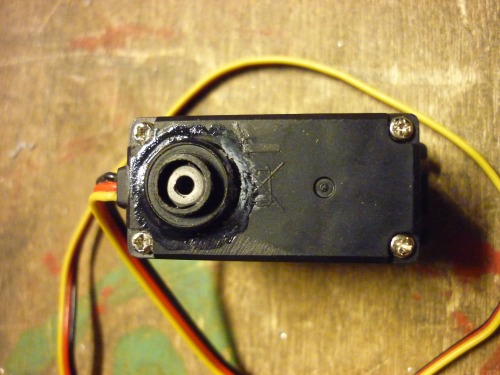
- Actuators / output devices: 12 servomotor HITEC HS322HD
- Control method: SSC32 card and PC with RS232 communication / free soft by Lynxmotion
- CPU: Atmega168 on SSC32 and PC for com
- Power source: external lab alim
- Sensors / input devices: URM37 ultrasonic (in devellopement ..... )
- Target environment: indoor flat surfaces