


My first robot
Newest Update:
Oh my, its been a long time. Well, I'm finally back to programming the little guy after many hours of trial and error. Unfortunantly, he had a bit of a fall and broke one of his power switches and popped off his treads, but thats easy enough to fix, so I hope to have another video of him taking on the living room soon.
Pictures and a video.
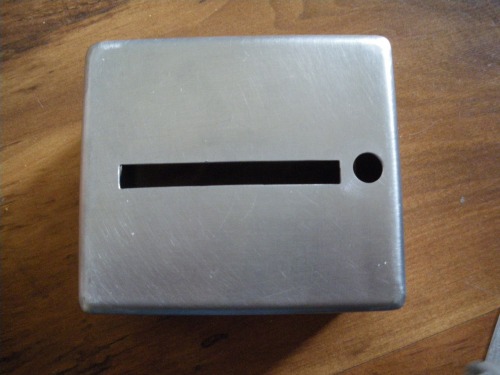
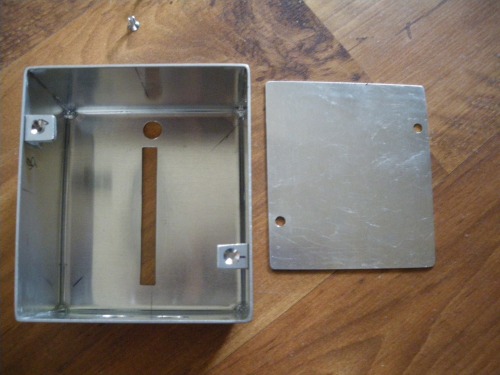
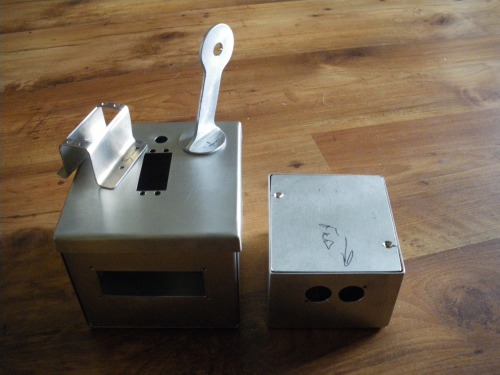
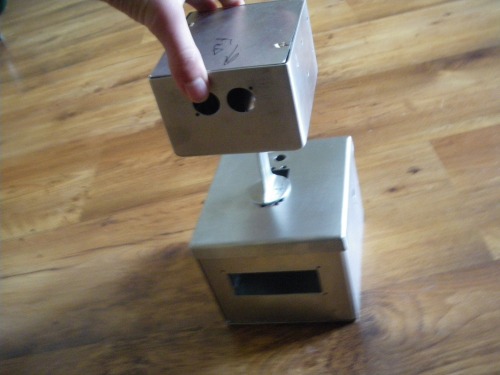
Old pictures
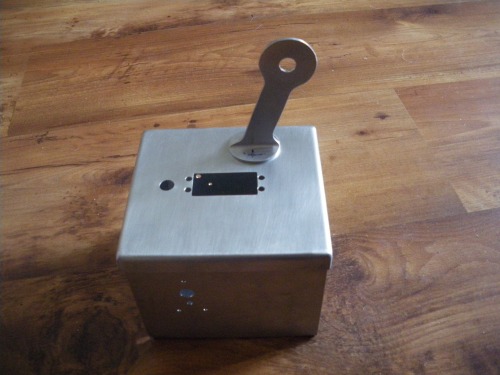
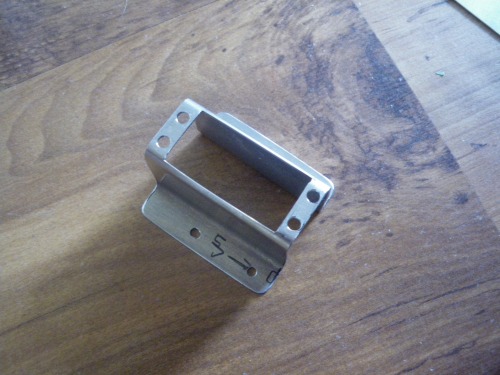
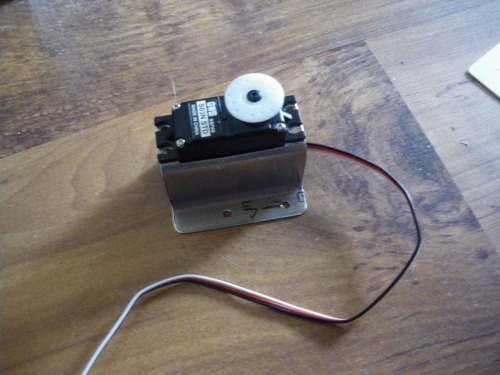
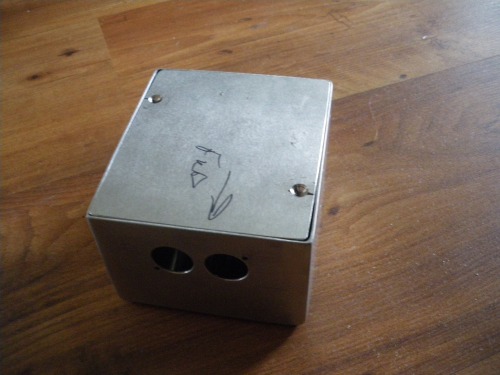

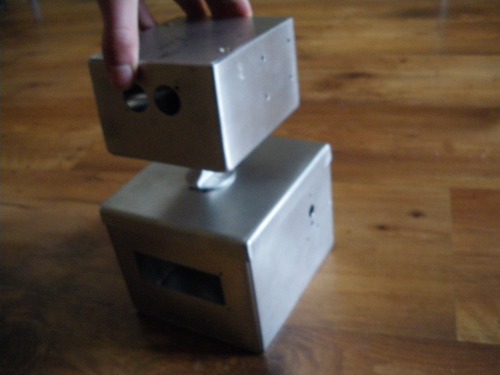
UPDATE: Mounting the components (old)
I have started to mount all the components. Here are some pictures:

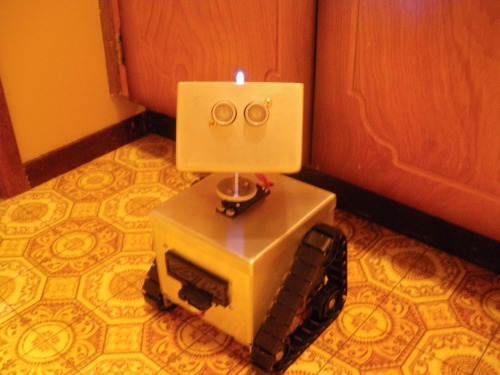
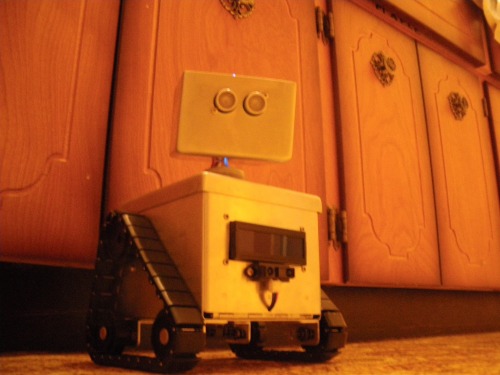
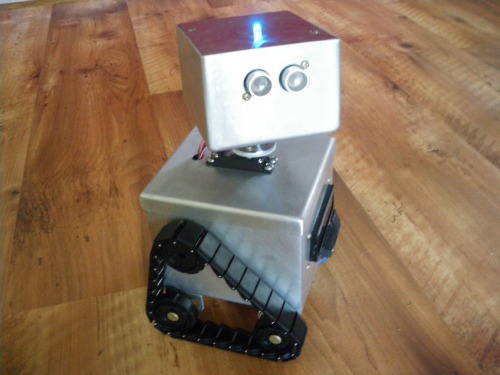
Treads. They have finnally been added to the robot.It can now move from place to place like a good little robot.
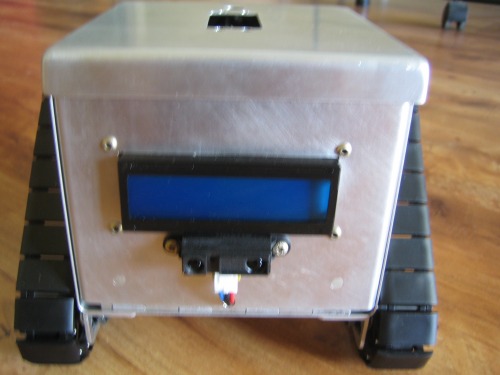
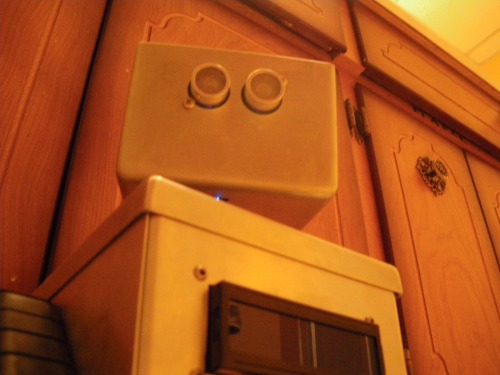
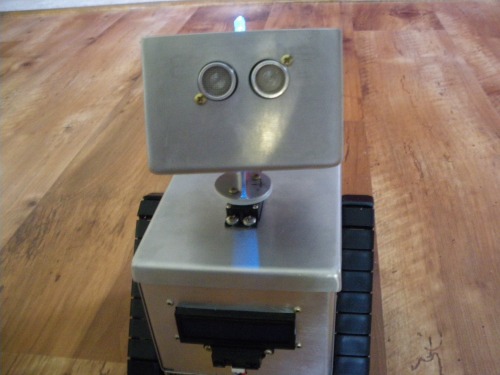
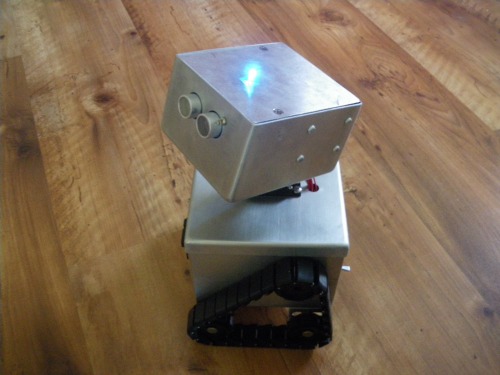
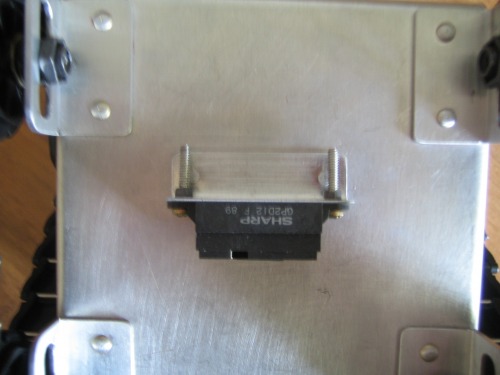
Here is the screen, and here is one of the Sharp sensors. Wheres the other one you ask? Wait and see.
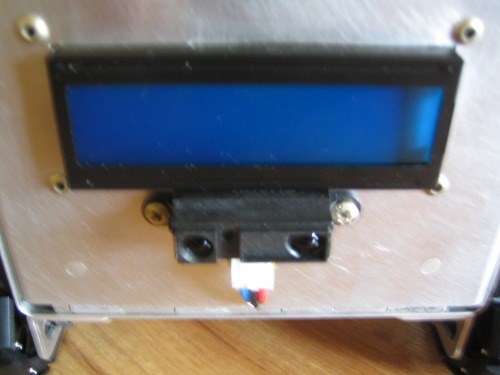
Closeup of the sensor.
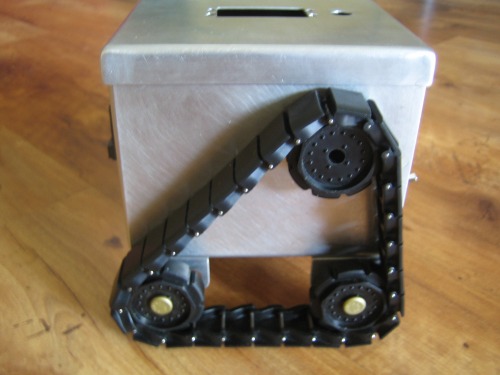
Side veiw of the treads. See those gold colored things? Plated titanium.
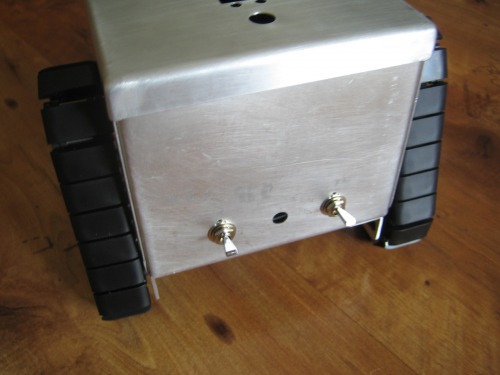
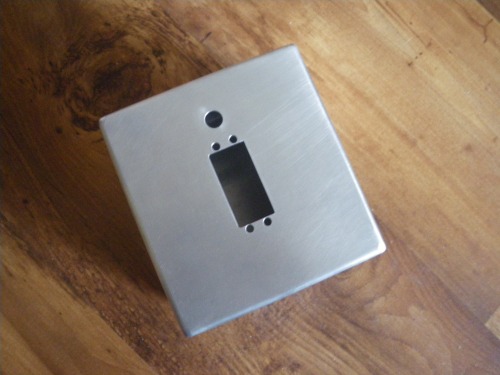
Switches. 2 out of the 3 have been installed. The last one will be a reset pushswitch. For when it tries to take over the world. Or more specificly my living room.
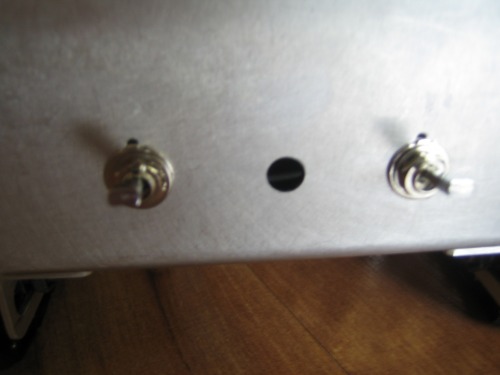
Closeup.
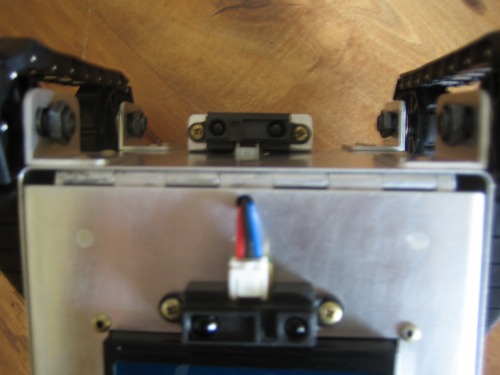
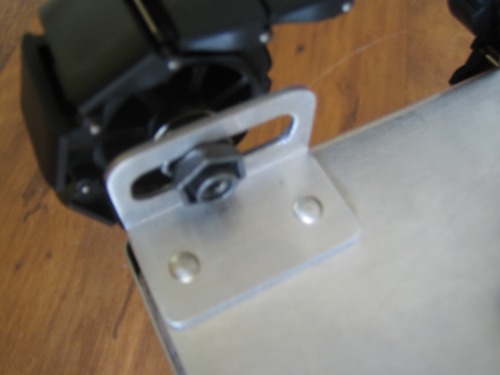
Why, whats that? Its the second sensor. Mounted and angled to look for ledges. Notice the mounting brackts for the tread system.
The mounting system for the bottom two idlers allows me to easily and quickly both adjust the tension on the treads and move the place ment of the individual wheels and over all tread placement. I have already worked out the best setup t distribute the weight effectivly.
Here is a closeup.
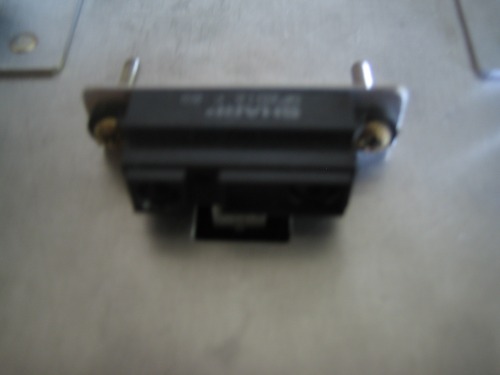
closeup of the sensor
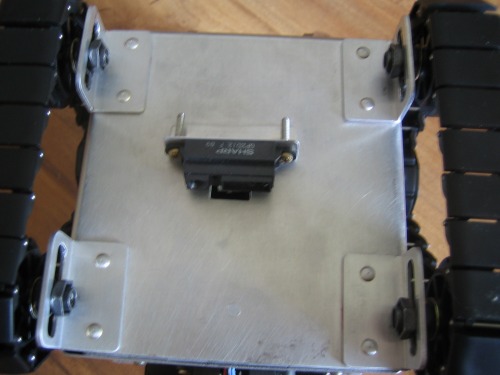
top veiw.
Avoids objects, recognizes objects, and more. Breaks
- Actuators / output devices: 2 servos, two solarbotic motors.
- Control method: fully autonomous
- CPU: Picaxe 28x1
- Power source: AA and AAA batteries
- Programming language: Picaxe basic
- Sensors / input devices: SRF05, 2 Sharp IR's
- Target environment: indoor, a little outdoor