


Mx LMR-LogoBot
Hi everyone I'm from Puerto Escondido, México, and this is the fourth robot I build (mini sumo, line follower, simple 3 servo hexapod and this one), but this is the first I post because the other ones are already dissambled :(.
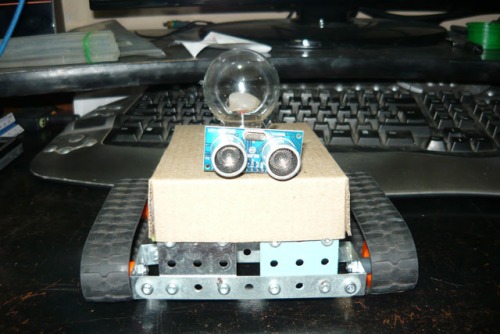
And just for fun and for introducing myself I present you my Mx LMR-LogoBot based (of course) on the LMR Logo =) and I list the parts of my Bot.
- Arduino Mega 2560 Compatible (From DFRobot) $36 USD
- SRF05 Ultrasonic clone sensor $4.7 USD
- Two Futaba clone servos modified for continous rotation $8 USD each
- 6V NiMh battery
- Mini BreadBoard $3.50 USD
- Lots of jumpers for no soldering
- Red Led for the Brain
- Some meccano parts (tracks and chasis)
- Cardboard
For the moment it has a simple code(attached) for obstacle avoidance and its working yet but can't record a video because light conditions, so maybe tomorrow I'll upload one.
- Update 12/12/2011
I didn't post the video =(, but there is a good reason, the bot is getting some updates, I'm adding a micro servo for swapping with the ultrasonic sensor, and the one who took me two hours detailling, the brain.
I increase the size of the brain (all is done with a gluegun and patience), some water inside the bulb and more silicon to seal the bulb an one blue led to get a better effect. so I show you the result.
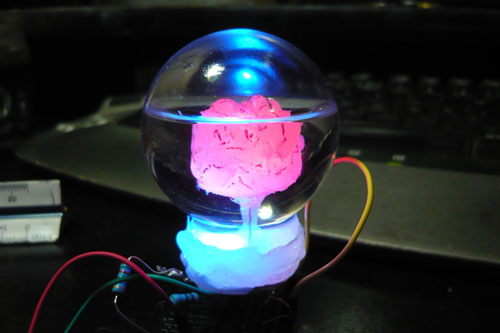
and here's another pic
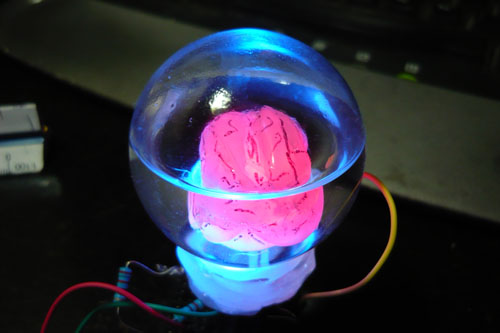
So the video it's gonna wait because I'm thinking on make some paint labour.
Obstacle avoidance
- Actuators / output devices: Two servos modified for continuous rotation
- Control method: autonomous
- CPU: Arduino Mega 2560 Clone
- Operating system: Arduino IDE
- Power source: 6V NiMH
- Programming language: Arduino
- Sensors / input devices: SRF05 Ultra Sound Clone
- Target environment: indoor