


Mr. Firefly - Let it glow! [video now on youtube and youku available]
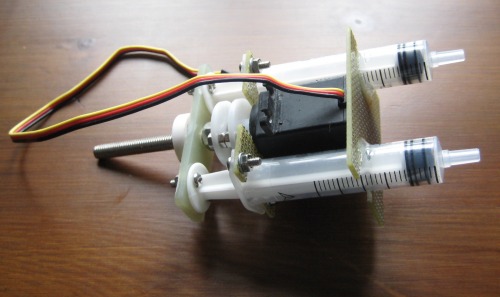
This project shall be another step to combine robotics and chemistry. Mr. Firefly is able to emits blue cold light by chemiluminescence. For this attempt, luminol is used. Luminol is a chemical that emits blue light when mixed with an appropriate oxidizing agent (for instance sodium hydroxide solution, hydrogen peroxide and potassium ferricyanide). The two solutions with luminol and oxidizing agent will be separately stored in 5 ml one-way syringes. A linear motor (continuous rotation servo) will move the plungers forward and press the two solutions in a test tube, where the chemical reaction then occurs.
[See in this context also Firefly chemistry, a marvelous nostalgic DIY chemistry article in Popular Science, Oct, 1937)]
[See furthermore From Fireflies to Fault Tolerant Swarms of Robots, an interesting article about swarm bots, using self-organizing behavior of fireflies]
The chemiluminescence and other behavior will be activated by sound. Mr. Firefly navigates around via SRF 05, waits from time to time and listens to commands in form of a designated number of claps. The circuit diagram of the sound activated switch is shown in the attachment. To avoid wrong interpretation, Mr. Firefly will always scrutinize the command by a chirping noise. After the chirping noise the command has to be repeated, before Mr. Firefly will perform the command.
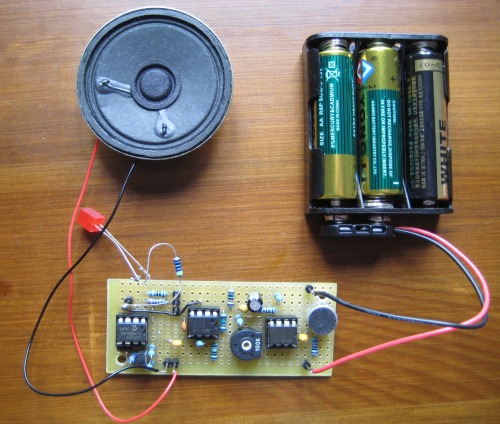
The circuit works as follows: An electric microphone is used as a clap detector. U1 is wired as an op-amp with negative feedback. The gain can be adjusted with the potentiometer R4. R1 serves as a protective resistor for the microphone, R2 and R 3 build a voltage divider for the non-inverting input of the op-amp, C1, C2, C4 and C5 are filter resp. decoupling capacitors. R6 and R7 set the pre-triggering level of U2, which is wired as a monostable multivibrator and debounces the incoming signal. The pulse length tp on output pin 3 of U2 is based on the formula tp = ln (3) · R8 · C3 (R8 in MΩ, C3 in μF, tp in s). The connected Picaxe-08M counts the number of claps via count command on input pin In3. I have also attached an example program. If three claps in a time interval of two seconds are received, the interfaced loudspeaker emits a chirping noise. Receives the microphone after the chirping noise again in a time interval of two seconds three claps, the robot will perform the command (high output 4 for three seconds in the example). Because the sound is unacceptable muted, if you use a piezo sounder or speaker only, a simple one-stage-transistor amplifier was employed (Q1, R11, R12, R13).
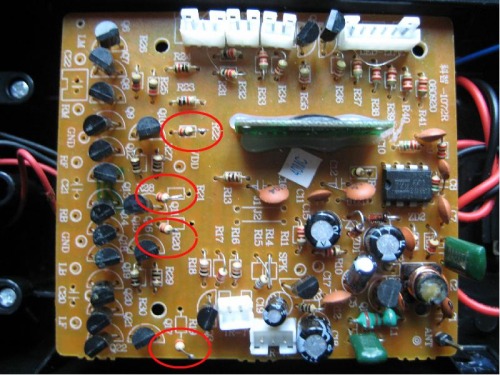
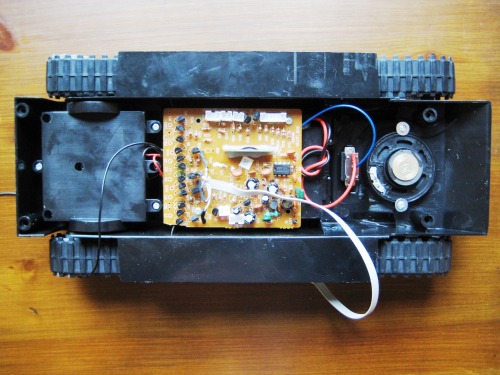
2010.04.20 Decided to use the same toy tank platform for Mr. Firefly like for my Mosquito rover. This time I didn't want to build a h-bridge, so I simply used the h-bridge on the RX PCB. The only thing you have to do is to find the four according bias resistors and unsolder the resistor pins on the opposite of the base connections. The h-bridge is made from transistor types MLC 8050/8550. The whole hack took just 20 minutes.
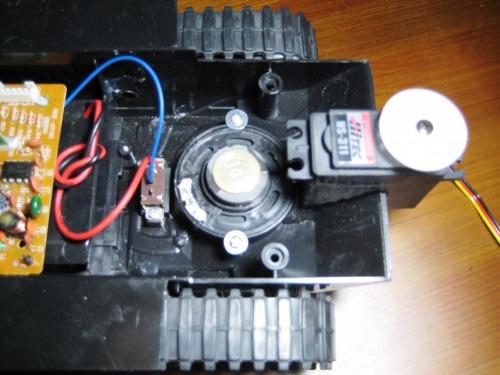
Cut a slot and glued in the servo for the SRF05 with epoxy. Some think the more glue the better, but the opposite is true :)
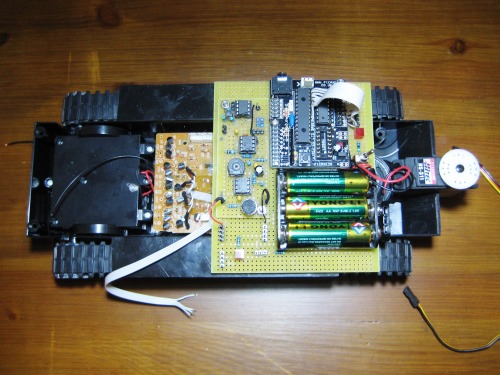
The main board is nearly finished. The Darlington driver IC is normally useless for me and between the Picaxe chip and Darlington driver IC DIL socket is too less space to solder in a single-row, 8-pin, straight male header strip, so I used a ribbon cable:
2010.04.21 Today my glow sticks arrived. Half of them were already broken and glow in the dark:
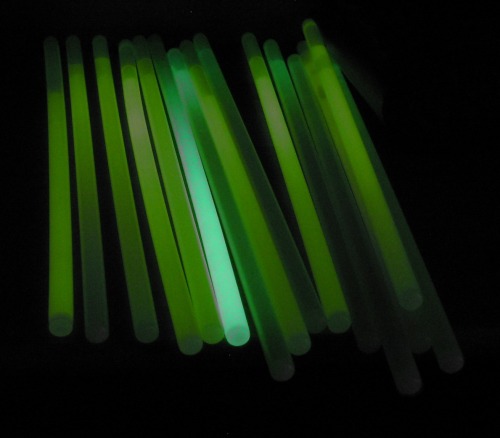
These glow sticks are very light. Maybe Fritsl could use them as drum sticks for his YDM. Would be a nice effect if the drum sticks suddenly begin to glow :)
I dismantled one intact glow stick. Some gas escaped, as I cut the plastic tube open. They are probably filled under pressurized N2 or CO2 atmosphere. I put the fluorophore and H2O2 in a test tube, but the glow was very unspectacular. The ambient air made the mixture unusable in a few seconds.
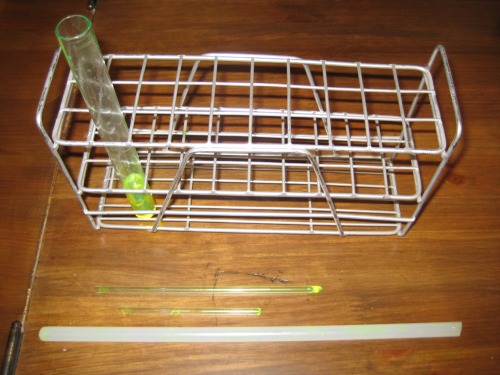
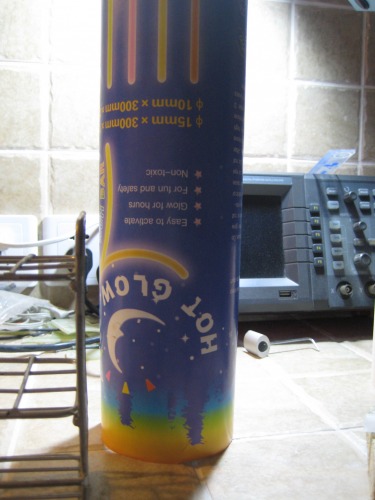
2010.04.30 This evening the EXPO opening ceremony started and my new glow sticks arrived, packed in a stabile cardboard roll, none of them were broken:
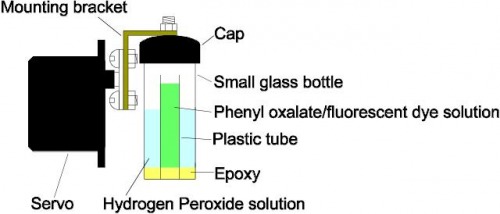
After I dismantled one of those glow sticks I discovered that this kind of glow sticks following a different principle. The plastic tube contains the hydrogen peroxide solution and the glass tube the phenyl oxalate and fluorescent dye solution:
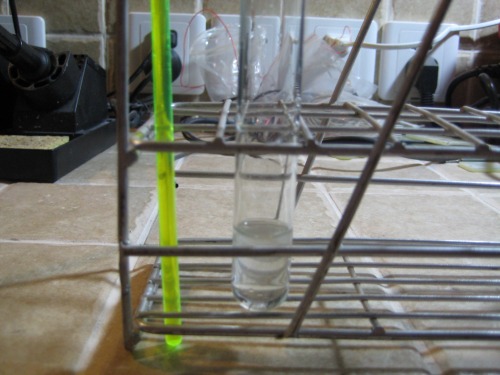
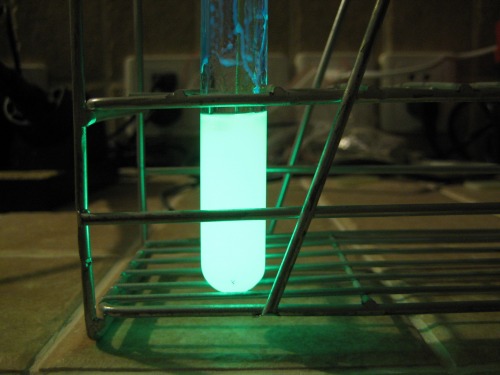
There was no overpressure caused by a protective gas ascertainable, as I cut of the plastic tube. As I opened the glass tube with a small pair of pliers (wrap around a tissue on the glass tube to avoid it breaks on different positions and you cut your fingers!), I realized, that the glass tube was filled with a small amount of protective gas, which escaped with a loud noise. I was afraid that the ambient air would make the phenyl oxalate and fluorescent dye solution again unusable in a few seconds, but as I mixed the two liquids in a test tube I got a very bright long-lasting glow:
2010.05.01 Decided to re-design Firefly. First step was to find an easy way to store the two solutions separately and mix them then together:
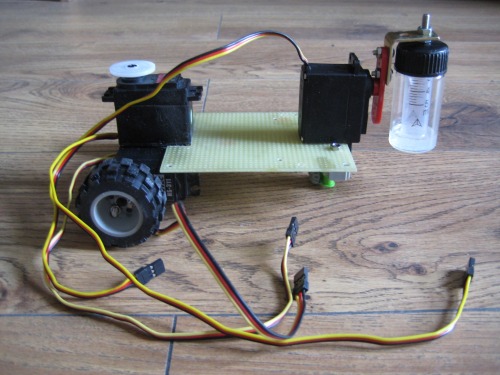
New robot platform under construction:
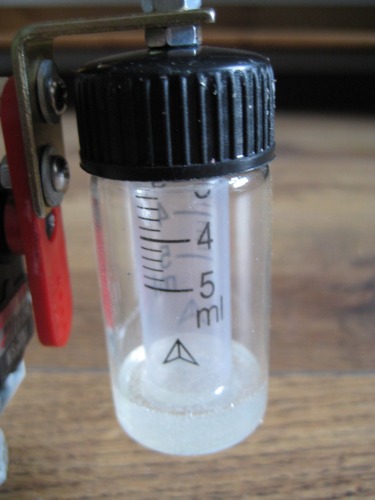
Container for phenyl oxalate/fluorescent dye and hydrogen peroxide solution:
2010.05.02 Some further progress:
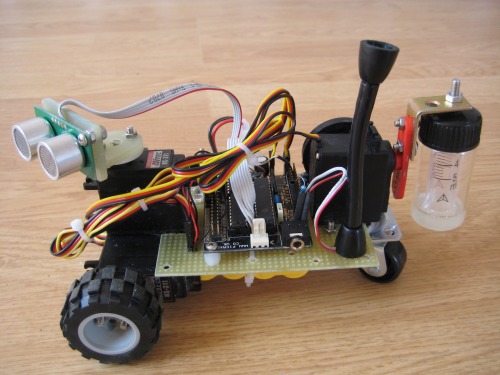
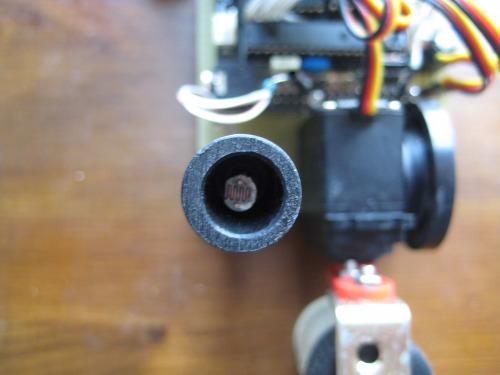
A LDR is hidden in the antenna shaped tube. The chemiluminescence will be now activated, if the robot drives into a dark area.
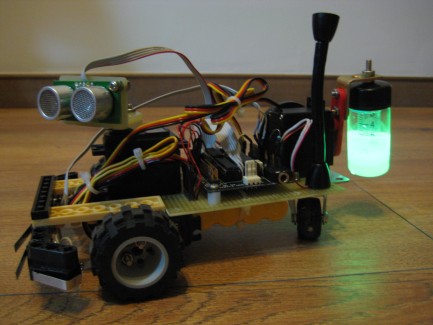
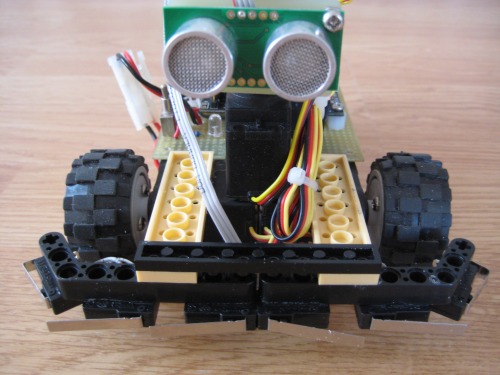
Front view of Firefly:
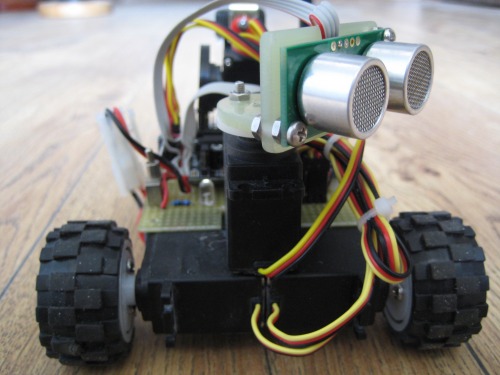
Side view of Firefly:
Tactile sensor added and test program written. Let it glow :)
Navigates around via ultrasound, reacts on brightness, emits blue cold light by chemiluminescence
- Actuators / output devices: 2 servos modified for continuous rotation, LED, 1 servo for srf05, 1 servo for chemiluminescence activation, loudspeaker
- Control method: autonomous
- CPU: Picaxe 28x1
- Power source: 4.8V / 700 mAh / NiCd
- Programming language: Picaxe basic
- Sensors / input devices: SRF05, LDR, tactile sensor
- Target environment: indoor