


MoTank (A.K.A Plagiarism tank) With Video
UPDATE: #3
Video testing PWM.
UPDATE: #2
More updates very soon + video.
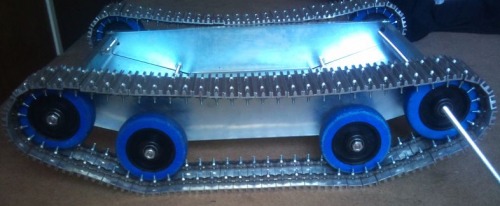
Rolling chassis!
Wiper motor mounting
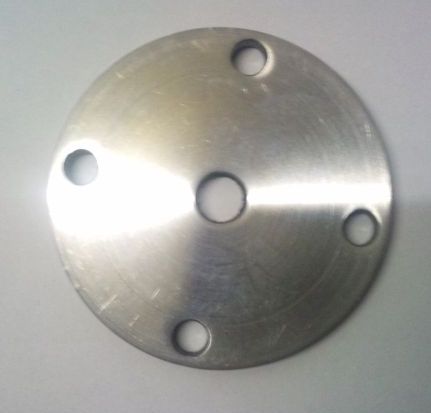
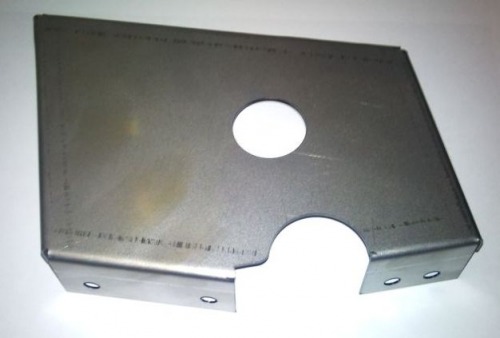
Driveshaft adapter plate enabling me to drive the treads with M10 thread inside for locking.
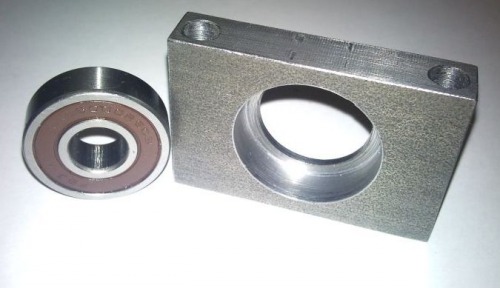
Backplate bearing mount with two M6 alancaps going straight through
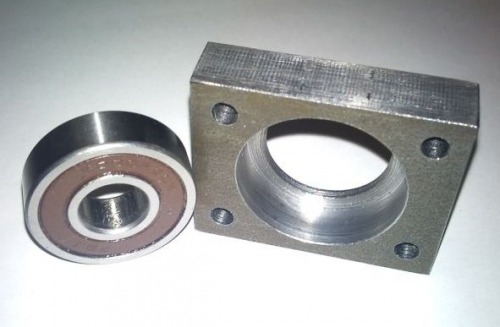
Side bearing mount with four M6 alancaps going through
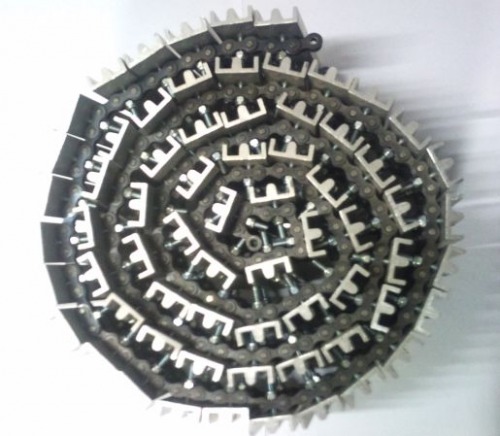
A shot of the rolled up tread.
UPDATE:
After some exams, obvious student cashflow problems and time, i'm back and ready to put this tank to bed, or rather to life.
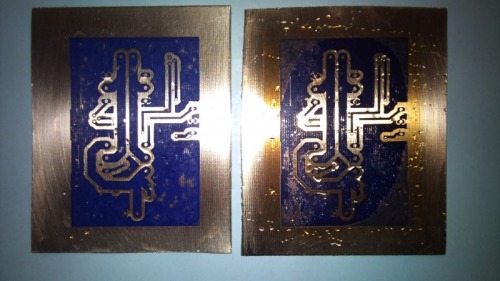
Got a wonderfull tutorial for a 10A motor controller H-Bridge, and decided to construct these because i can't seem to get a high current motor driver here in SA. So i laser printed the circuit on "print & peel" paper, ironed it on and started etching. And these are the results.
Tutorial can be found at http://www.pyroelectro.com/tutorials/h_bridge_4_transistor/
Before etching.
Completed H-Bridge
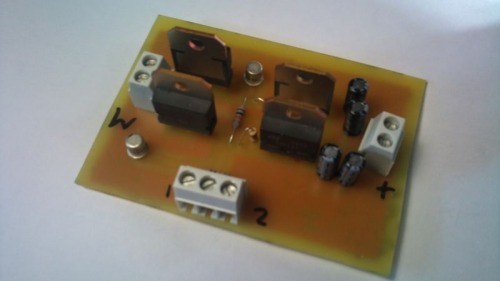
Although it's not short circuit protected, a few ms delay with the arduino should do fine. The "W" is actually a "M" for motor connections. 1 and 2 is to trigger clockwise or anticlockwise and in the middel it's just a ground.
The treads changed. . . Step 3,2,1. This looks and works better because the M4 screw is below the tread contact surface.
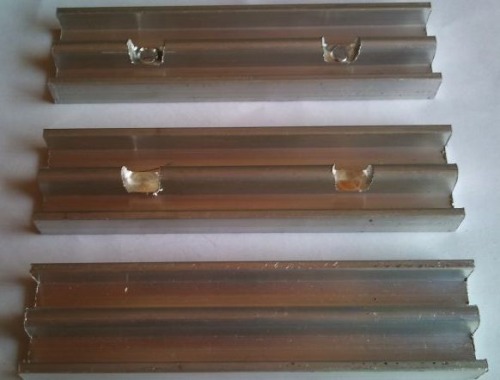
Finished New tread.
Tank with new treads fitting snuggly. (the tread at the back is not tensioned yet)
So hopefully things will go a bit faster now and i hope to keep updating at a steady speed from now on.
OLD:
First of all, this "Plagiarism tank" got his/her name for obvious reasons. Spent some serious time on LMR and other interesting sites with inspired people like us bunch. Dont know who i should all give credit to, but if you see your idea, just give me a virtual slap. Treads inspired by https://www.robotshop.com/letsmakerobots/node/18962 :D
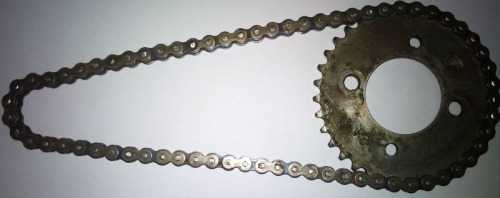
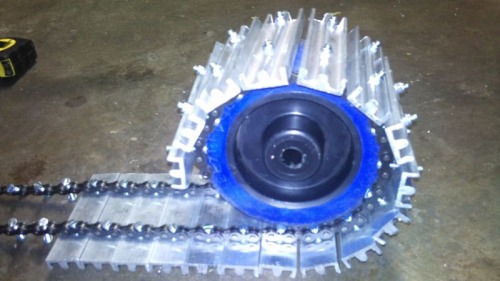
This will be the drive train with the primary sprocket and chain. (GSX750 oil pump sprocket i think)
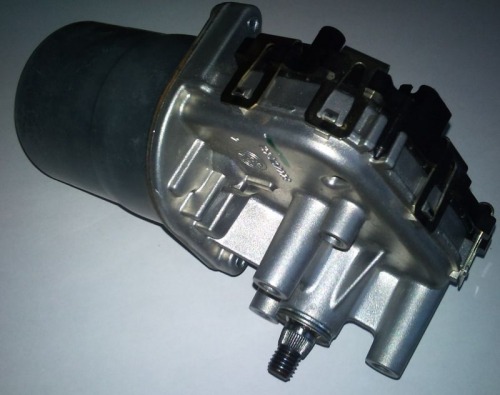
This is the Bosch wiper motor. 12v. +- 3.5A. Breakout is 25nm.
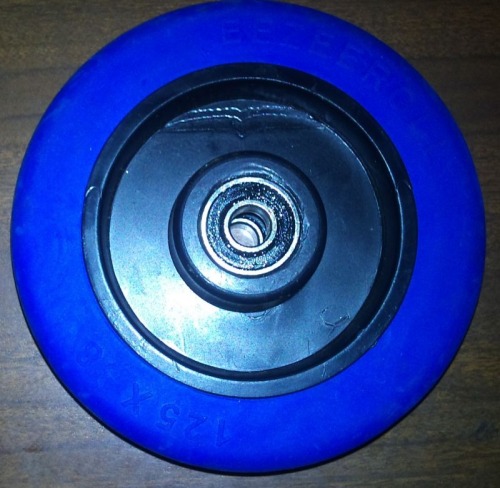
Wheels what i will be using to drive the treads. Trolley or ladder wheels (x8)
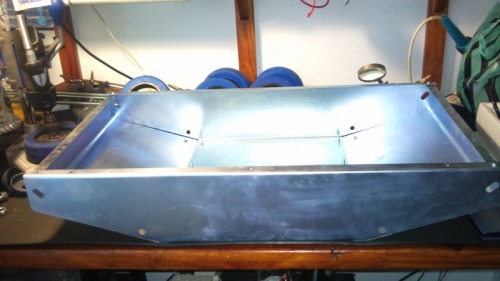
My sheetmetal 1.2mm electroplated frame that consists out of 3 parts that screw into each other with M4 screws. Quite sturdy.
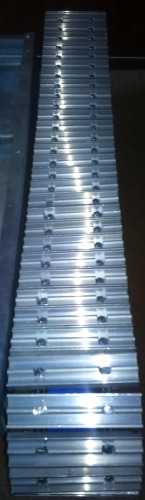
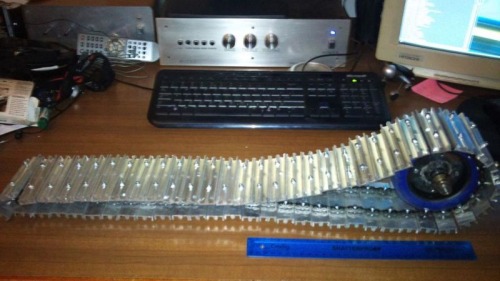
In progress tread. Doesn't look too bad. (6m of aluminium extrusion cut into 100mm pieces.)
1 Finished tread. 1 more to go. Yes, that's a ruler in front of it.
What it SHOULD look like after some hours spent. . .
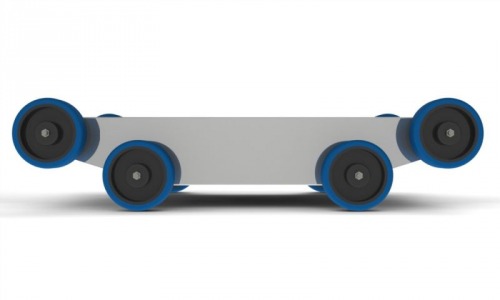
Left view.
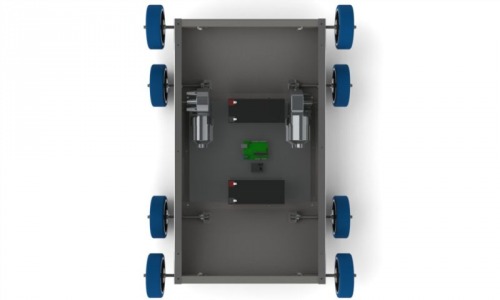
Top view
Isometric
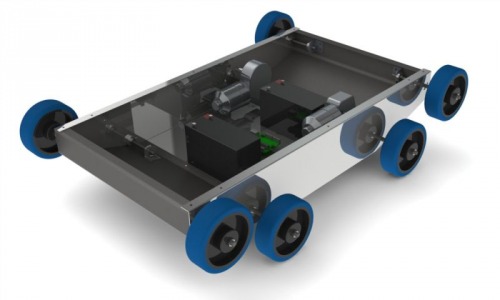
From the isometric render you can see the 2x 7Ah batteries (1 battery for testing stage). Arduino Uno in the middle. 2 Wiper motors. Some dodgy brackets and shafts that still need some refinement. And obviously, those aggressive looking treads. (The 2 channel 27mhz receiver is behind the battery.) I already bought a 2.4gHz colour camera with sound. Not the best quality ever, but should do for my purpose. When this tank is close to stable etc etc, a Xbee will be added just for all of you that says it's not a robot until it's autonomous, im getting there (slowly). All i still need to buy is some FETs for PWM, bearings for the driveshafts. Draw and fabricate a second gear for the drivetrain. And some good old fashion labour.
In the future (hopefully not too far from now) i want to add a serious flamethrower (just for some intimidation). :-D
Drives around. Intimidates. Climbs stairs?
- Actuators / output devices: 2x Bosch Wiper Motors
- Control method: Radio control while developing
- CPU: arduino uno
- Power source: 2x 12v 7Ah
- Target environment: Indoor Outdoor