


Mosquito rover [new video now also on youtube]
Update 2010.06.10: New video to celebrate the 3rd 2nd place at the GoRobotics competition
Ni hao robot builders,
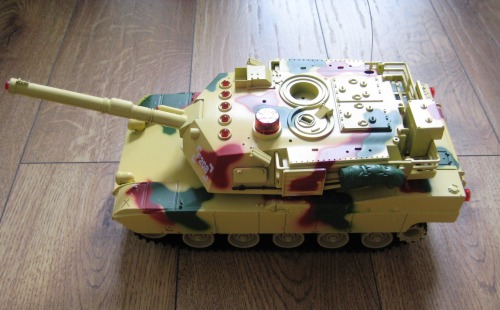
If you ever see this baby in a store...
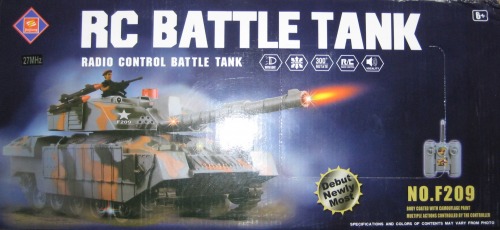
...buy it -- it is easy to hack and you get beside a tank track platform a lot of additional stuff like RC, sound chip, loudspeaker, battery pack, charger, bi-color-LEDs for around 180 RMB (Carrefour):
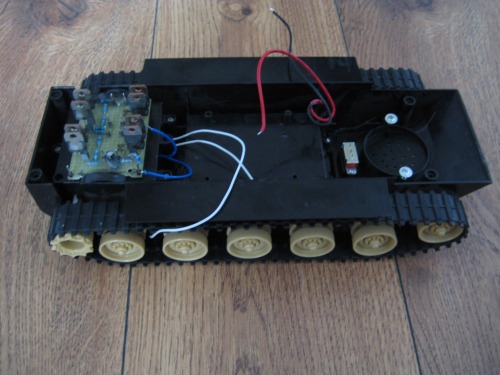
Unfortunately every motor draw around 1 A (and around 2 A if they block), so the L293D on the Picaxe board can not be used.I build up a TIP 122/TIP 127 double H-bridge on a perfboard and glued it with epoxy on the top of the gear box:
TBC...
Today this little 20 RMB bug zapper caught my attention:
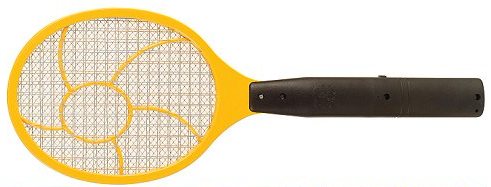
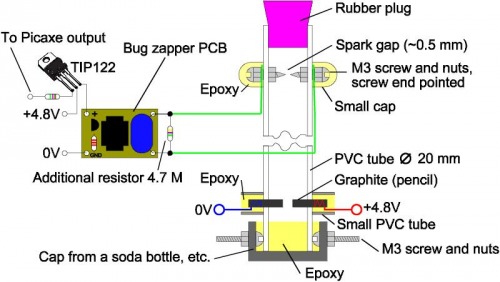
The small PCB inside is able to make big noisy sparks --- perfect as a spark generator for my oxyhydrogen cannon:
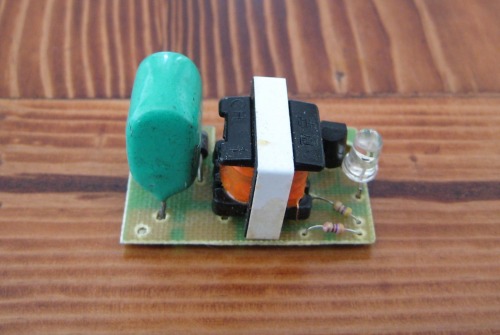
Handle this PCB with care, should you consider to use it too. Even you have a spark discharge, there is still a residual charge in the capacitor to fry your fingers instead of a mosquito.
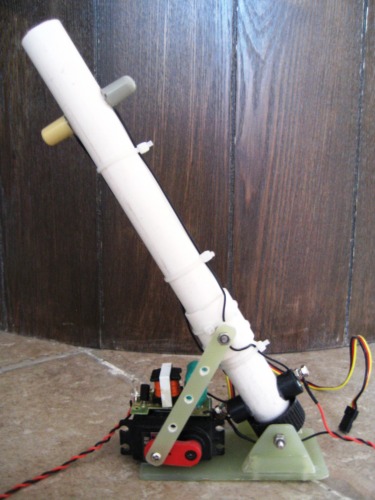
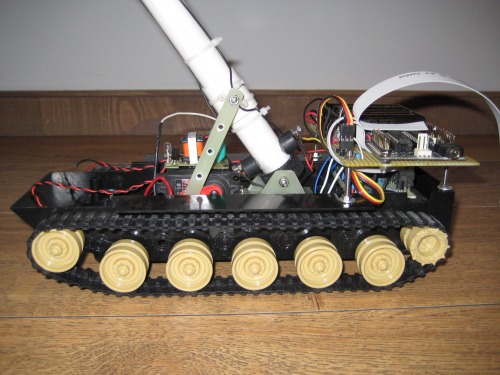
Here is the finished cannon. The inclination angle of the barrel can be adjusted via servo from 90° to 45° .We know, that we will get the biggest range of fire at 45° (air drag neglected) :)
Construction:
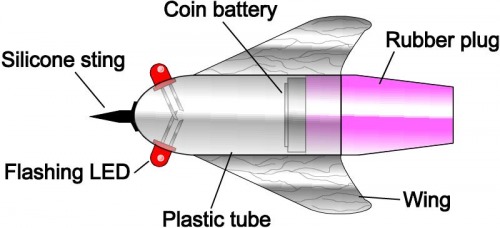
Thought about to name this robot Mosquito rover. Why? Ok, I want to give the cannon projectile the shape of a mosquito:
That's the theory so far. Now I have to build it.
Assembled the battery box and the Picaxe board on the rear of the tank platform today. Makes great fun to drive this robot!! Still a lot of place in the front of the tank for a second board and a photovoltaic array. I think I might use the same servo for adjusting the cannon and the photovoltaic array, because all output pins are already used.
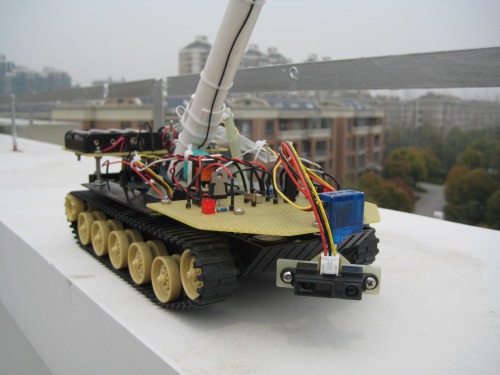
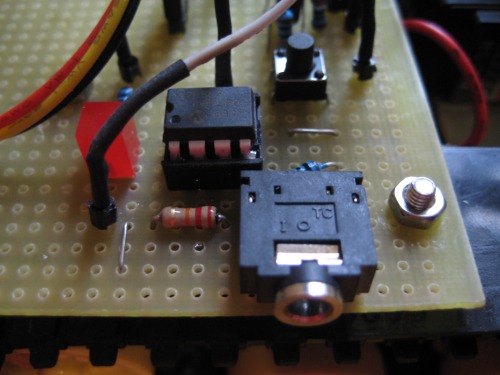
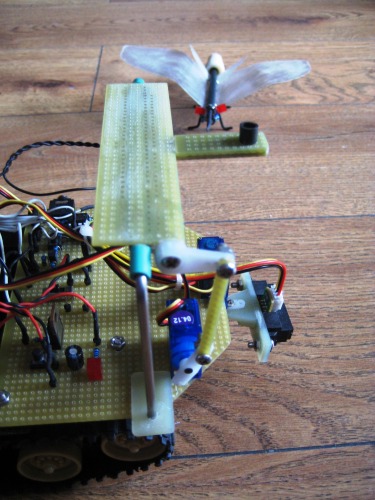
The robot got its front board with spark generator driver, loudspeaker, astable oscillator 08M circuit, push buttons, power indicator LEDs and Sharp IR, driven by a micro servo HITEC HS-55:
Today I had to notice, that the timer settimer command in general not works if servo commands are used, so I replaced the 555, which I had used as an astable oscillator, simply by a Picaxe 08M. The 08M is now responsible to switch the mode after a defined time, when enough gas is generated to fire.
Here is the mosquito, build from a small plastic tube, plastic sheet, wire, heat shrink, epoxy glue, LEDs as eyes and a few other electronic components, just landed on a coconut:
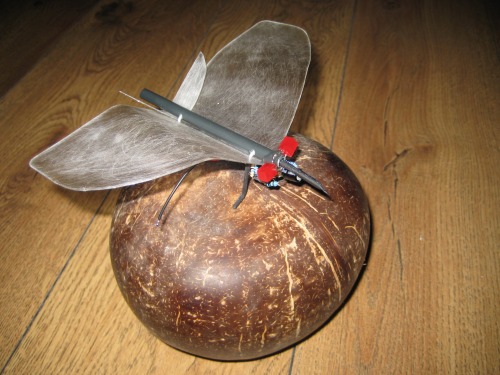
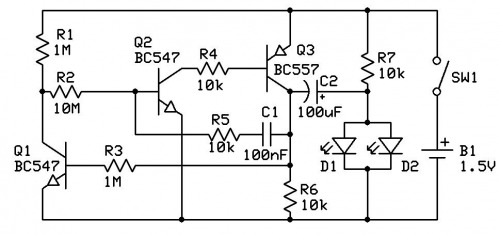
To keep the take-off weight of the mosquito as small as possible, I only wanted to use a 1.5 V coin battery, so I needed a special circuit to make the LEDs flashing:

Today I ordered a 5.5V/90 mA photovoltaic array (9 RMB/piece at taobao.com) and started to build the holder for it:

The photovoltaic array holder has been finished. A micro servo HITEC HS-55 adjusts the gradient angle of the photovoltaic array according to the brightness, measured by a LDR. The basic position of the photovoltaic array is 0° (parallel to the ground). If the LDR gets shadowed, the photovoltaic array moves to 45°. If the photovoltaic array is still shadowed in this new position, the robot initiates an evasive maneuver to escape from the shadowed area. After the evasive maneuver is done, the photovoltaic array moves back to the 0°-position.
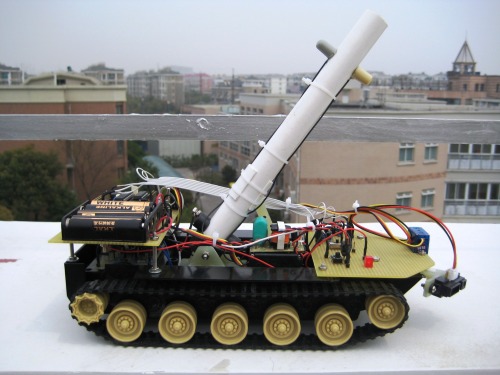
The mosquito rover has been finished. Now the robot takes a sunbath at my roofgarden to charge its oxyhydrogen cannon:
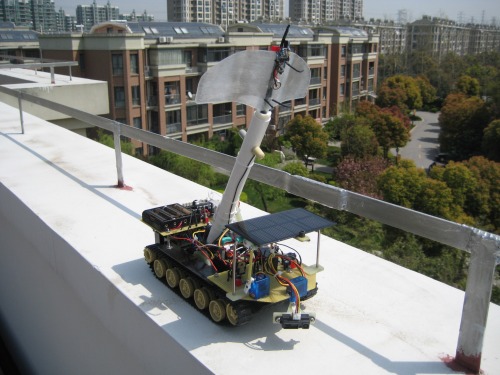
Navigates around via IR, produces oxyhydrogen, shoots off mosquitos :)
- Actuators / output devices: 2 gear motors, 1 servo for Sharp IR, 1 servo for cannon, spark generator, oxyhydrogen cannon, 3 LEDs, 1 servo for photovoltaic array
- Control method: autonomous
- CPU: Picaxe 28x1 and 08M
- Power source: 4.8V 700 mAh NiCd, 4x1.5V AA
- Programming language: Picaxe basic
- Sensors / input devices: Sharp IR, LDR, 2 push buttons
- Target environment: indoor, outdoor