


[MEGA] Zwei
I have a new walker in progress. A part 2, if you will, of Sintra-sticks. This time, I am using smaller components, more servos, and hoping for more luck on getting this to work right! A big thank you to Jeffrey The Quadruped and Small Quadruped Robot for being big influences!!
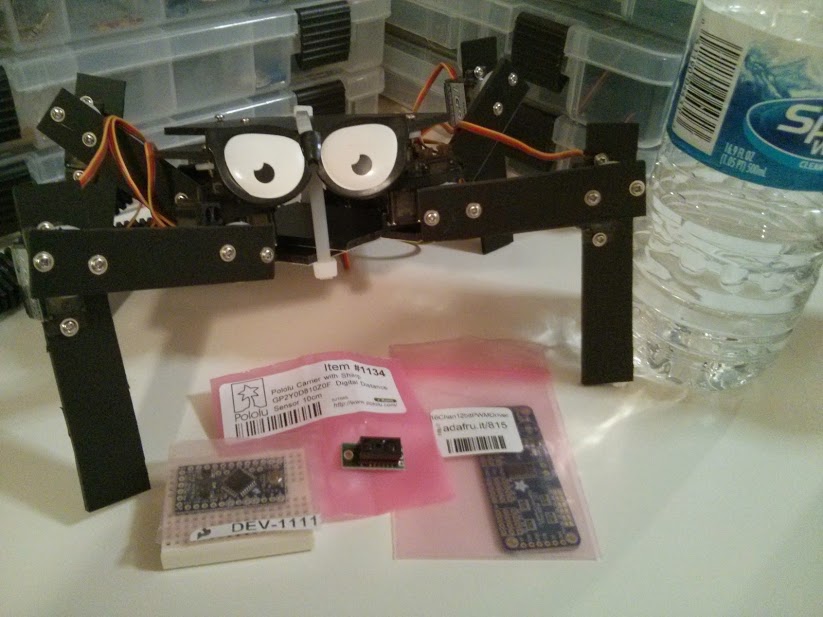
This build is planned to use the following components:
- 3mm Sintra Board
--- (4) 4x2in pcs for the body - two X's
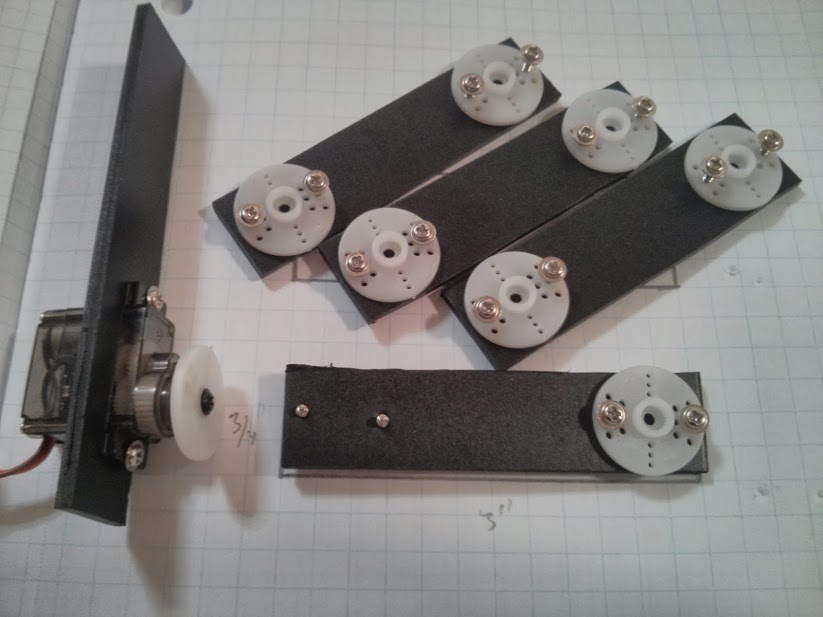
--- (4) 3x3/4in pcs for the femurs
--- (4) 4x3/4in pcs for the tibia
- Adafruit 16-Ch. Servo Driver
- Sharp GP2Y0D810 Distance Sensor
- (4) Injection Molded Servo Hinge
- (2) Pololu 6.0 V NiMH 900 mAh
- Zip ties
- Toy eyes
As stated before this is an update build of my Sintra-sticks quadruped. Sintra-sticks used 1 big rectangular block with two smaller beams crossing for the hip servos as seen here. (4) smaller femurs then connecting to respective larger tibias. What is different here, instead of super glueing the servo horns, I just screwed everything together in the event I wanted to take the whole thing apart for adjusting.
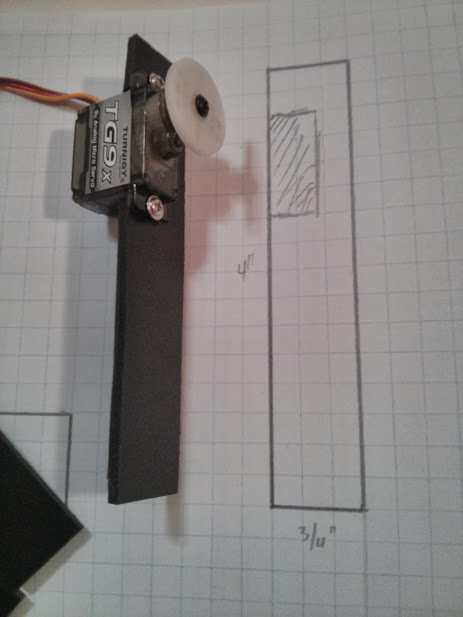
For the legs, I really wanted to utilize a hexapod like 3-servo design, but adding servo brackets would be too much. Jeffrey The Quadruped was a big influence, in particular, the hip servos. So, I did my own version.

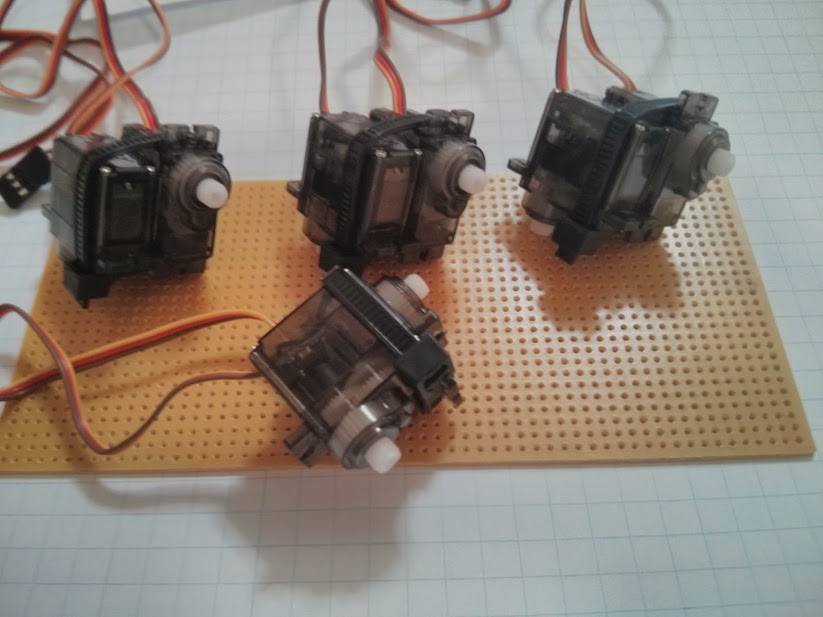
Start putting everything together...

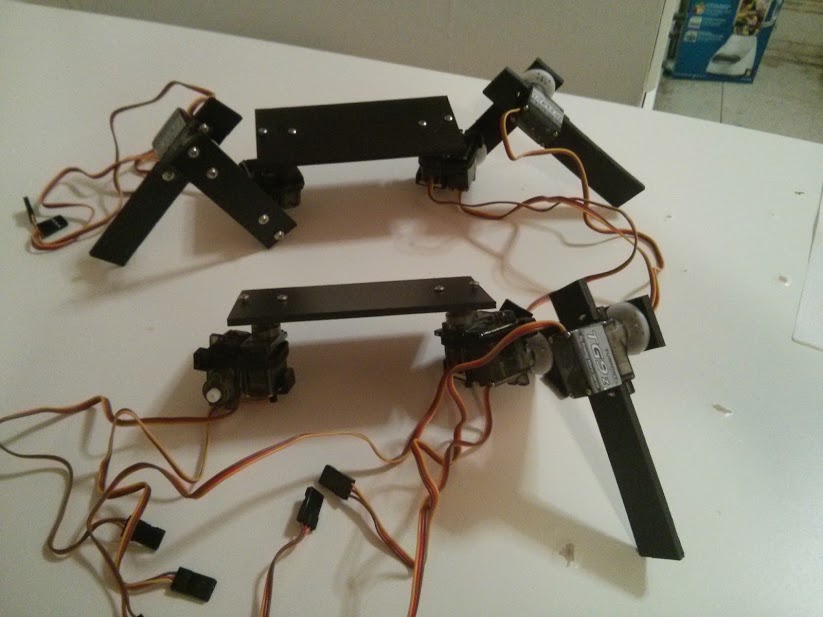
I didn't document the body, but as stated, one block sits on top of the other like an X, duplicated. The bottom is cut further to allow the servos to move
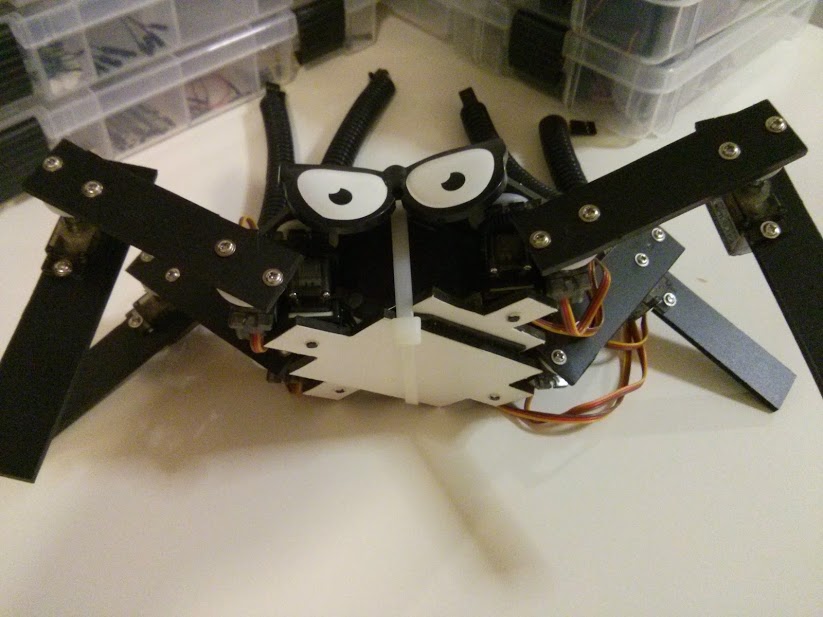
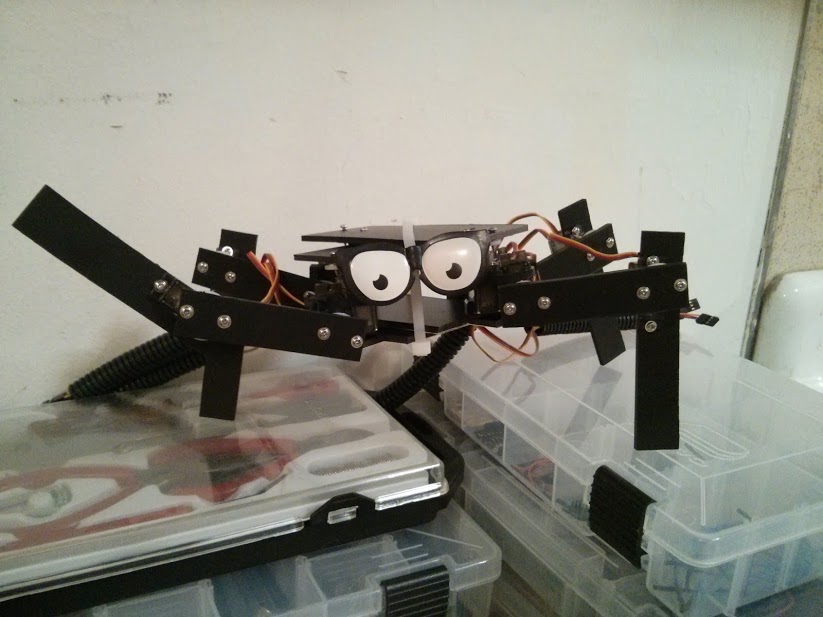
The basic build of the robot is done for now. What is needed is the electronics to be planned & fitted. The battery pack would go on the bottom. The Pro Mini would be mounted to a small breadboard and attached to the inner body, but I am also trying to fit the Servo driver in the middle of the body as well. I have right angle pins on order and I have 1/4" standoffs to mount the servo driver, but I am thinking I will not be able to fit everything nicely in the body.... I am thinking the servo driver needs to go on top... That is where I am, for now. See you later!
Nothing yet...
- CPU: atmega168
- Sensors / input devices: Sharp GP2Y0D810
- Target environment: indoors