


[MEGA] Eins
The robot's name is a placeholder until I think of something else. This will be one of three TED the BiPed clones. There are too many Bob clones !!! lol.
Anyway, this is my first "adventure", if you will, with circuit boards and seriously testing my (noobish) soldering skills. As an early birthday present, I got myself a new soldering iron to help, but it's not working with the solder I have with my old iron.... so back to the store I go. This is also a test with the ATtiny since I am not seeing many bots with the Attiny.
This walker has/will have the following:
- - Attiny 84a
- - (4) Turnigy TG9 micro servos
- - HC-SR04 Sensor
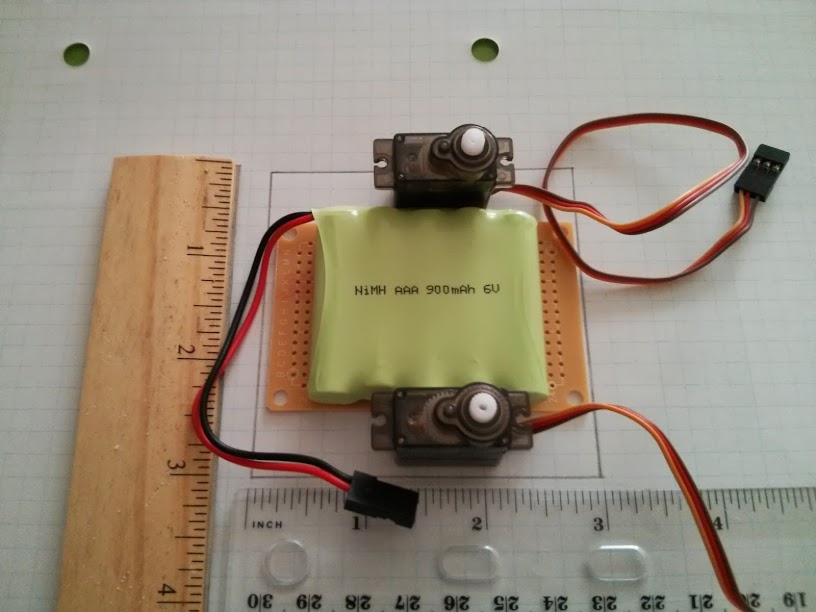
- - Pololu 6V NiMH 900mah 5xAAA battery pack
- - LM2940CT 5V regulator
- - Pololu Standoffs
- - Sintra base & legs
- - Radio Shack PC Board & Grid PC board
[Build Progress to Date (7/5/2013)]
Right off the bat, I knew I want to build a Ted/Bob clone. Ted used the smaller Mini PC Boards with a 9v battery, but I had my eye on the 6V Nimh battery pack for while to use in my SintraSticks project. The Pololu 5xAAA 6V pack was a good fit for the bigger circuit board so, this is where the base idea came from.
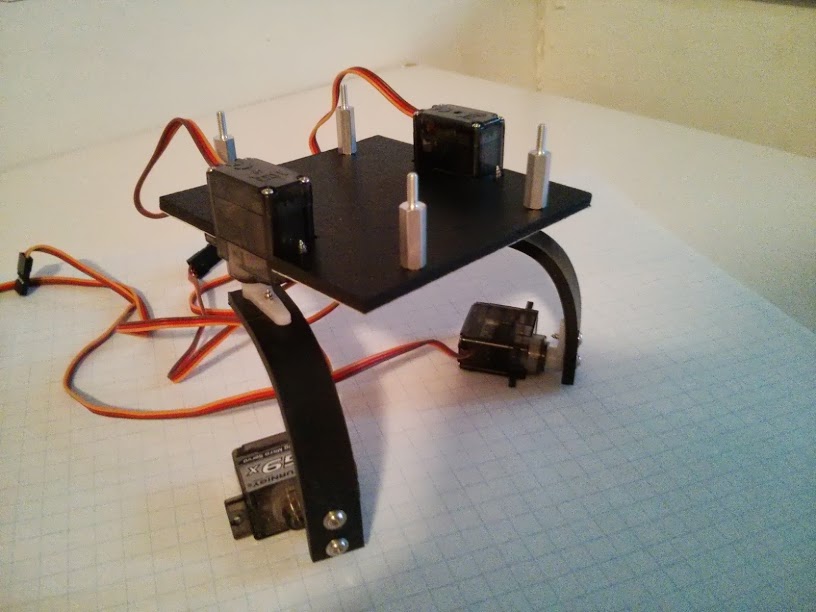
The base is a 3in. x 3in. rectangle piece of 3mm Sintra board
After cutting out the area for the Servos, I punched out holes for the standoffs and mounted some temporarily. The base fitting:
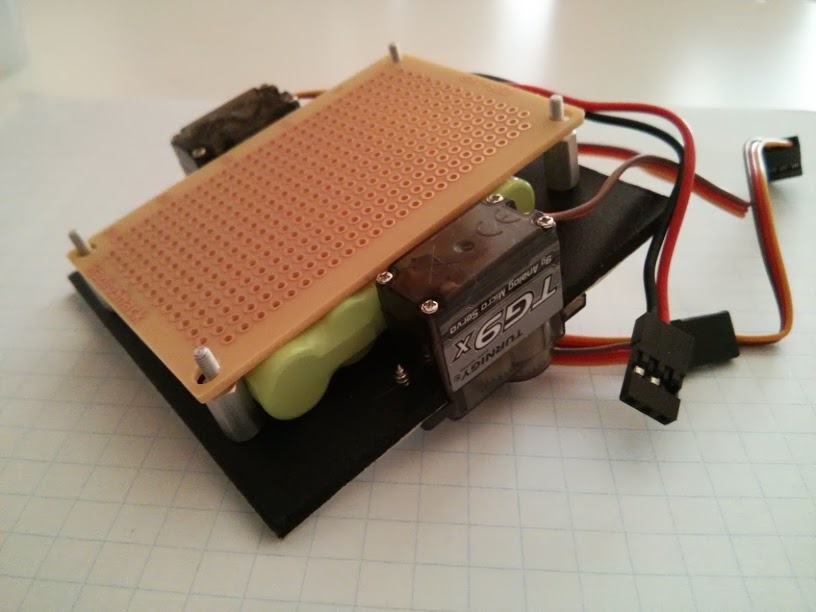
The next step was to get the legs going. Since I don't have access to a 3d printer, then I have to cook & bend the Sintra. This was another first for me but fun. Boil the water, drop the sintra in for about 10 seconds, bring it out and shape under cold running water. Repeat as needed. I am not 100% happy with the legs, but they are close enough
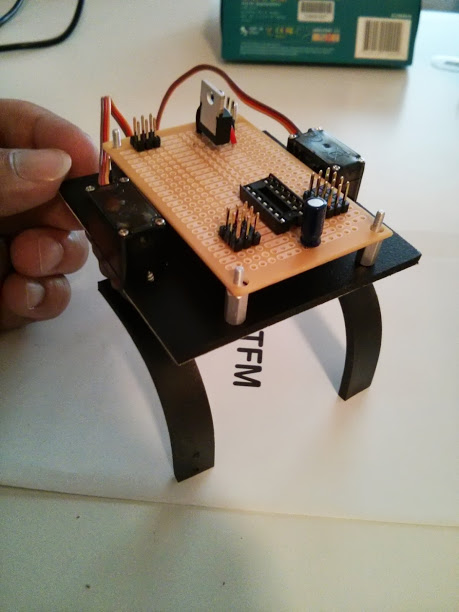
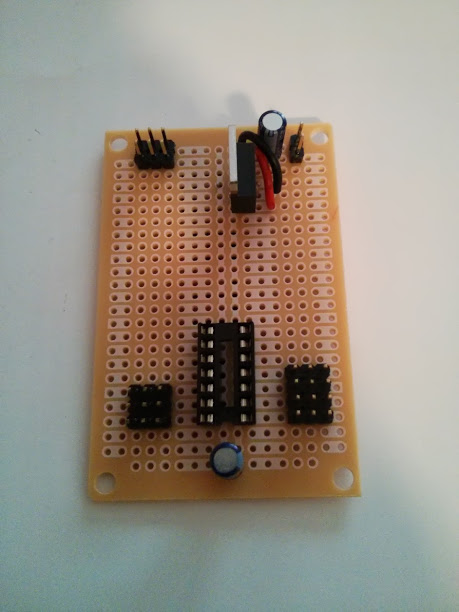
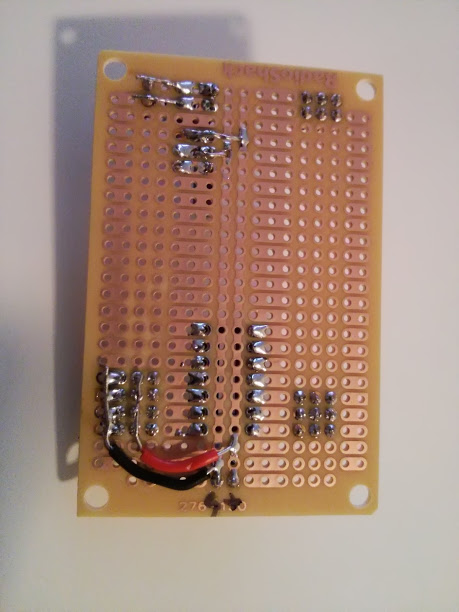
The next part was the circuit board itself. I did the base of the PC board in Excel to I can map things out on my free time at work, then doing some of the mockup on a breadboard later on. The Standalone Arduino guide and Oddbot's Battery Regulator guide help start this out. The next part was mapping out what I needed for the Attiny84. Per the Arduino Tiny Source code, the ATtiny84 has 4 PWM pins, 3 on the VCC side and 1 on the GND side - these are set for my servos. Next I needed 2 pins for the HC-SR04 (Echo & Trigger), then one more if I wanted a speaker. This leaves 4 pins open, if I wanted to expand - LEDs maybe. Next, how do I program this?!?! First thought was the breadboard the Attiny and let the Arduino Uno program it, then put it back on the board, but would be too much, so I added a 6 pin header for my Sparkfun Pocket AVR programmer, which I haven't used yet. Again, this is my second (first version of this didn't come out right) attempt at doing a circuit board
[Build Progress as of (7/8/2013)]
Good news! I started attaching the ankle servos and the feet
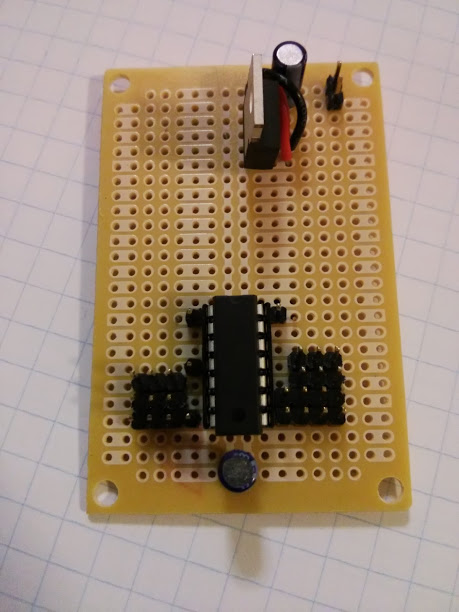
Bad news... I started on a third iteration of the circuit board. I had some faulty connections somewhere on the IC socket on the second iteration that I couldn't find, plus I messed up the connection of the ISP wiring - BAD! After hours of checking the board with the multimeter, then using the avr programmer, I just gave up and started again. This version works. I just need to add the power connection to the pins. This version will have the ISP header on the top circuit board and I will have the connections run from the top to the bottom. This allows me to work on the bottom board more freely and I can use the Arduino as an ISP if I chose with this configuration.
[Build Progress as of (7/9/2013)]
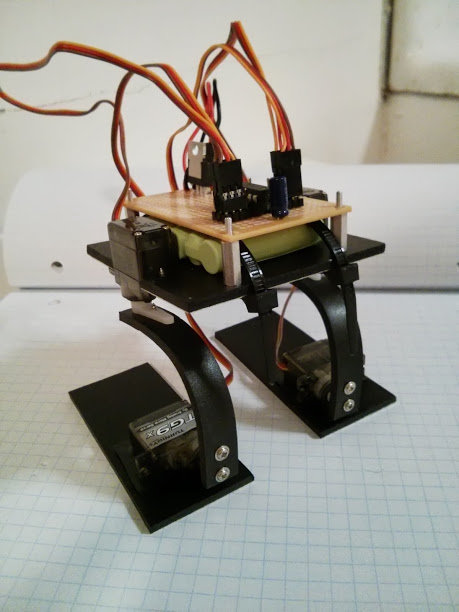
Quick update. Started working on the top circuit board. Gorilla glued (4) Male/Female Jumper wire for the HC-SR04. Soldered a new 6-pin ISP header with Female/Female Jumper wires. Just waiting to do some testing...
[Build Progress as of (7/12/2013)]
Almost done.. almost done! Some more building to go, but some duh & gotcha moments as well. It moved and walked!!
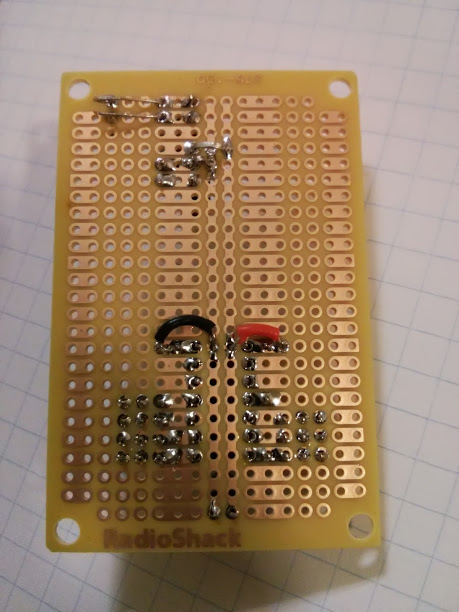
Bottom circuit board is pretty much done. Power was added to the pins in place (how do you guys do this cleaner?!?!). I took RobotFreak's advise and added the capacitor & resistor - I actually should have done this earlier in the process. Lesson Learned. I also took Maxhirez's advise and added an external timer - I used a 20Mhz ceramic resonator to help.
Top circuit board is not quite finished. The female/male wires connecting the HC-SR04 sensor needed to be female/female (*smacks head*). I needed to reduce the wire length anyway, so this is not as much of a setback as I think it is. I also will probably add a power switch and move the power connection to the top. Right now, the power connection, in it's current position, is tight next to the standoff and it was an to keep removing/inserting the power for testing.
The legs/feet need to be finalized. The screws I used for the servo horn and servo are not secure and disconnected on the test walk cycle. Due to the proportion of the weight, I also may adjust how the legs are positioned as the robot seems to be leaning back or slightly looking up...
Code - I was using the Ted the Biped core code to test my biped, but I got an odd error compiling. Google the problem...The Arduino IDE (for OSX at least) needed to be using an updated avrdude. I symlinked the AVR Crosspack to help compile larger sketches. That out of the way, verified the code, then re-uploaded it. Build completed but failed. Undoing to the power and putting it back made it walk for a bit, until the legs came off.... I have to look into reducing the code if I want to use it as a base...
[Build Progress as of (8/25/2013)]
Wow, it's been some time and a lot has happened
First, as you can tell from the title, I am using a ATMega chip in the form of the Arduino Pro Mini. The Attiny84 didn't fail per-say, I just couldn't get it working right. Using the Ted code worked, but simplifying the code or using new code targeting one or two servos for basic movement wouldn't work. Tried many different things, only to abandon it for the time being.
I moved on to using the ATMega168v chips in a new board. Two attempts kept coming up with the invalid signature message that I couldn't get past, one eventually got fried. Yes, the first ATMega board caught on fire....
My AVR Pocket Programmer I deemed to be bad - never worked with anything. Using the Arduino IDE and using the command line for avrdude with the AVR Programmer, I would always get a couldn't communicate with the programer message or something similar.
It got frustrating to say the least, in that when I got back from vacation, I didn't want to work on this at all.
Another note, since I have been making more than one board, I have been getting frustrated with the Radio Shack circuit board that I am using. If you can tell by the pictures, I am running power lines to the servo pins. I could save some time, if the board had other power rails running outside the IC area. I will most likely try this prototyping board at Radio Shack, since it has the power rails throughout, but the size is undesirable compared to the one I am using now. I can't find anything similar in a smaller size, and I am not there yet for doing my own PCB work.
Second, to combat the bowing issue, I ordered some 6mm Sintra board and used that for the legs. I am not crazy about the angle, but boiling a board, quickly shaping & cooling it, you aren't going for precision.
So, my Arduino Pro Mini's arrived and I got back to work. Quickly doing (yet another,) circuit board and using the Uno as an ISP, I am back to getting this guy moving! See the attached video for a test walk sequence.
Old dance video added... My bot being silly!
Nothing yet...
- CPU: Attiny84a
- Power source: Pololu 6V NiMH 900mah 5xAAA
- Sensors / input devices: HC-SR04
- Target environment: The shelf for now...