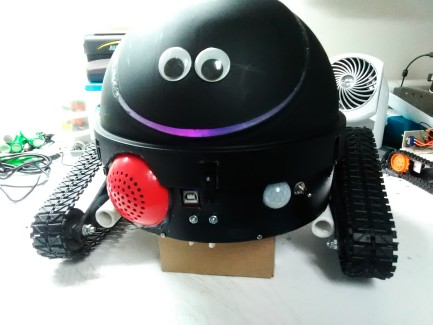
Meet ROI-TrashBot
Meet ROI-TrashBot.
ROI started out as just being a project to do in some spare time I had during my vacation.
I was doing some shopping in Wal-Mart and saw this trash can.
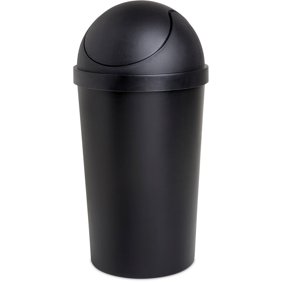
Immediatly I came up with the idea to making a bot just as a fun project.
The first thing I did was to seal the lid so that it could not move and so that light could glow through it.
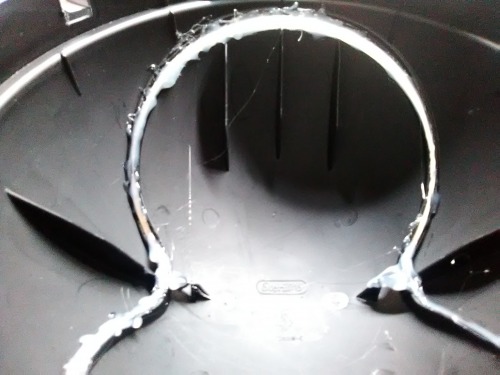
I used hot glue to seal it, I put masking tape over the entire gap on the outside surface.
This way when the glue was dry I would have a nice surface.
The next step was to decide on how tall it would be and then I cut the base down.
I then cut a piece of 1/4" PVC to fit on the inside of the base.
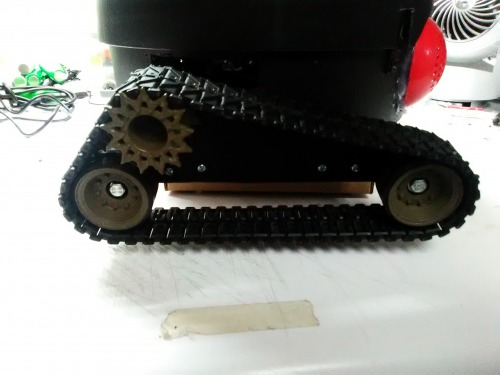
The drive system is two hacked MG-996R servos.
When I say hacked I actually mean modified as here is what was done.
The servos I used both had bad boards in them making them useless as a servo unless I replaced the boards.
I removed the board from both servos and then used the existing wire to wire the motors directly.
I then modified the gear system so that is would be continuous and operate just like that of a gear box.
The tracks that I used are from the Devastator Chassis produced by DFRobot.
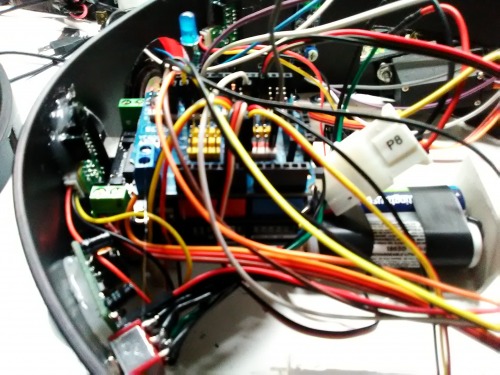
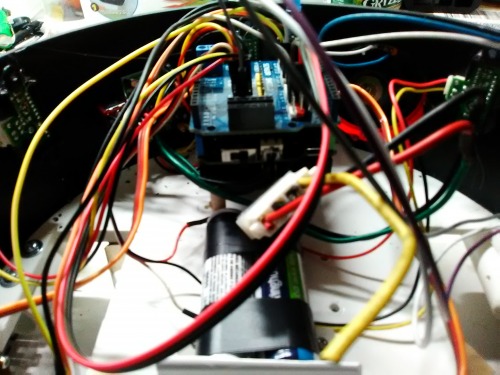
The board that I am using to control the motors is the DFRobot Rover Shield.
The entire system is powered by 2x 3.7v 2000maH batteries.
ROI uses two different types of sensors.
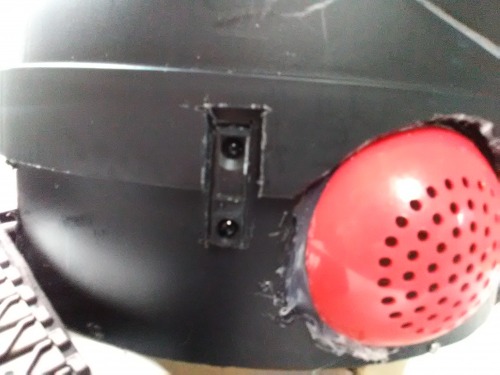
The first sensor is the Sharp IR Distance Sensor and there are three of them.
One in the front and one on each side 50 degrees from center.
These three sensor are used for navigation/obstacle avoidance while roaming around.
The other sensor is a PIR that isused for motion detection.
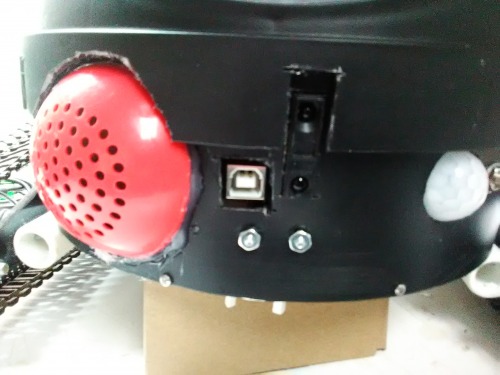
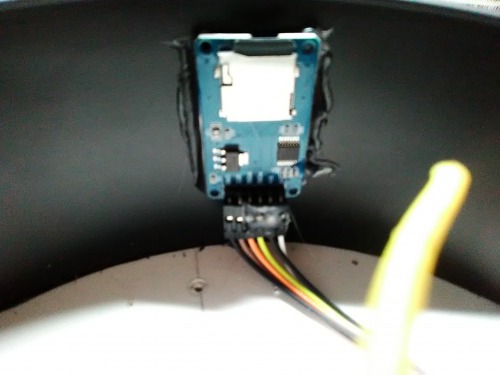
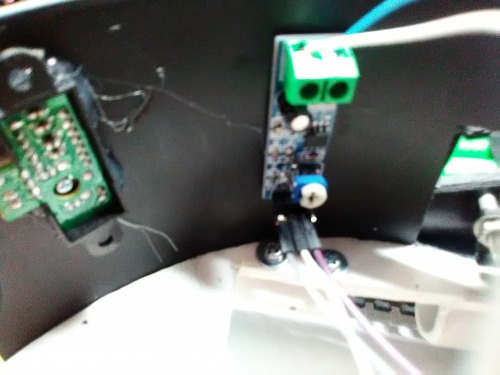
ROI also is able to talk via a SD card reader and 3w amplifier.
I used a speaker and part of the enclosure from one of these amplified speaker sold at Dollar Tree.
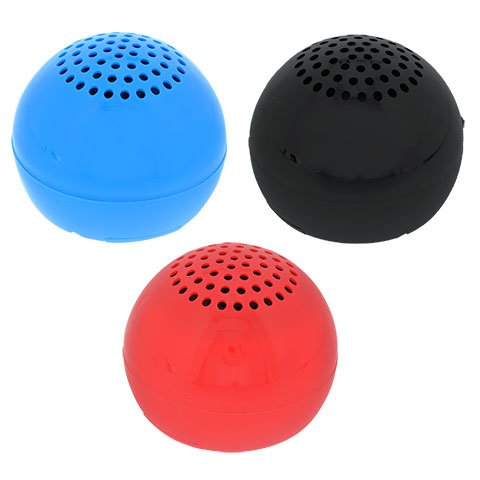
For $1.00 you really can't ask for more, where else can you buy a speaker with enclosure and little amplifier.
I would of used the amplifier from this but it was very cheaply built and had a lot of noise.
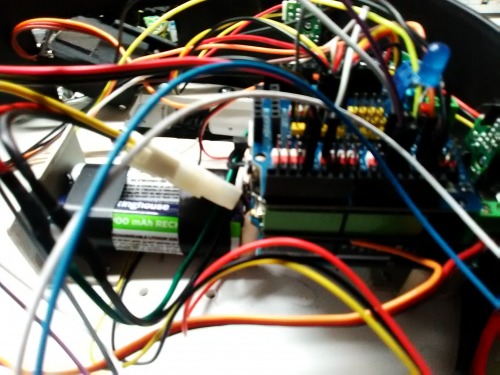
ROI is controlled by an Arduino UNO and uses a sensor shield.
What does ROI do, well ROI runs on a schedule of sorts.
For 30 seconds he will freely roam around then he stops and checks for motion for 20 seconds.
This cycle continues to repeat over and over.
During the time of motion detection if there is motion detected he then says "HALT Motion detected"
Here are some more detailed images of ROI.