


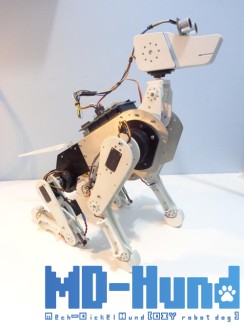
MD-Hund
For a long time I wanted to build a quadruped robot. And... you guys may have seen in some of my videos that I have many dogs at my home (precisely five). What better inspiration I would have to build a robot dog?
Below you see my little buddy Sebastian, which accompanying me in the long nights in the lab.

Mechanics
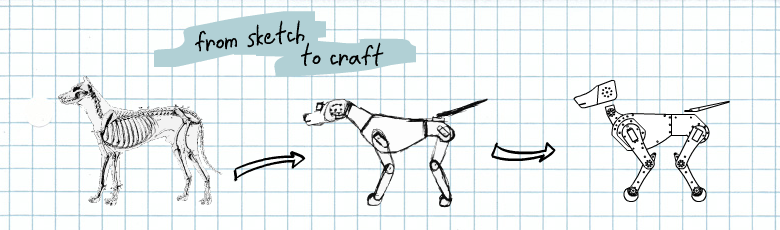
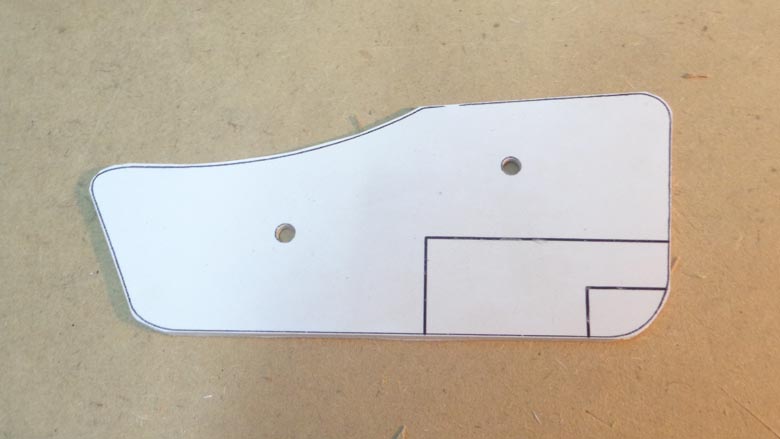
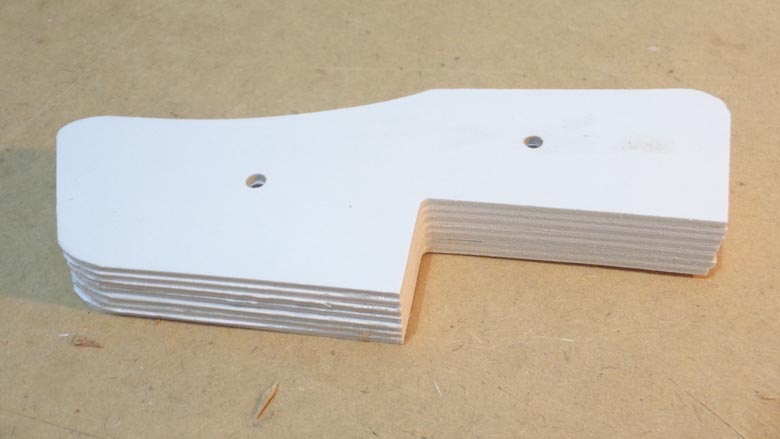
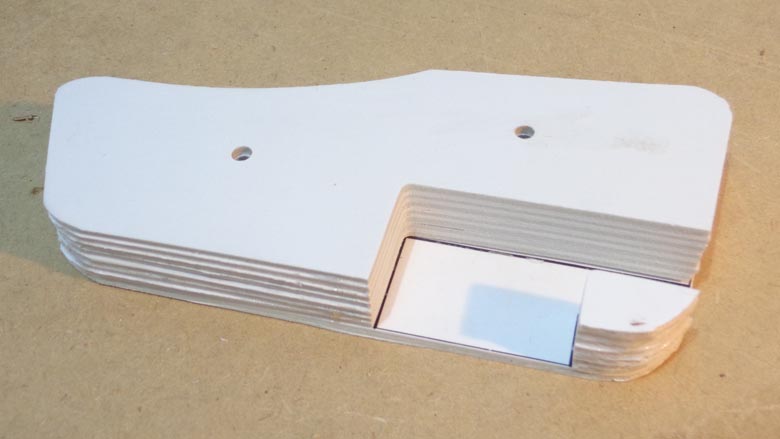
The design process of the parts begins with a brainstorming, then I adjust the drawings to get something satisfactory.
Specifically for this project was also required a study on canine anatomy. Actually a very superficial study, just to maintain a similar morphology to a real dog.
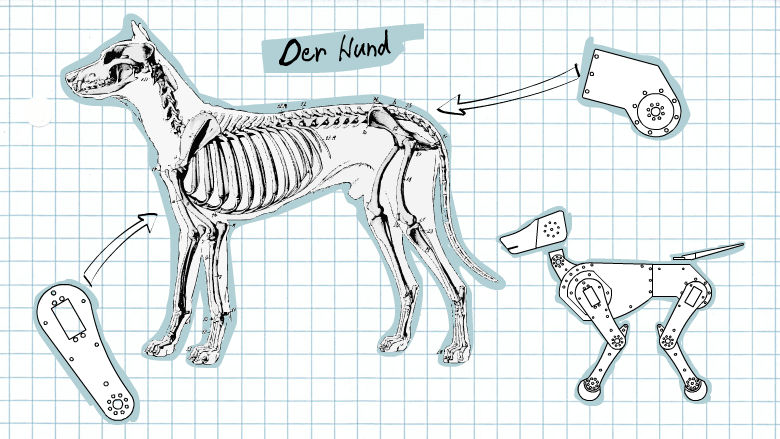
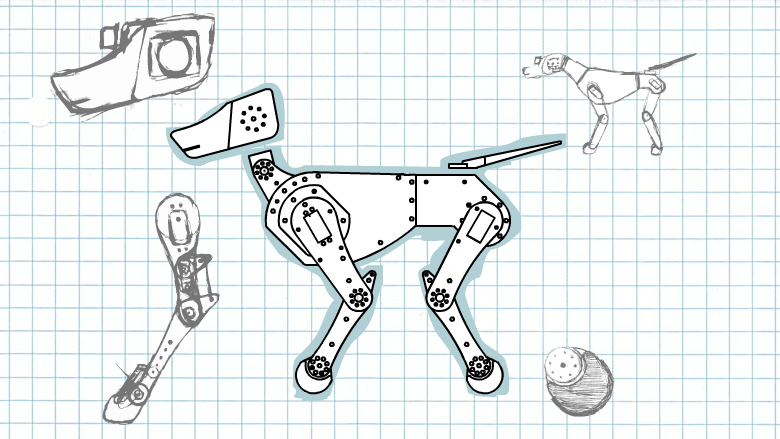
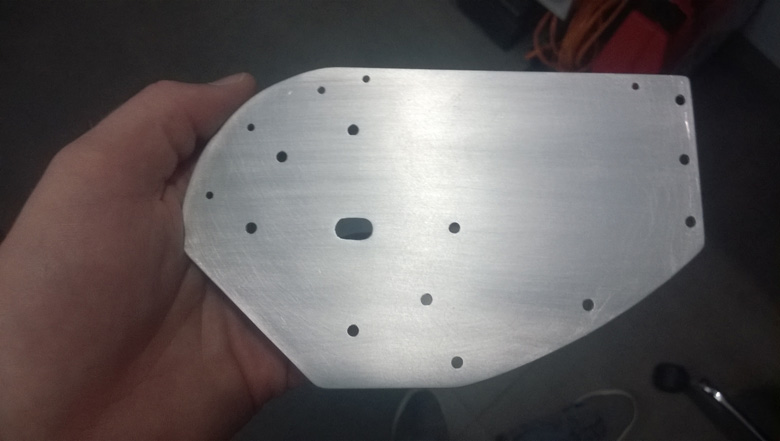
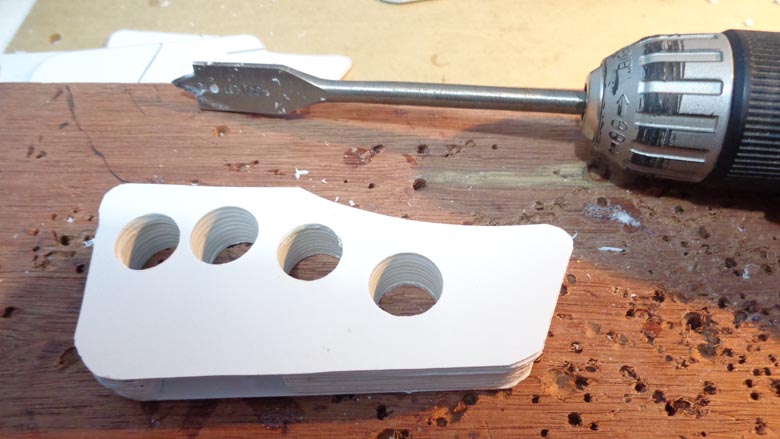
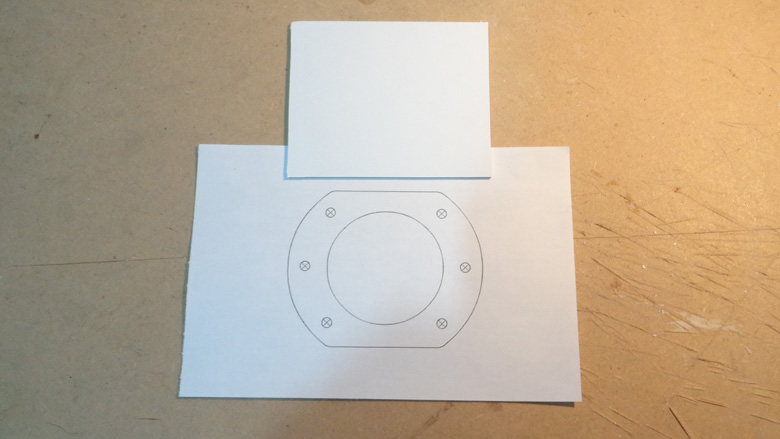
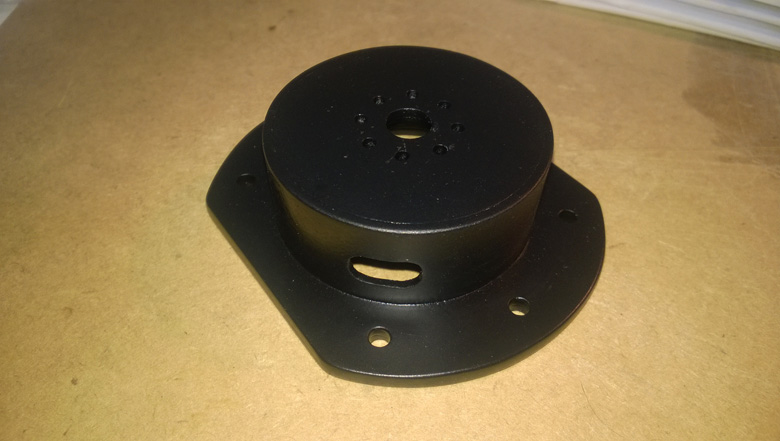
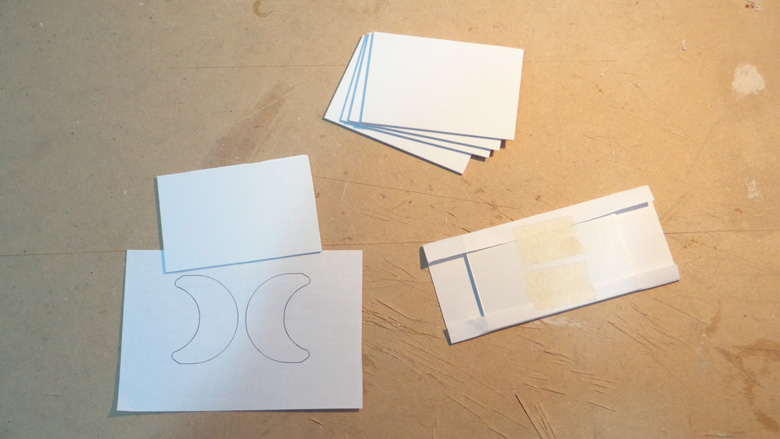
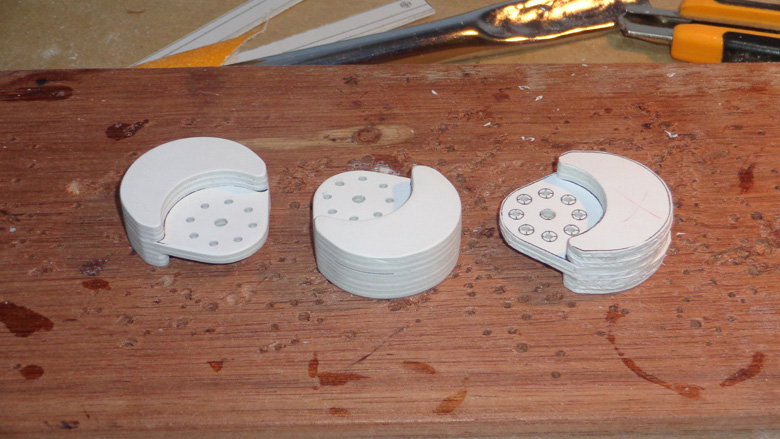
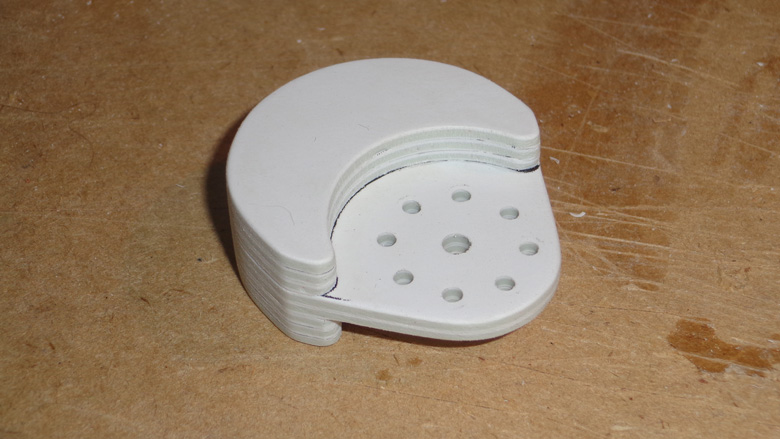
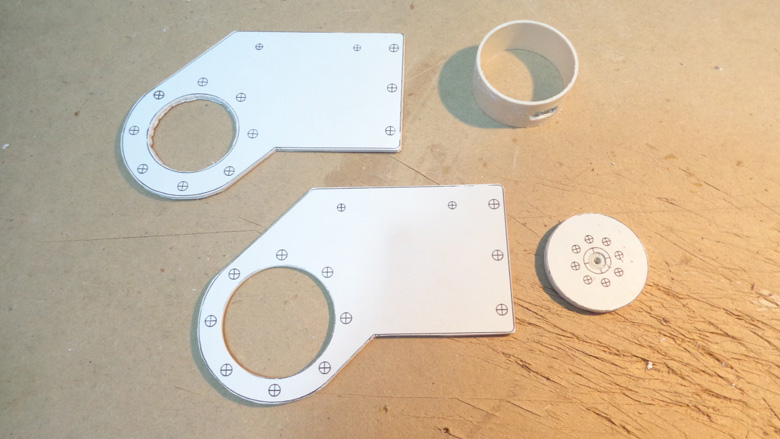
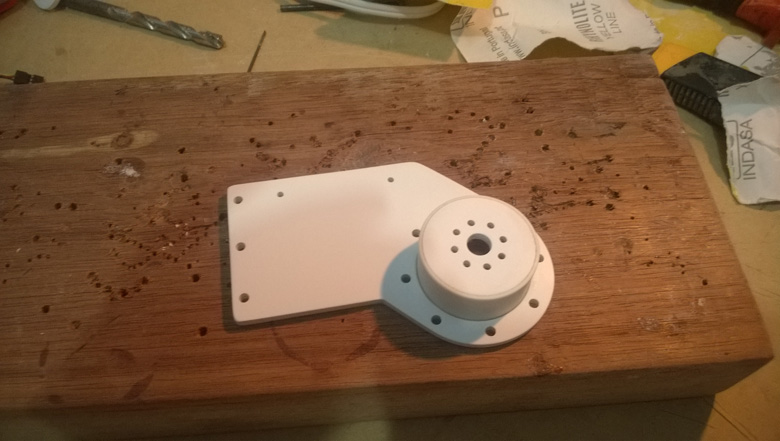
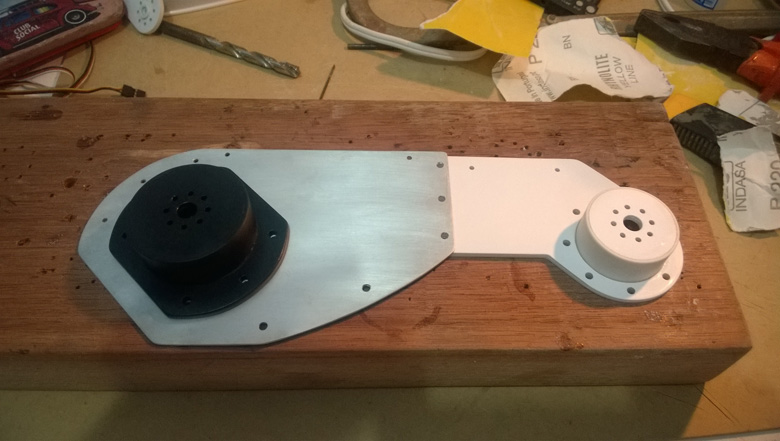
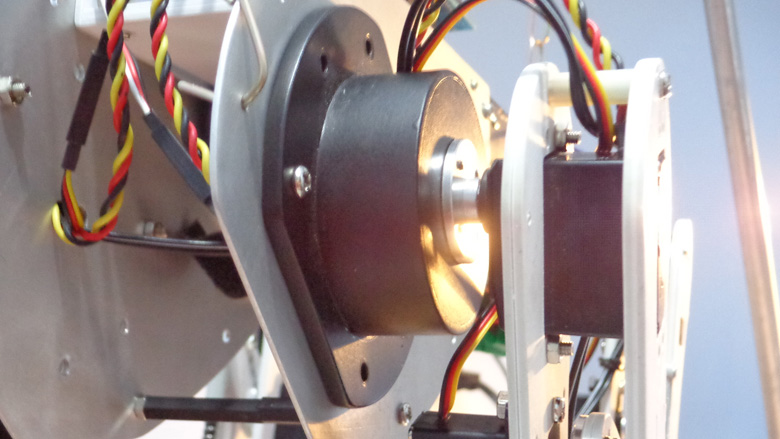
All the brackets and mechanical parts are homemade with polystyrene sheets and a bit of PVC pipes (except for the chest, made out of aluminum).

Here (Plastic handling to make DIY robotic parts) is a complete walk through of the Humerus part of this project.
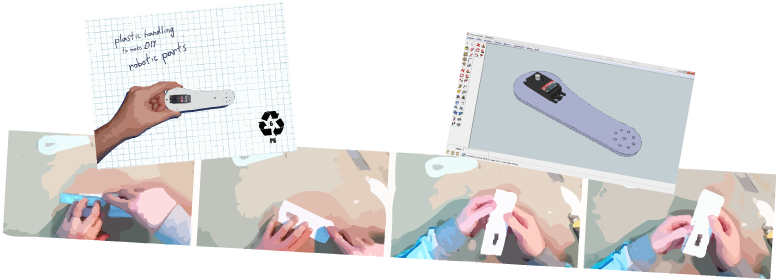
What's new in my process of making parts is that I used a 2 mm thick aluminum sheet for the main part of the body. But the technique was the same: metal ruler and sharp blade (and pliers to help break off the unwanted parts).
To give it a good finish, I have sanded it and end rubbed with steel wool. I used mask and gloves because the aluminum powder is irritating.
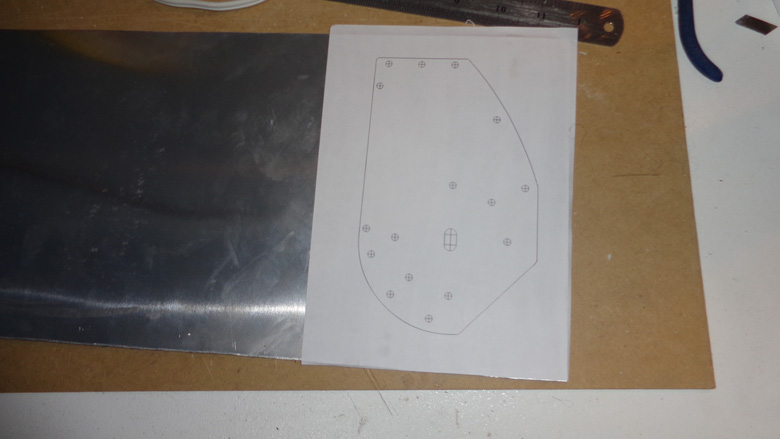
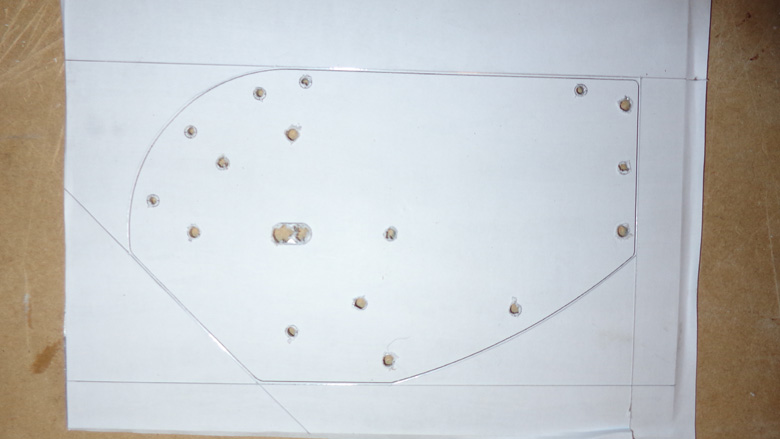
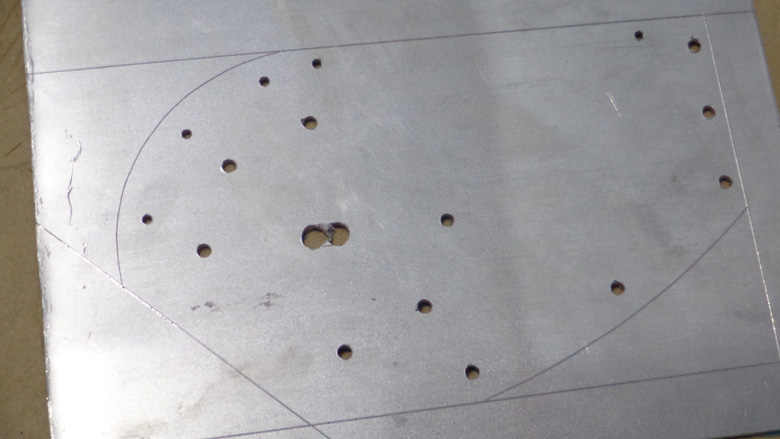
More pictures of mechanical parts:
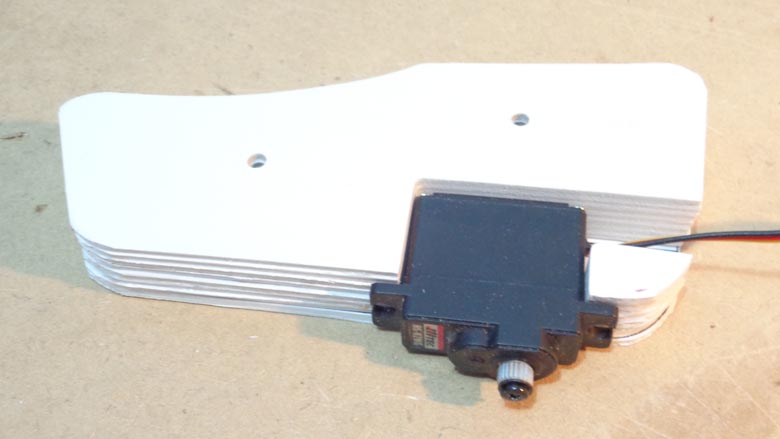


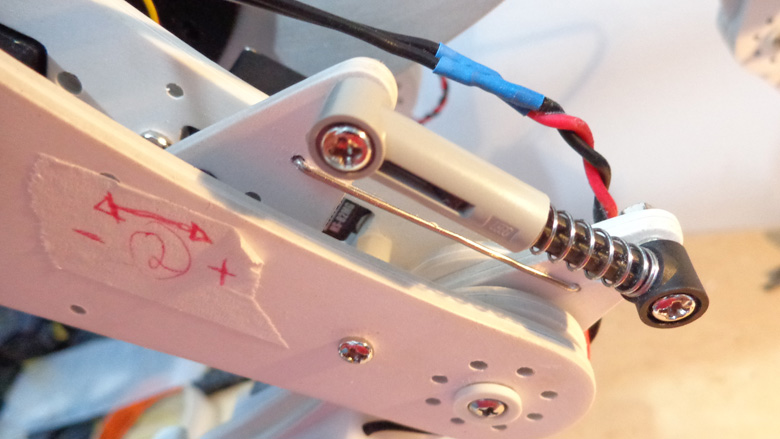
The linkages are made with paper clips. The Lego shock absorbers are just for aesthetics.
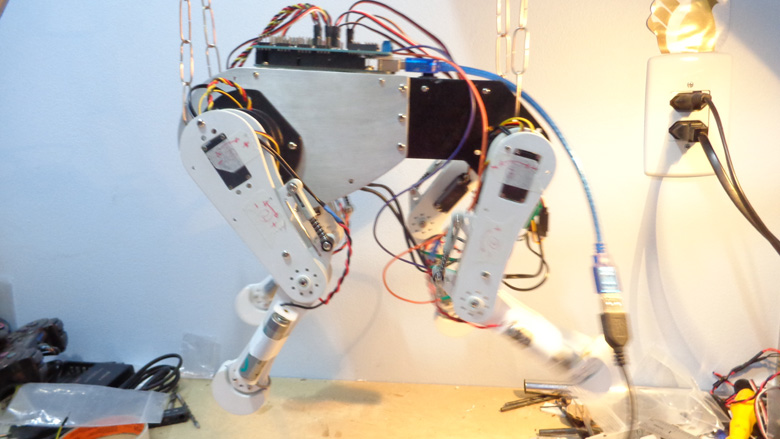
Here is MD-Hund taking his first steps (in the air :D).
Electronics
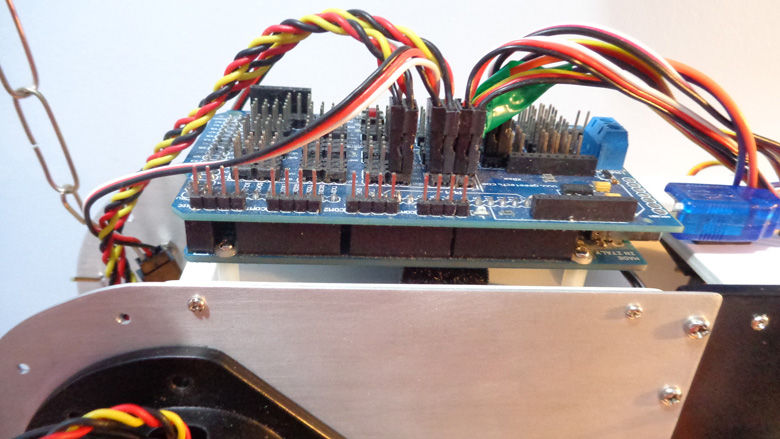
The brain is an Arduino Mega 2560, with a sensor shield to facilitate the connections.
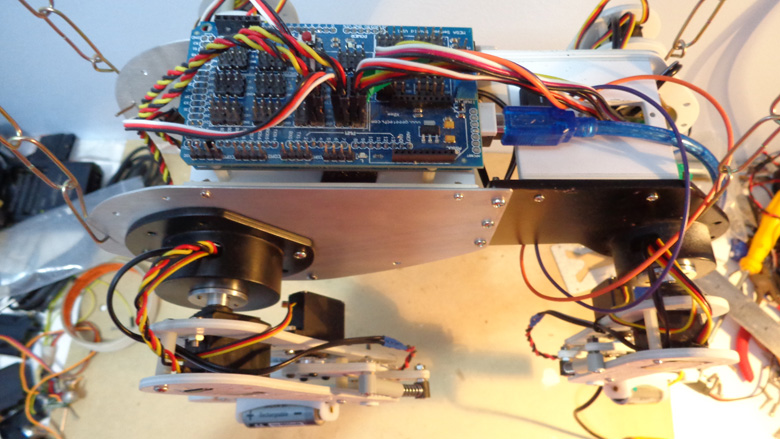
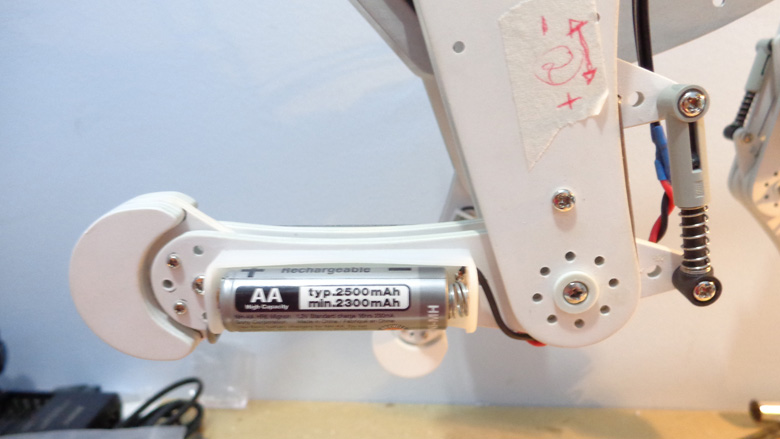
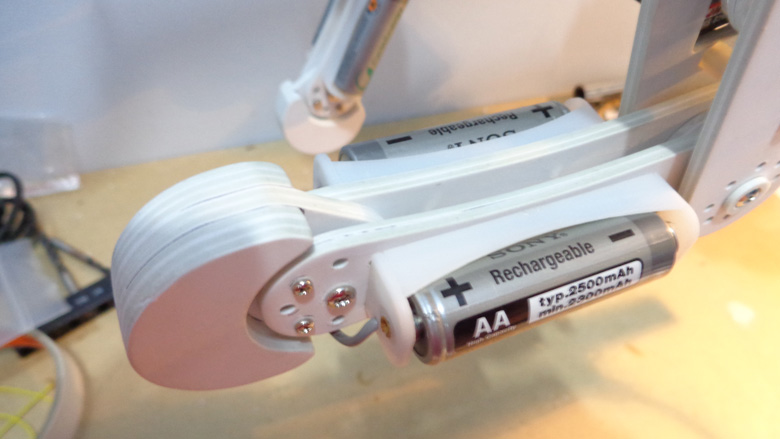
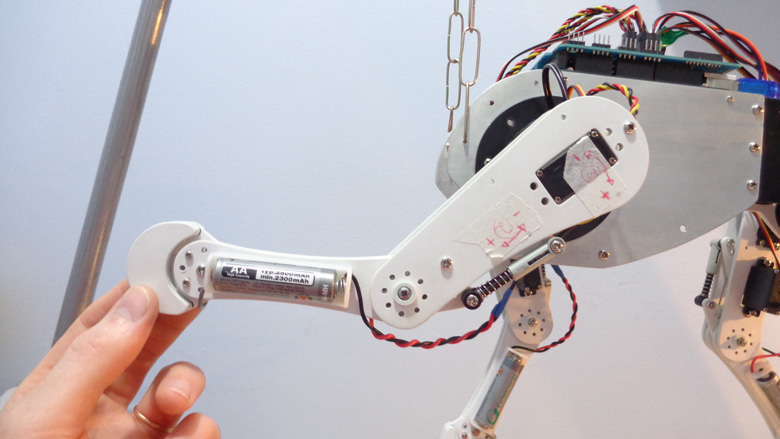
The power is provided by ten Ni-MH 2500mAh AA batteries. They are arranged in two packs of five batteries, and the packs are connected in parallel, which provides a total of 5000mAh @ 6V. To take some weight off of the body, some batteries were in the legs (two on each leg). Two batteries are inside of the chest.
Programming
I intend to make him walk autonomously and probably remotely controlled. For the autonomous walking gait I'll be using a HC-SR04 ultrasonic sensor, just for a simple obstacle avoidance.
The code for walking is just beginning (I have to learn a bit about Inverse Kinematics).
Additional info
Updates:
@ October 19, 2014: added new pictures and info. Added new video that shows the head/neck mechanisms, and the tail which reacts if something is detected in a range of less than 30cm.
References:
http://www.hpirobot.jp/g-dog/en/top/ - [TOP] G-Dog -G-ROBOTS- - The page of G-Dog (from HPI). Certainly influenced me a lot. For example the head of MD-Hund is nearly a copy of G-Dog's head.
https://www.youtube.com/watch?v=1E3v4xHEVSc - Robotics - How to Engineer a Dog - YouTube - A great inspiration for me to start my project.