


Making PCB vias using conductive ink
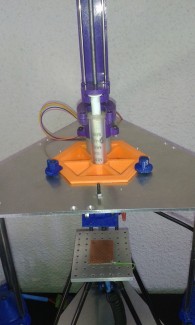
We developed an alternative method for making PCB vias through-hole using a robot. There are several commercial products for making DIY PCB vias. Some based on special pins made for this purpose but they are ugly, cost money and difficult to install. Others methods are based on conductive epoxy which also is expensive and resistivity is not good. Electroplating is the method used by the PCB industry. There are on the internet some interesting experiences, but all of them require special equipment and unpleasant chemical products difficult to find. The traditional DIY method consists in threading a wire through the holes and then soldering it and then cutting it off. For example, if we have 100 vias in our PCB, we have to insert the thin wire on each hole, cut it and solder it 200 times. This is time-consuming, but also tedious, absurd, prone to failures and produces a melancholic state of mind.:-) So we decided to innovate in this area developing a new method which consists in drilling blind vias instead of holes and filling them with conductive ink. Really we don’t need holes to make vias. Well, we need holes, but not through-holes. I mean, we can avoid drilling to bottom copper layer and make tiny wells instead of vias! Then we can fill the wells injecting the conductive ink. We do it from inside, inserting a needle into the well, mainly because it will be difficult to fill it from outside due to the air inside the well and also surface tension forces. Both are simple tasks for our robot. We developed all the software which do it, even an ULP for Eagle Cadsoft.We also implemented an algorithm which detects when the needle touches the top copper layer and retry again. You can see how it works on the video when the music stops.
More information in our blog http://www.diyouware.com/node