


Little Hex Robot
I made this robot at the begining last year, but never had the chance to share it. Someone asked about this robot, so I thought it might be nice to share it here.
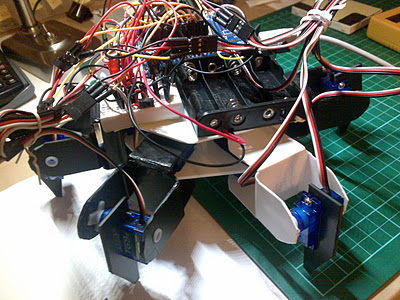
This Simple Hexapod Robot is more like a downgrade from my last robot. The quadruped robot I was trying to build didn't actually quite work though I spent quite a lot of time, but I have unfortunately underestimated the difficulty. So I am stepping back, and start from something easier, a Simple Hexapod Robot that uses Arduino. I originally thought Hexapod Robot are not easier, as they have 6 legs and therefore more complicated in the programming. It turned out to be wrong because it's much easier to balance as there are 6 legs. When it's walking, we don't need to worry about the center of mass and so on in order to balance, we just need to think about where to place the next leg in order to move.
Parts that I used
- 1. Arduino
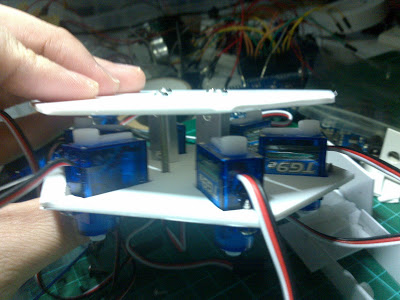
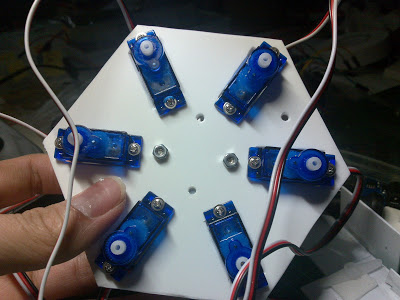
- 2. 12 x 9g servos
- 3. 4 x AA Battery
- 4. Battery Holder
- 5. bread board
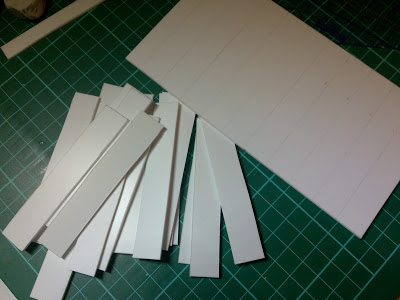
- 6. Styrene Sheets
Optional:
- - A Large Capacitor for power supply (can’t remember the value, i think it was around 1uC)
- - Power Switch. I was controlling the robot via serial cable from the computer, so no controller required.
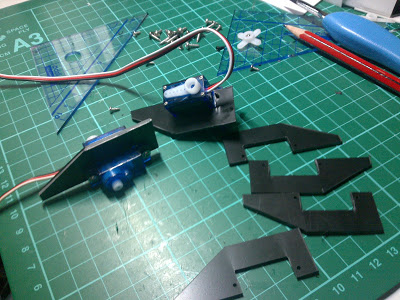
First Week Working on the Simple Hexapod Robot
It's the first time I ever used Styrene plastic and I just in love with it... so flexible and shapable, particularly for building small robots like this one. Although it could take a while to cut and get good at it, but it's definitely a very economic choice for people with small budget!
Here is a very good site selling them, it's the cheapest I have found so far in the UK (let me know if you know anywhere else cheaper ;-) Styrene Sheet (Plasticard) from Station Road Baseboards) In this one, I basically reused all the servos and parts from the Stalker, the only things I need to rebuild was the robot body and the legs..
Mini can be controlled by a VB program via USB connection,
more detail can be found here: http://blog.oscarliang.net/visual-basic-arduino-through-usb/
See Second Video from the top.
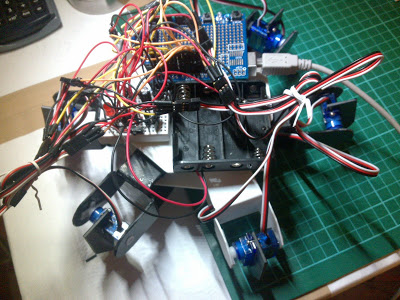
Week 2 of the Simple Hexapod Robot Adventure
Further modifications to the leg:

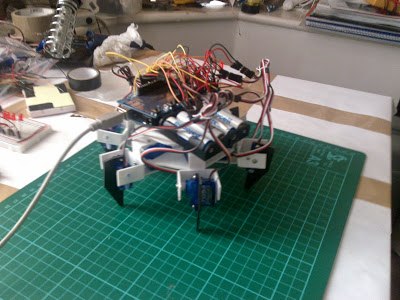
The newrobot leg design brings better stability because they are tougher and lighter, more importantly it looks cooler! I have also wrote a few more commands files, works quite well ; )
see 3nd video from the top. That's it! no more simple hexapod robot updates, I will modify it into 3DOF per leg, and start to think about IK and trigonometry!
Check here for the 3DOF Hexapod robot
http://blog.oscarliang.net/arduino-hexapod-robot/
Navigate around
- Actuators / output devices: 9g servos
- Control method: Computer Via Serial port
- CPU: Arduino
- Power source: 4 AA batteries
- Programming language: C++