


Kaboodle my first robot
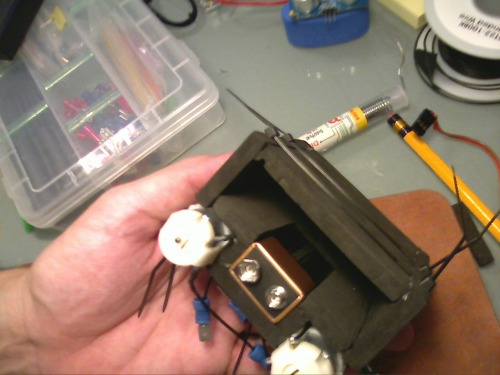
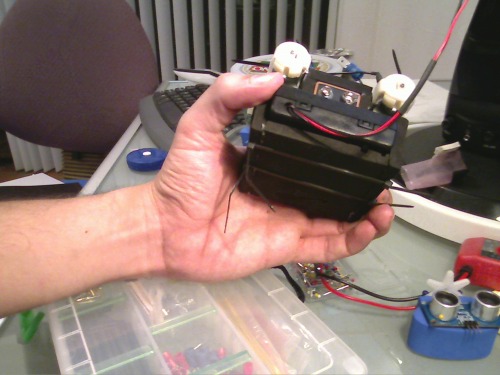
The 2 images below was my first attempt at a robot using fritsl's guide. After my first attempt i felt ashamed of how flimsy and goofy the robot looked.
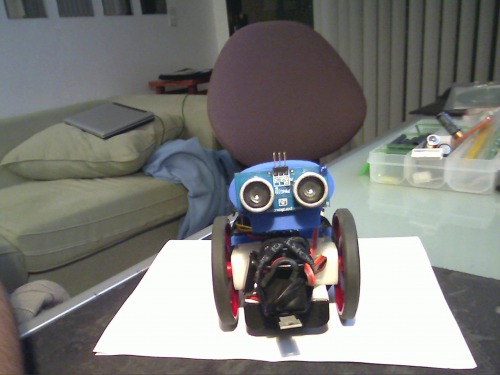
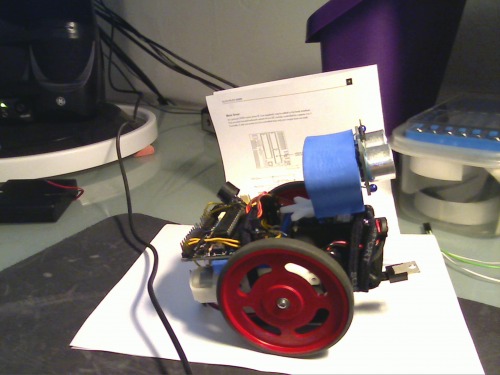
So I broke it apart and re-did it!
I decided to invest more time to make a custom chasis using the battery pack as the core as it is the most solid and non fragile component, then surrounding it in rubbery material (known to me as kaboodle) i bought at an art supplies store. I used 2 power supplies in this newer version, since fritsl wrote an excellent guide on it. https://www.robotshop.com/letsmakerobots/node/75
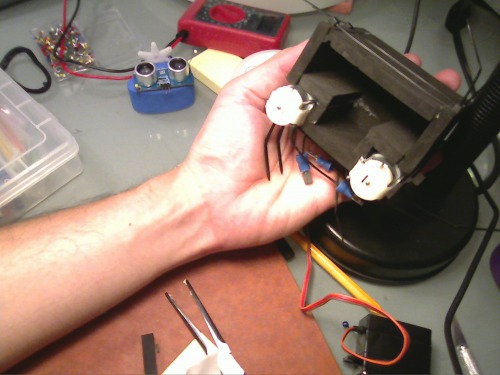
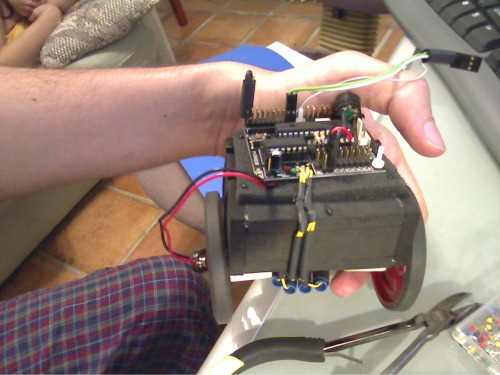
The material is very easy to cut and glues together great with a glue gun. It's also pretty forgiving with mistakes. Plus, it allows you to temporarily mount stuff on it using needles or pins.
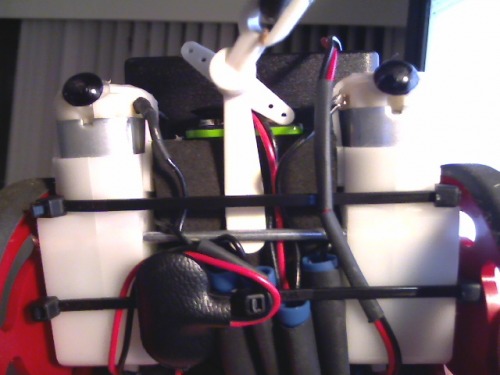
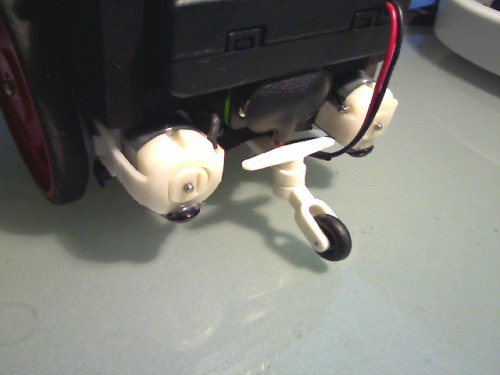
But since it bends, my wheel alignment was wonky. So i put a makeshft axle between the two motors (lower left). i also added a tail wheel as a 3rd contact point since those little black "dots" at the end of the motors wern't cutting it (lower right) the wheel part was originaly for RCairplanes.
http://www3.towerhobbies.com/cgi-bin/wti0001p?&I=LXMRK6&P=WR
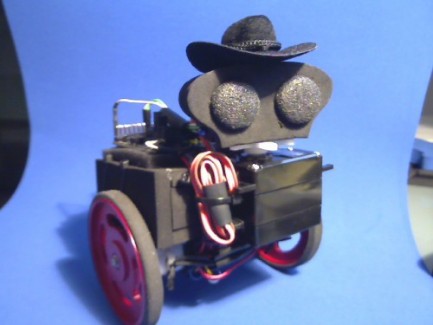
The head i fashioned out of the same material. Using one of the alphabet letters (letter "i"). Letter H would have been a better choice although it didnt come in black :(
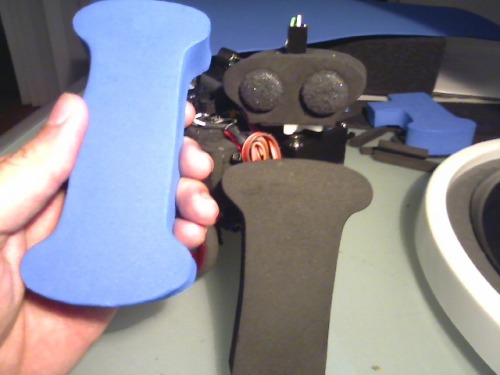
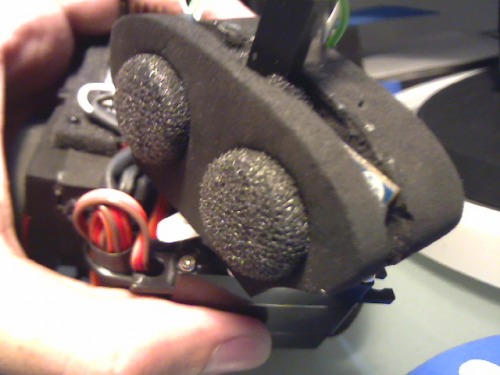
If your wondering about the foamy eyes, read more about why i did that here... https://www.robotshop.com/letsmakerobots/node/1276
I also added a speaker so it boops and beeps like robots on tv! the beeps are based on sonar results.
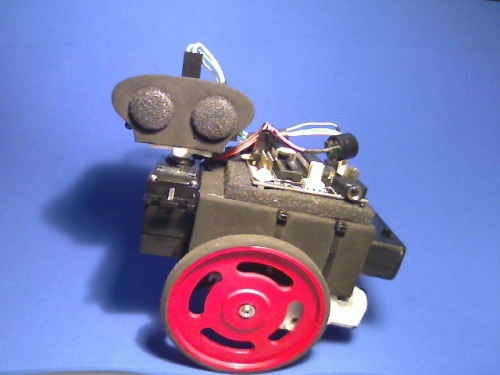
The funny thing about buying stuff at an art supplies store is you get tempted to"accessorize" your project. Here I bought my friend some fashionable headwear for $1.50

simple navigation by proximity check using a sonar
- Actuators / output devices: 2 motors, 1 Servo, beeper
- Control method: autonomous
- CPU: Picaxe 28x1
- Power source: 1x9v, 4xAA batteries
- Programming language: PIC Basic
- Sensors / input devices: Parallax Ping)))
- Target environment: indoor, smooth hard surface