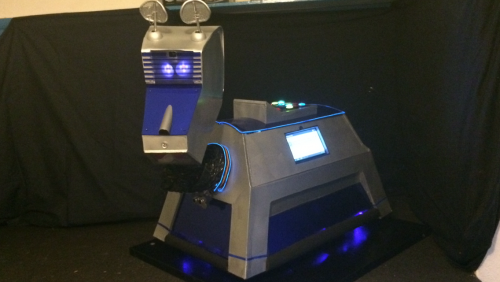
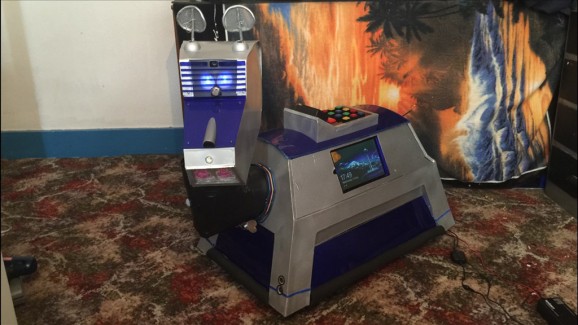
K-9 2.0 running on the EZ-Robot platform
The making of K-9 2.0 video slideshow.
K-9 getting to know his new home video.
K-9 controlled via a VCN iPhone app video demo.
A bit of fun with K-9 at Xmas 2014 video.
Interactive Doctor Who Quiz hosted by K-9
Post 1 of 3.
Hi everyone.
My name is Steve, and I'm currently living in London, UK. I've been looking through this website for quite some time now, and have been impressed with what you guys have made, so I figured it was about time I jumped in, say "Hi", and share with you guys what I have been working on over the past 14 or so months. This is the first of three posts talking about the inspiration and features of my home robotics build. In the first post I talk about the inspiration behind the build of K-9 2.0. The second post explains the features and build details, and the third details recent changes and improvements made.
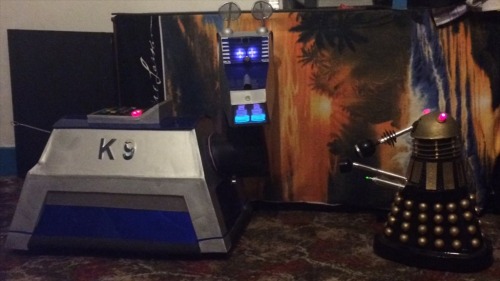
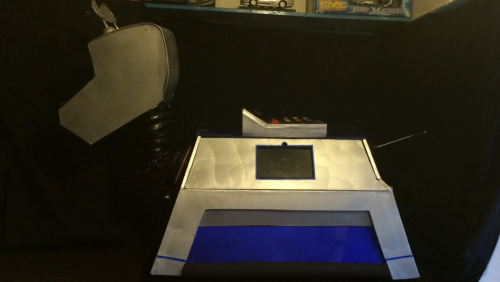
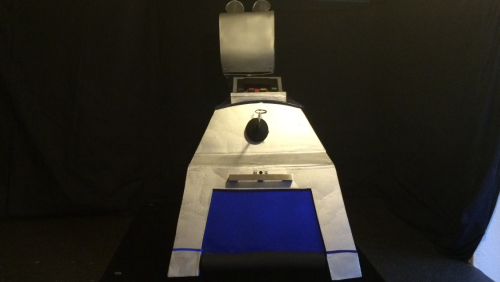
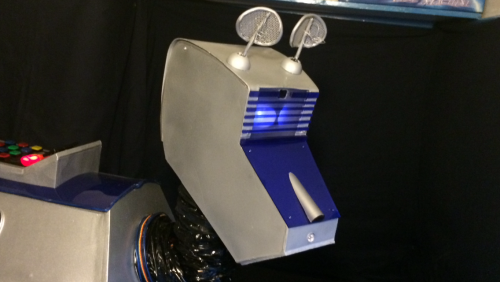
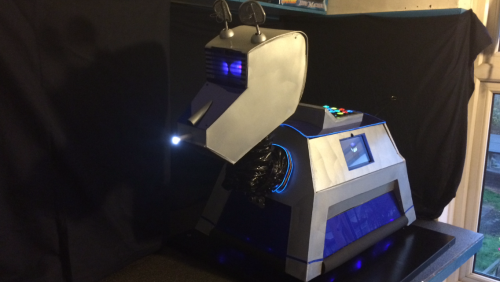
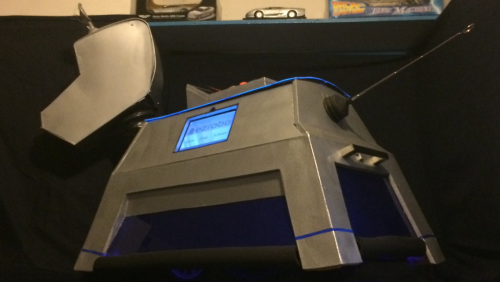
So, after a little over a year in the making, I am pleased to present a project I've been wanting to do for years, pretty much since the first time I saw the little fella in Doctor Who when Tom Baker (one of my favourites) was playing The Doctor. K-9 was pretty much one of my all time favourite characters in the show, so with that in mind, and with my love of dogs and my interest in robots, it was only logical that building my own K-9 unit some day was on the cards. So, why K-9 2.0? K-9, because it's a cool name and the clever play on words. I just couldn't change that, and I couldn't call him FiDo (whovians will know what I mean by that). 2.0, well obviously my K-9 looks a little different to the one's seen in the show. This is because I wanted to give him a newer, slightly more modern look, but still keep the original shape I fell in love with as a child (I don't like the new one in the new kids TV show. It looks too much like a toy to me). I also wanted to have a more personalised look and shy away from building a replica, as many robot builders have already done so, although I very nearly did. (I hope I haven't offended any K-9 aficionados out there with his new look).

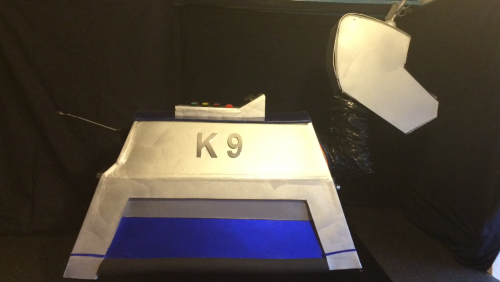
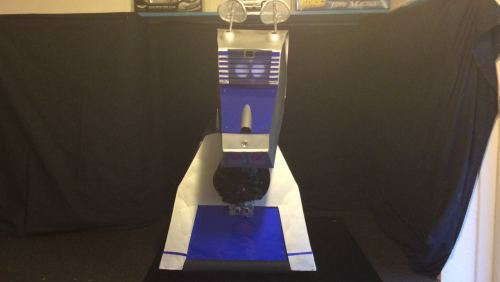
Okay, why the build, now? Well, I had an accident a while ago now resulting in a back and left leg injury which left me unable to work or do much else for a while. So, looking for something to do to keep my mind and hands busy, and not become a couch potato, I thought "I want to build something", so I drew up some plans and made an R/C Cardboard K-9 prototype which incorporated some of the technology I wanted to use in a future possible big build.
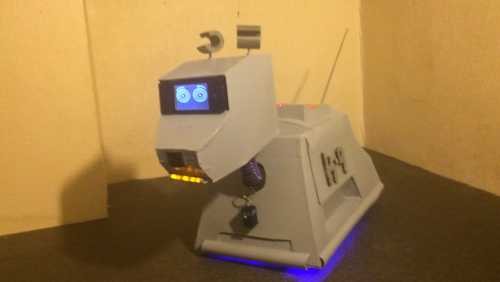
He was was a lot of fun to build, but I wanted bigger and better... and smarter. At this point I had a lot more mobility so I decided, "let's just do it", and as you can see, I did.
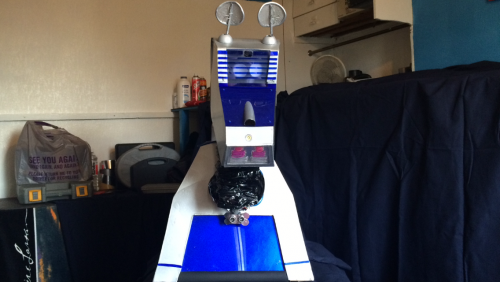
My (not so) little robotic pooch nearly turned out very different, and I'm not just talking about how he looks. After making the R/C prototype, I searched through my "spare parts" cupboard and found that I had three strong 12v 30W motors and another working R/C control and receiver. So I drew up some blueprints, I got my tools together and dusted some MDF sheets I had laying around in the shed. I was going to make a full size similar dimension R/C K-9 and hack some PIR sensors and audio equipment to install inside of him. I started on the chassis first, just working a couple of hours a day or night, and a few weeks later pretty much had it complete so started to make the body frame. During a not very good day as my back gave out again, I was searching the interweb when I came across the website for EZ-Robot. After reading the documentation and community forum, this changed everything. EZ-B v4 Microcontroller, servos, face/colour/object recognition and so much more, this was for me, or rather this was for K-9 2.0. After spending days going through the website and forum I made a shopping list and placed an order for some parts, as well as some other parts from other suppliers such as relays, voltage regulators, and more. My goodies arrived a few days later and it was "game on". I started playing around with the EZ-Builder software and my new EZ-B v4 controller, and was well impressed. This lead to a few changes in K-9's design, but changes for the better as it turned out.
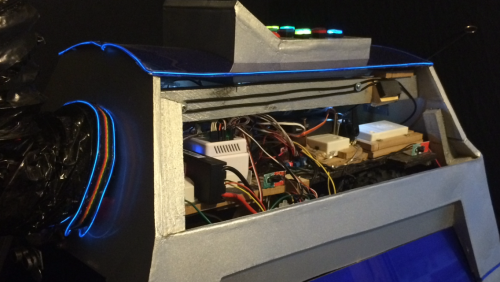
So the build is pretty much complete now, and everything is installed and working. As a matter of fact, I finished the build a few months back, but recently stripped out K-9's entire electrical system and did a complete electrical re-build, as well as adding some additional sensors, as well as some re-programming to reflect the recent changes.
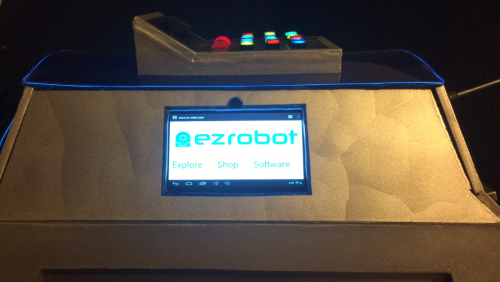
In post #2, I delve in to K-9's features, abilities, and build design. This is my very first attempt at building a microprocessor controlled robot, with no scripting/coding knowledge or "qualified" woodwork/electrical experience but I'm pleased with the way he has turned out. But it's not what I think that matters (well perhaps a little bit), it's what you guys think. Well I hope you enjoyed this insight to how K-9 2.0 came to be (and if you kept reading this far, then fair play to you), and I hope you enjoy reading my post. I would love to hear your thoughts and opinions, things you may have done differently, things you like, and things you don't, and it would be great to here from you. I hope K-9 2.0 inspires you in some way and hopefully gives you some ideas with your own robot projects.
