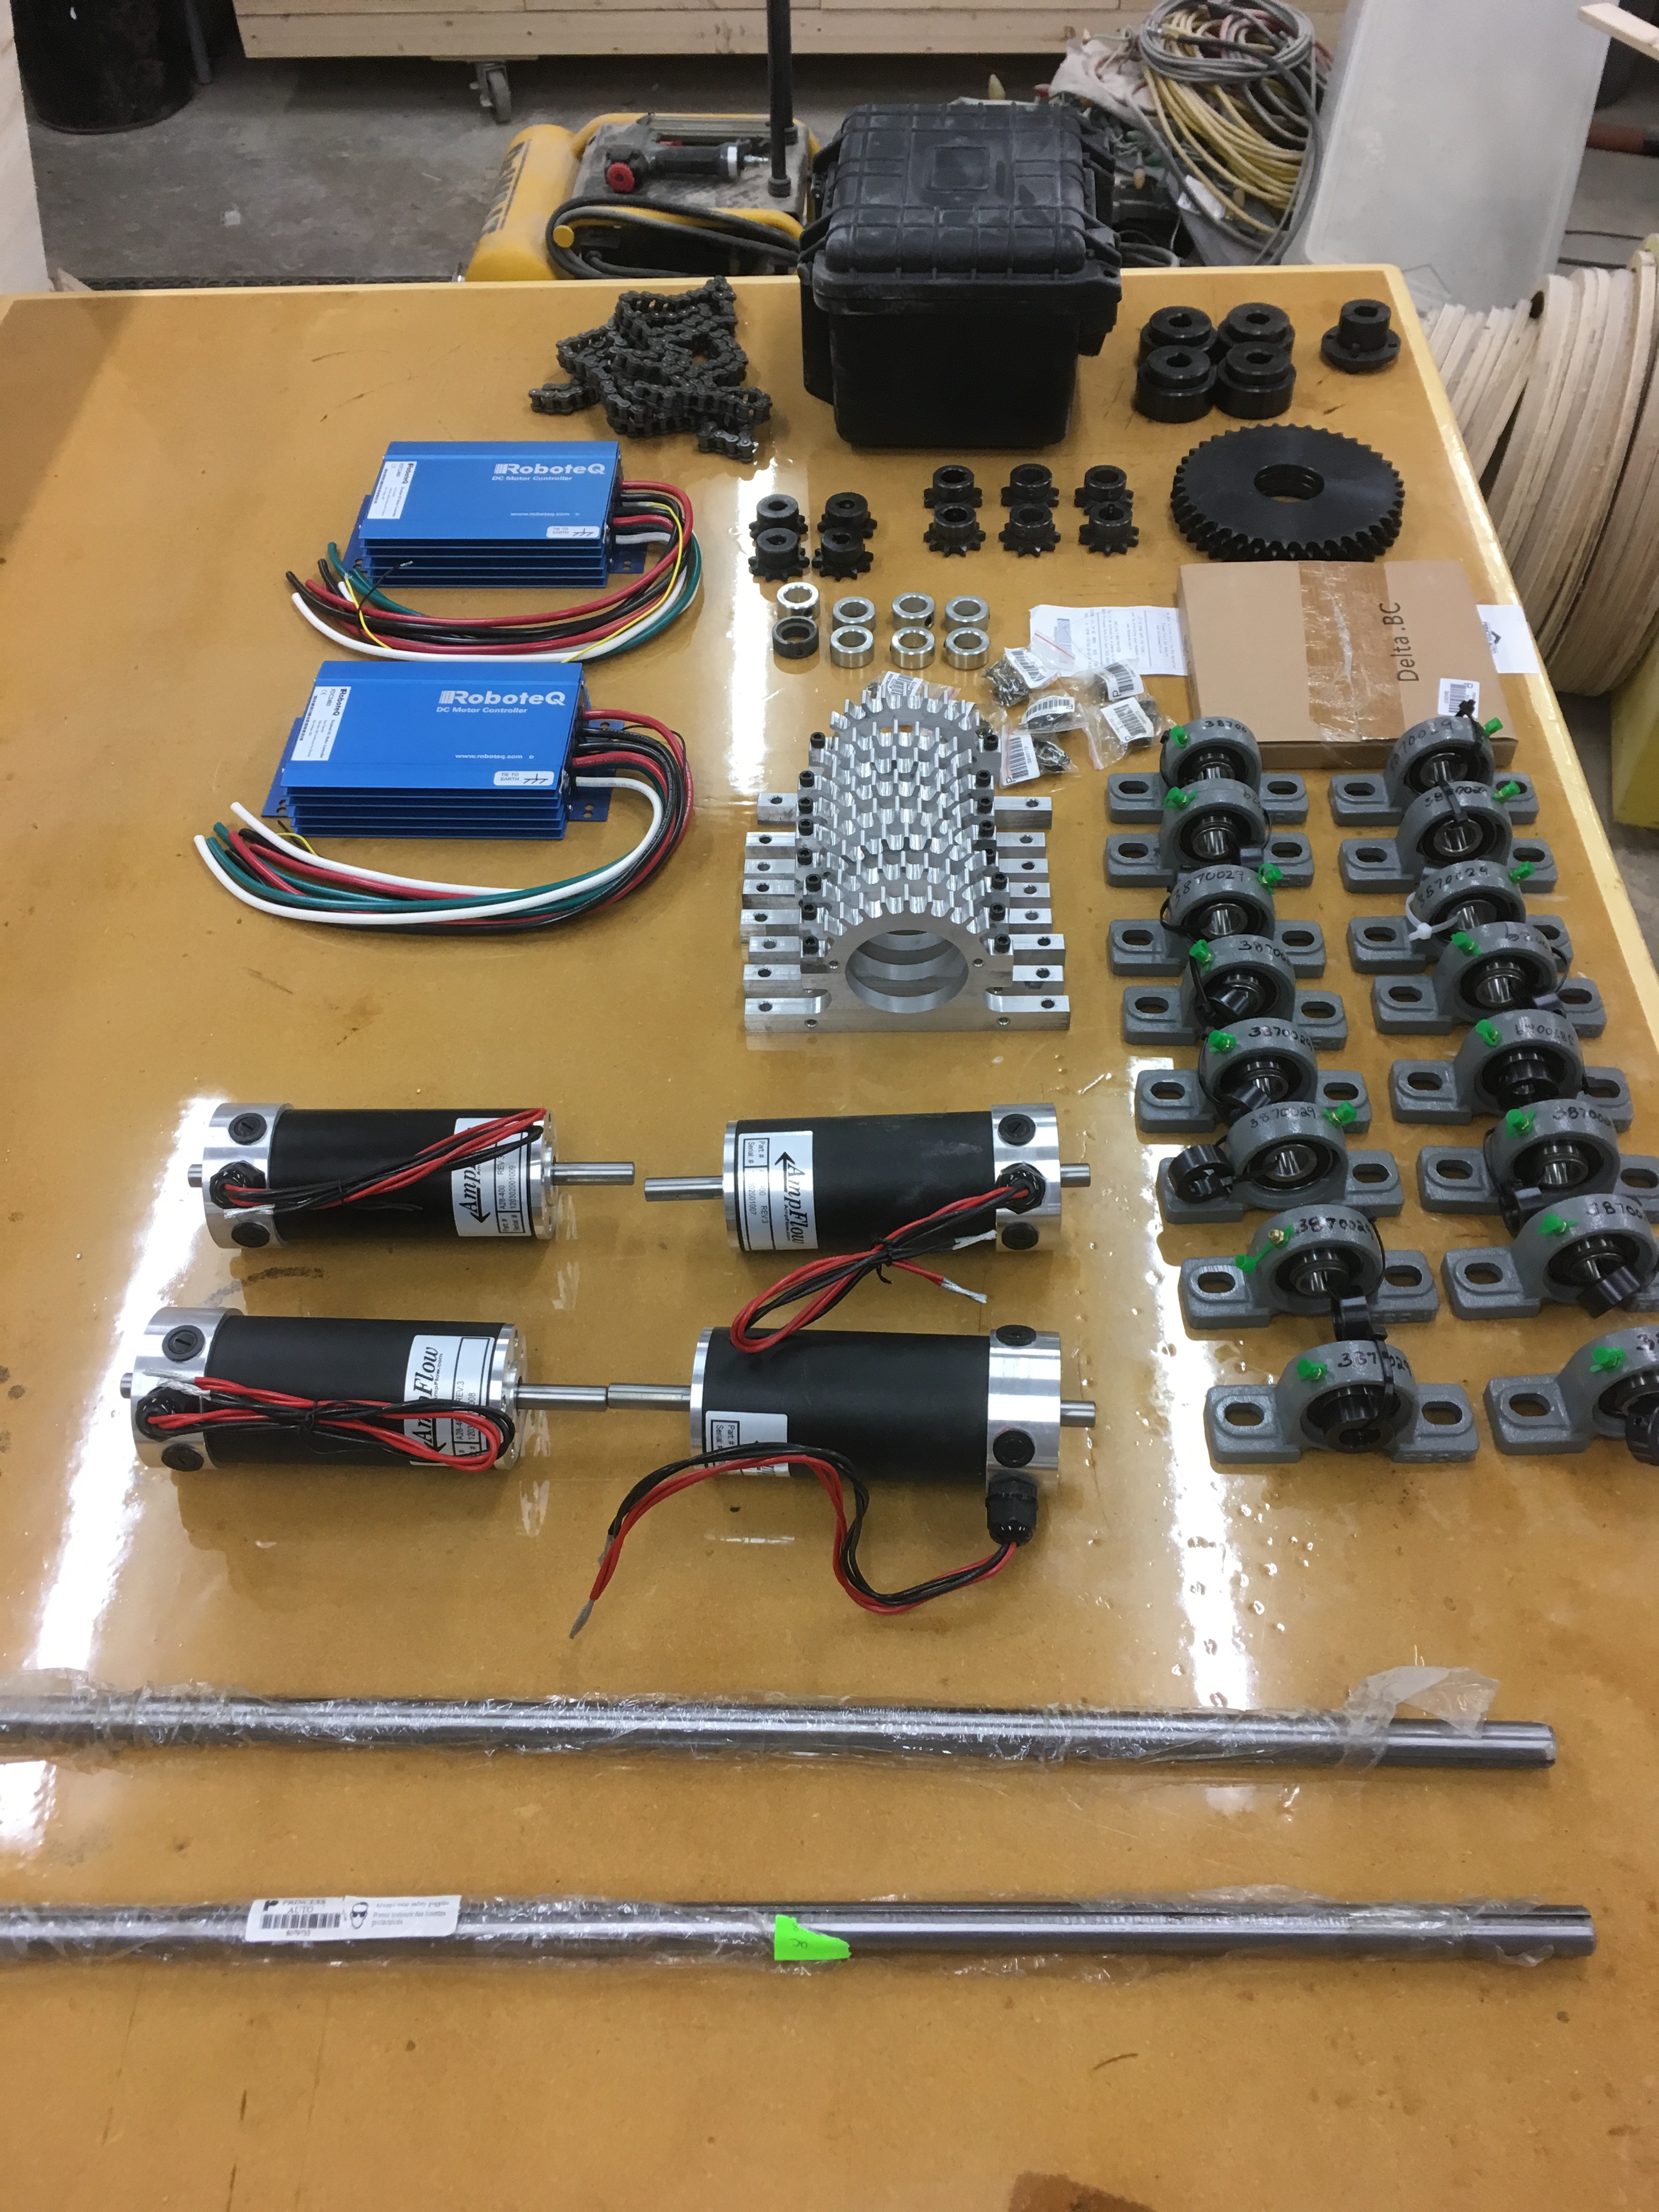

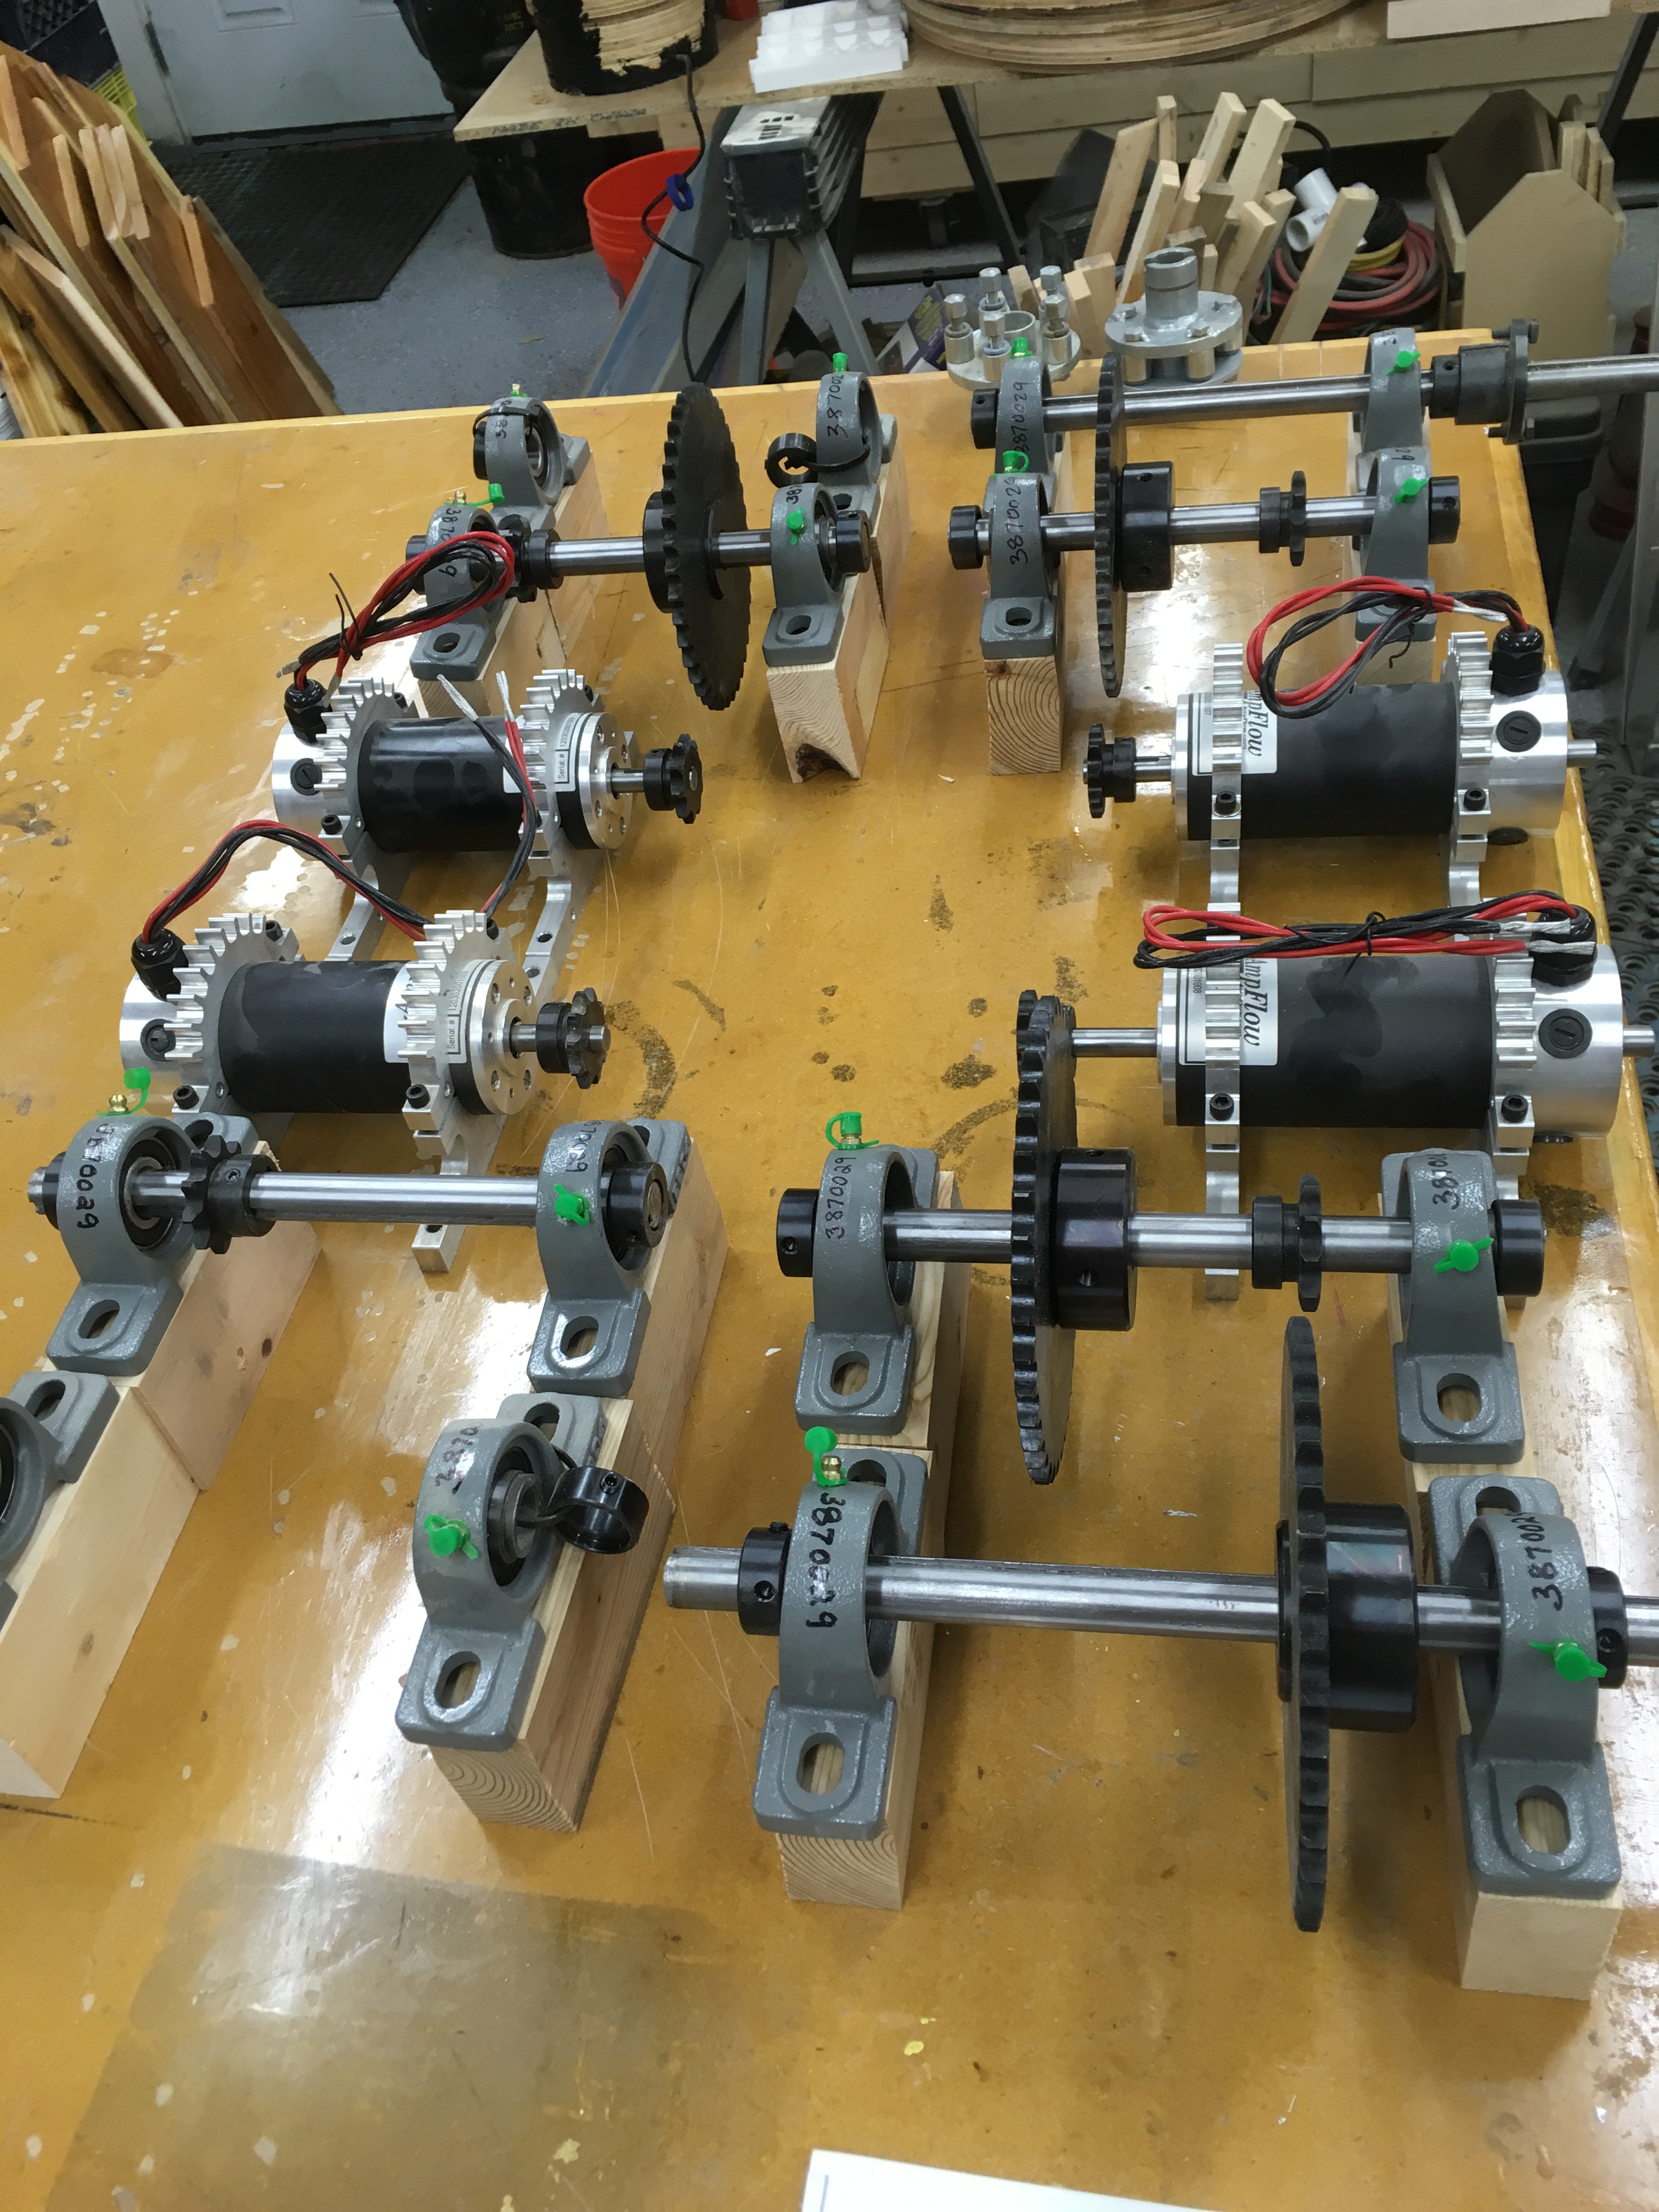
Digging through the ol pile of bot parts and a quick trip to Princess Auto, and we got enough stuff to start with a mock-up and move into prototyping,
Since this isn't a battle Bot I don't have to be overly concerned with weight, since it's also meant for festivals and public use, I can gear it down to a reasonably quick but still easy to control 10mph.
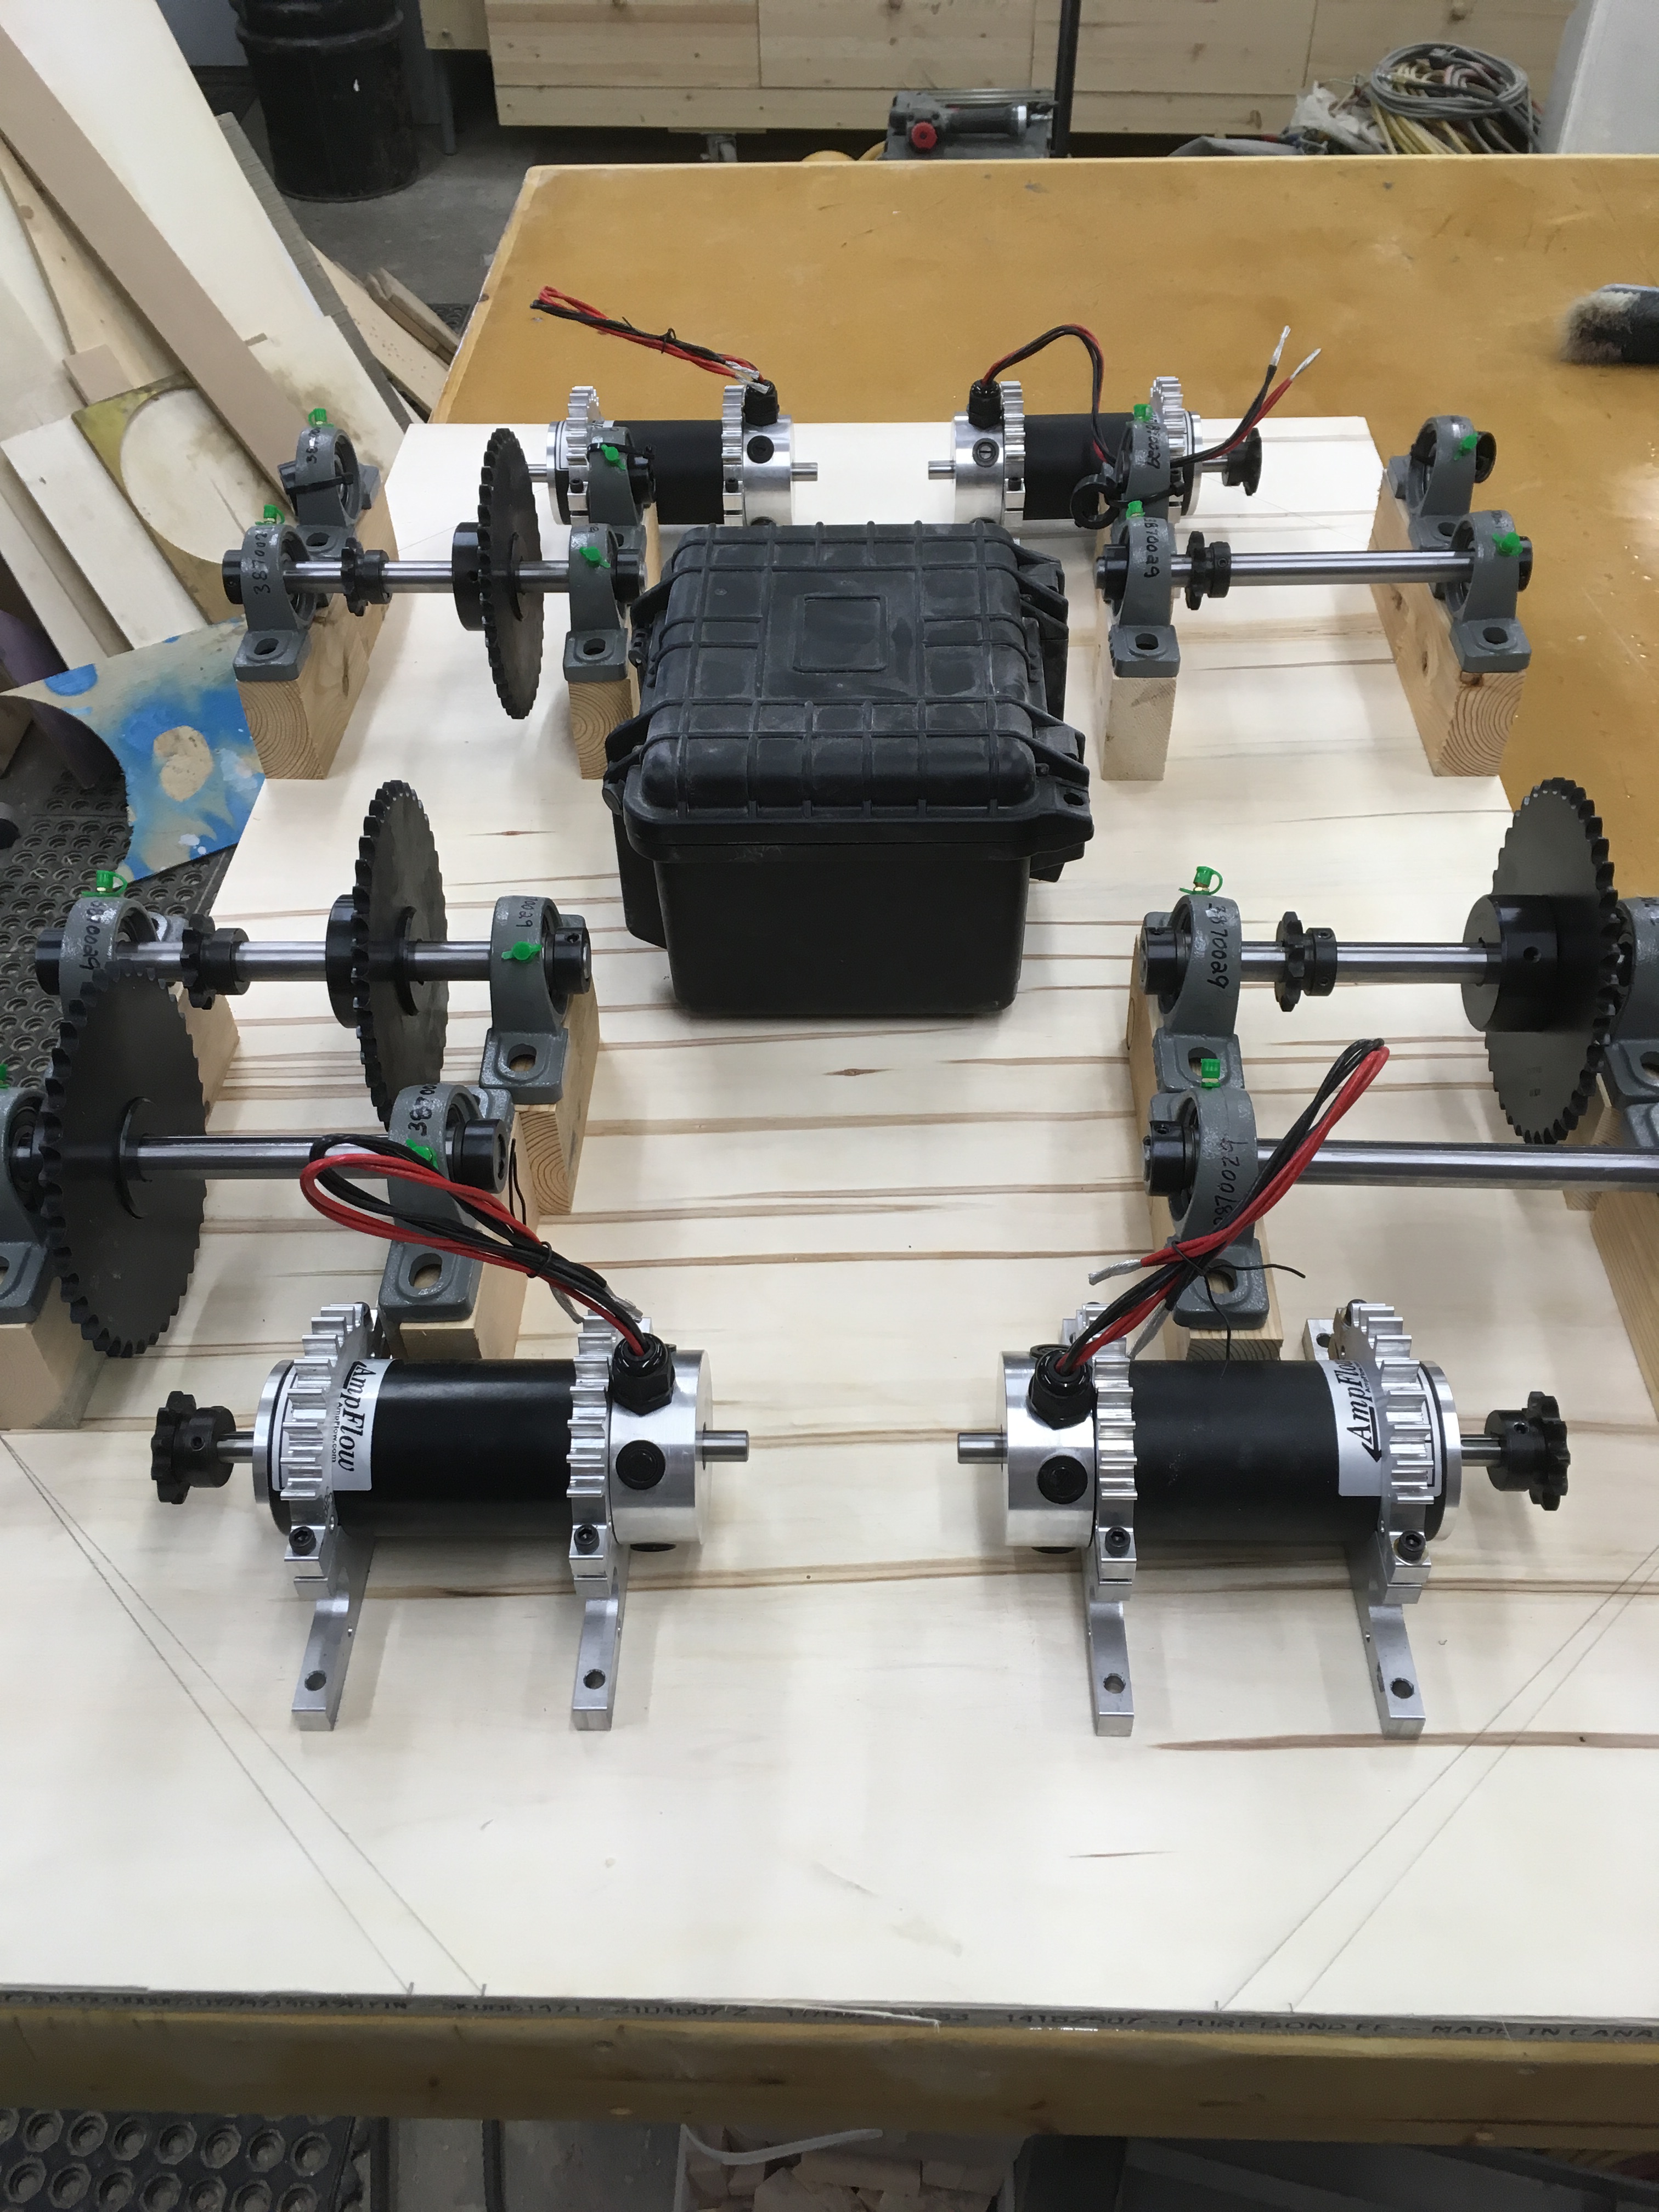
I had a general idea on size that I wanted to hit, so just had to do a little bit of laying out and juggling to see which layout would work best.
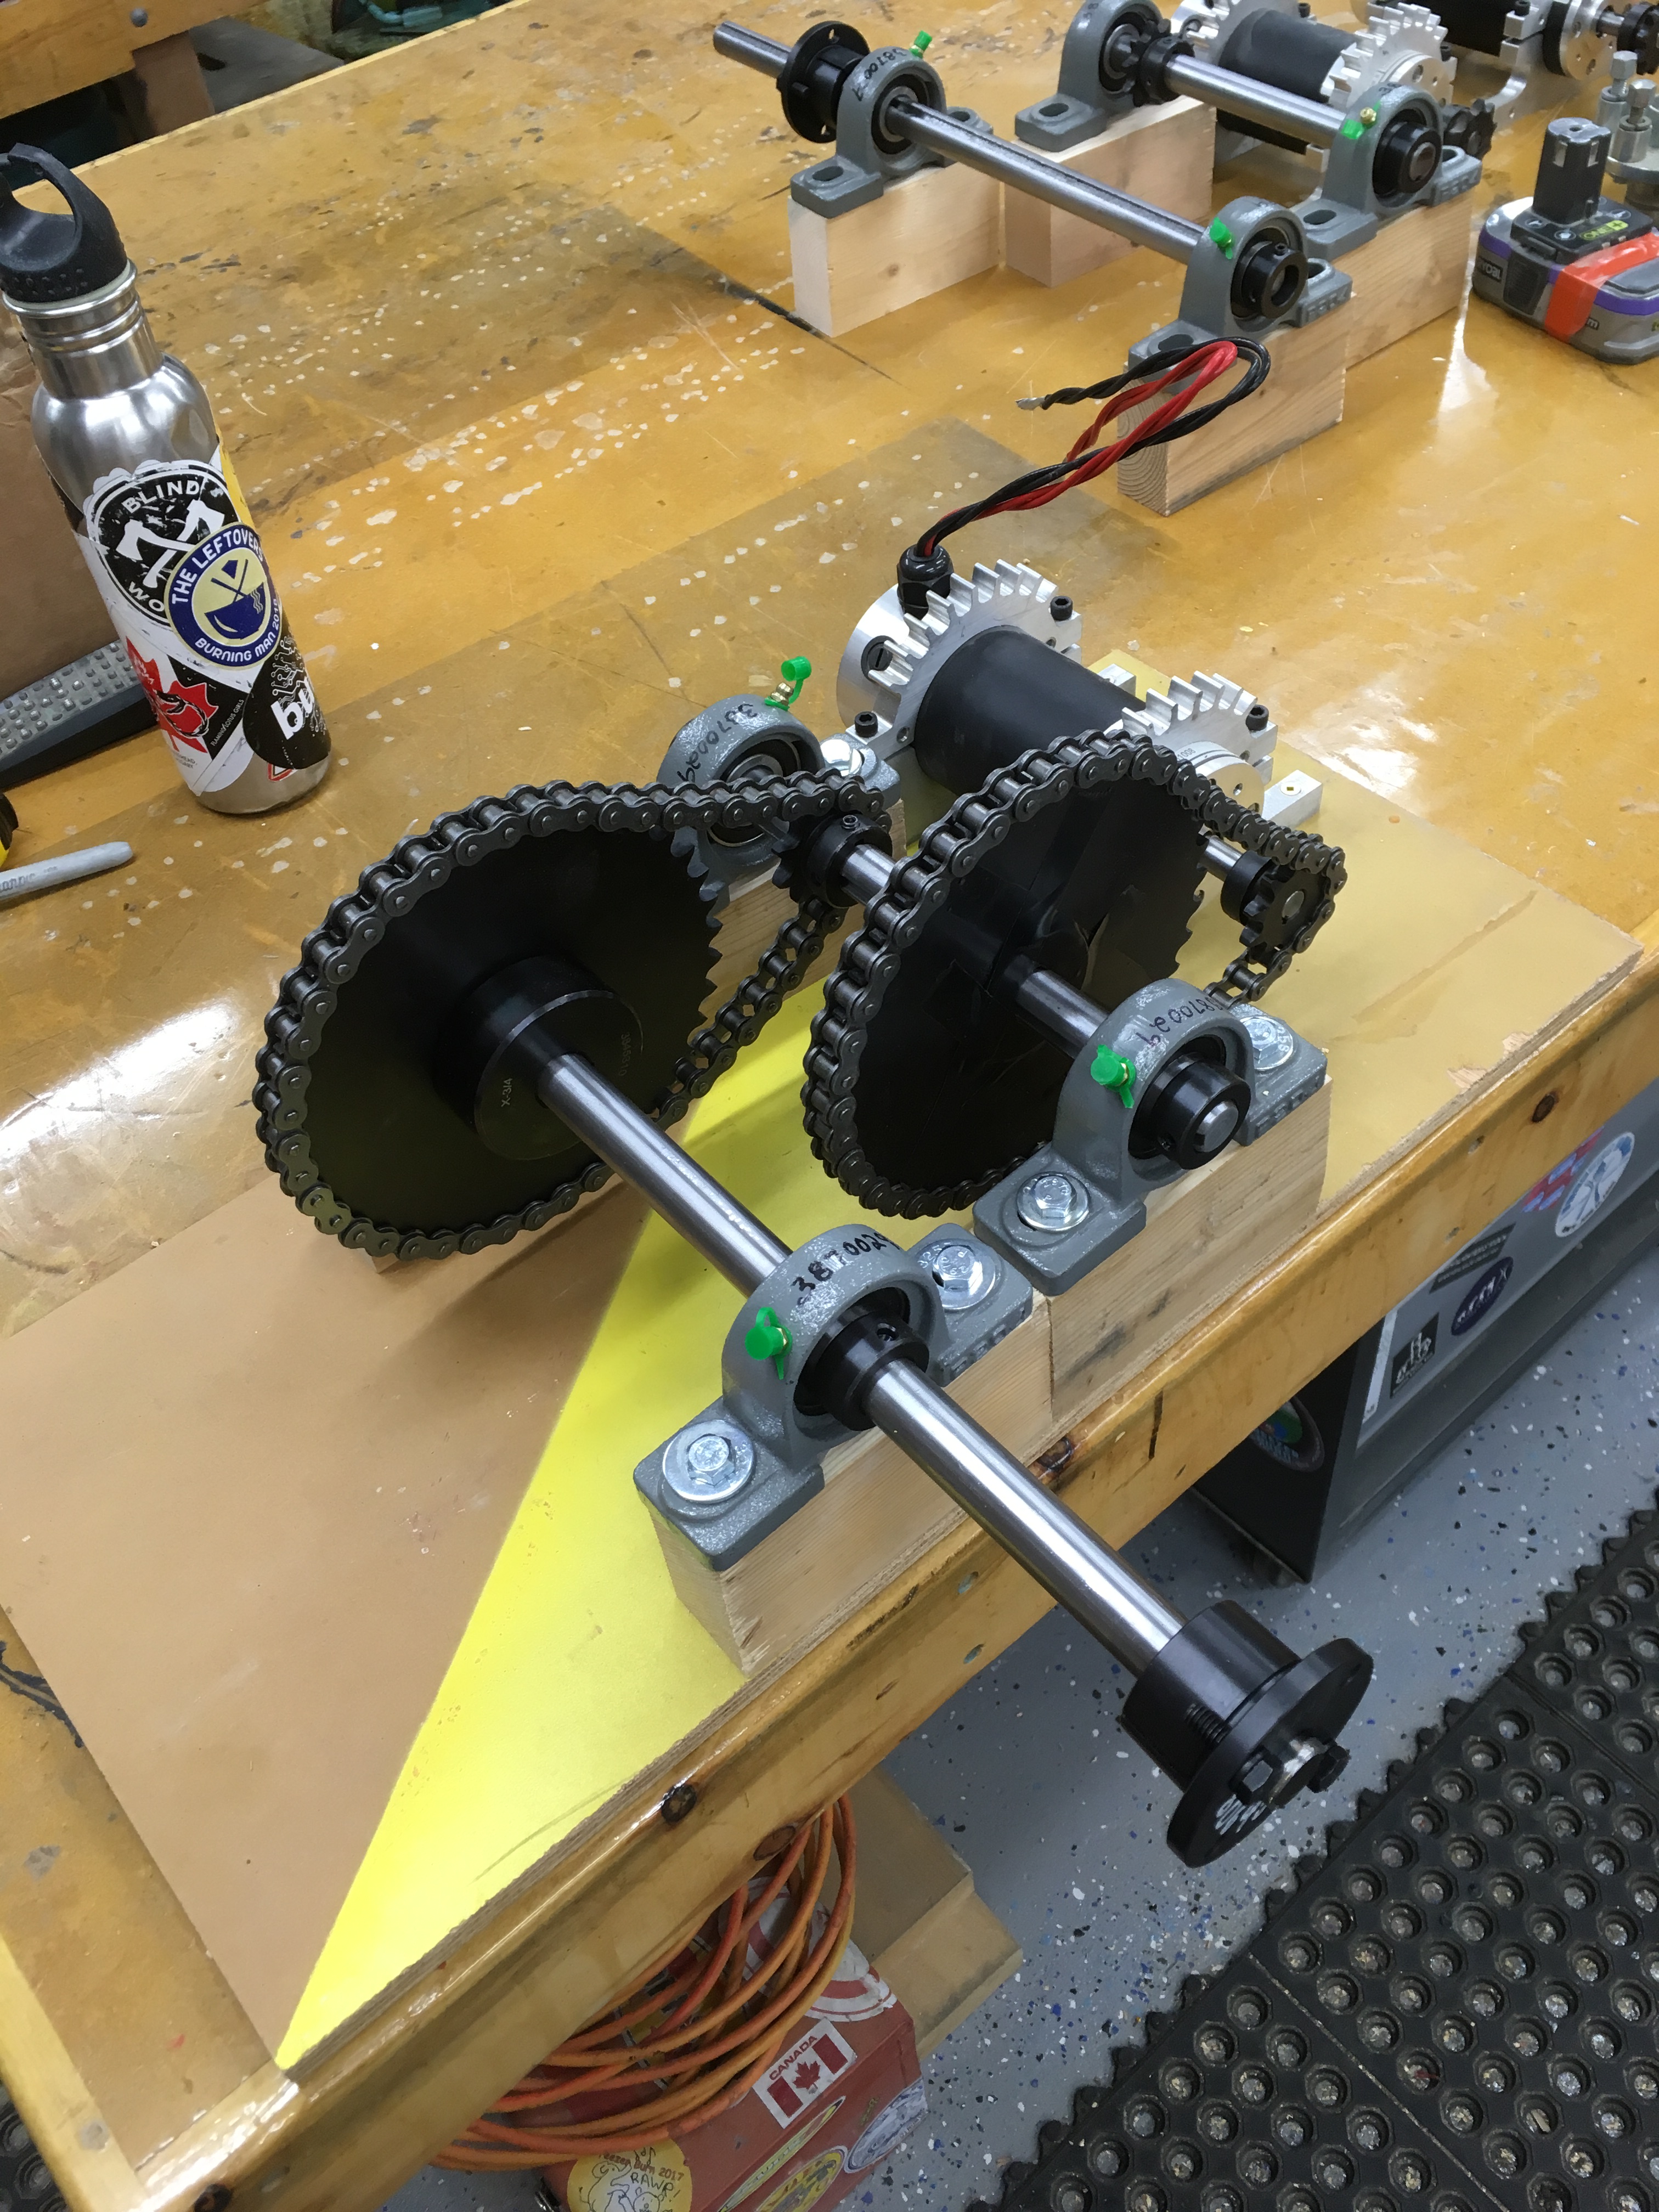
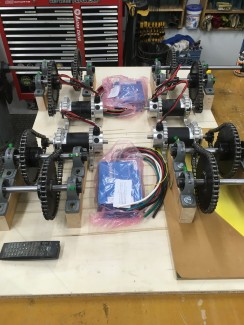
Testing out the chain reduction and spacer blocks with just one motor.
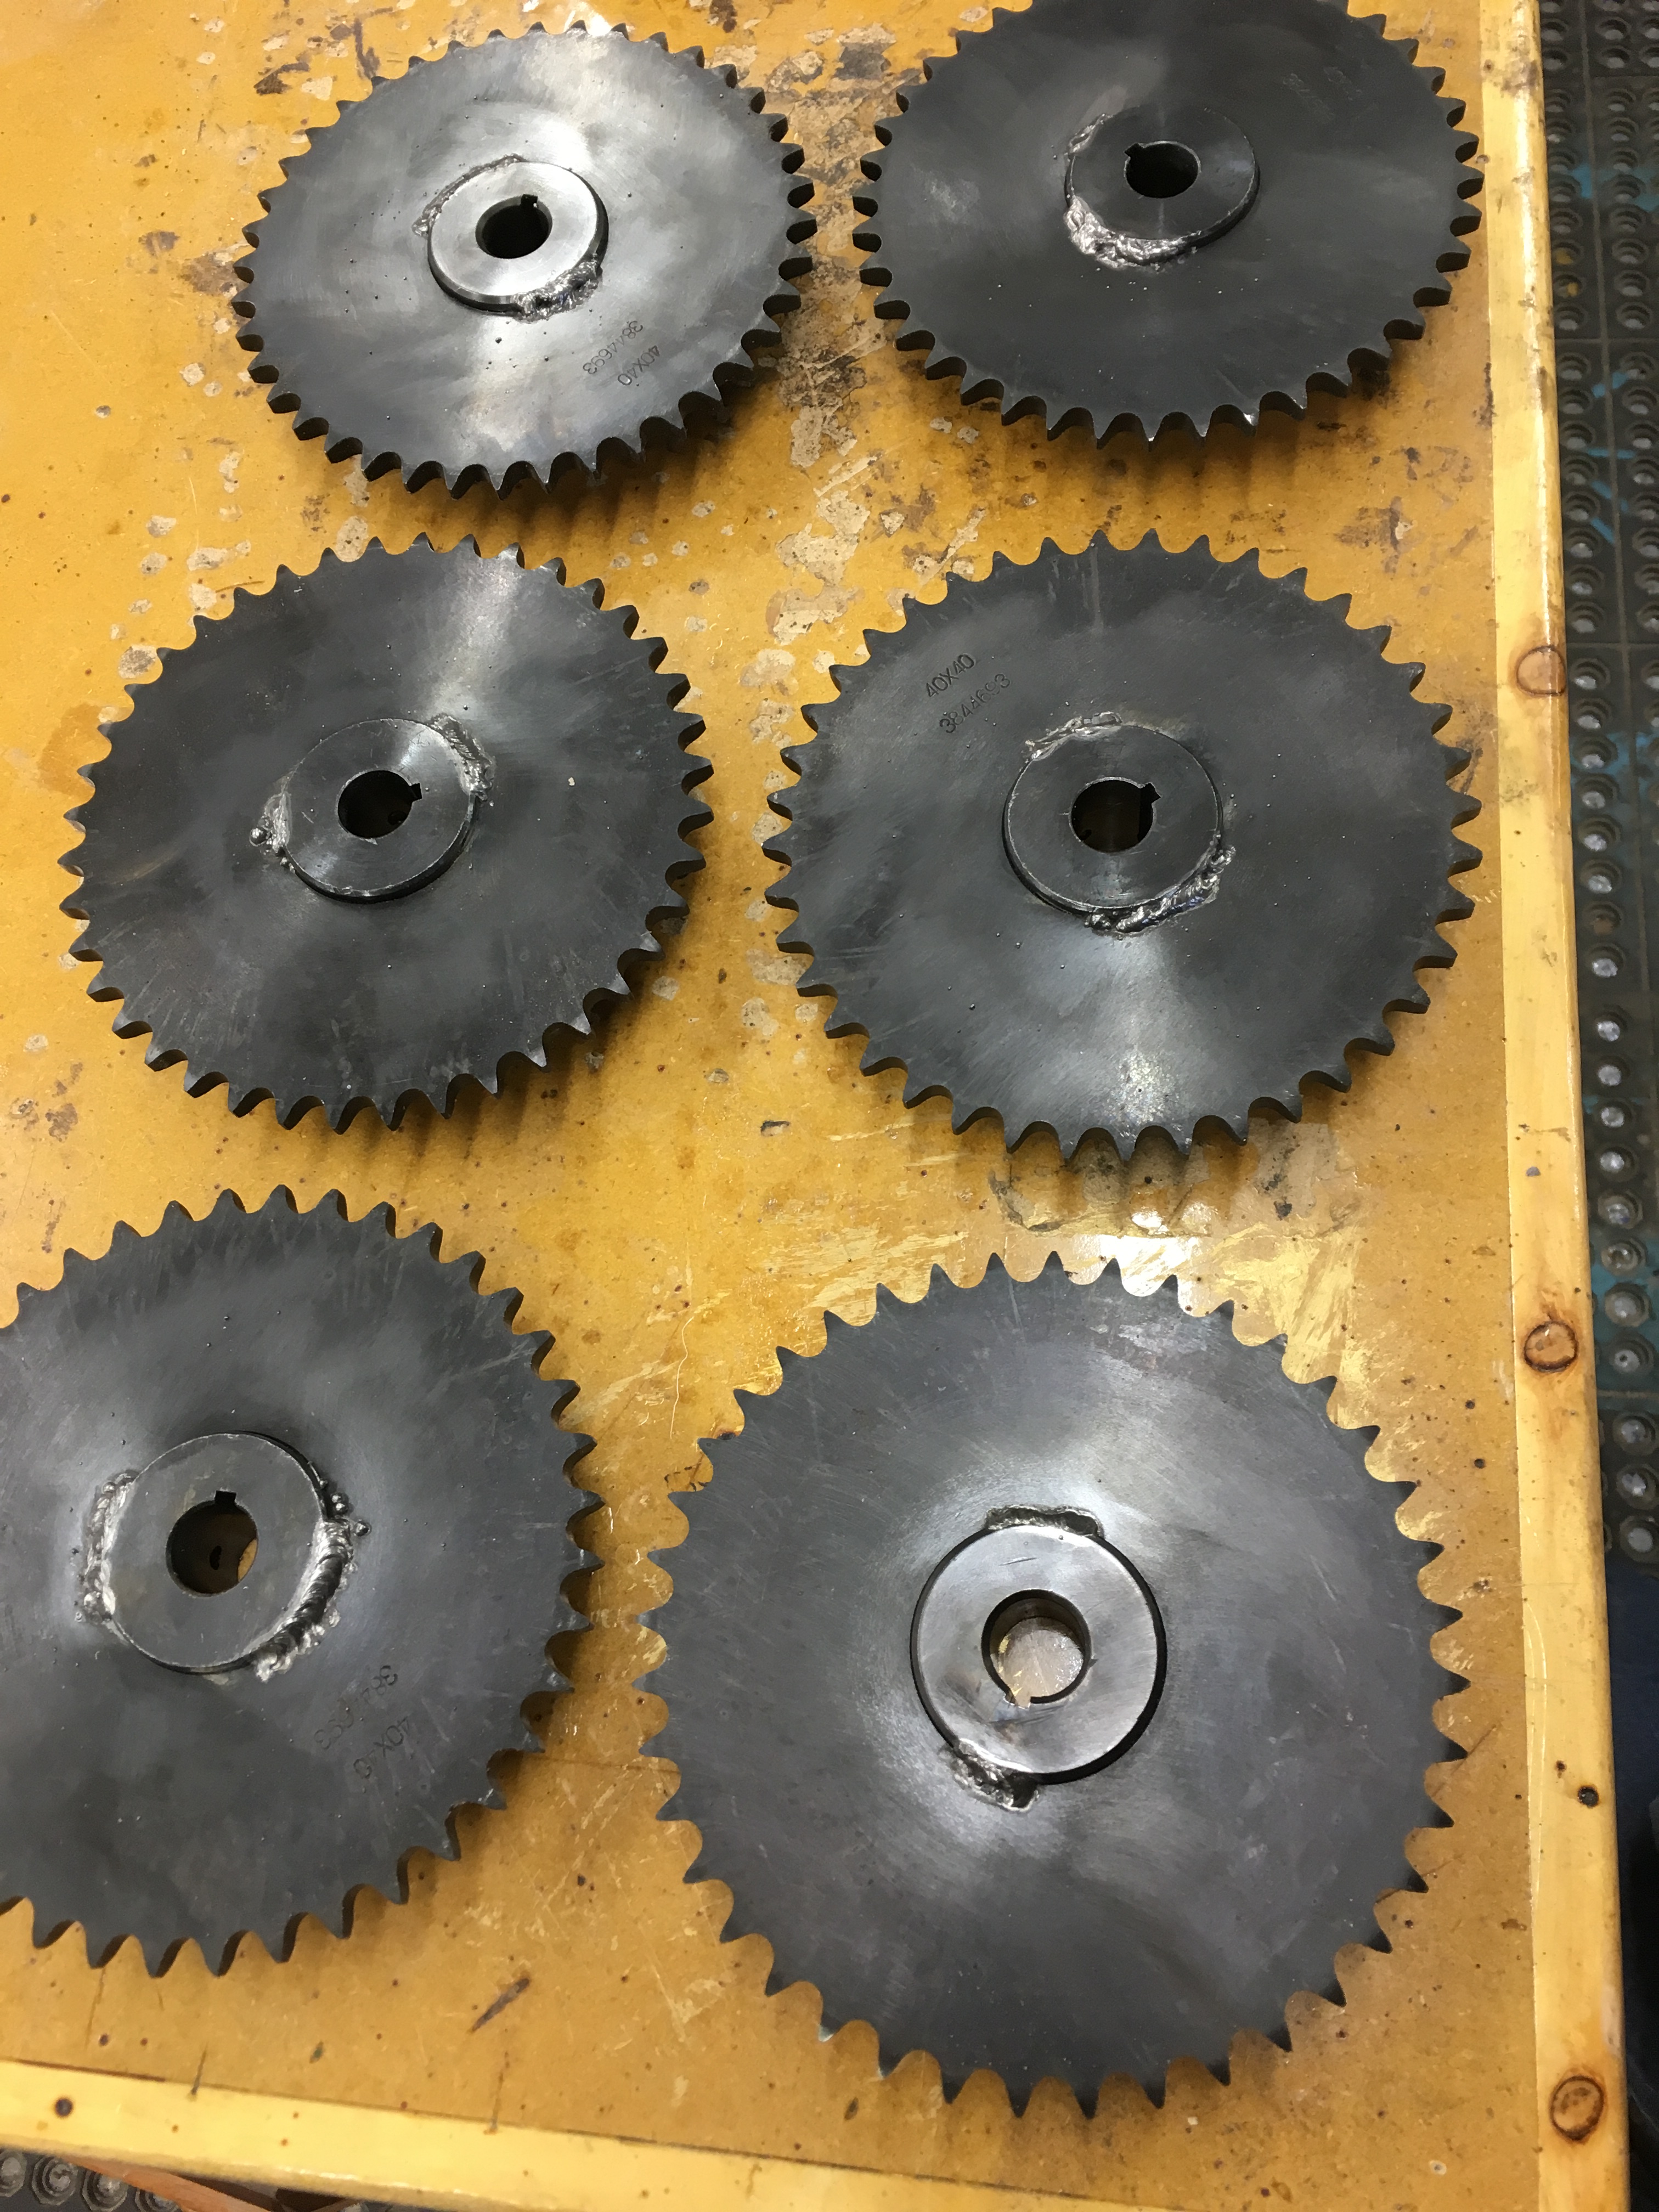
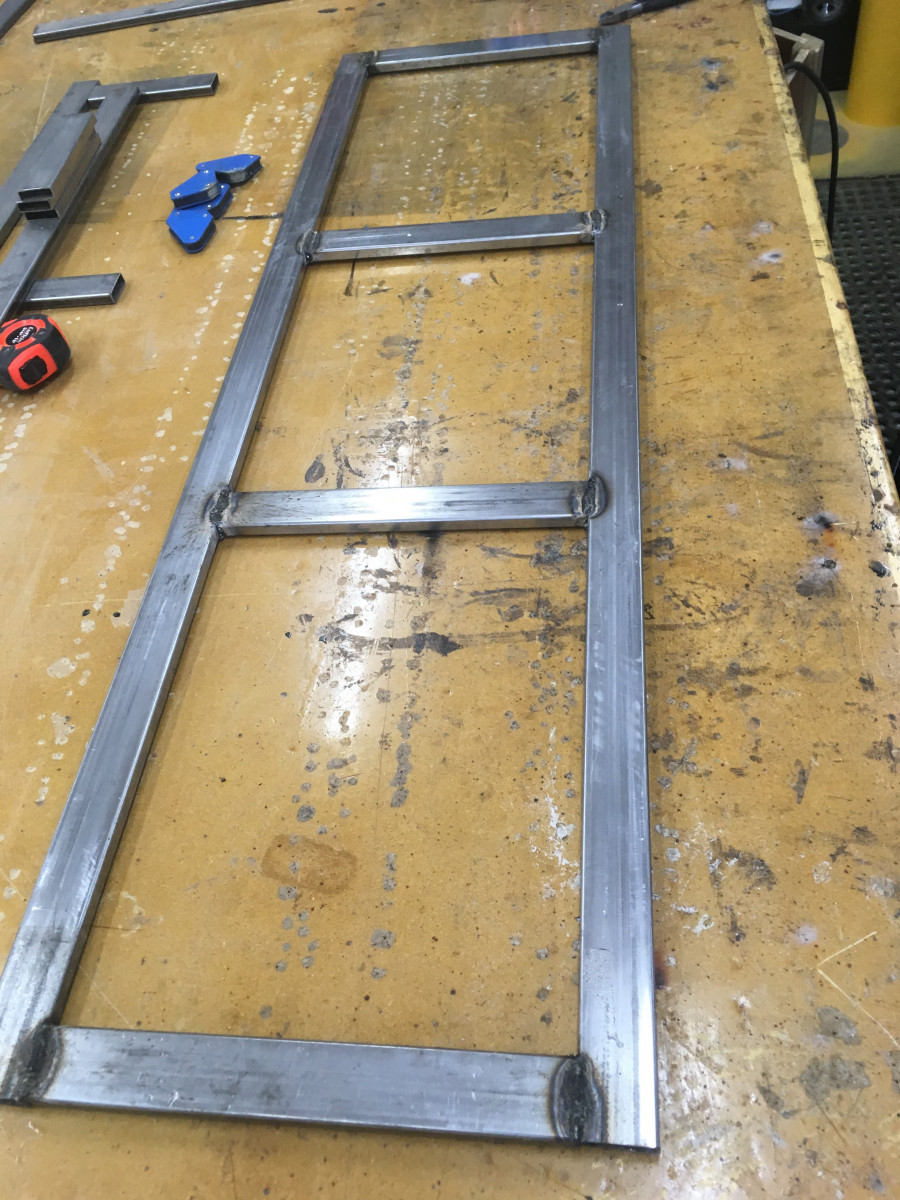
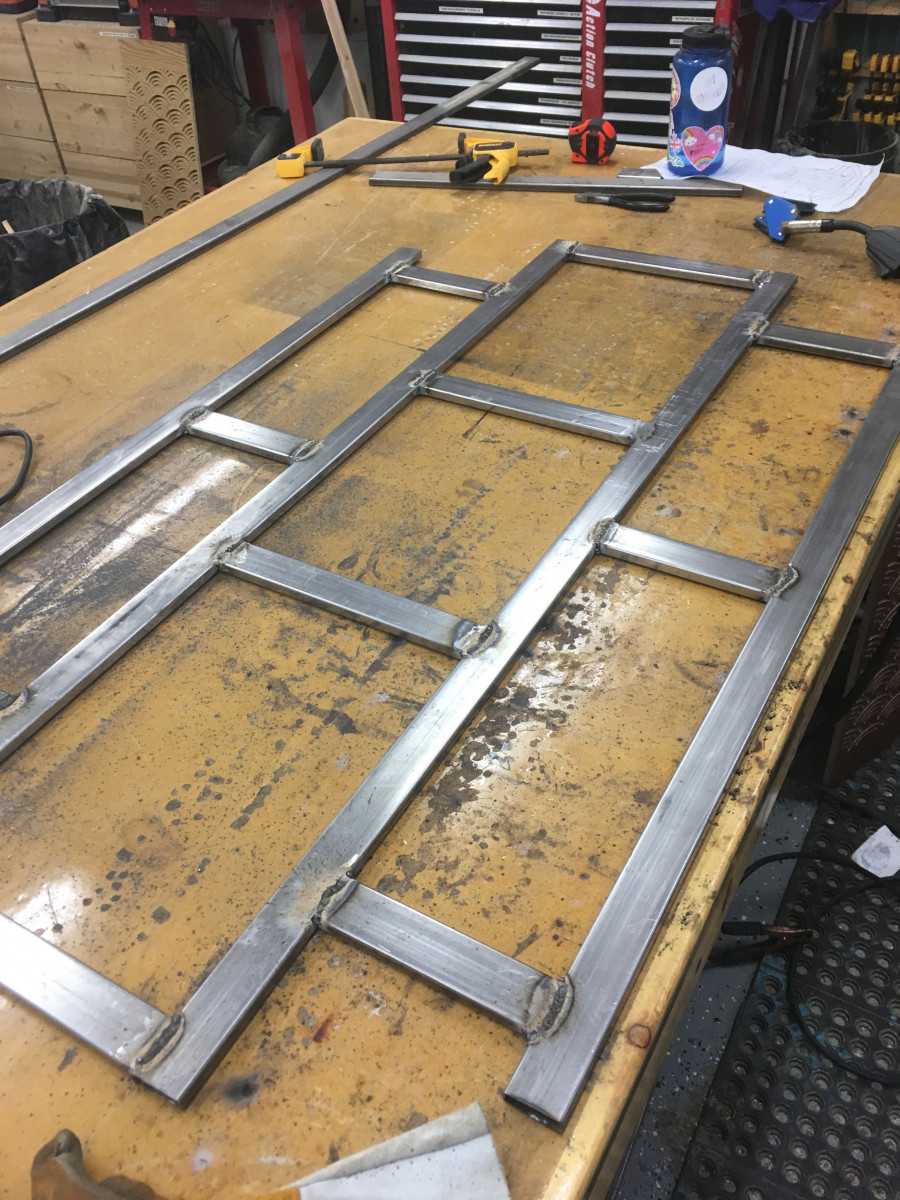
Turns out my welding isn't nearly as rough as it used to be. Chalk it up to old age and patience.
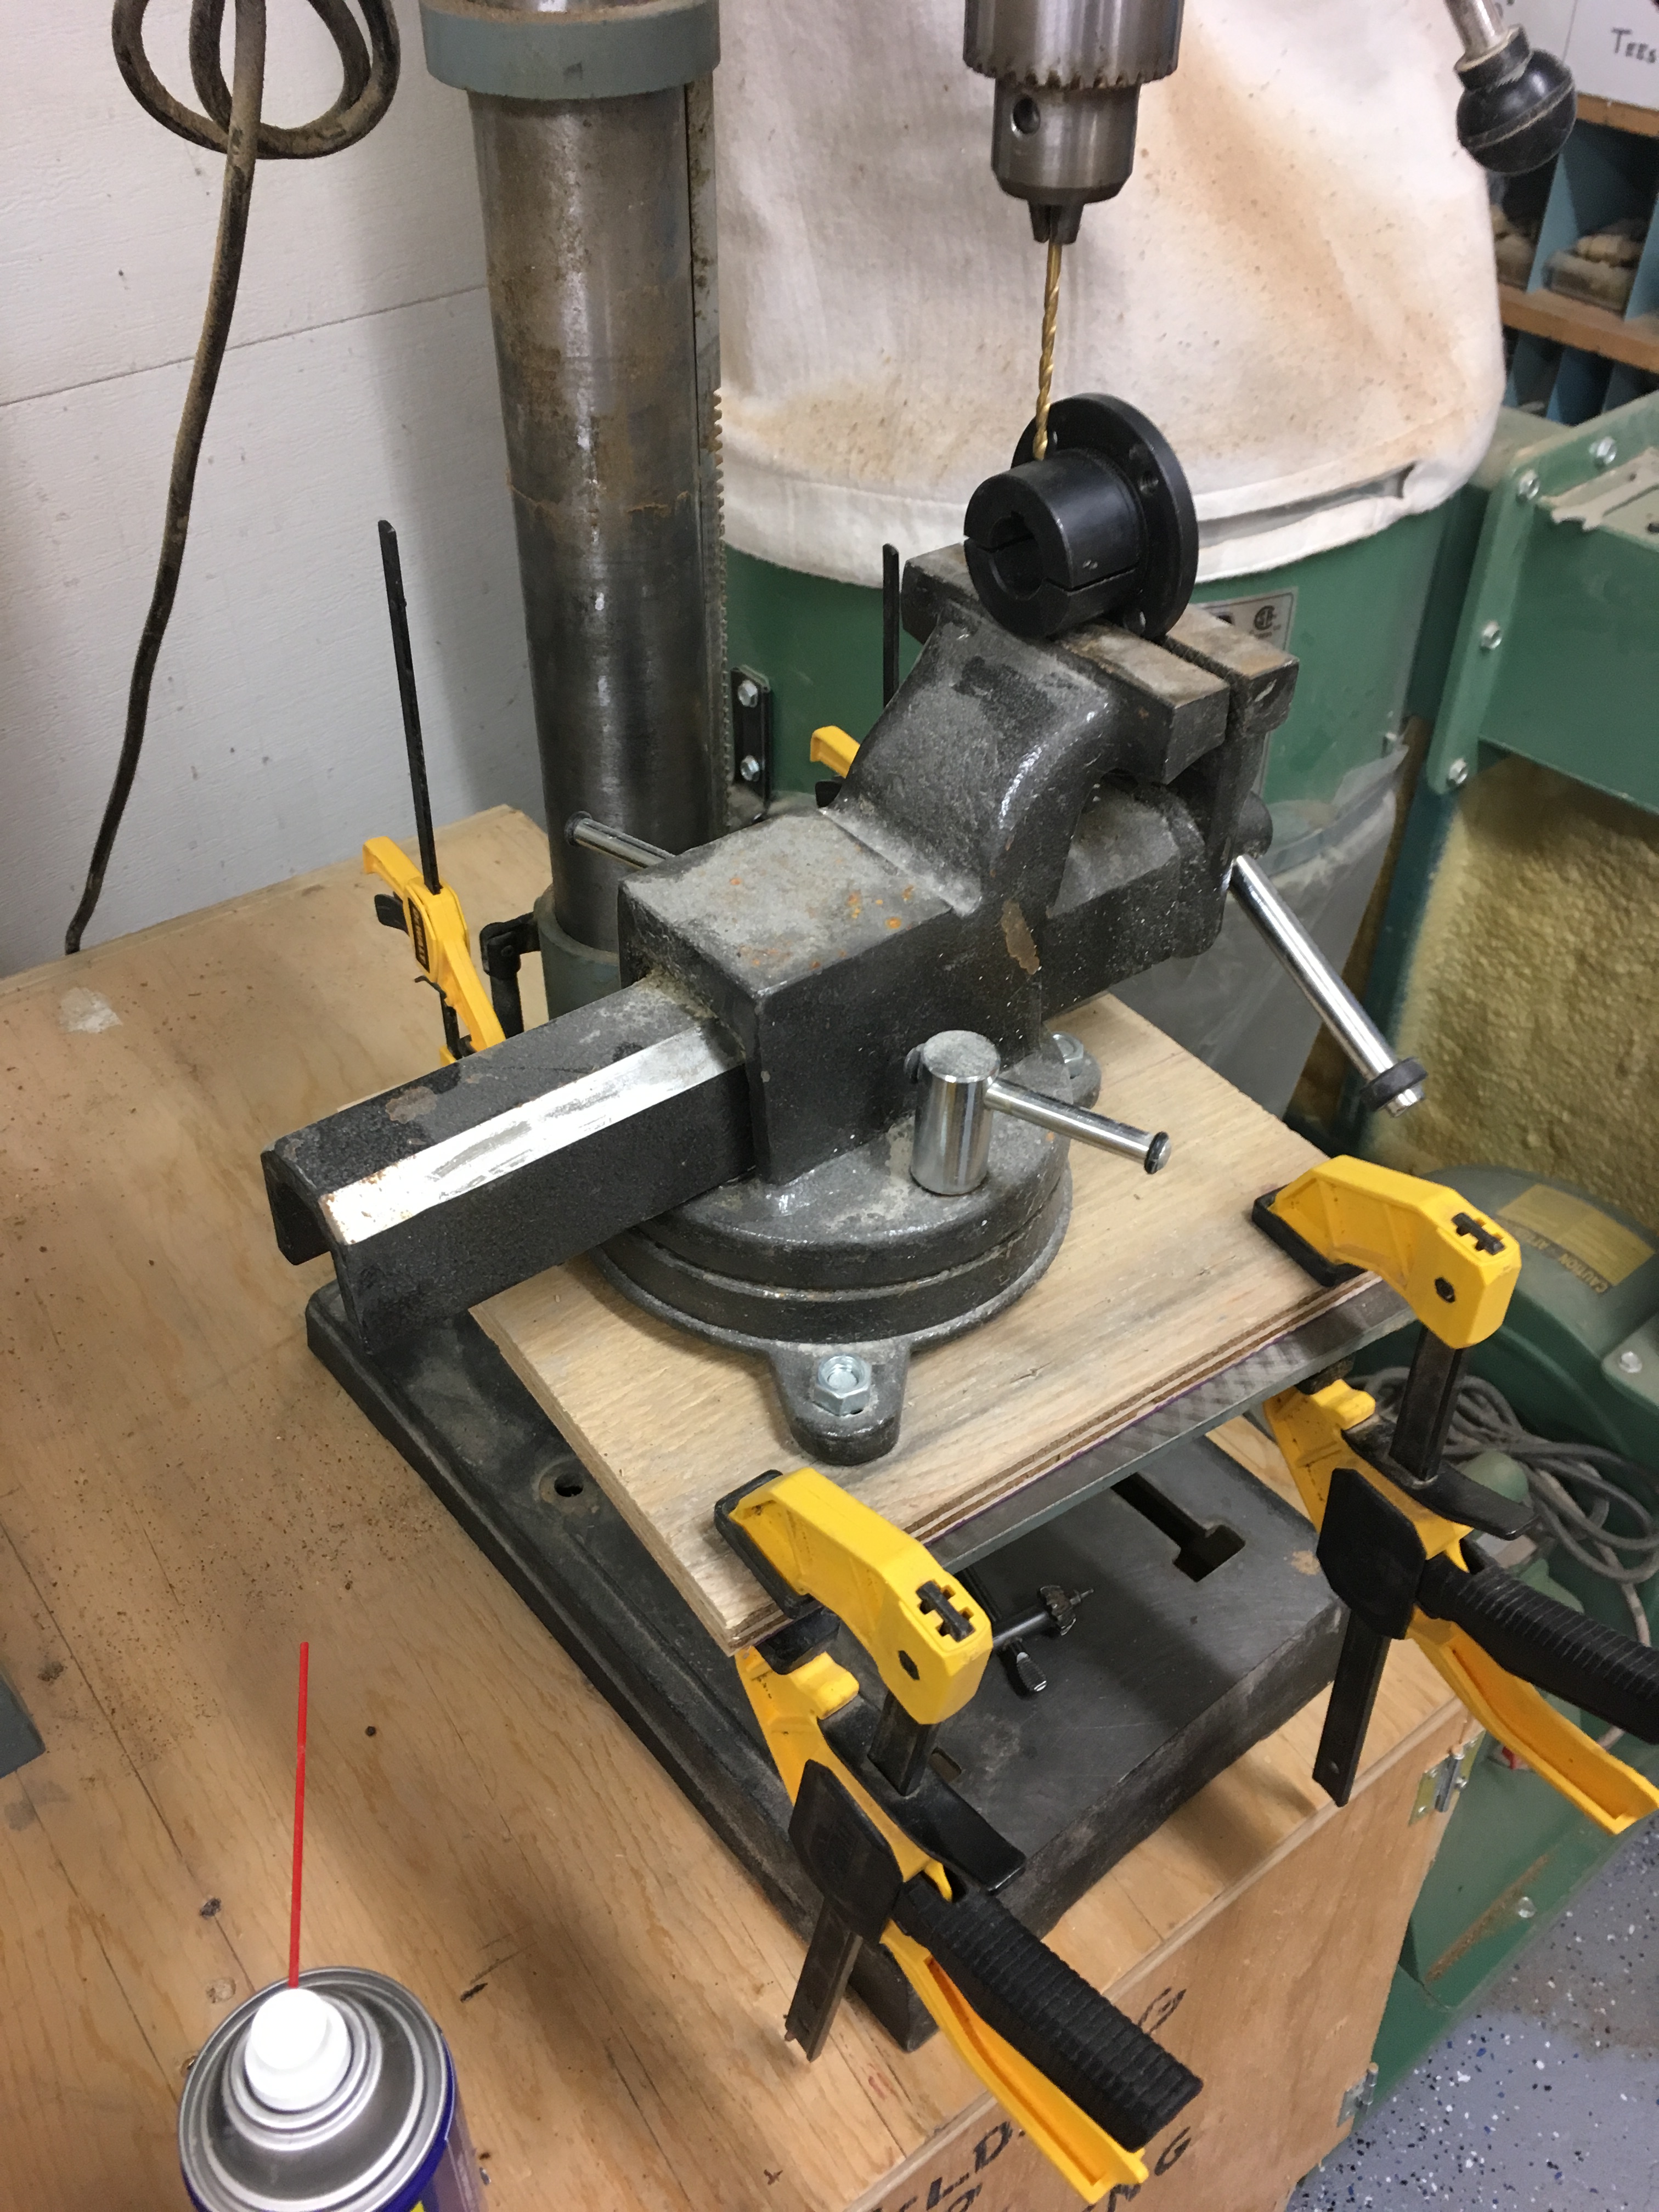
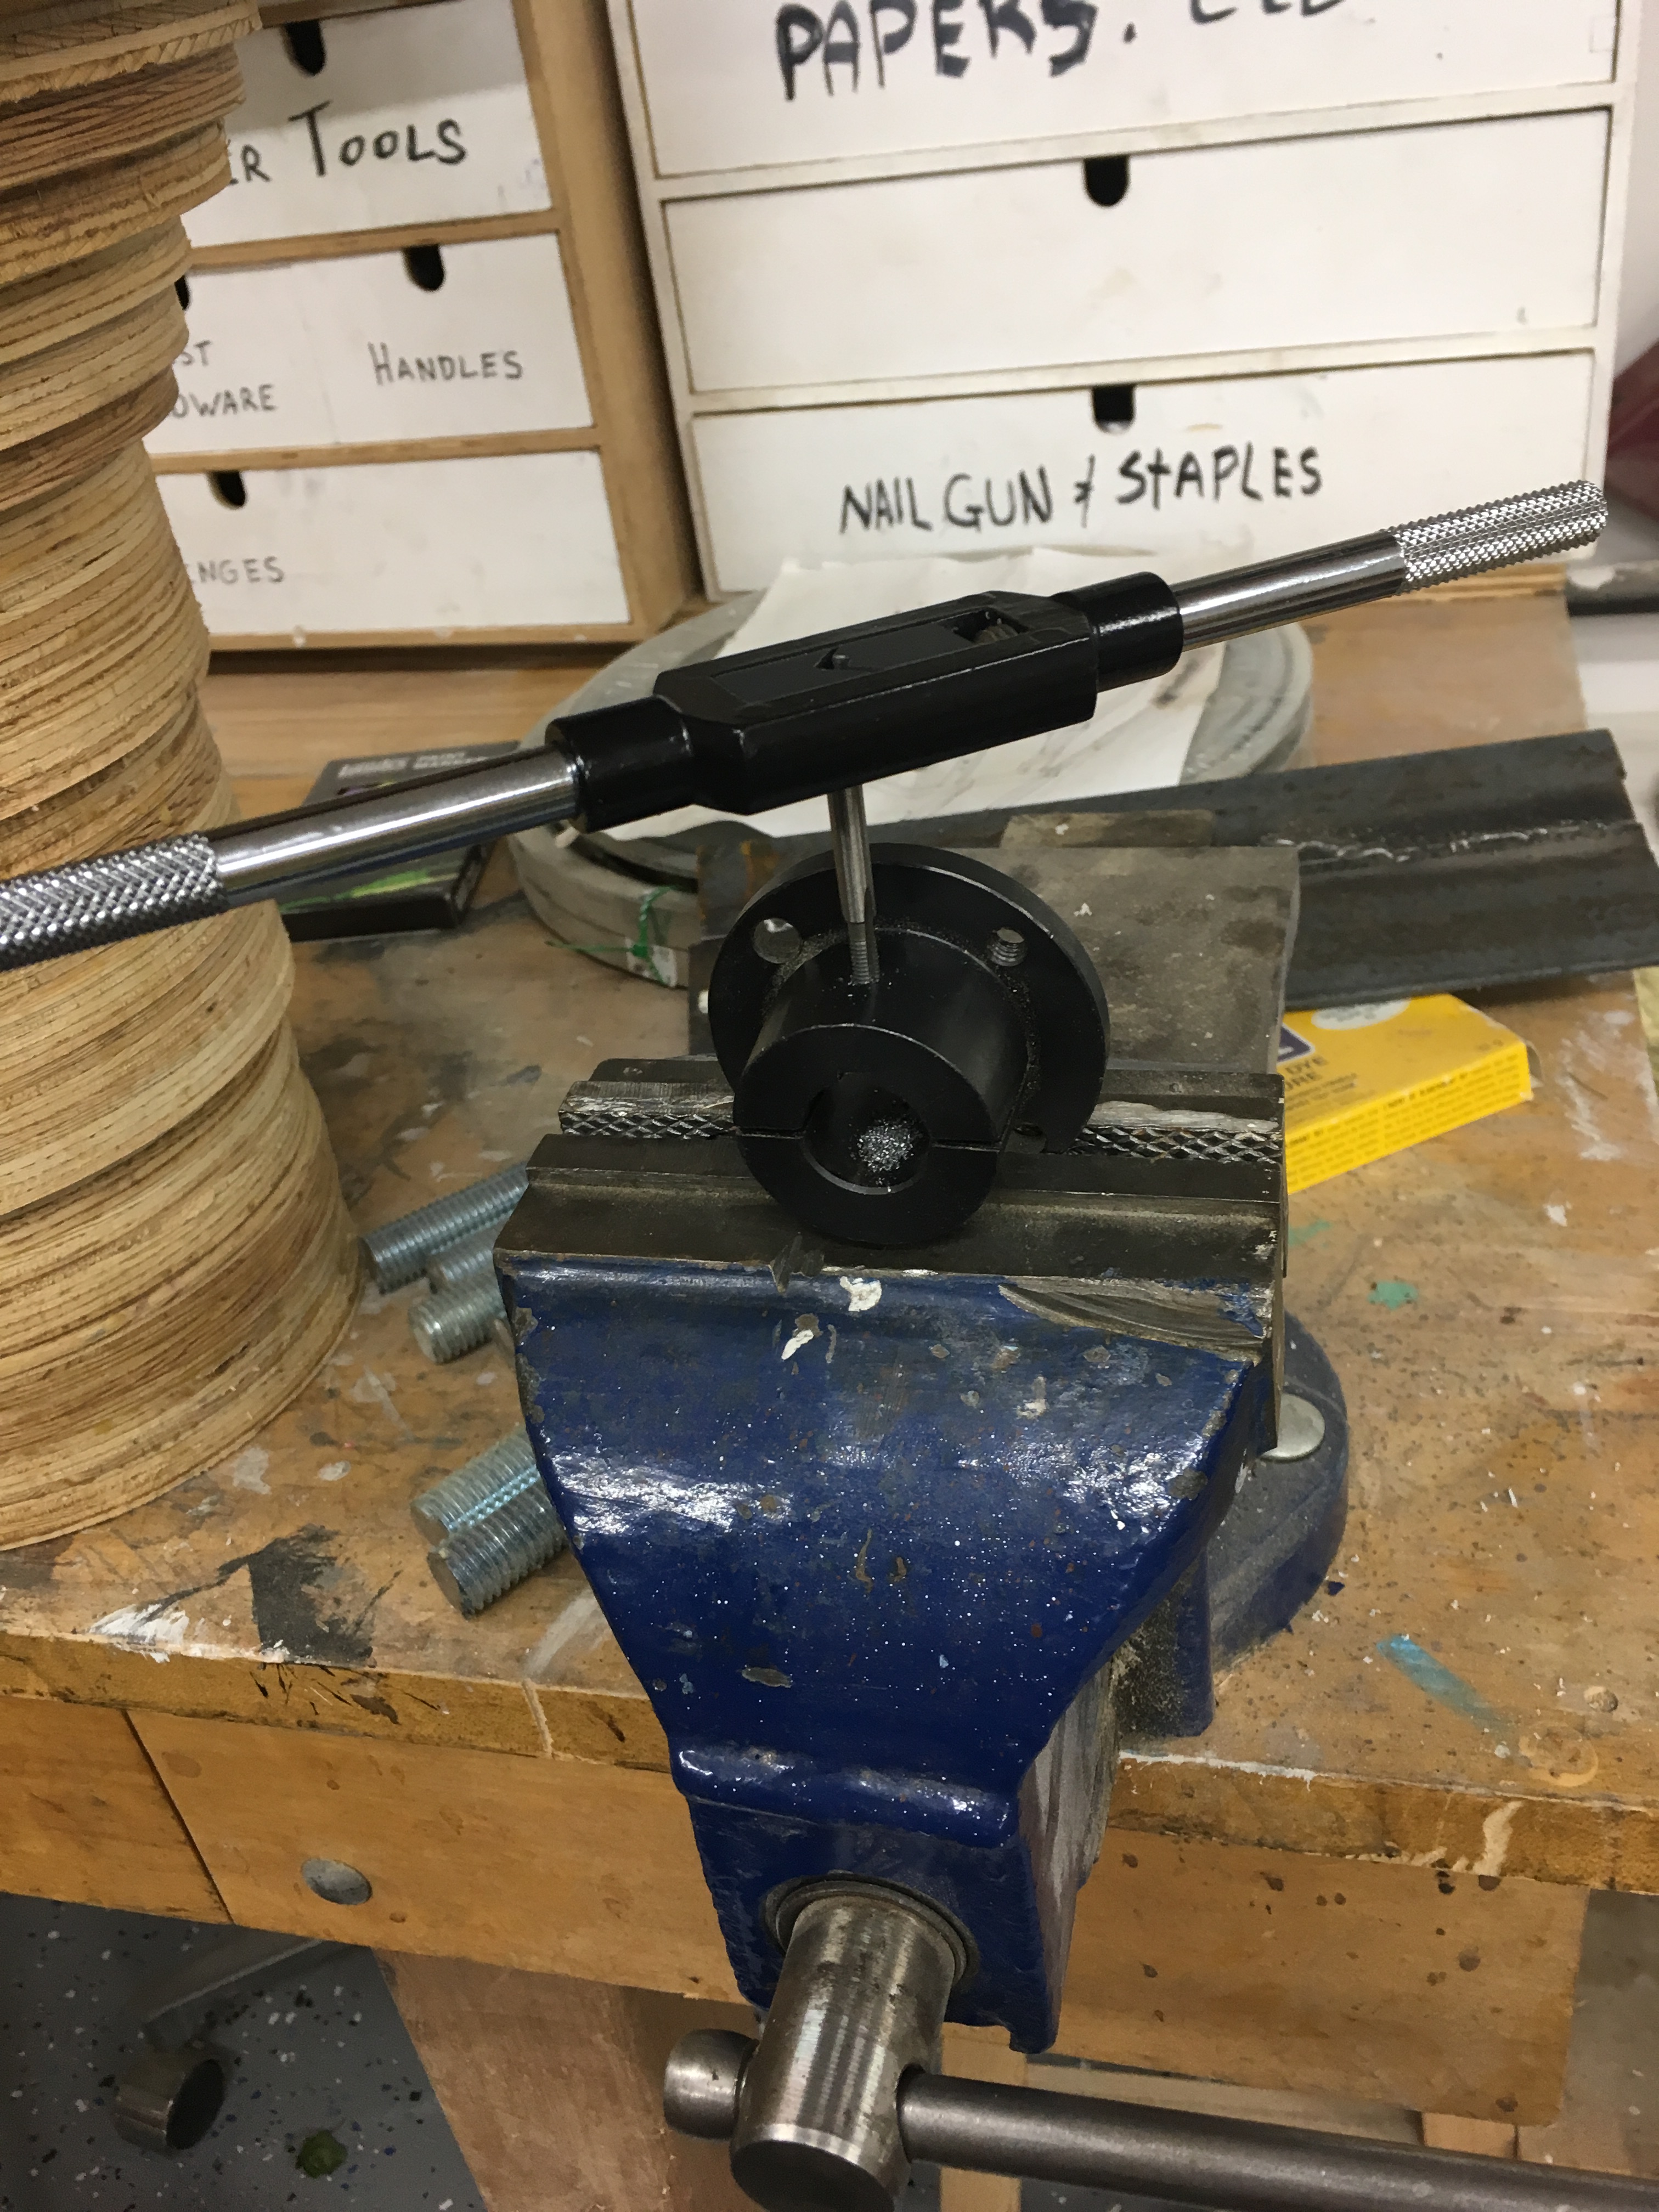
Nothing makes you feel like you know what you're doing quite like threading some bolt holes properly.
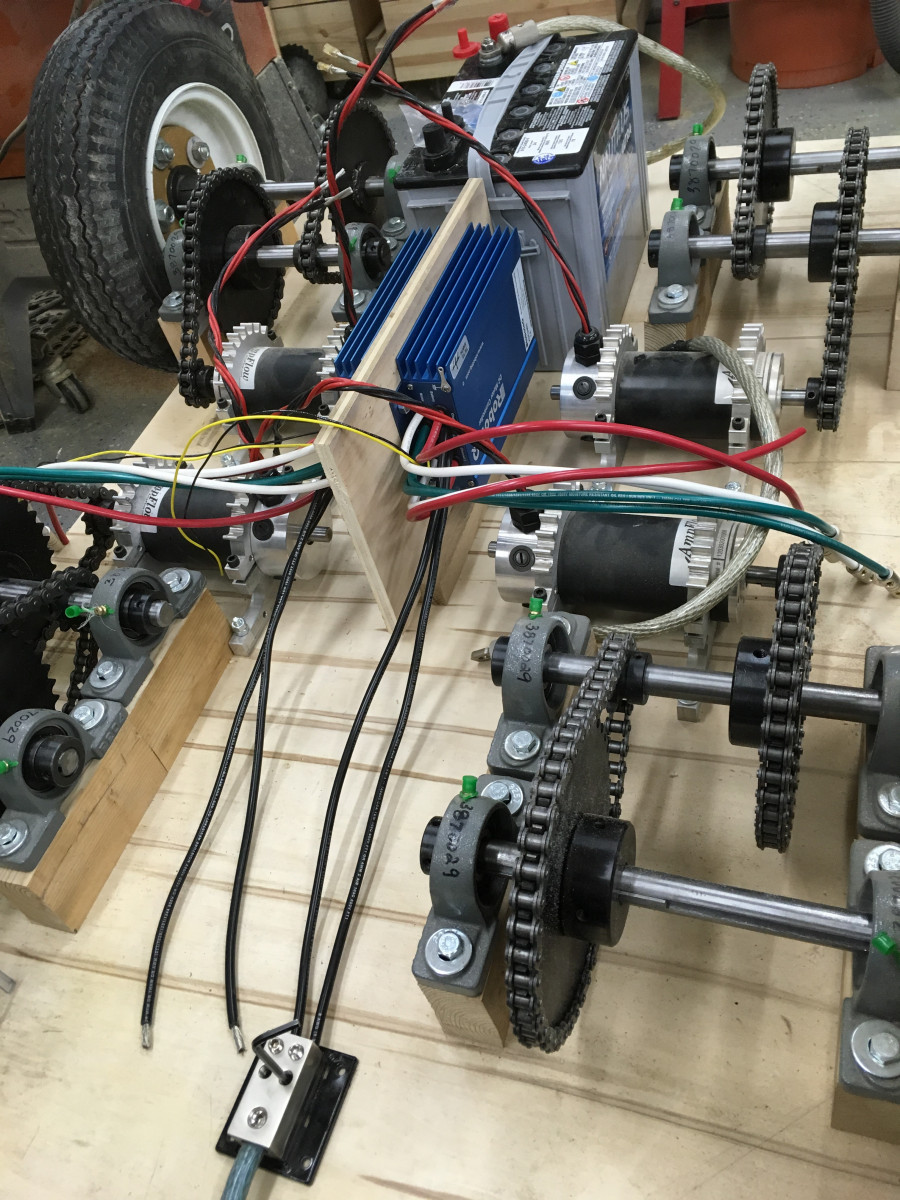
Attach Wheels, Chains, keystock - Boom you've got a rolling chassis!
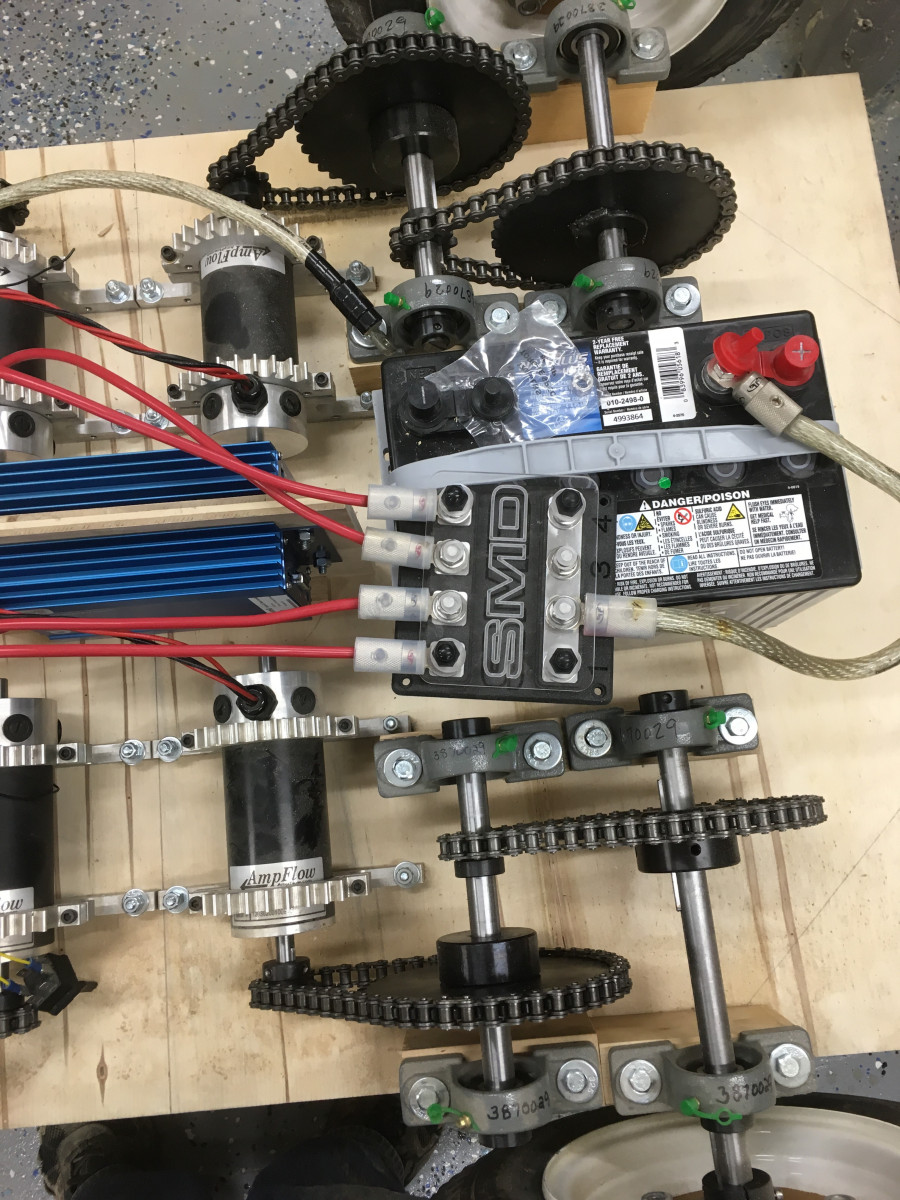
Drop in a AGM Marine Battery from Crappy Tire, 2 speed controllers, and some receiver and controller battery packs, and you've tripled the price of your robot and it can move around.
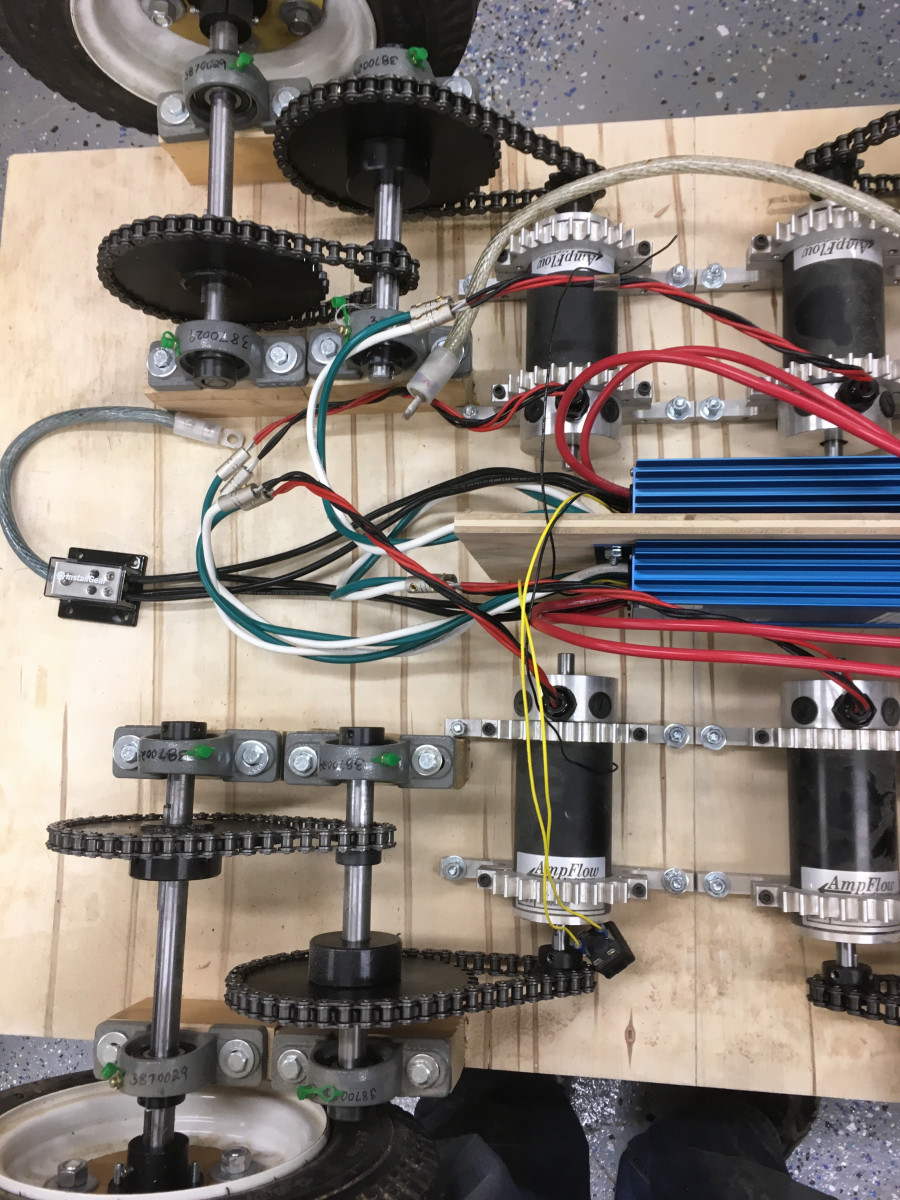
I'm utilizing a fair amount of old Car Audio wiring, fuses, and splitters that i happen to have sitting around.
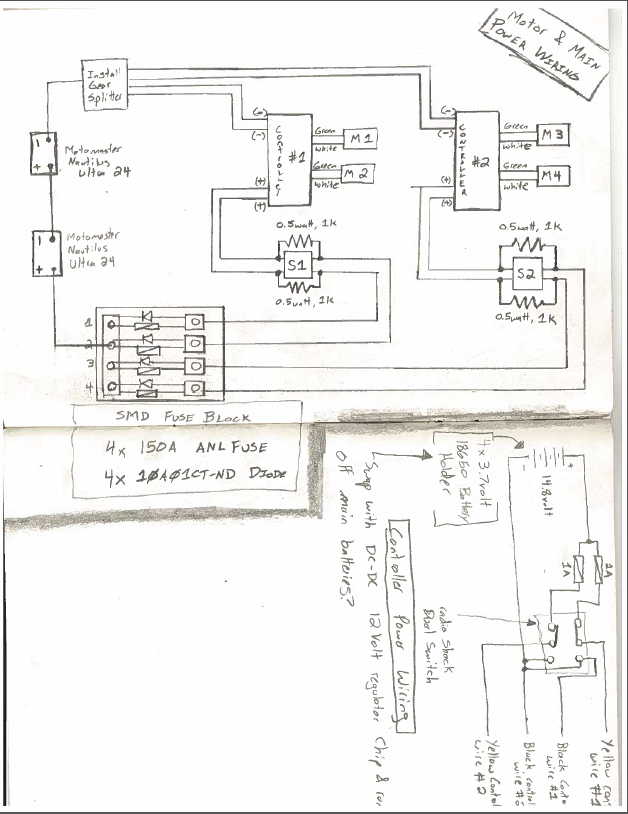
The wiring and connection of the two Roboteq Controllers can be broken down into 3 seperate areas:
Motor Power - Power from two Nautilus Marine batteries (12 V, 79 AH) wired in series is divided in 4 through a SMD Fuse block. The controllers have a power wire for each motor, so each gets a 150AMP fuse with a diode to protect. The auto fuses are notorious for blowing slowly, which should work out well during temporary current draws.... from there they should go through a safety cut-off switch, but I'm still sourcing those, and it's very likely it will be moved to the negative terminal of the batteries instead. Each motor is straight wired to the controllers.
Controller Power - The Controllers need to be pulled to ground to fully power off, and I'm also using two separate controllers for each pair of motors....so I've got them wired through a 3 position Dual switch with each controller pulling it's own power from a set of 4 X 18650 lithium Ion batteries which are rather plentiful in many commercial battery packs I've scavenged.
RX/TX Power - For now I'm using a simple R/C transmitter with it's own battery pack, connected through the I/O pin outs of the Roboteq's, this has allowed for easy mixing of the radio signal to the two controllers. Eventually this will be swapped out for an Arduino and Xbee that connects to the DFR Robotics Playstation controller.....I'm not great at programming so this is slow going...
https://vimeo.com/user97019901/review/328473805/84c78d29a6
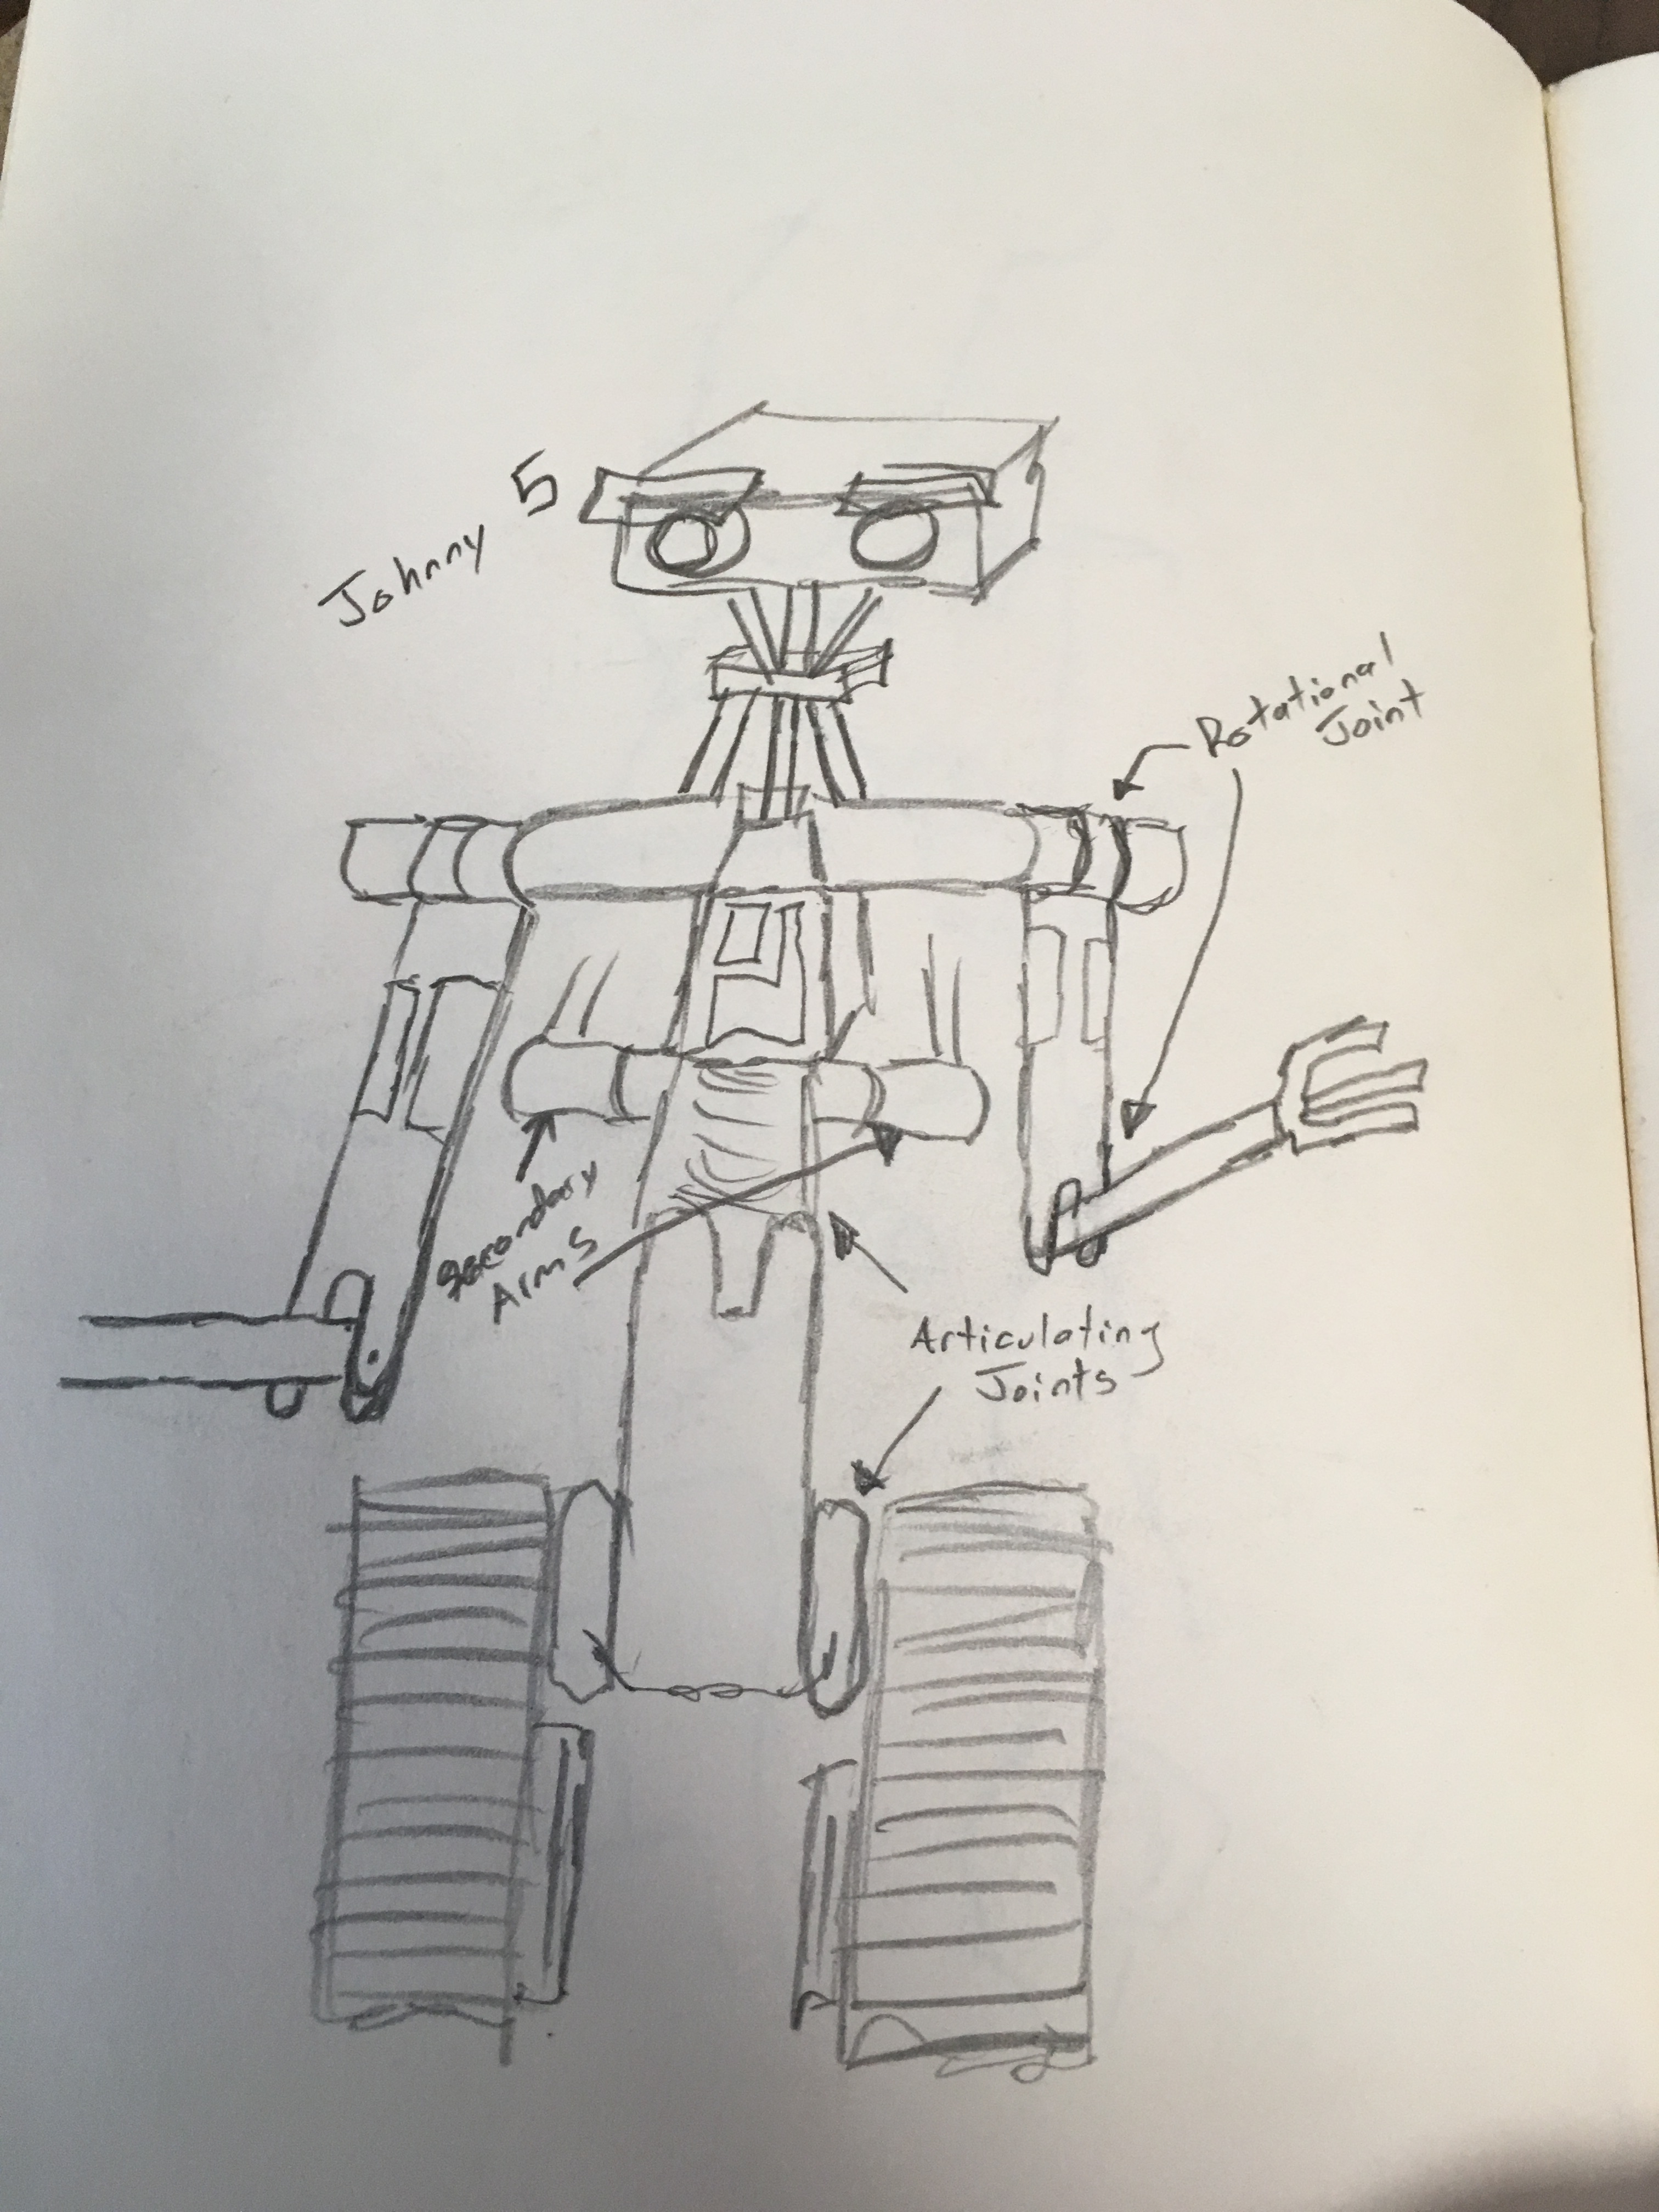
I'd love to machine a beautiful one piece body out of a block of aluminum...that's probably going to have to wait for a year or two once I finish up some more schooling.
So rectangular steel tubing will have to do. The general body shape I'm aiming for is somewhat tank styled, minus the treads, because quite frankly those are a pain and a lot of work....but one day.