


IR remote controlled arduino robot
hello guys..
this is our new project thats called ir remote controlled robot using arduino.
thats controlled by any remote...we have used as ir remote...
so lets start.
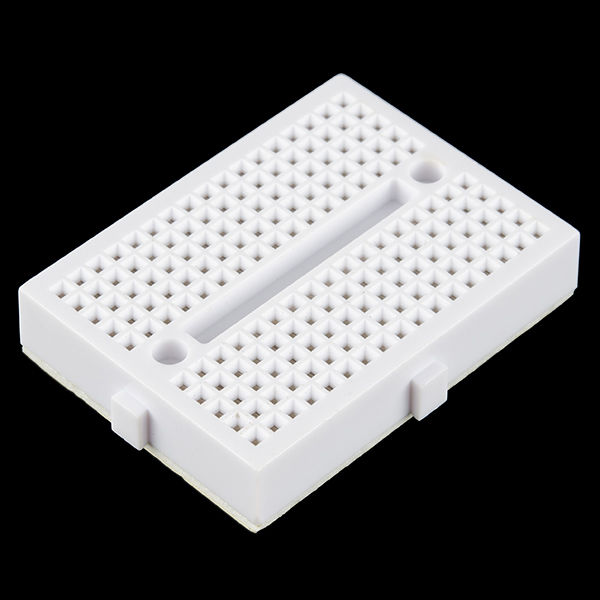
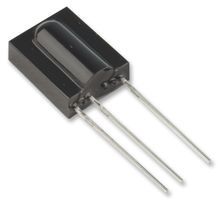
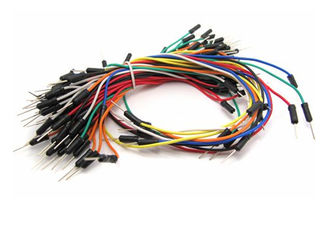
Step 1: Components
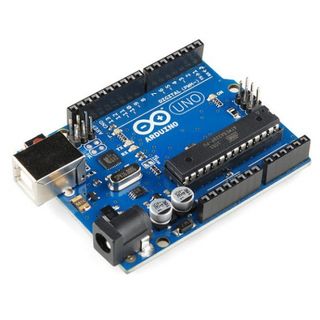

1:-arduino uno
2:-ir remote
3:-l293d ic
4:-infrared receiver(TSOP1138)
5:-mini breadboard
6:-jumper wires
7:-two dc motors
8:-one chassis
9:-two wheels with caster wheel
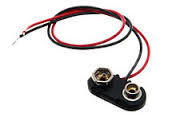
10:-9v battery or power bank
Step 2: Infrared Connection
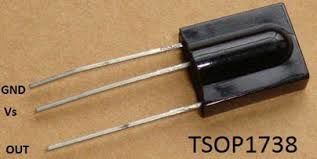
we have used as infrared receiver TSOP1138
SOO..
RECEIVER HAVE 3PINS..
one pin is connect to gnd....
and vspin is connect to +5v
and out pin connect to arduino...
so lets connection with arduino and ir receiver..
Step 3: Ir Receiver to Arduino
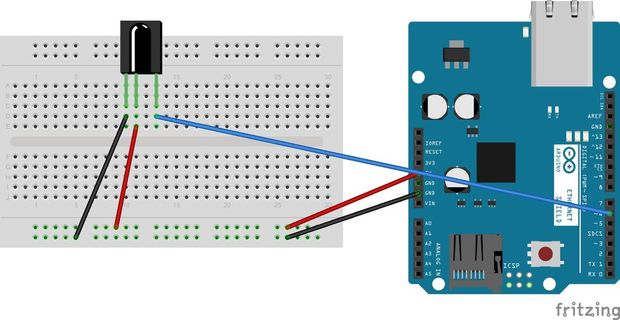
here see this pic..
ir receiver is connected..
two pins are connected to +5v and gnd..
another third pin is connect to arduino 6pin....
thats easy connection,you can try on breadboard..
Step 4: L293d Ic Connection
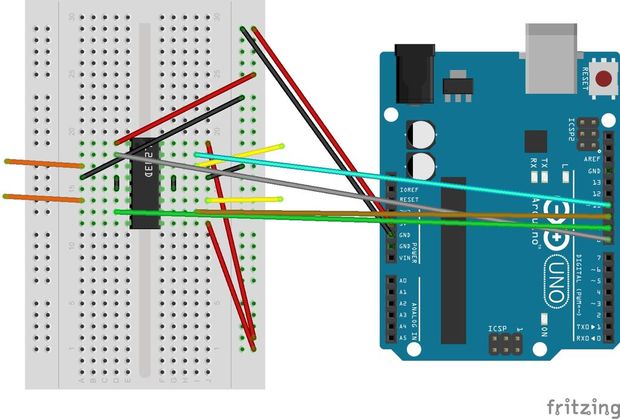
if you use l293d ic instead of l293d motor driver..
even its will be easy for connection....
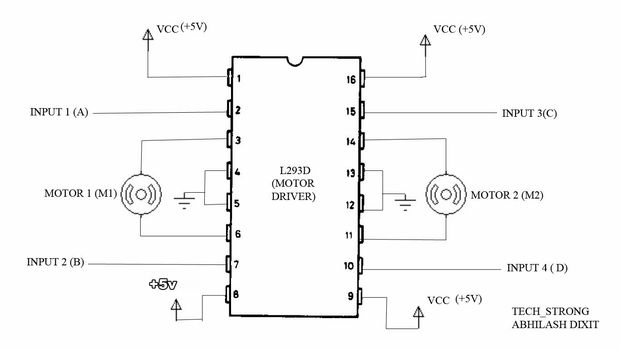
l293d ic have 16pin...
1,8,9 and 16 pin connect to +5v.
and 4,5,12,13 pin connect to gnd...
input 1,2,3 and 4pin is connect to arduino pin..
output is connect to left motor and right motor..
input 1 and 2 is connect for left motor..
and input 3 and 4 is connect for right motor..
Step 5: Integrating Everything
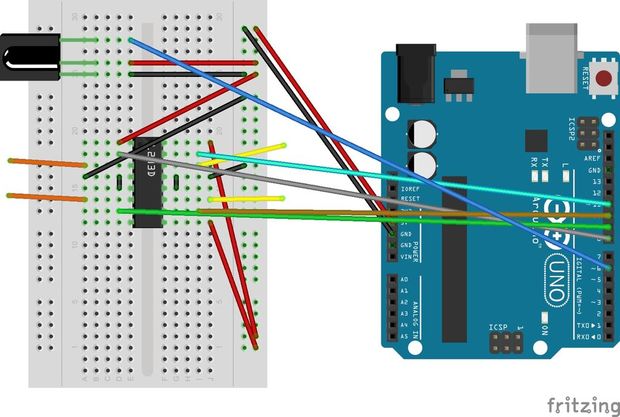
infrared receiver output pin is connect to arduino 6pin..
pin 2 of l293d is connect to 8pin of arduino
pin 7 of l293d is connect to 9pin of arduino
pin 10 of l293d connect to 10 pin of arduino
pin 15 pin of l293d connect to 11 pin of arduino..
thats easy connection you can do..
Step 6: Ir Recdemo Library Uploading
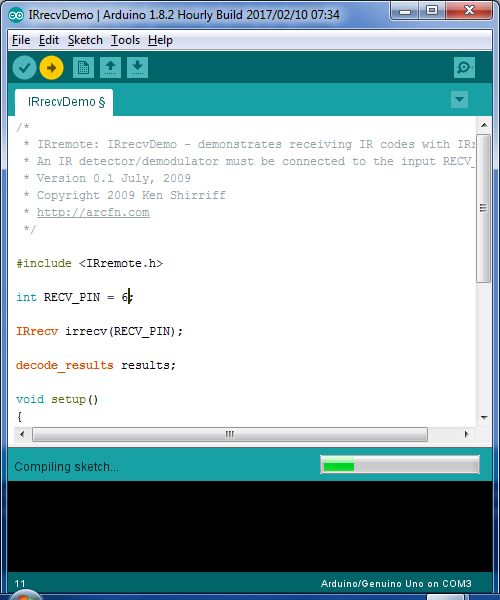
https://z3t0.github.io/Arduino-IRremote/
click this link..and download ir remoter master zip file...
add this file to arduino uno..
at 1st ir recv demo file...open code to arduino and compile..
then connect to your battery...
1:-Upload the given code into the Arduino
2:-Open the serial monitor.
3:-Press different remote keys and obtain their hexadecimal values.(Note that the values will not be obtained with 0x which represents hexadecimal also some values are obtained in middle like FFFFFFFF, ignore them).
Here I have obtained
the values of the front,back,left,right and middle keys which are
1=front=0x807F20DF
2=back=0x807FA05F
3=left=0x807F609F
4=right=0x807FE01F
5=stop=0x807F10EF
These values of these buttons are mapped to move front,move back,move left,move right and stop respectively.

Step 7: Uploading Main Code
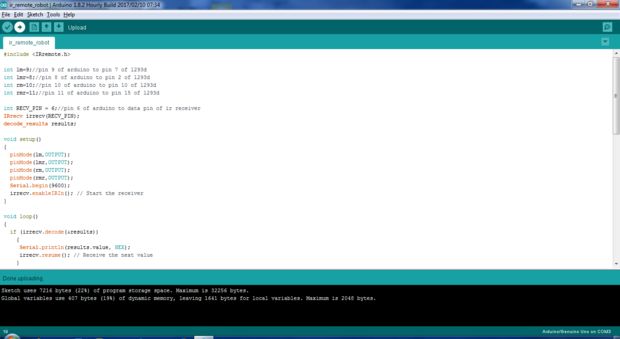

now..copy the code below..
and paste to arduino...1st compile then upload
#include<IRremote.h>
int lm=9;//pin 9 of arduino to pin 7 of l293d int lmr=8;//pin 8 of arduino to pin 2 of l293d int rm=10;//pin 10 of arduino to pin 10 of l293d int rmr=11;//pin 11 of arduino to pin 15 of l293d
int RECV_PIN = 6;//pin 6 of arduino to data pin of ir receiver IRrecv irrecv(RECV_PIN); decode_results results;
void setup() { pinMode(lm,OUTPUT); pinMode(lmr,OUTPUT); pinMode(rm,OUTPUT); pinMode(rmr,OUTPUT); Serial.begin(9600); irrecv.enableIRIn(); // Start the receiver }
void loop() { if (irrecv.decode(&results)) { Serial.println(results.value, HEX); irrecv.resume(); // Receive the next value } //bot moves front if(results.value==0x807F20DF) { digitalWrite(lm,LOW); digitalWrite(lmr,HIGH); digitalWrite(rm,HIGH); digitalWrite(rmr,LOW); } //bot moves back if(results.value==0x807FA05F) { digitalWrite(lm,HIGH); digitalWrite(lmr,LOW); digitalWrite(rm,LOW); digitalWrite(rmr,HIGH); } //bot moves left if(results.value==0x807F609F) { digitalWrite(lm,LOW); digitalWrite(lmr,HIGH); digitalWrite(rm,HIGH); digitalWrite(rmr,HIGH); } //bot moves right if(results.value==0x807FE01F) { digitalWrite(lm,HIGH); digitalWrite(lmr,HIGH); digitalWrite(rm,HIGH); digitalWrite(rmr,LOW); } //bot stops if(results.value==0x807F10EF) { digitalWrite(lm,HIGH); digitalWrite(lmr,HIGH); digitalWrite(rm,HIGH); digitalWrite(rmr,HIGH); } }
soo....we are making this video by connecting arduino cable..for serial monitor show..
also you see this pic of serial monitor....
Step 8: Result
here this video link help you to make this project easily.....
also you can follow s_r tronics on you tube ...
https://www.youtube.com/watch?v=J3xG8m7KB50