


Insect Bot Mini
UPDATE 01/16/2014: Please scroll down to the Sharp IR sensor part of this writeup.
Hello LMRians,
The Insect Bot is starting to run, walk, hop, turn,etc.
A big thanks to the generous guys at DFRobot and Lumi himself, for organizing the free giveaway. I was dying to pounce upon the free kit, not just because it was free, but because it was a real creature-like robot. Here, I present to you the unboxing, the build, the documentation and the review, a 4-combo pack, of the Insect Bot Mini Kit from DFRobot.
I received the kit exactly a week ago, opened everything up and assembled it right away! This is how it went:
UNBOXING:
I thought the kit would arrive in a small package ( the size of a geometry box ) , but it didn't. It was better than that. The packaging was the first impression.
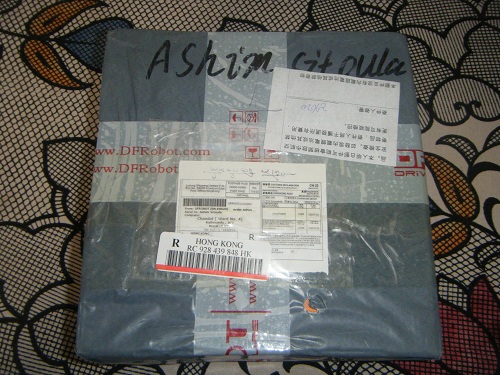
The box was wrapped in lots of nice and strong DFRobot tape.
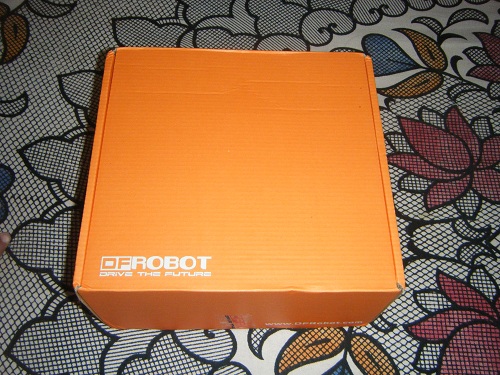
I hurriedly, but cautiously, tore off all the tape and the plastic covering. In was a bright orange coloured DFRobot box.
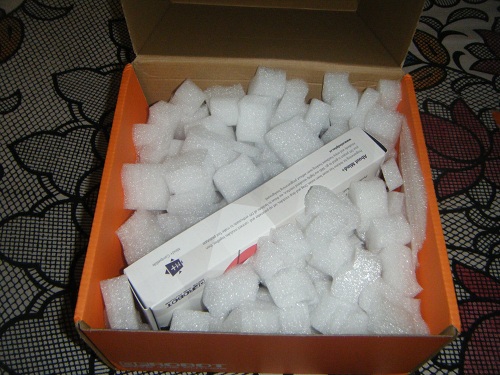
Inside the box, as you can see, there were small blocks of foam. I had read that chinawares were wrapped in straws to prevent them from breakage while shipping. Now I can say that an Insect Bot Mini Kit is immersed in "foam-blocks" ( I really don't know the specific term! :D ) to arrive to his owner safely!
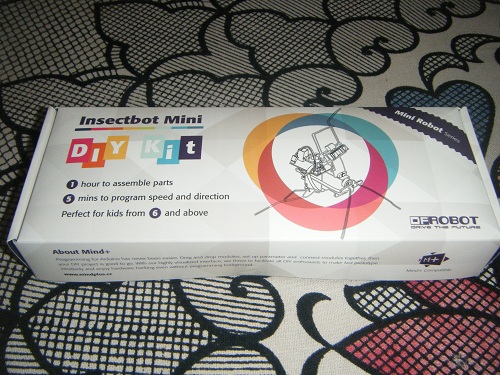
The entire parts and accessories of the kit is hidden inside this colourful paper box. It too, is nice and strong, and can easily be a great electronic item-holder :-D
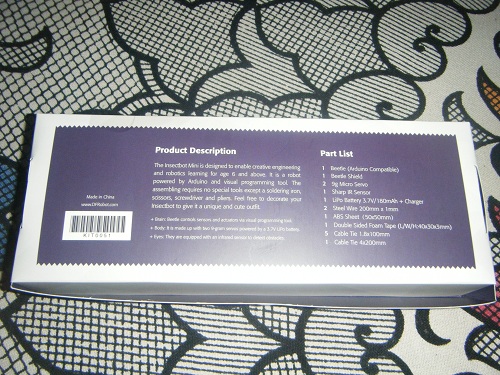
A brief description of the product is provided at the back along with the parts list.
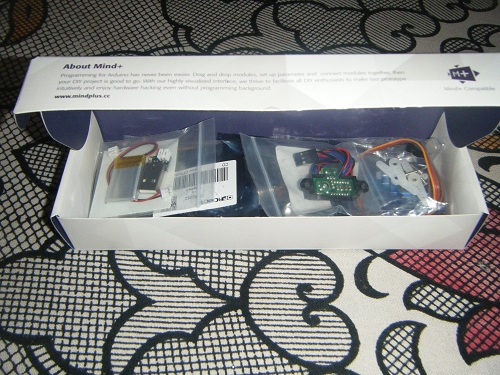
All the members of the "Insect Bot Mini Team" are inside in small plastic bags.
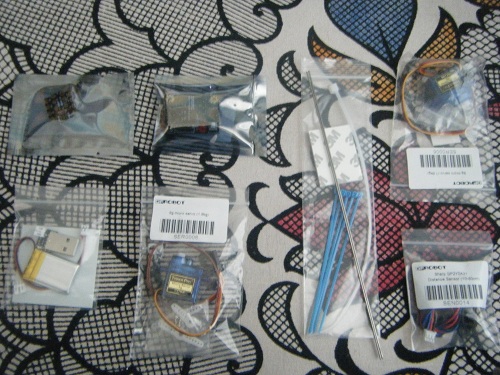
The members of the kit asked for a group photo before further use!
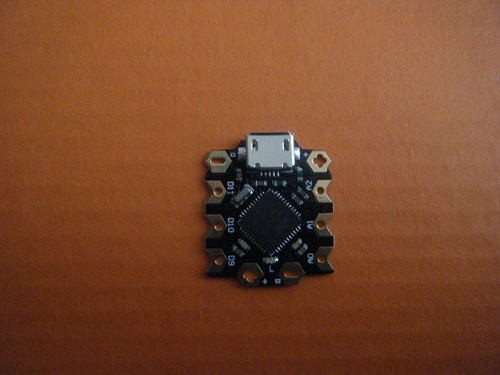
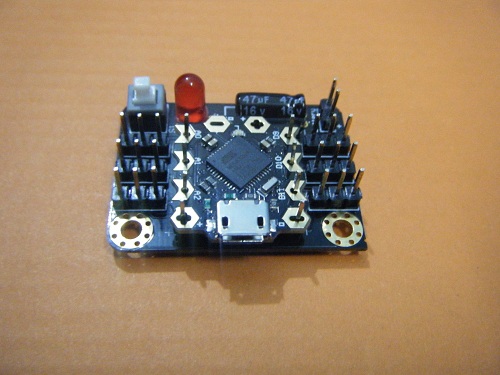
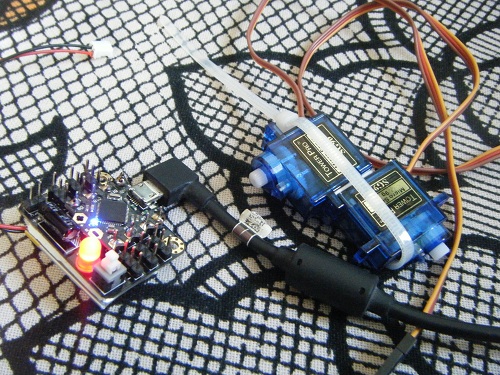
The Microcontroller used in the Insect Bot is the Beetle Controller. It uses an Atmega 32U4. It has 10 digital pins in total, but 6 when attached to the Beetle shield. So, if you are thinking of using the other 4 digital pins i.e. the RX, TX, SCL and SDA pins, you might need to make some early preparations before fixing the beetle onto the shield. ( That's what I did NOT do, and now have access to only the 6 digital pins. I might need to use a desoldering pump to access the other 4 digital pins that are on the under-side of the Beetle.)
I really liked the blue lighting-up-and-fading LED status of the beetle. ( unlike the abrupt sparkling colour changes that take place on most micro-controllers). It is a really small microcontroller and it works great not only on this insect, but also on one of my smaller robots.
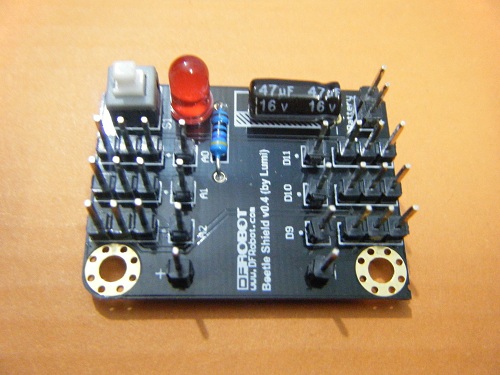
This is what I was talking about. It is the beetle shield. It has 3 analog pins and 3 digital pins. ( The analog pins can also be accessed as digital pins.) It also includes a power indicator LED, an on/off switch, and power pins.
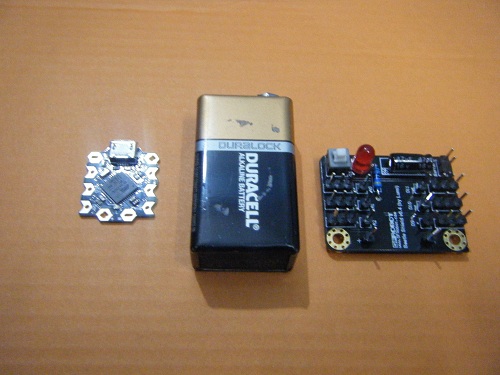
A size comparison of the Beetle, a 9V duracell and the Beetle Shield.
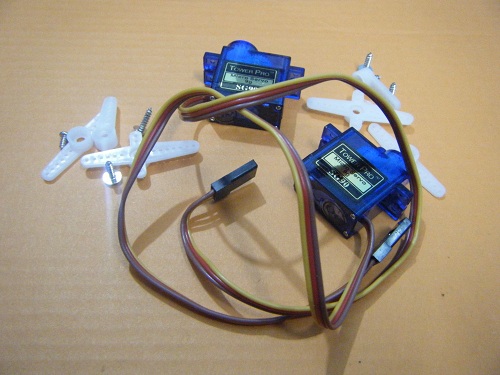
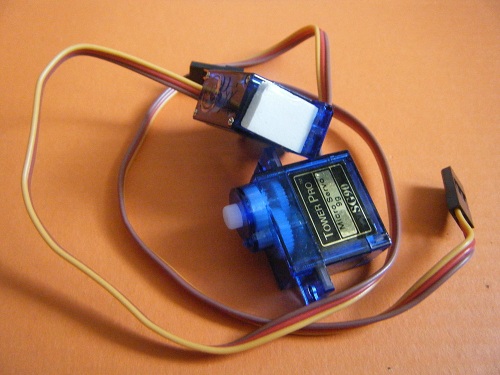
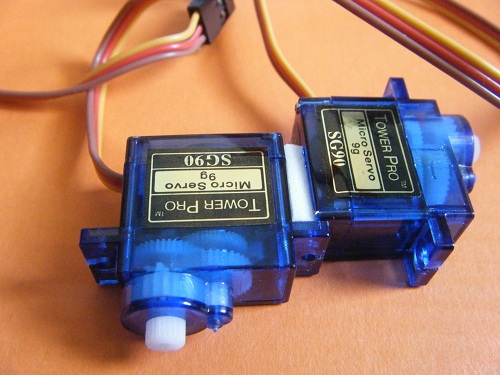
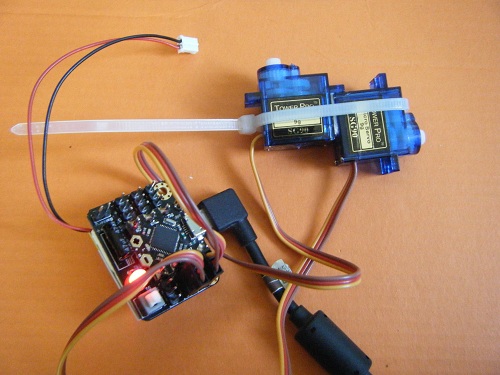
2 x SG90 servos are included with this kit. The servos come with the necessary servo horns and screws for tightening.
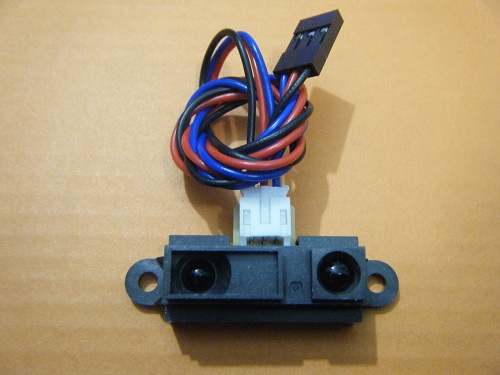
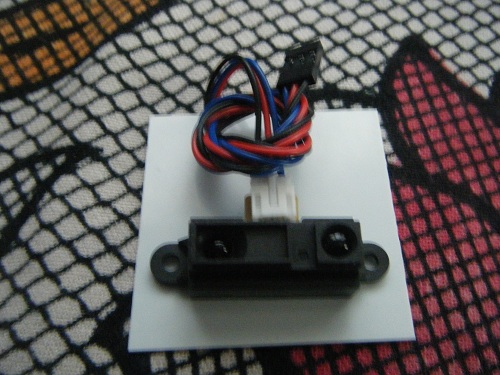
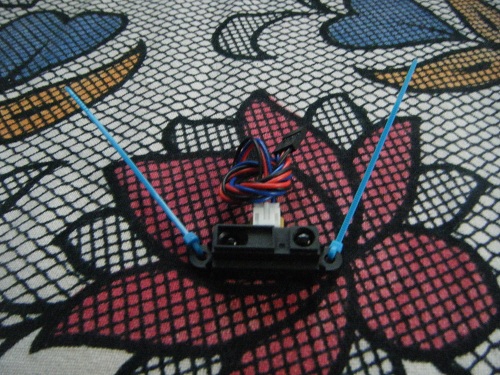
A 20-80cm range IR distance sensor is also included with the kit to provide obstacle avoidance capabilities to the insect bot.
Some parts where informed to have interchanged wire colours, but luckily, mine was fine. The blue wire is the signal pin, the black one is the GND pin and the red one in the middle is the 5V pin.
UPDATE : 01/16/2014 :
Ok guys, I apologize for providing a wrong information on the Sharp IR sensors. (This was the first time that I was using a Sharp IR range sensor) In fact, I too received a mismatched cable. The colours of the cable were similar to a standard servo cable. It made me think that the pinouts of the Sharp IR are similar to the servo pinouts i.e. GND and signal pins at the side, and the 5V at the center. As a result, I did not even bother to google the pinouts of the Sharp IR sensor and made the connections in the same way.
Information about the sensor pinouts and cables is clearly mentioned in the DFRobot Wiki Page. So this is totally my fault. But luckily, my sensor is not fried and is still working normally. ( Checked the sensor eyes through a camera, there was a purple lighting \ O / )
So, this is just an update on the pinouts based on the picture above. The black wire is connected to the 5V pin, the red wire to the GND pin and the blue wire to the analog pin. ( From left to right as in the picture above : 5V, GND, signal pin)
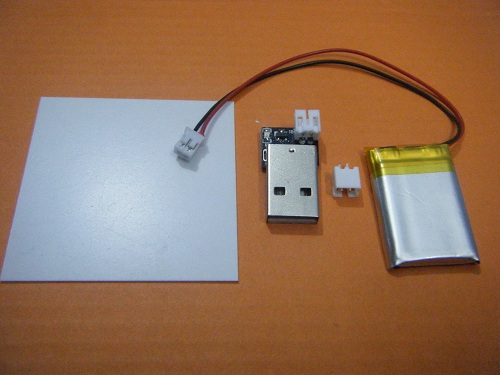
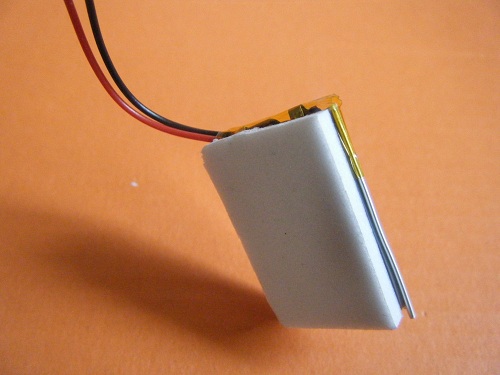
For powering up the robot, DFRobot has included a small 3.7V/180mAh LiPo battery which comes with a USB charger. On the left is an ABS sheet for mounting the IR distance sensor. The sheet looks nice and soft but it's a bit hard ( though a bit fragile ).

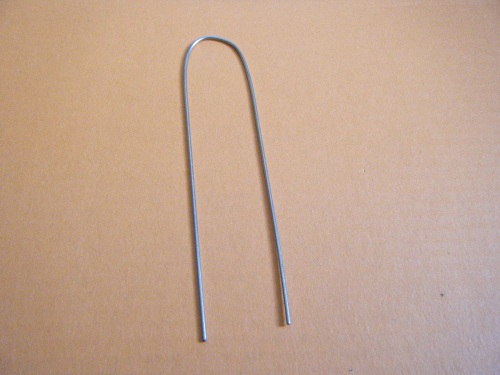
A pair of wires are included for shaping the legs to the insect robot. These wires are strong and you might find it hard to shape the legs if you try fiddling with it a bit too much. ( Just like I did :P )
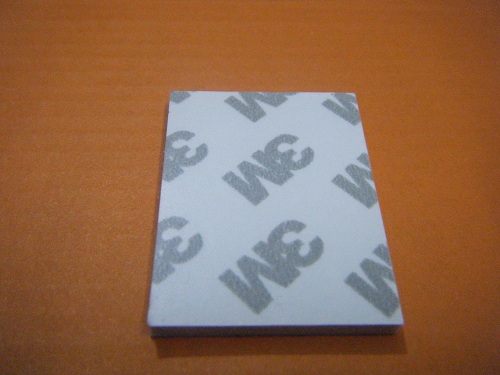
For sticking the battery, the beetle, the servos and all, a double sided foam tape is included.
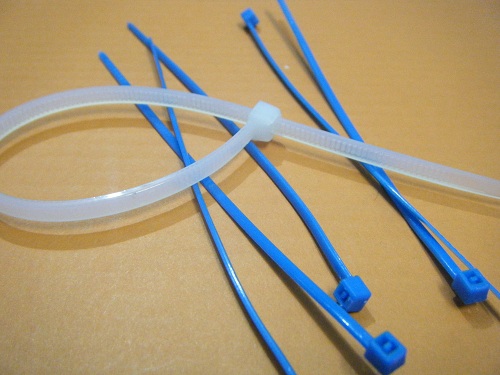
And finally, a couple of zip ties are included to ensure that everything is nice and tight. They also add to the beauty and design of the insect. ( Could be used as an antennae or a tail too! )These are for one-time use only, so don't expect them to zip-back to the original position like a normal zipper. (That's what I thought initially, but I suppose many LMRians are familiar with zip-ties)
THE BUILD:
I started off by placing the Beetle on top of the shield ready for some soldering. But I made a mistake, so I have some advice for you. Nothing serious, it's just easier if you raise the beetle a bit higher than what you see in the above picture. It is clearly mentioned in the beetle wiki already though.

I am still perfecting my soldering skills, and my solder iron-rod is pretty cheap stuff, so the quality is not that good. It wasn't a big problem soldering the beetle pins. ( My work would have been cut off had I raised the beetle a bit higher as I mentioned above )
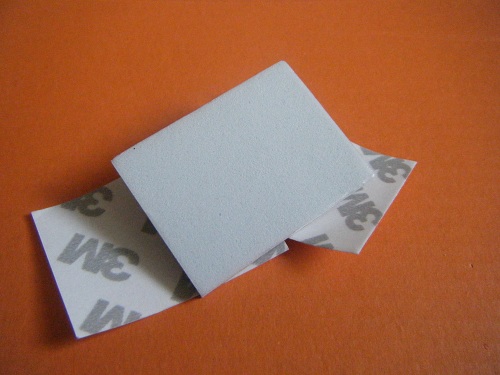
Next, I moved on to the sticking process. I peeled off the protective layers of the double sided foam tape.
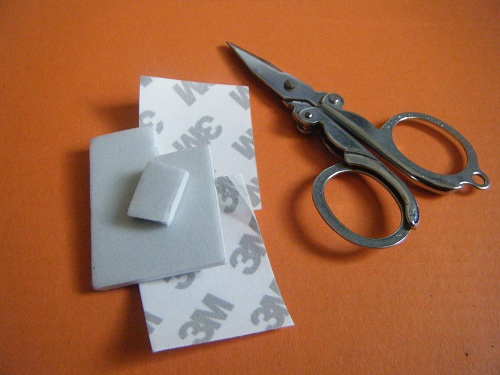
And I cut a small piece for sticking the servos onto each other.
Like that.
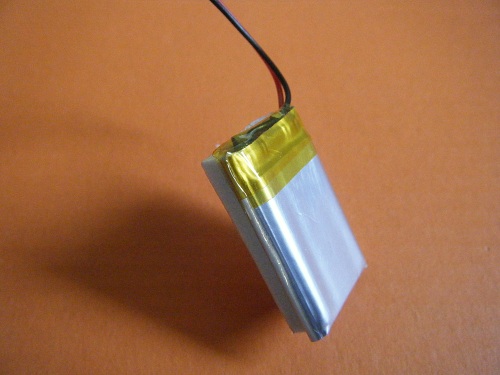
Next, I cut a bigger part of the foam tape and stuck it onto the back of the Li-po battery.
The battery went to the back of the Beetle Shield.
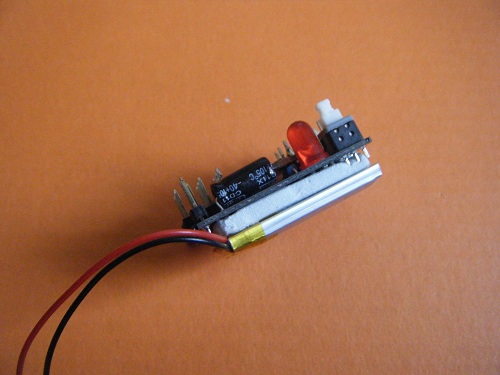
This is how it looked.
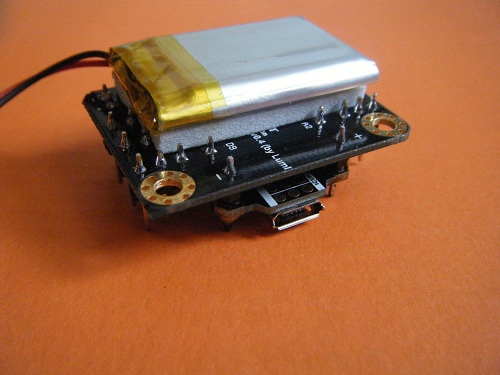
And something like this as well.
Then, based on my experiences came the hardest part : Shaping the legs. The steel wires can deceive you with their looks, and are pretty strong. You start off by bending the wire in half and then move on with your own ideas and techniques. The key is to lower the center of gravity of the entire robot that results in swift movement. Or else, the insect might have higher risks of just falling over and over again.
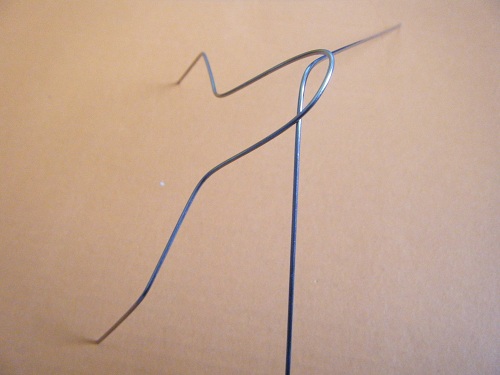
You might want to bend the wires to form a frog like structure that just spreads out the entire surface area and increases robot stability.
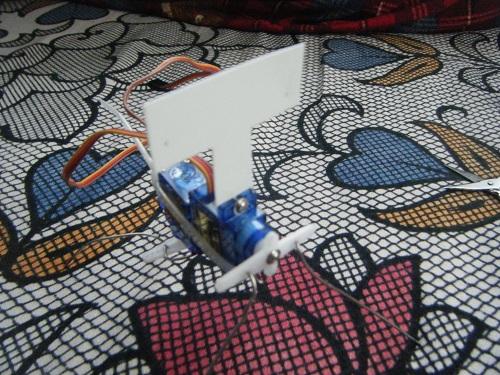
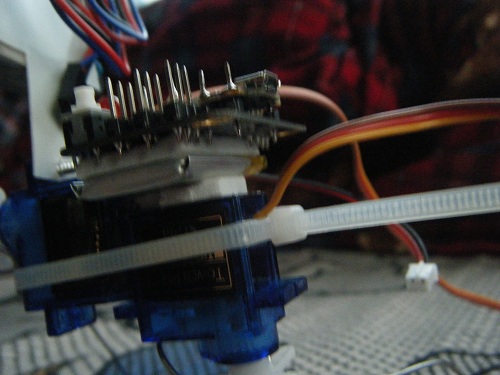
Then it was time to insert the wires into the servo horns, so I thought that it might be a good idea to position both the servos at 90 degrees. And I also tightened the servos with the bigger zip-tie in the mean time.
#include <Servo.h>

Servo frontLeg;  // servo object to control the robot's front leg
Servo rearLeg;  // servo object to control the robot's rear leg

int pos = 90;    // variable to store the servo position

void setup()
{
  frontLeg.attach(10 );  // attaches the front servo to digital pin 10 of the Beetle
   rearLeg.attach(11);  // attaches the rear servo to digital pin 11 of the Beetle
}


void loop()
{
    frontLeg.write(pos); // servos set to 90 degrees
    rearLeg.write(pos);
}
Uploading.... ( This is one moment when the cool blue LED dims and turns on, it looks fantastic )
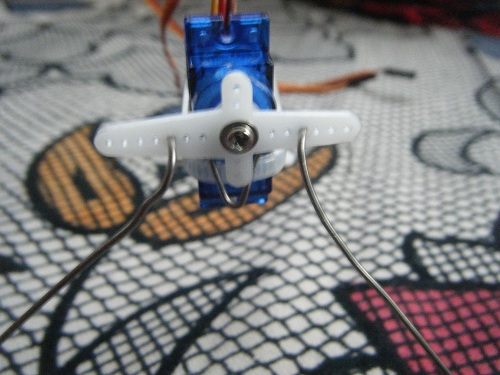
And so, after positioning the servos, I, not so neatly, inserted the legs of the robot into the servo horns. This one being the front leg. I don't know how I got the wires bent in that confusing position, but that is what worked for me! ;-)
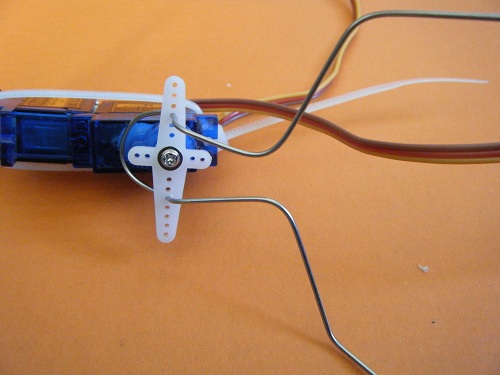
And another not-so-neat arrangement for the rear leg!
This is how it looked overall. Pretty much close to Lumi's great tutorial. That is what I followed entirely.
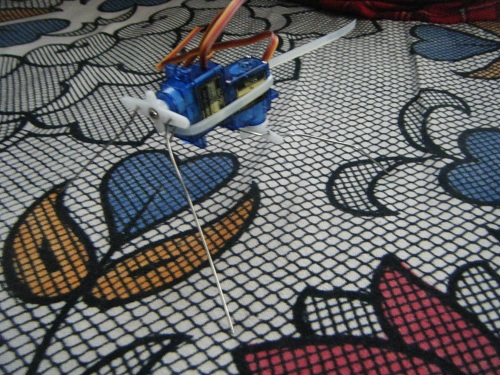
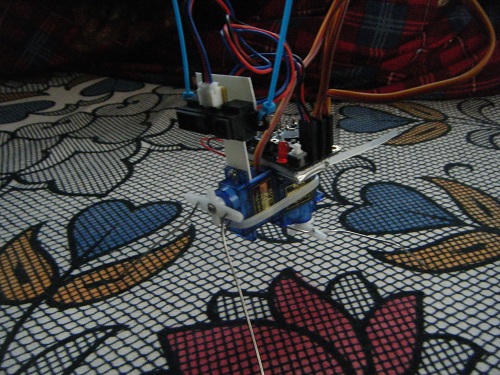
Then it was time for introducing the insect robot to his new pair of eyes , IR eyes ! Just in case he spots something, and can turn away.
I used a pair of zip-ties that served as imaginary antennas of the robot!
Then, I cut through the ABS sheet and screwed it onto the servo.

And instead of mounting the IR range sensors, I foam-taped it onto the ABS sheet.
Another small piece of foam tape to stick the insect's power pack and the brain!
And he looked something like this. ( Sorry for the colourful background if you guys are having trouble viewing it. I am planning to take some secret photography courses from Lumi :P )
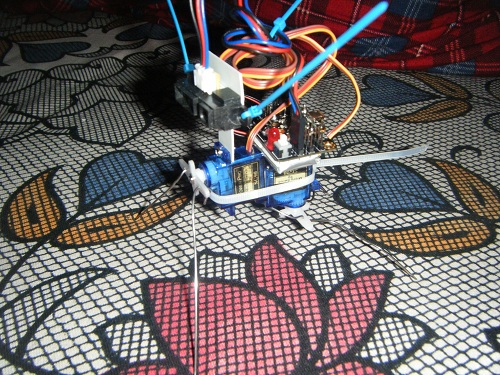
I guess this one is clearer. Yes, that's him.

Just born, and he's taken over my soldering desk!
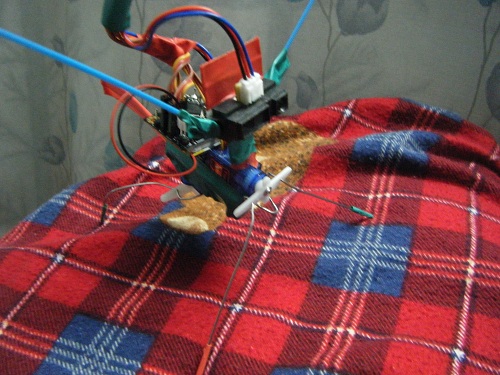
Insect Bot making strides across my blanket!
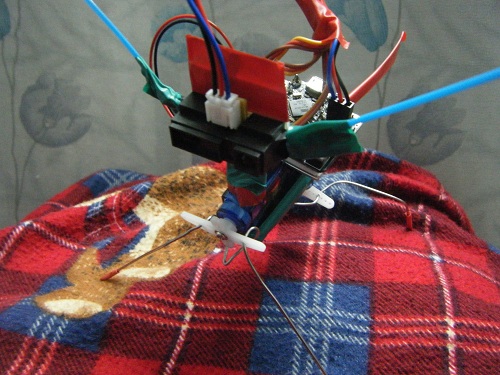
And now, he's reached the top! ( No! I carried him upto there actually :P )
REVIEW:
Is there a better deal in the market on a robot kit? For 25$, this is a great hands-on deal. You get an insect, but more than that, you get one of the world's smallest microcontroller modules, IR range sensors, and much more.
I think this kit has proven that robotics is not only confined to the complex lines of programming and electronic stuff. This kit, if fallen onto the hands of a kid, will make him/her happy. I guess that is the best part of robot building. Teaching the new generations, the leaders of tomorrow!
Not only a kid, even a grown-up will find it interesting building this. I can tell you, I too had the best time of my life while assembling this robot.
I have to say that building this robot was a unique experience. In fact, this was my first ever complete robot kit that I had received from abroad. I can tell you, it's pretty hard to find a couple of servos out here, and I thank DFRobot from the bottom of my heart for providing me with this beautiful kit and letting me review it. If you ever want me to review some other kits, please don't hesitate to contact me :P I'll try my best
This robot is complete, but the story is not over. I will update this post with a full code of mine, hopefully with a variety of functions. For now, enjoy the video showing the first steps of the Insect Robot. I took the video with the USB cable attached, as soon as the program got uploaded to the Beetle.
Thanks for finding the time to read this post. And I am looking forward to hearing your thoughts and suggestions on further improvements/tweaks, etc.
Ashim
Walks around, detects objects via IR
- Actuators / output devices: 2x Micro Servo 9g Tower Pro
- Control method: autonomous
- CPU: Atmel ATMega32U4
- Operating system: Arduino IDE
- Power source: 1x 3.7V/180mAh LiPo
- Programming language: Arduino C
- Sensors / input devices: Sharp IR
- Target environment: indoors ( on carpet or bed ), outdoors ( grass fields )