


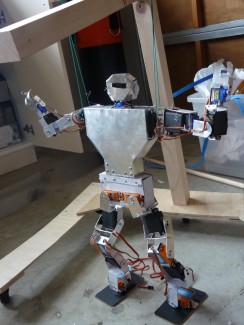
humanoid robot in progress (don't have a name yet)
This is one of my first robots that use servos I built this robot for my year 12 school project it isnt done yet i intend to put legs onto it annd make it walk instead of useing tracks and beable to have it remotecontrolled from a suit that i put on and measures my movements with potentiometers i was going to use flex sensors but they are really expensive when I need 20 of them and it will send the values to the humanoid wirelessly .I built all the servo brackets my self out of aluminium instead of buying them to save money. This is my first robot post on LMR so your feed back is apreciated. If i have made any mistakes it would be good if you coud point them out to me or if you would like me to put more pictures up just ask and ill try put a video up soon also sorry if my images dont show up im not that sure on how to upload them or what format they should be in and sorry about the quality of them .
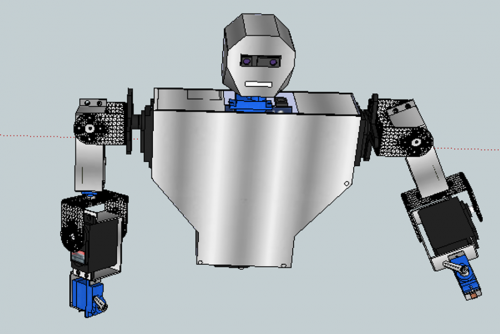
this is the sketchup design i made of the robot it was done to scale to see how every thing fits together. It only shows the top half of the robot.
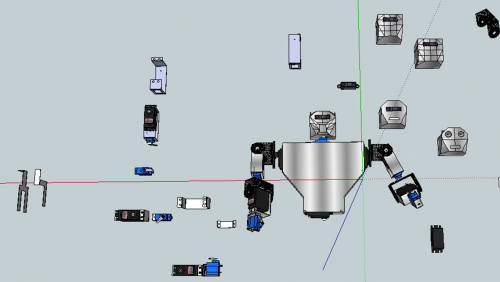
this screen shot is of all the parts i designed and how the fit on the robot
this picture shows the top half of the robot without the head and the chassi

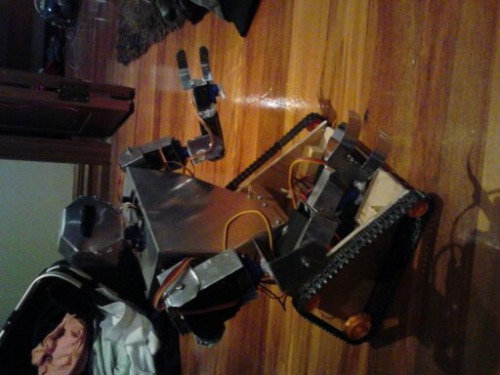
this picture shows the for arm and the hand

the shoulder arm and the wrist and forarm can be seen in this picture
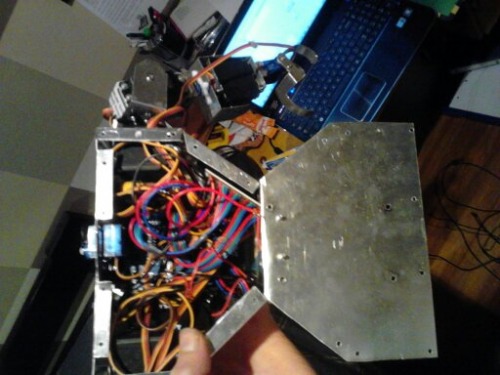
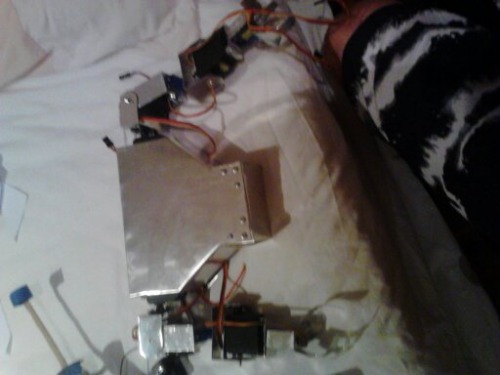
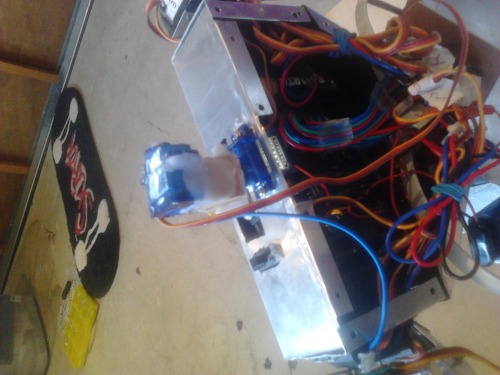
the inside of the robot showing all the wires and the arduino is hideing underneth them and is velcrowed in place
this is the head of the robot it has a hindge at the back so i can access the wires inside
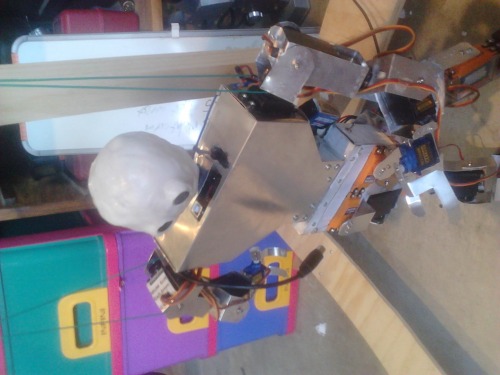
this picture shows the robot just about finished but with out the cover on the chassi so you can see the wires inside the robots base
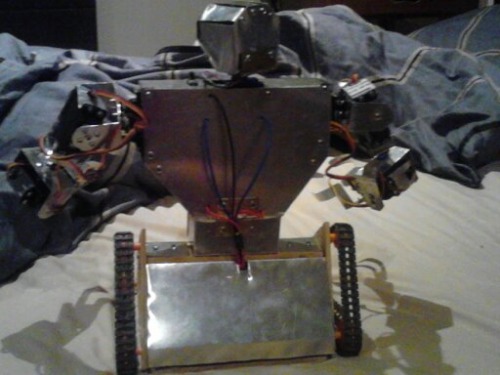
this shows the back of the robot when it is finished with tank tracks and the wires from the chassi going into the back of the robot
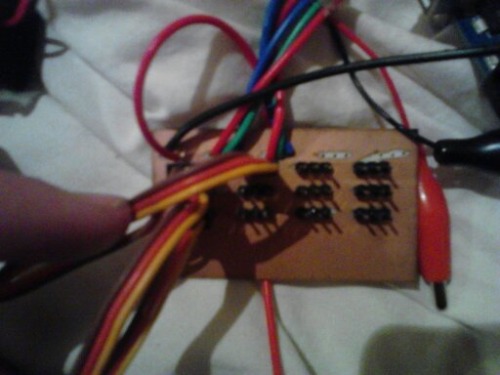
this is a pcb i made to conect all the servos to and connect the servos power to so that it keeps all the wires to a minimum

this is the finished robot on the temporary tracks
I will put up some pictures of the suit and the legs once they are done thank you and hope you like it.
UPDATE :

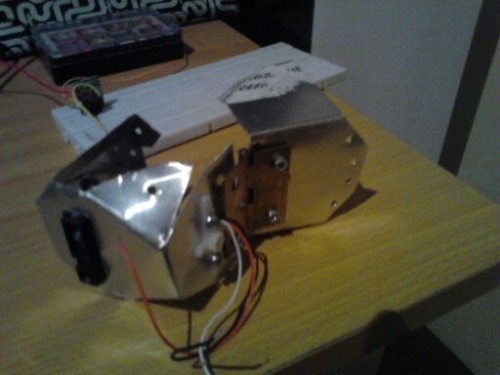
This is one of the servo boards i made to plug the serrvos in so they could be powered off on battery and it keeps the wires neat.

as you can see all the positive points on the servos are connected together and all the negative points are connected together in this picture I havent soldered the signal wires yet.

this is the first leg and waist of the humanoid all made out of aluminium

heres the suit I made with some help from my friend fraser to control the top half of the humanoid robot I was planing on useing a xbee shield to controle it wirelessly but havent really made much progress with that yet . The suit uses potentiometers to get the position of my arms hand and both the shoulder joints. Im still working on better designs for the suit this was mostly just a prototype .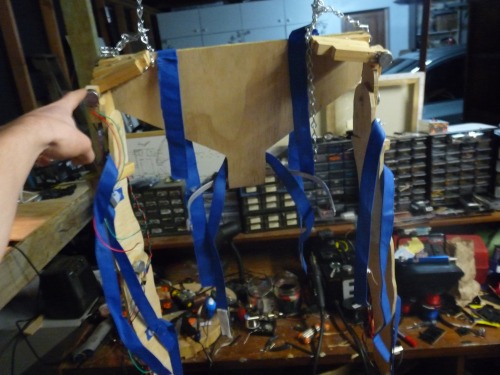
This was my first design that used straps with velcrow but it was really hard to get on by myself so Im working on how to make it easyer for me to put on. sorry my work shop is a bit messy haha
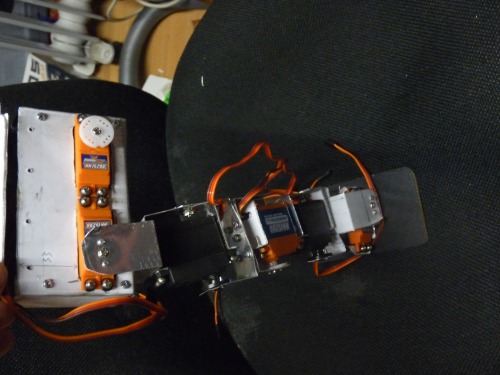
another picture of the first leg .
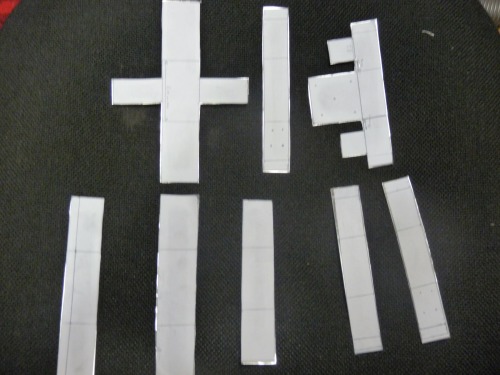
these are the brackets for the servos un bended I draw the designs of the brackets to scale then make a photocopy of then and cut them out and use double sided tape to stick it to the metal then cut it out with tinsnips but ive had the problem of the robot being a bit to heavy or the servos are to strong and bends the aluminium so im going to make the legs again using stronger / thicker aluminium.

heres the legs done they still need abit of work done to them like useing stronger aluminium because they are a bit flimzy at the moment . The top half of the robot is there aswell .

heres the legs stanging up on its own .
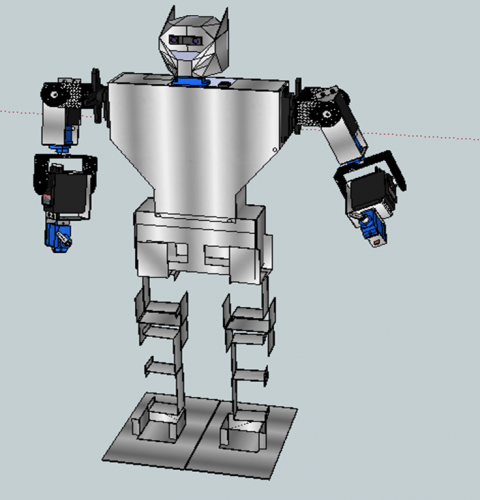
here is a screen shot of a sketchup design I made of the robot i couldnt find the servos that were the right size tho so i didnt put them in everything was done to scale.

heres the fully asembled robot also I made a little helmet for the robot . The wooden structure in the backround is for helping the robot learn to walk which make programing it a bit easyer if the robot is upright.

The robot from front on . you never would notice but I used hot glue to stick the top of the robot to the bottom half because I forgot to add a place for the top half to screw into but the hot glue is really strong because I also heated up the metal.

The humanoid with out the helmet . The helmet was connected to the robot useing velcrow which is why the sides of the robot are a bit fluffy .

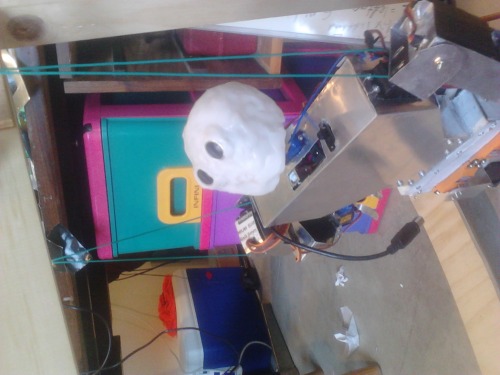
this is the new head I made useing polymorph pellets and has ultrasonic range sensors for the eyes.

the inside of the head ive also added a speaker to the inside"not shown" so it might be able to talk.
I also added another servo so that the head can move up and down .
The robot looking up .
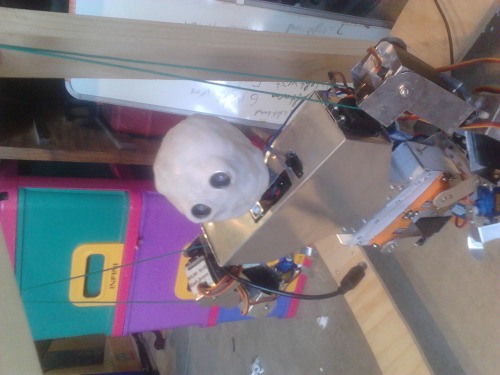
The robot looking forward .
The robot looking down.
Also Im unsure of what batterys to use for the robot because at the moment its useing 8 AA baterys to control all the servos 4 for the top half and 4 for the bottom half but it makes the robot alto heavyer and the batterys run out quickly because the servos need lots of current . What battery would you recomend to control all the servos ?
If I have missed something out or you would like me to take some more pictures of the robot dont hesitate to ask and I should have another video of the robot soon .
can pick up objects when held in front of him
- Actuators / output devices: 6 hextronik hx5010 servos, 6 hextronik hxt900 servos, 6 HK15298 servos, 4 tgy1501 servos
- Control method: autonomous at the moment
- CPU: ATmega1280 (Arduino Mega Clone).
- Power source: 9V battery for Arduino and 6V (4xAA) for servos for the top half, and another and 6V (4xAA) for servos for the legs
- Programming language: Arduino C
- Sensors / input devices: SHARP IR sensor / ultratrasonic sensor
- Target environment: indoors mainly