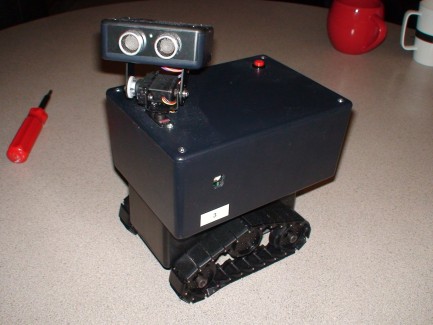
Huey
-> Video now added <-
This robot, Huey, improves structurally on my previous design, providing a more finished look and a much more durable chassis, but the general approach and the technologies involved are the same. I ditched the Tamiya track and wheel set, but kept the Tamiya twin motor gearbox as it worked admirably (aside from the EMI issues caused by the low voltage motors) and that price is just so appealing.
I bought some miniature track links and pins from Pololu and used some right-angle aluminum for rigidity. The body was built using “project enclosures” from Radio Shack, and the neck pan and tilt are made from very slightly modified servo brackets from Lynxmotion.com. I figured out it’s not cheaper to build your own servo pan and tilt system if you value your own time!
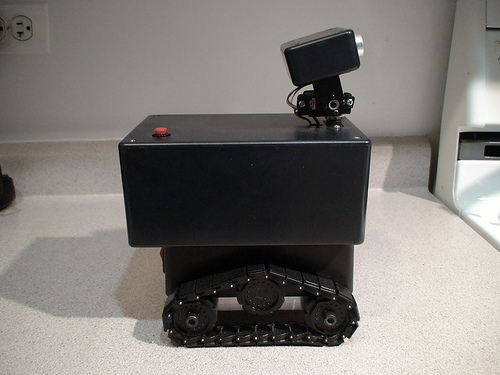
Huey supports remote control and autonomous modes as before, although Huey adds support for triggering autonomous mode through a momentary button on his back. The remote wireless connection is provided by Xbee wireless antennas, which provide a COM connection between a PC and the Arduino unit inside the robot. I wrote a piece of software in C# that runs on my laptop which monitors key down and key up events on the keyboard. The “WSAD” buttons on the computer keyboard provide guidance similar to that found in a FPS game. Power to the two Tamiya motors is determined at the laptop using a C# slider control, with power levels being transmitted to the robot at each key press.
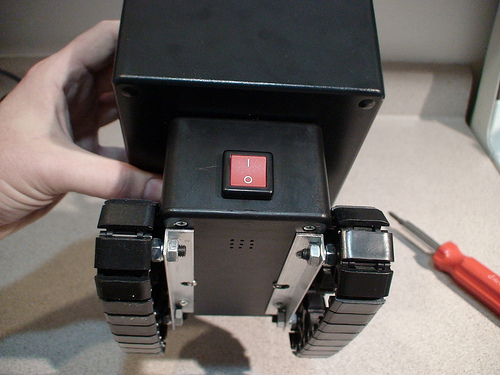
I improved the behavior of the autonomous mode considerably since the previous design, and I’m happy to report I’m still only using about half of the available Arduino memory for my sketch. Although obstacle detection is working much better using Ping alone in this model, there is still no cliff detection, and the Ping sensor is prone to the occasional false-positive reading when put in the EMI-noisy environment caused by those 3V Tamiya motors.
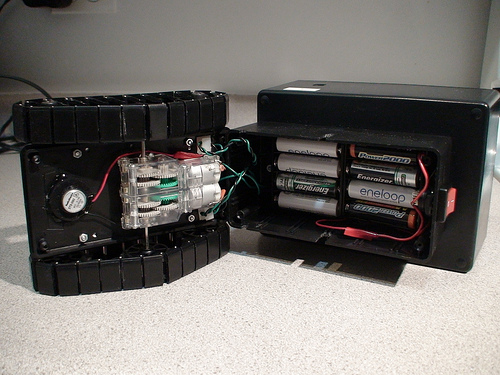
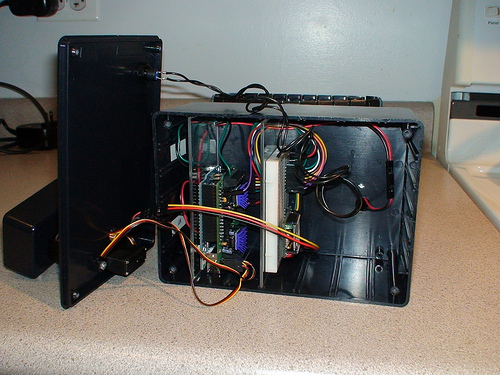
This model has 8 AA batteries on board as compared to the previous 6. This increased power is still within the range of the motor controller from LadyAda that powers this robot, but heat was building up on the L293D H-bridges, so I had to add some heat sinks because I was hitting the built in thermal shutdown during heavy use.
If you'd like to see more photos, please look here, and thanks for your interest!
Navigate around via ultrasound, remote control via Xbee wireless
- Actuators / output devices: Hitech HS-81 servos and Tamiya twin motor gearset in low gear
- Control method: autonomous or remote over C# application, Xbee wireless controller
- CPU: Atmel ATmega328
- Operating system: Arduino C
- Power source: 6 AA batteries power everything
- Programming language: C and C#
- Sensors / input devices: Parallax Ping
- Target environment: home


