


Homemade tracked vechicle
This tracked vechicle(Its actually not a robot yet so thats why i'll call it a vechicle for time being) is made using acrylic.The tracks are made using bicycle chains and M3 nylon nuts and M3 bolts.
I made it referring amando96's tutorial
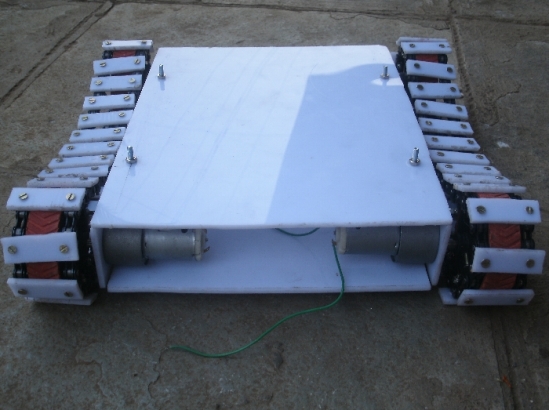
Currently it has nothing in it except two high torque dc geared motors.Electronics are yet to be added.
I am planning to control it with a homemade remote control using xbees,some analog joysticks,pushbuttons,etc.
Each motor outputs around 7 Amp current when stalled so for that i will need a high current motor driver.I am referring this tutorial for making one at home.It seems to be a easy and cheap way for a high current motor driver.It should be completed in 2 days(hopefully).
So here are some selected images from the time i started making this tracked vechicle.You can view the complete set of images on Flickr channel.
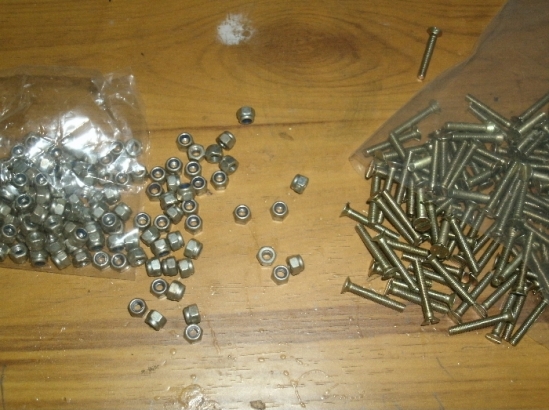
M3 Nylon nuts and M3 bolts
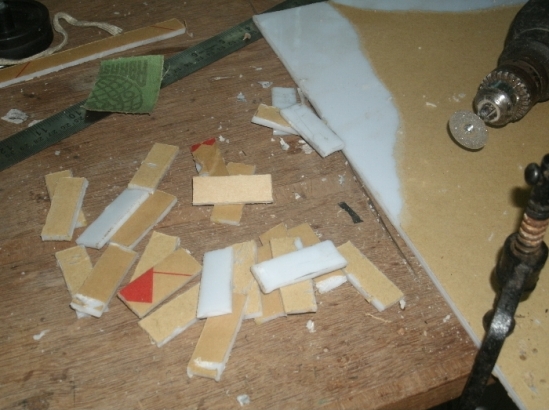
Cutting acryclic strips for making treads(It was quite a hectic work).Its better that i had few small cutting disks for my drill machine.
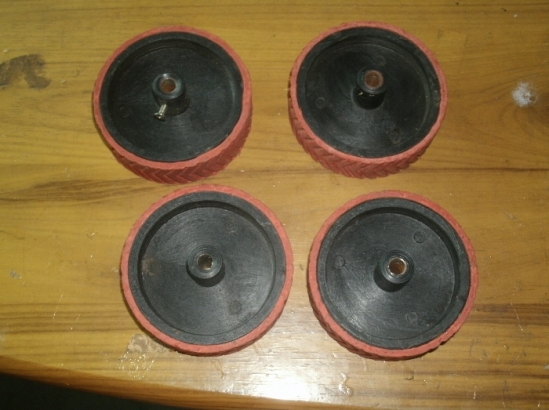
These are the wheels on which the tracks are placed.
First track completed.Each track took approx. 1 to 2 days.

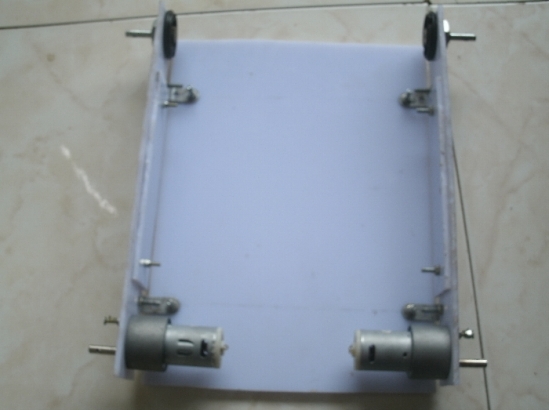
This is the chassis made using acryclic.The final chassis has some minor changes(Sorry for the blurry image).
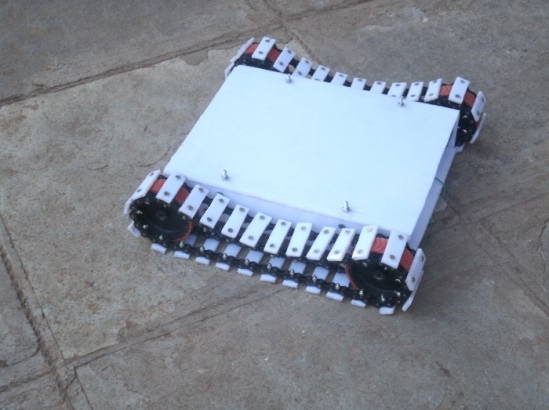
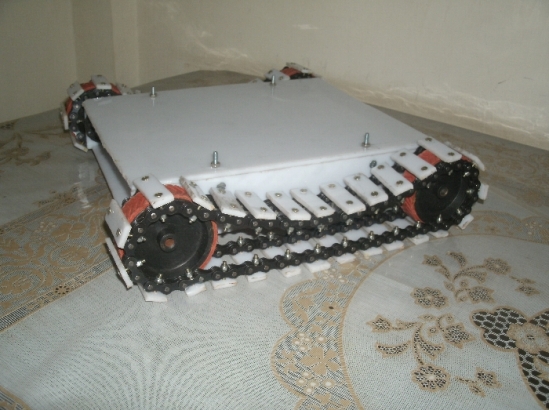
Completed.The top cover is removable for mounting electronics inside it.
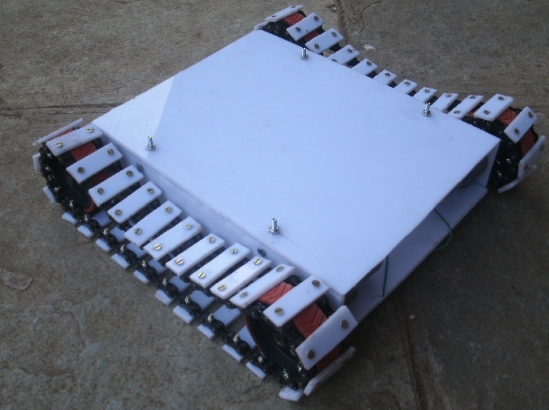
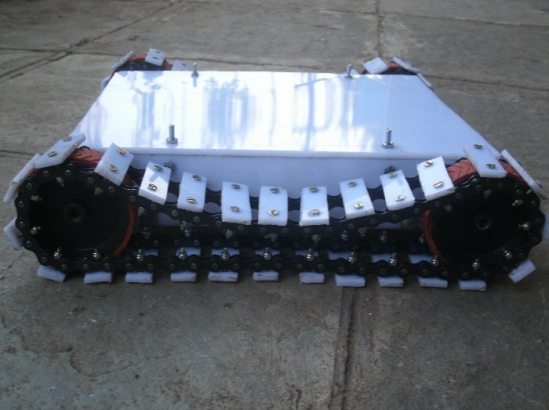
Side view.
Thats it for now.I'll shoot a video when it is remote controlled and that would take more than a week.
- Actuators / output devices: 2 X 150 rpm dc geared motors
- CPU: arduino uno
- Power source: 12V NiMh
- Target environment: Outdoor(mainly)