


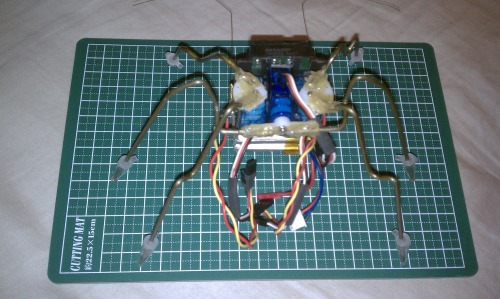
Hexaspider
UPDATED: OCT. 31, '11: Checked complete box \o/ Added a couple of hidden vids of Hexy disturbing people at work. Another hexapod clone that began with a focus on minimalism. Not much more than a Start Here Robot on six legs with tactile feelers. This is my first robot I could make out of spare bits and pieces from what I had available (except for the 08M2). I tried not to buy anything else. I even plundered some 1/8W resistors from a salvaged PCB just to hold to my goals!
edit - I've changed gears and plan to add some touches to the robot to make it a little less cold and robotic. Although my wallet is longer pinned shut I'm still trying to use recycled material whenever I can. Some habits are hard to break. Once the robot is complete (hopefully before Halloween) I'll unleash it on unsuspecting civilians and hopefully record their reactions.
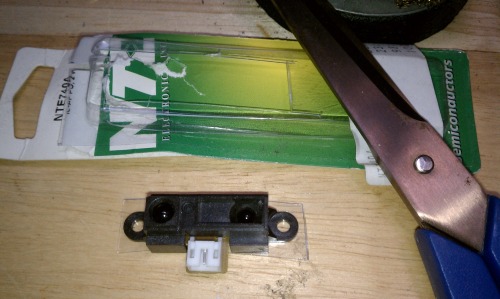
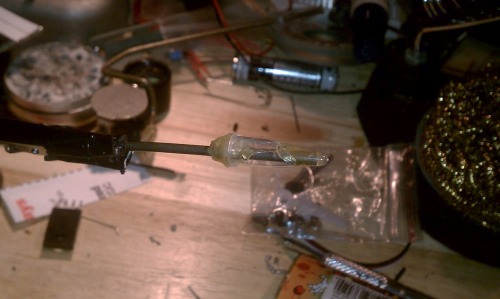
I'd seen three-servo hexapods running off of older 08M chips but they had to use two digital IR sensors due to the 08M's pin limitations. This uses an analog IR rangefinder and feelers from Solarbotics. The addition of tactile sensor should help with the inability of the IR sensor to detect lower altitude objects.
This was to be an entry to the PICAXE forum's September robot submissions but it looks like it will end up being entered for October.
Held together with servo tape.
A look at the future.
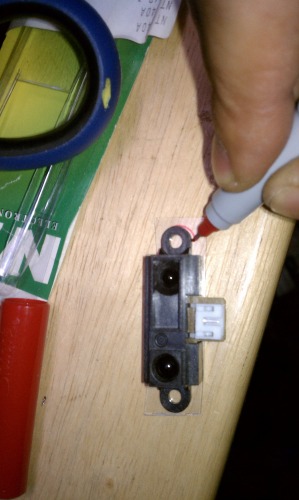
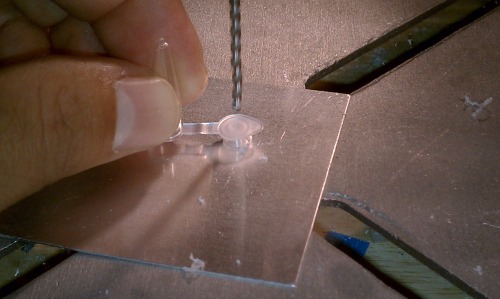
Sensor mounting plate made out of trash; my preferred method of fabrication.
More servo tape.
More tape...
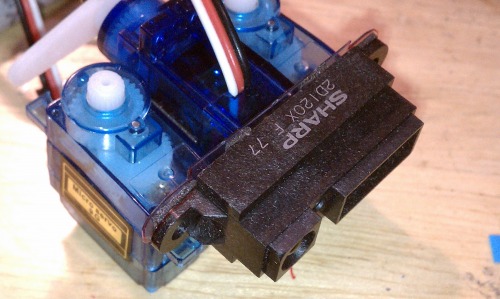
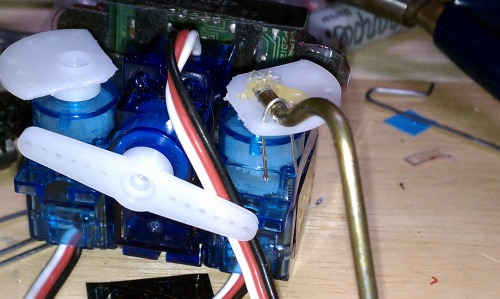
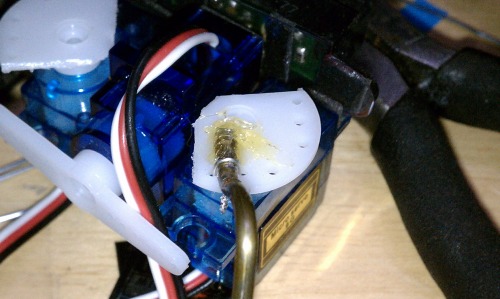
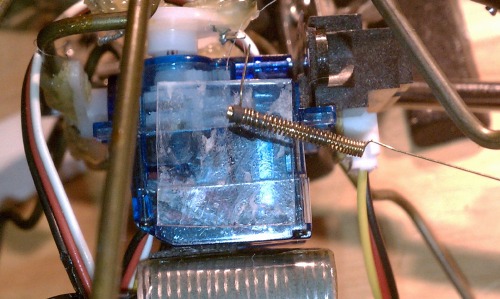
Mounted sensor.
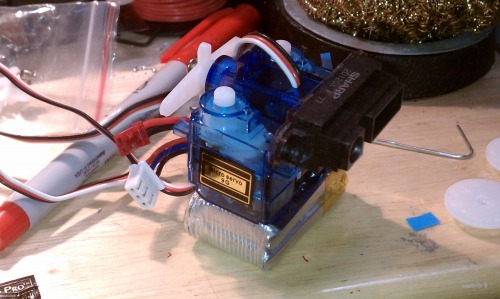
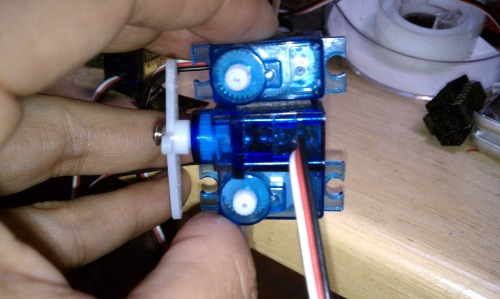
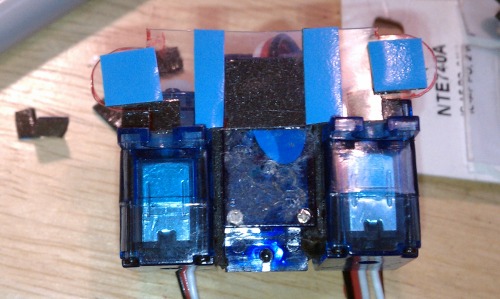
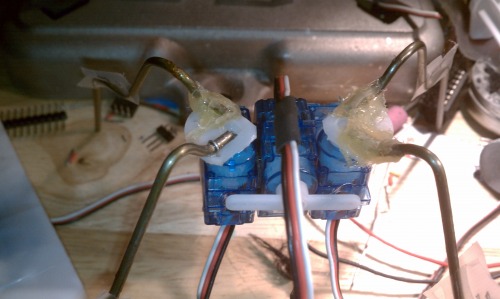
Mock up with the main pod sitting on its battery.
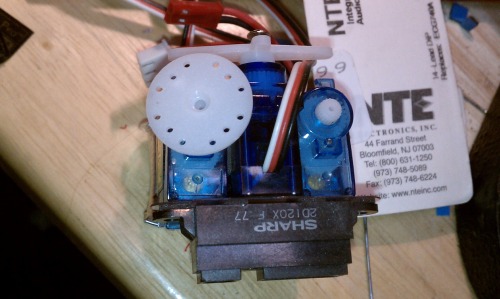
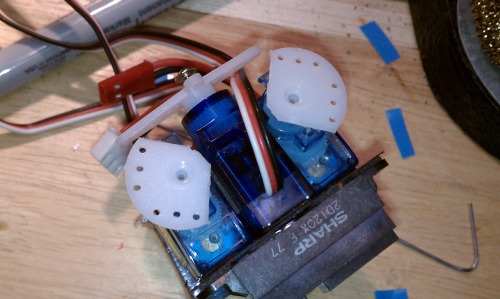
Servo horn overlaps the middle servo's mounting tab.
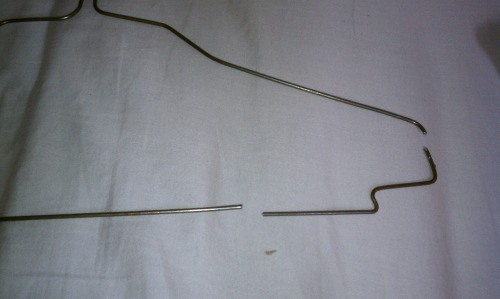
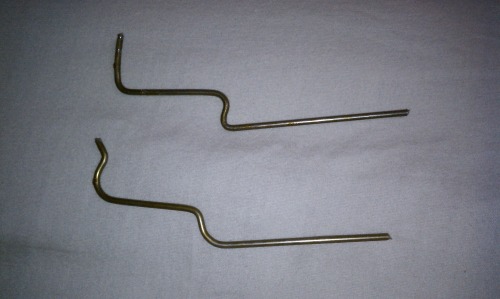
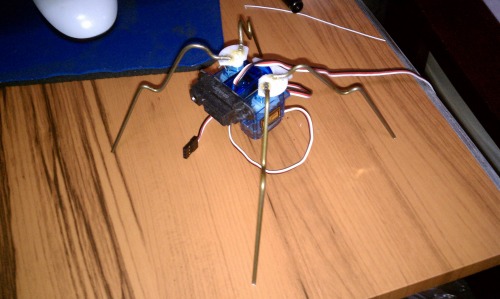
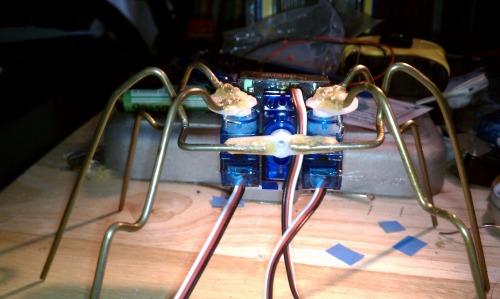
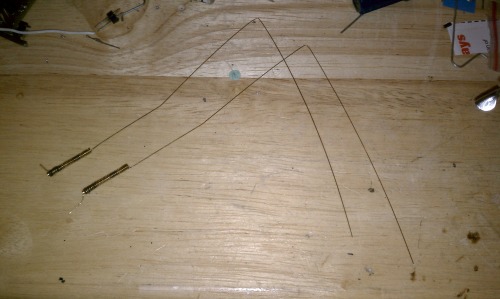
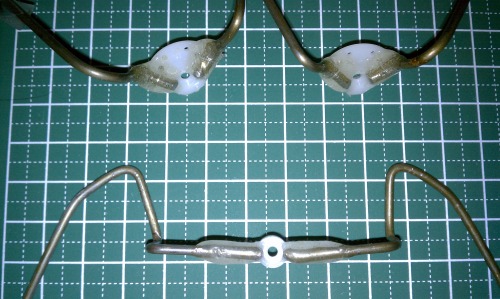
Corner legs made from hanger ends.
Not much modification required.

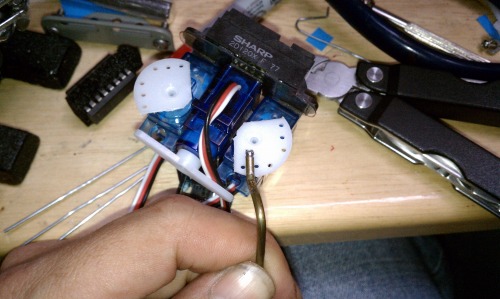
Hot glue to hold the leg to the horn.
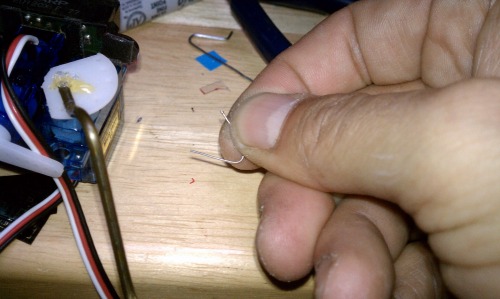
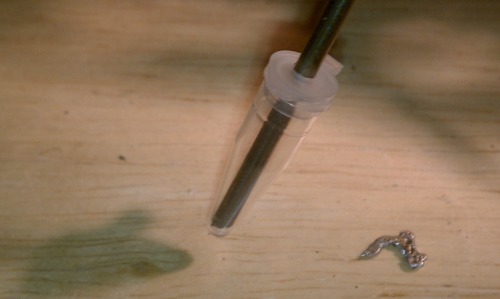
A scrap lead turned fastener.

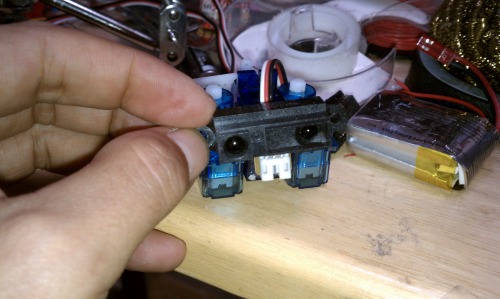
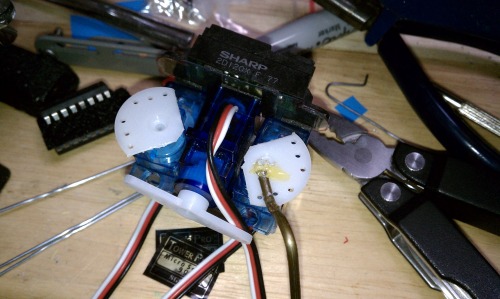
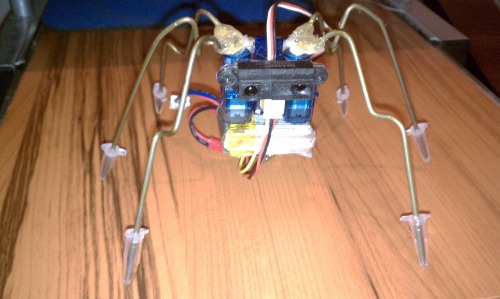
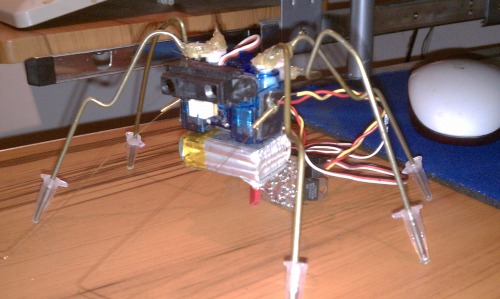
Minus the middle set of legs.
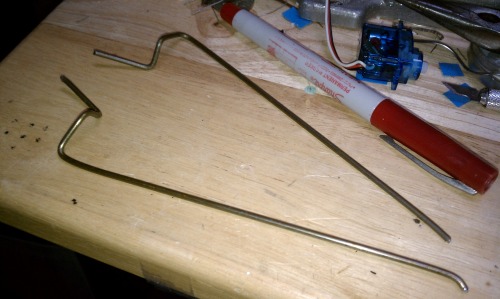
Middle legs made from the other pieces of wire clothes hanger.

Love my hot glue.
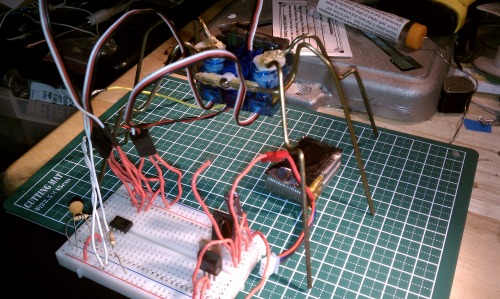
Bot hooked up to breadboard circuit for testing.
Custom hexaspider stand! Yes, it's a toilet paper roll.
![]()
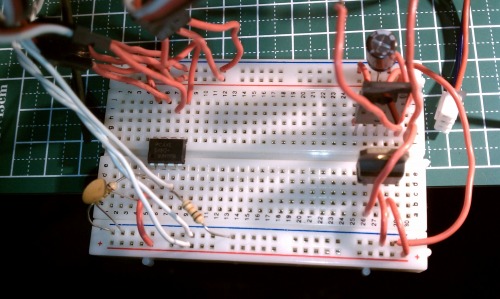
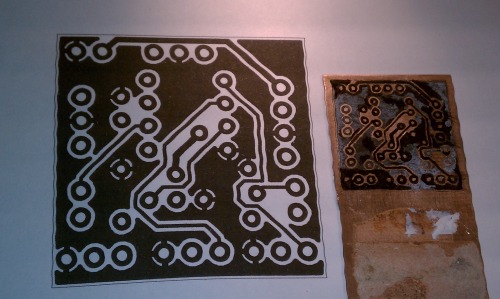
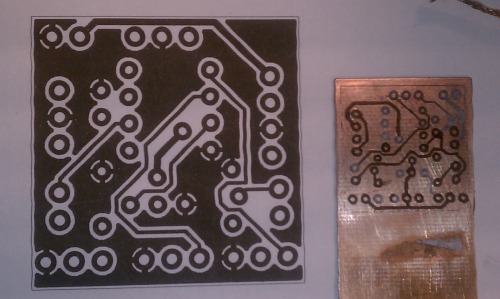
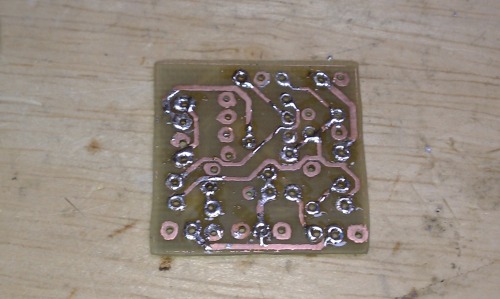
The breadboard was too bulky for efficient testing. Let the toner transfer begin!
![]()
Aligning the two sides.
![]()
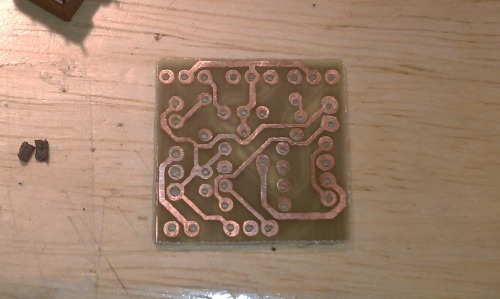
Cleaned copper.
![]()
![]()
![]()
![]()
What a mess.
![]()
What an even bigger mess!
![]()
Needed a clear example to perform cleanup on the toner transfer.
![]()
A lot of TLC and some 0.8mm drill presses later.
![]()
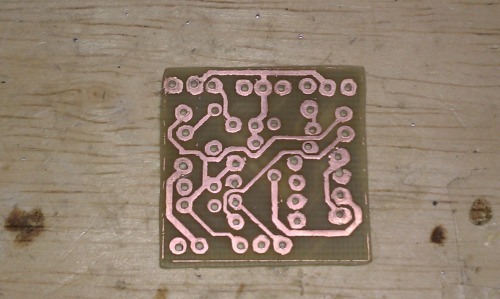
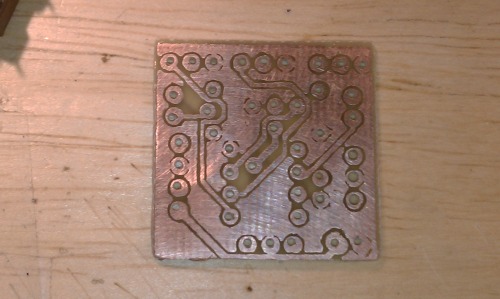
Post ferrous chloride treatment.
![]()
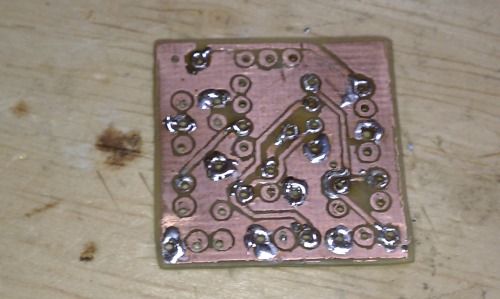
Somehow there are no shorts in the traces!
![]()
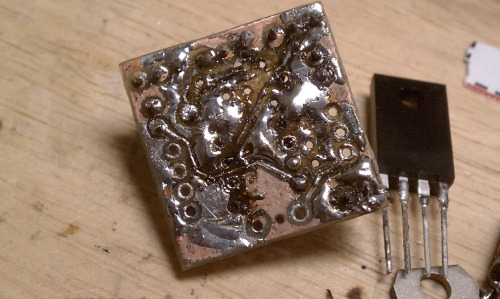
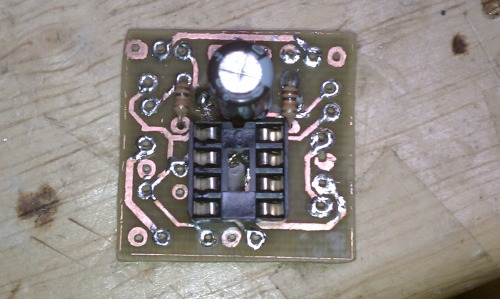
Crap pic of the mocked up populated board.
UPDATE: OCTOBER 4, 2011
I emptied an entire bottle of turd polish on the above pictured PCB. There were itty bitty shorts in the traces, miswiring, the whole nine yards. But I had to try...

I salvaged a few components from the disaster of a circuit board
Oy vey!
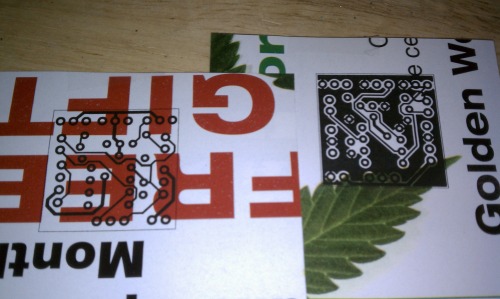
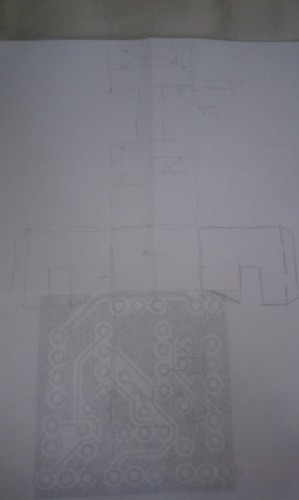
Redesigned PCB transfers with Geir's advice in mind. I used the tried and true advertisements from the local CityBeat magazine; thicker paper than the previous transfers.
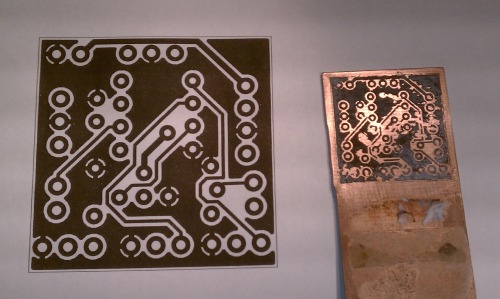
Not pretty either.
A tad better.
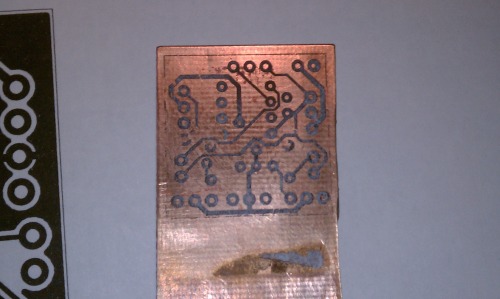
Sharpie Industrial to the rescue.
Post etching.
Tinned the pads needed on the top layer...
... and bottom layer.
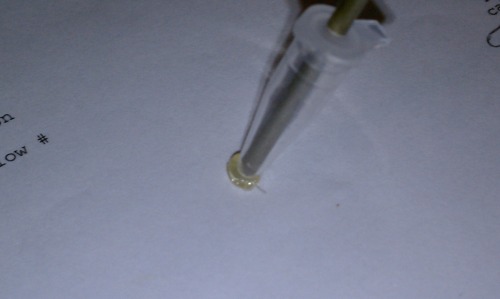
I used silver bearing solder paste to help with soldering pads on the top layer that are hidden. It worked ok. Usually the conducted heat from the soldering iron on the leg was enough to melt the paste. Sometimes it needed a quick poke with the iron tip to help it along.
Cap second...
... resistors third...
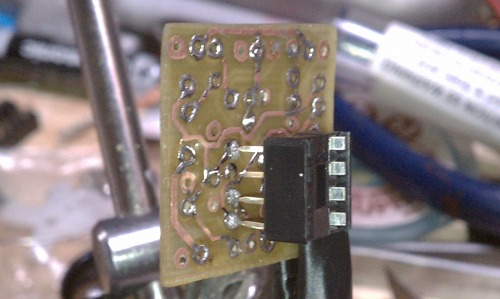
... headers for tactile sensors and the 104 cap next...
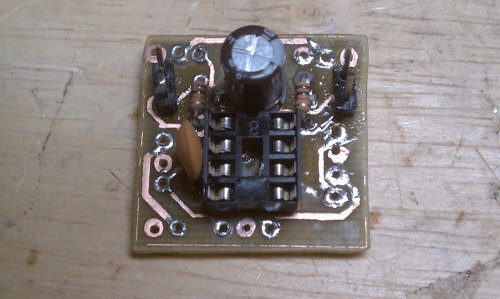
... completed board.
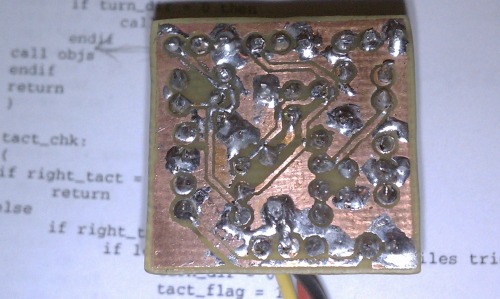
Backside. Not pretty and it took a lot of cleanup of miniscule short circuit traces and errant unmelted solder paste. The paste was causing shorts that were very hard to diagnose given it was usually hidden under a component. The paste didn't seem to respond to my contact cleaner either. I used an old toothbrush and some water to scrub it away.
The IR rangefinder isn't working at this time so it will be my next task to troubleshoot. I knew I'd regret not adding a serial jack for debug purposes but I'll figure out a workaround. Most importantly, hexaspider has taken its first strides so I've got something at least :)
UPDATE: OCTOBER 6, 2011
I got tired of the lack of traction and the rough ends of the legs snagging and tearing things. More junk to the rescue...

I retrieved some 0.2ml PCR tubes out of the recycle bin at work. They're just tiny thin-walled polypropylene microcentrifuge tubes.
Holes for the legs...
I found the lack of traction was still a problem so I put a bead of hotglue on the middle legs. Worked like a charm.
At some point along the way during code testing the system went haywire. One servo locks up and nothing responds. Changes in programming have no effect. I swap out the 08M2; no effect. I breadboarded the 'bot again and it works fine so it looks like something is wrong with the circuit board. I checked it but it's nothing I can find myself. Voltages, shorts, etc., nothing. Given the circuit works fine on the breadboard I've decided to re-re-make another board. Even though it takes a little wind out of my sails hopefully it will come out better than the last couple. I'm not even sure it will solve the problem but it seems a worthy thing to do anyhow.
UPDATE: OCT. 9, 2011
After a couple more psuedo-short circuits (I blame my messy use of solder paste) and some more cursing, I finally got my bot to do what its directive is (Wall-E... anyone?). Not much more, just the viddy.
UPDATE: OCT. 13, 2011
Got the bot sorted out at least on the first level to where the sensors work together and the bot responds as the code dictates.
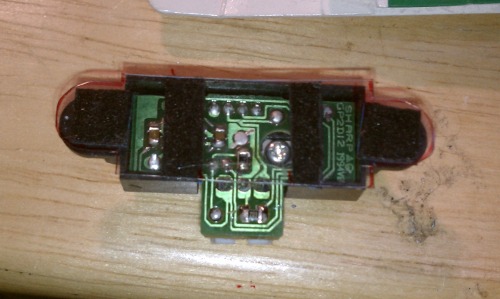
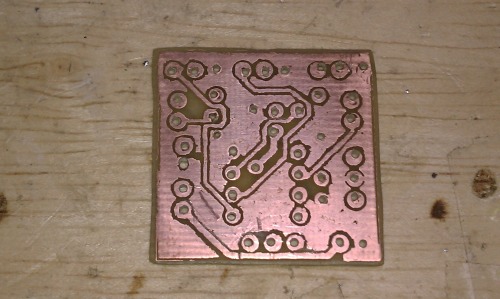
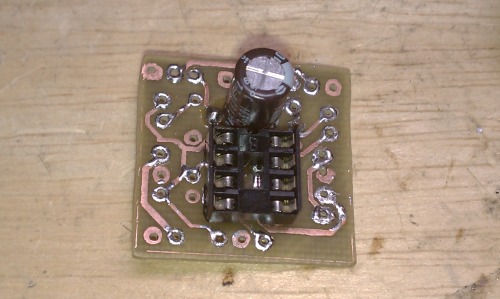
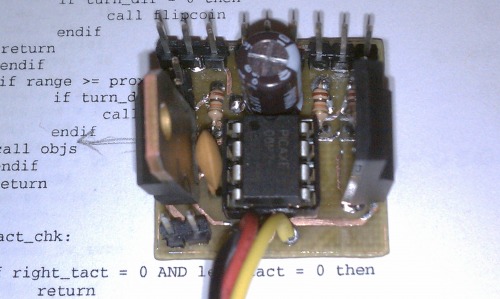
The final circuit board. Only a couple screw ups.
Light duty tactile feelers from Solarbotics assembled.

Mounting plates made out of the same trash as the Sharp IR sensor plate.
Got the angles marked on the plates.
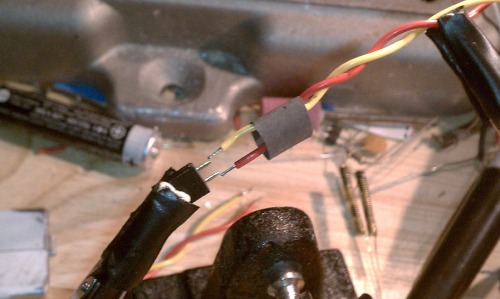
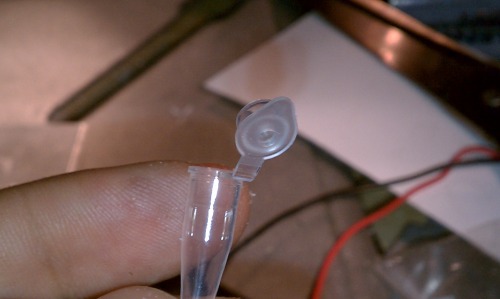
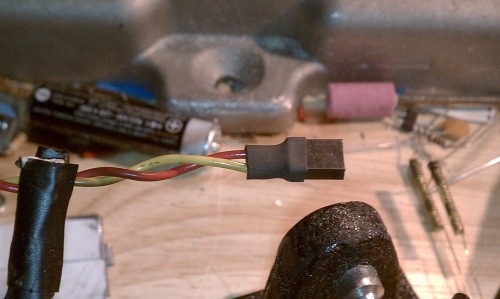
The plug end of the sensors; a two-pin female header I had laying around
Feelers mounted and ready for testing.
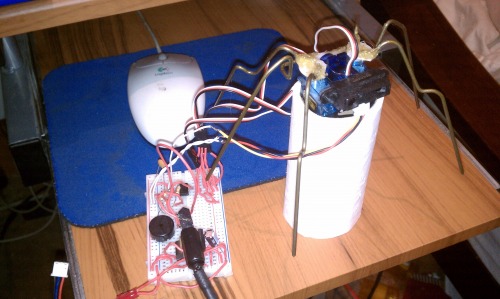
I have also trimmed back all the excess servo wiring so it doesn't look so unkempt. I finally ran the 400mA battery down to 3.4V a little bit ago so it's being charged right now. With the bot securely attached to the lipo it's hard to take a pic of the bot's current state of affairs. Not really much different than what you see above.
Tomorrow I'll try to shoot a video of Hexy marching around my patio. Although it will traverse most reasonable terrain it prefers flat and smooth. It's the best environment to demonstrate the gaits I've programmed into it so far.
UPDATE: OCT. 14, 2011
Added basic demonstration video. The circuit board still needs to be attached and the tactile sensor wires (the yellow and red ones) need a trimming before its robo-skeleton and robo-muscles are considered a success. I'm considering replacing the hot glue with epoxy but the rubbery nature of the glue gives the legs a little give which is nice when it's kicking things around. I might notch the ends of the legs so the glue has more to hold onto. As it's built now it isn't really safe against ham-fisted people. Getting close though.
I also plan to add a behavior or two to add some character to the robot. Robots like Chopsticks and Walter have shown me the goodness of a little thoughtfullness and a bit of extra programming. Memory space is the limiting factor but I think I have enough room if I code wisely.
If I have enough time I want to add some artistic flair for visual effect. I've yet to make a furry/felty/organic-ish looking robot and I think this robot deserves to be my first.
OCT. 15, 2011
The center servo actuating the middle pair of legs died on me today. Fortunately my annual order of 9g servos came in a couple days ago so I'm not stuck again. A teardown was inevitable anyways so it couldn't have died on me at a better time.
Fortunately I had some time to test a couple of the character routines I wanted. The leftover memory space didn't stretch as far as I wanted but I got five separate reactions into the PICAXE:
- Occasionally wiggle its legs (two different ways).
- Stop and do the "whichway" routine from the Start Here Robot.
- After approaching a stationary object sometimes it will turn around and "stalk."
- At random intervals go into "stalk" mode.
Stalk mode is where the bot stops for awhile and if something walks into view it will scamper across the floor towards it. Even though I knew what it was up to the first time it did it I got creeped out a little bit :) That's the intention lol
OCT. 16, 2011
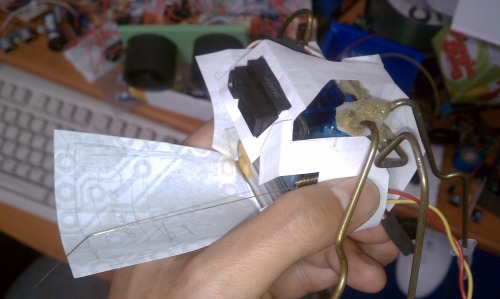
I got the idea in my head to make this robot look a little less industrial than I'd initially planned. I didn't want to spent any extra money on this project but that went right out the window earlier. Today I went out and sourced some hair/fur for the bot. It's really yarn with a hairy/furry texture to it. Taking the yarn and just wrapping it around the hexaspider isn't an option given the bot's odd shape. I wasn't up for knitting my robot a sweater either so I mocked up a case to go around it that I will attach the furry brown yarn to. Hopefully it will acheive the "fur coat look" that I'm going for. I'm also going wrap the legs in the black hairy-type yarn for added ick-factor. I'm going for a coloration scheme like that of a Wolf Spider:
...or maybe this one.
This one has an inspiring look, too...
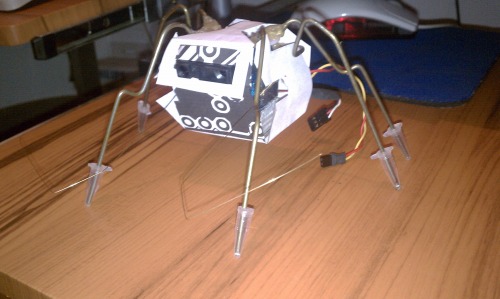
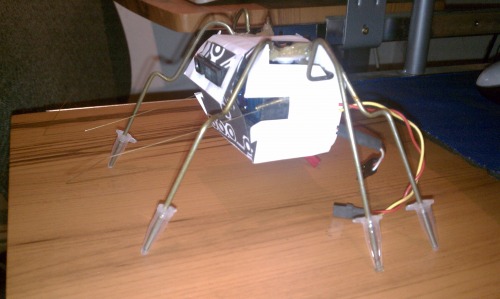
Pics of the first body mockup
OCT. 17, 2011
I was a bit dissatisfied at the lack of memory (I had used 2047 of 2048 available bytes!) and did some experimenting. With the replacement of all my SELECT CASE/ENDSELECT programming with harder to read IF/THEN/ELSE statements I saved almost 100 bytes. I finally have room to do some more randomization routines for more things. Who knew those CASE statements took up so much room? I might have to make a post about that.
OCT. 31, 2011
I've been busting arse trying to have this bot complete by Halloween. I plan to unleash it on unsuspecting civilians and hopefully get some sort of rewarding video out of it.
Before all that though I needed to teardown Hexy to replace the bad middle servo and for all the other prep work...
Grided out to get dimensions of footprint.
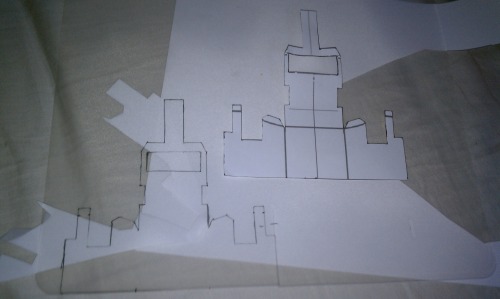
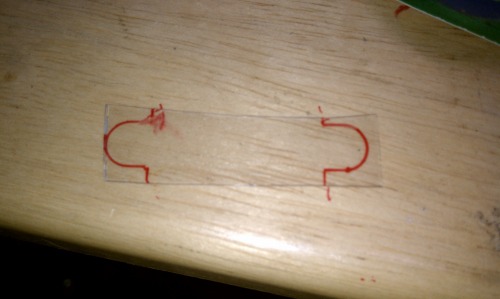
Transfer of last paper mockup to plastic sheeting (more trash) for final body.
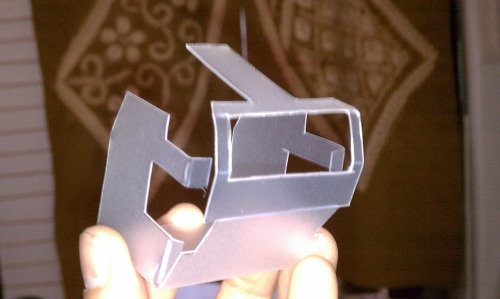
Ready for some fur.
Previous failed version. I found it hard to contain the wiring while allowing ventilation for the 3A voltage regulator so I went with the open back design in the end.
Testing design of claws...

Middle servo replaced and hot glue going away in favor of Superglue and 5 minute epoxy.
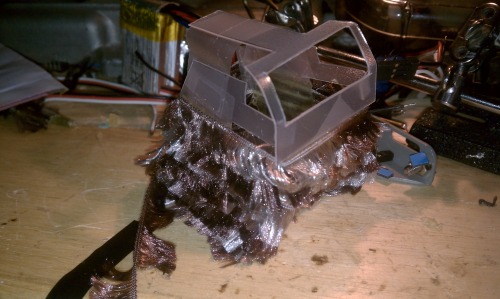
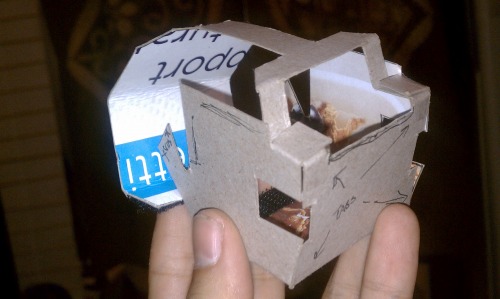
Beginning of furring process.
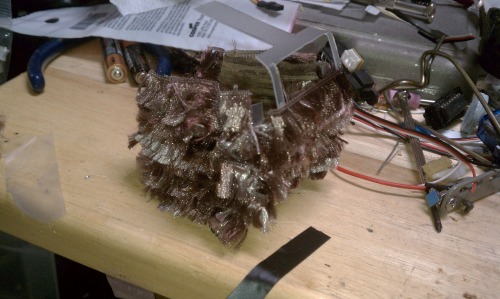
Bottom half wrapped and ready for trimming and tacking down the free ends.
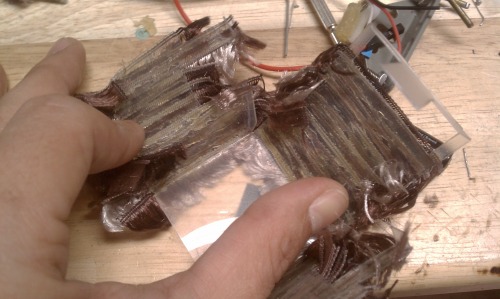
Inside view. It's clear to see I used more hot glue (a whole stick used on the furring process).
Servo horns with finally leg assemblies.
I got in a hurry last night when it hit 3am. The photo documentation had to take a backseat to the goal of finishing by 6am. So did my sleep for the night. Fortunately the main objective was met and the bot is happily charging under my desk here at work. After the LED goes green I'll probably take it for a walk :)
More media to come!
Navigate via IR rangefinder and tactile feelers, look nifty
- Actuators / output devices: 3 x 9g servos
- Control method: autonomous
- CPU: PICAXE 08M2
- Power source: 7.4V 400mAh LiPo
- Sensors / input devices: Sharp IR, tactile feelers
- Target environment: indoors