


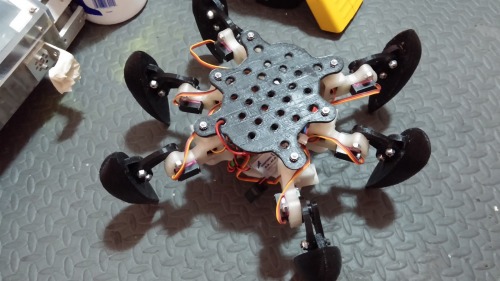
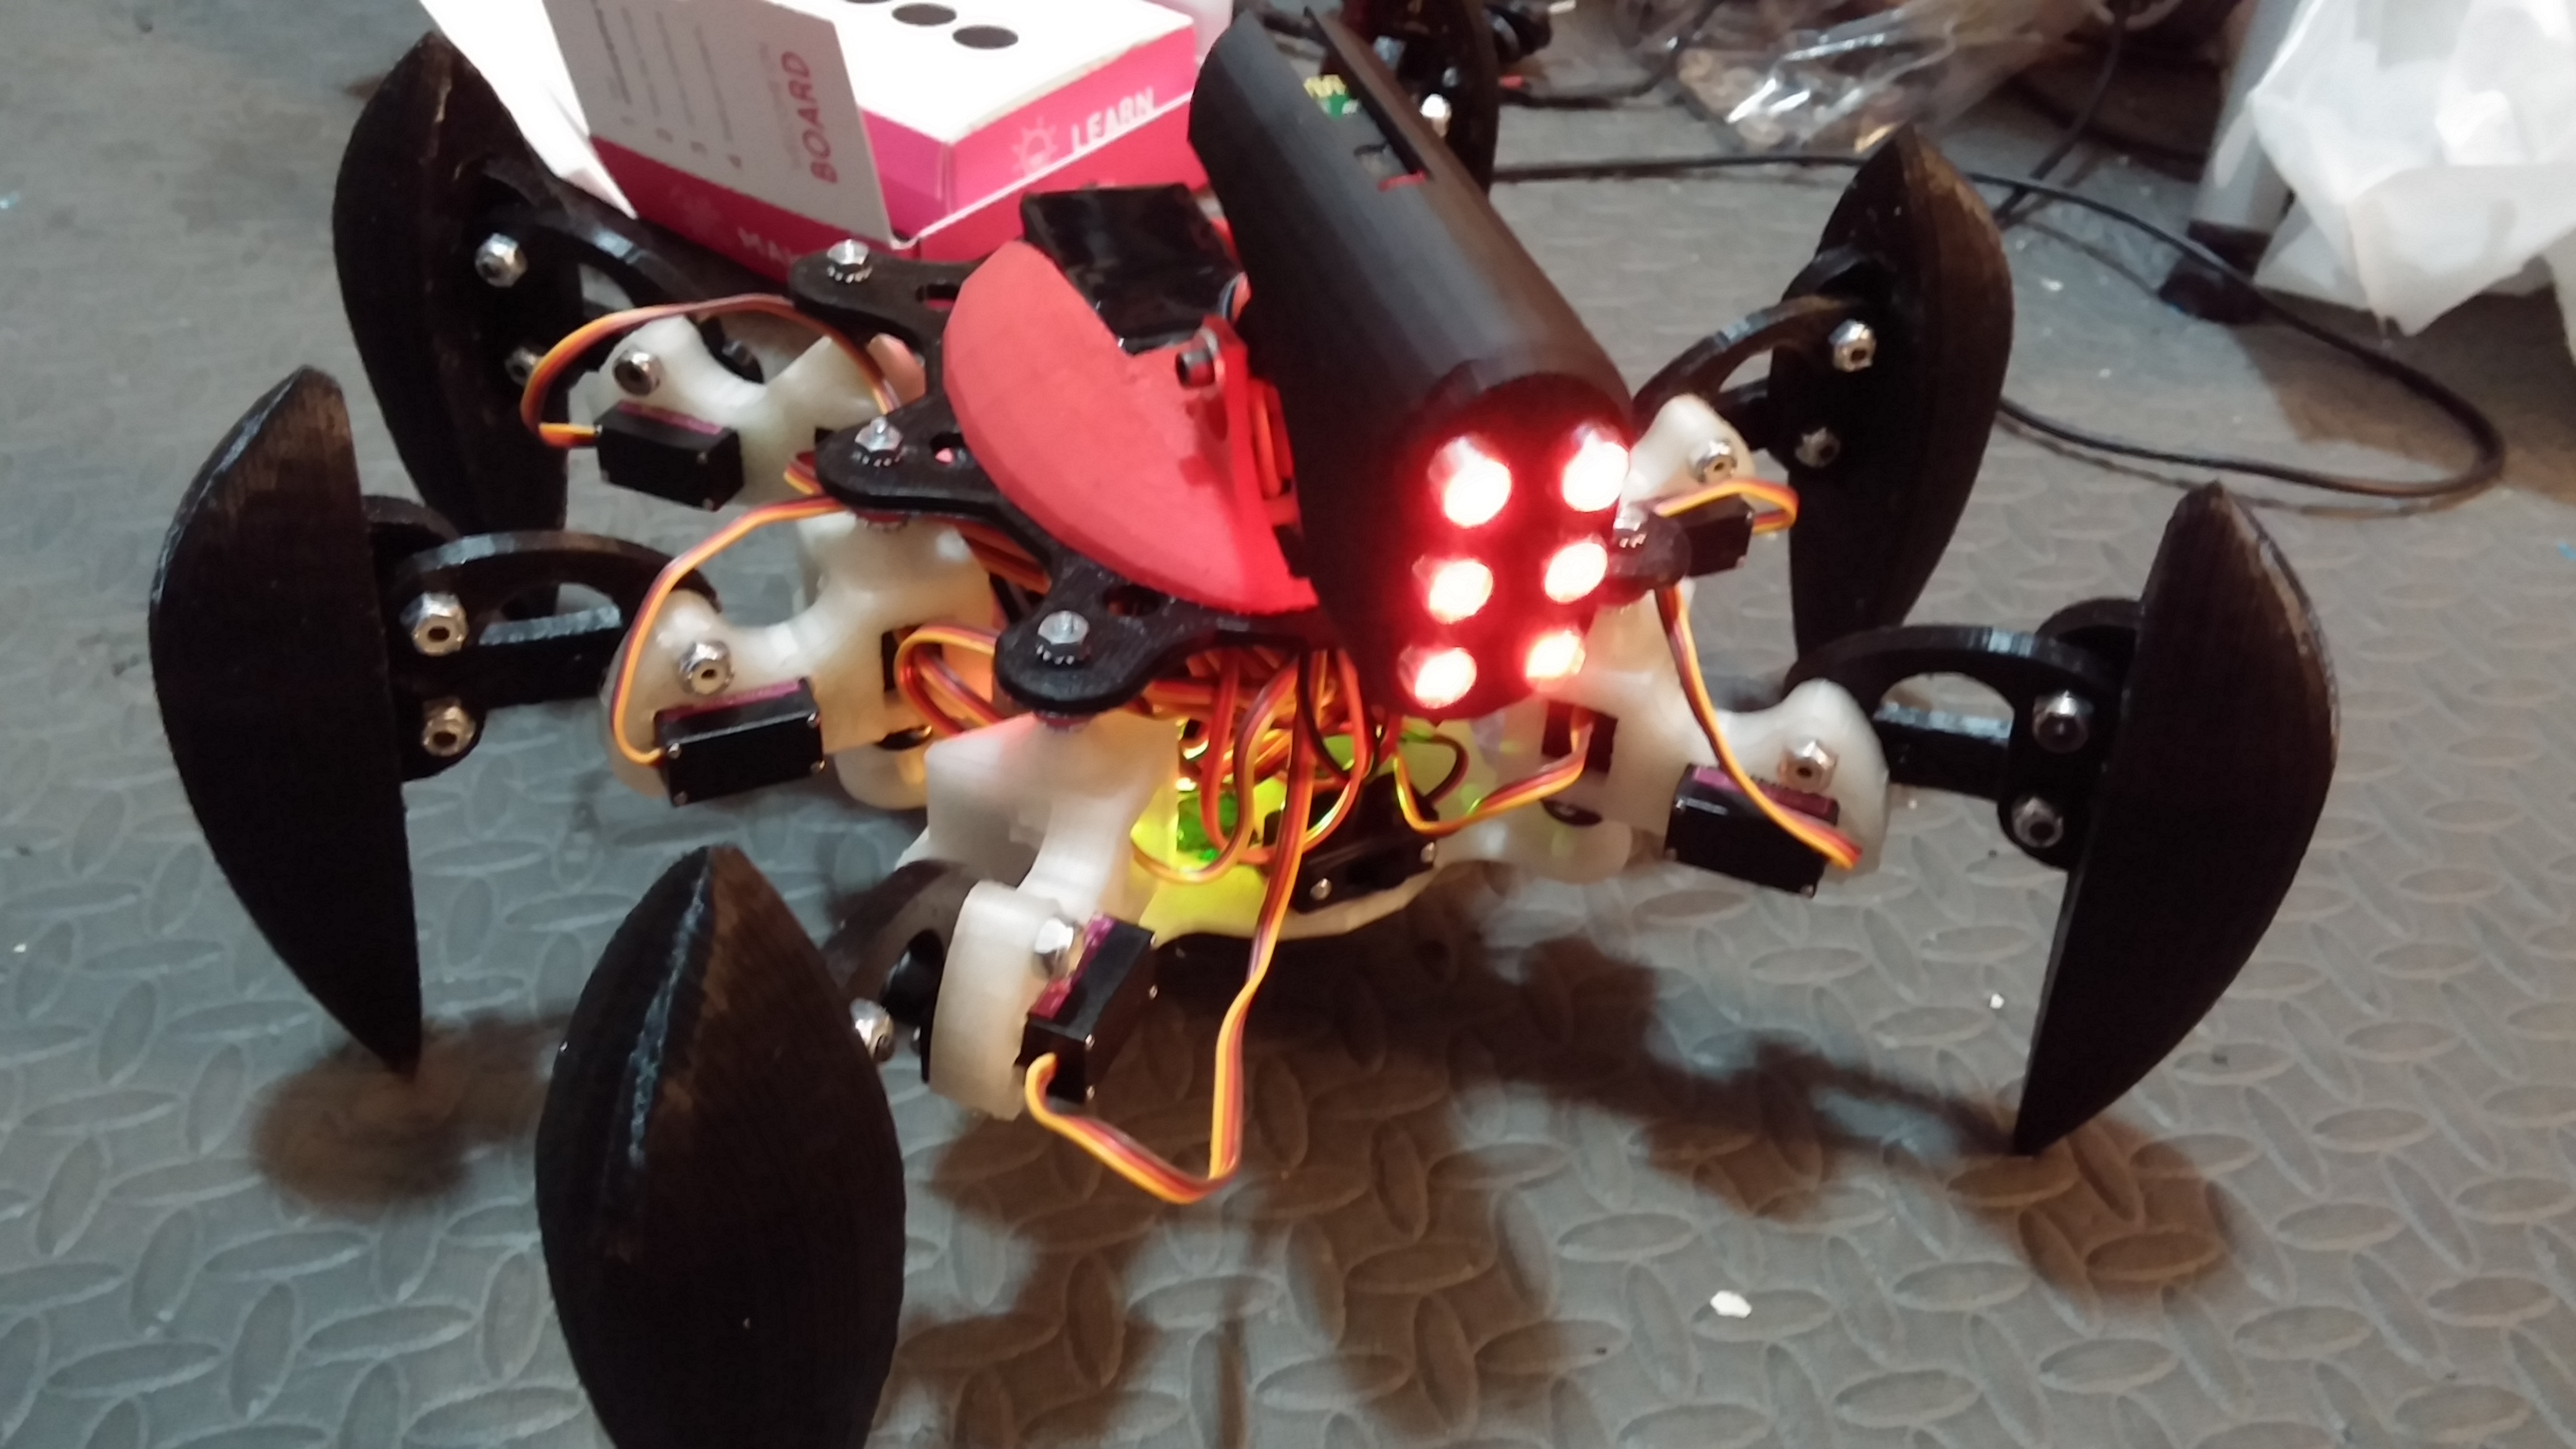
Hexapod - 2DOF
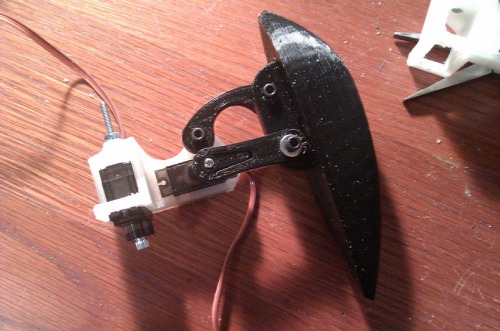
Nothing really special for this design. The leg is pertty much the same concept from last quadruped.
Still trying to use all pins on Arduino without making own circuit board to control servos. Most parts are build from 3D printer and some support materials from hobby store such as metal tubing, bolts and nuts from every where. No parts were really purposely designed but whenever it needed to reach the completion.
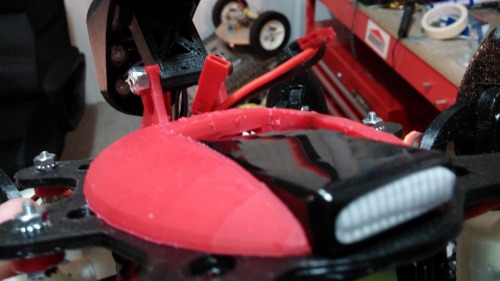
I notice even you oder the same 9g servo(MG90S) from ebay. The servo arm and teeth can be different. The arm I use last time is shorter the the one I ordered this time. So, I just trim down the arm a bit to fit in place.
Body plate:
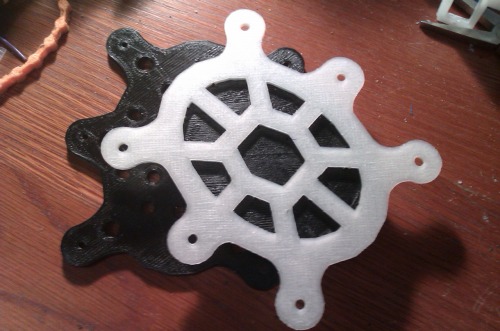
The capacity is large enough to fit Arduino UNO and shield inside body plates.
All 3D parts can be founded at THINGYVERSE.
After few tests I figured 2DOF is not really great for such hexapod. You need at least 3DOF to get proper gaits to land the legs on proper spots when walking. Since it's build only for fun, I don't really care much about it.
All digital pins had been used on Arduino and only 0 and 1 left. So, I decide to add a bluetooth module for manual control and then I design the head with 6 LEDs controled by A0~A2 pinds on Arduino. Therefore, onlyA3~A5 pins left on Arduino.
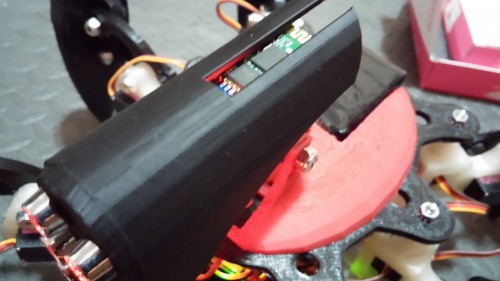
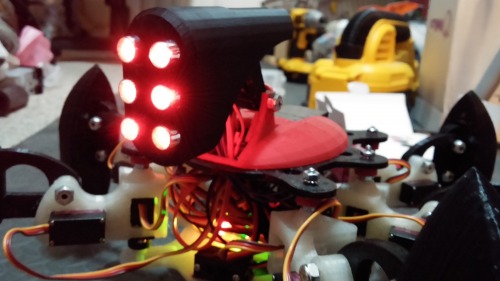
I put the 7.4V lipo on the back of the machine.
And it end uplike this:
Really, nothing too technical in this project but just have fun to learn how to use bluetooth with Arduino. Also I am starting to code me 1st Android App by using AIR in ActionScript since that's the only language I know.
- Actuators / output devices: 12x 9G micro servos
- Control method: remote
- CPU: ATMEGA324P
- Power source: 7.4V lipo with 15A UBEC regulator
- Target environment: flat ground