


Gary, the 4WD experiment
After some years following different DIY sites and forums, I decided that it was time to jump in.
I choose to start with a premade platform to ease first steps (which was wrong, but I discovered it later ;) )
The 4WD DFRobot platform is well made, instructions are available and quite complete:
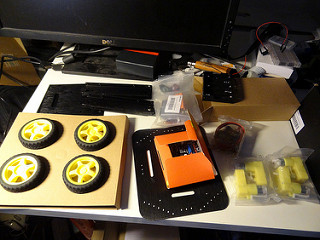
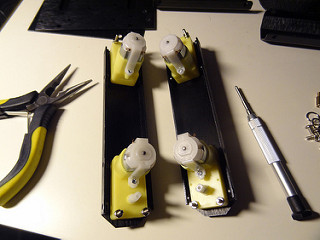
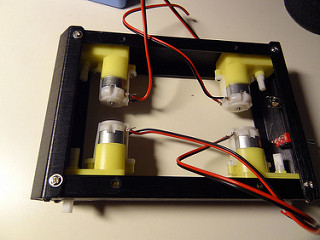
Step after step, the work started well:
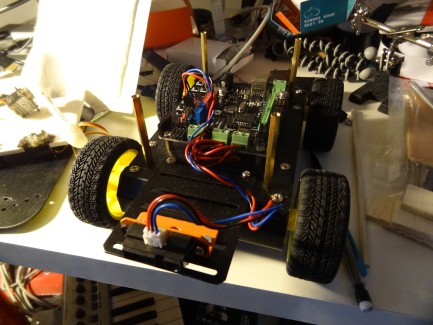
Add the wheels, put a controller board:
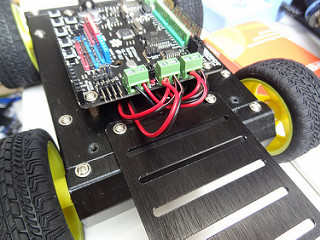
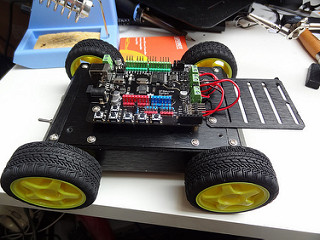
I decided to post on LMR at this stage but in fact I worked further since the last picture.
I'll complete with my Sharp IR installed and of course... video or it didn't happend ;)
My problem is now on the choice of a 4 wheels platform. The motors are controlled side by side and the result is that it doesn't turn very well.
I wonder if it will be best for me to find a way to replace rear motor with simple axis or if I try to add a second pair od motor driver to learn how to implement full 4WD...
Later I will either add my work on understanding how to build a pan tilt, or you can look at my Flickr to see the wood prototype I've done.
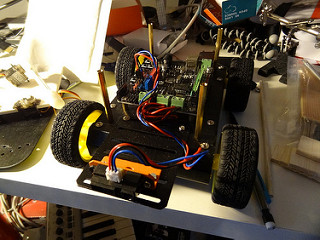
Update 01/12/2014:
Just a quick picture of Gary with its Sharp IR sensor
no more for the moment, I choosed to work on another project this week end and discovered the miracle of hot glue ;)
Update January, 28th 2014:
I added the video I have, even if it's with the previous Romeo that was bugged.
So now, I can claimed it: it happend! ;)
Update February 23th 2014:
That's been a long time since last update. Maybe I should experiment less and finish some :)
I always wanted to add wireless communication to Gary and my Raspberry Pi wants to travel: Deal!
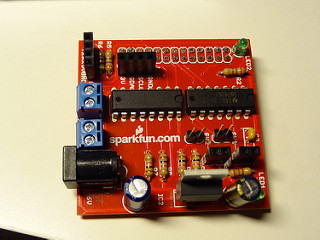
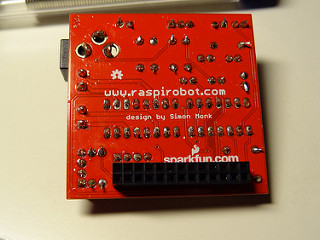
I bought a nice RaspiRobot kit, but it comes like this:
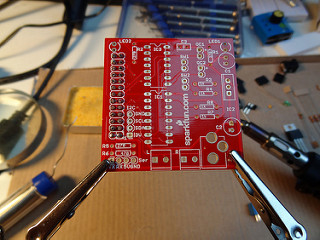
First time for me to solder so nice but tiny things :)
I think I got it pretty well:
I adapted the case I have with some little drill game:

I forgot to take a picture with the Pi and the Wifi dongle.
The python code works and I will translate it to Golo-lang or Java.
I also have some camera streaming code working, but the Pi camera is really not a good piece of hardware. I'll search another solution.
- Control method: autonomous, (remote interaction planned)
- CPU: Arduino Romeo
- Power source: 5AA
- Programming language: C
- Sensors / input devices: Sharp IR
- Target environment: indoor flat surfaces