


Franco 1.0
Hi i'm new and this is my first robot :)
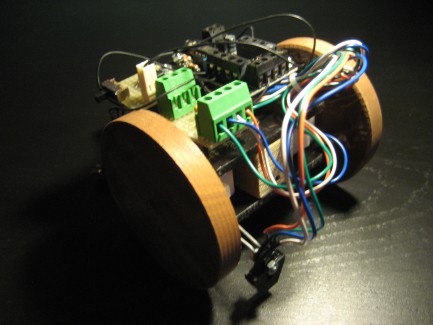
COMPONENT;
- AXE023 with Picaxe 08m2(08m2 is more powerful of 08)
- QRB1134(ir sensor photo reflector)
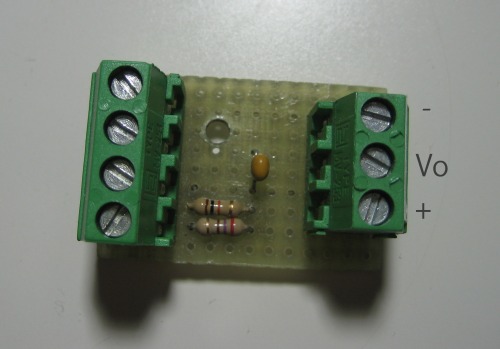
- SENSOR BOARD
- LM7805(5V regulator)
- SGMG9(motor)
CIRCUIT
SENSOR :
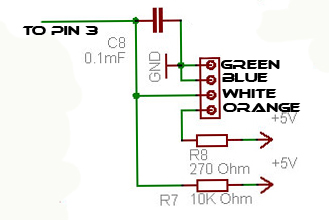
QRB1134 sensor(digital output)
bumper switch(digital output)
ENERGY:
the Picaxe08 microcontroller will function at boltage between 3-6V 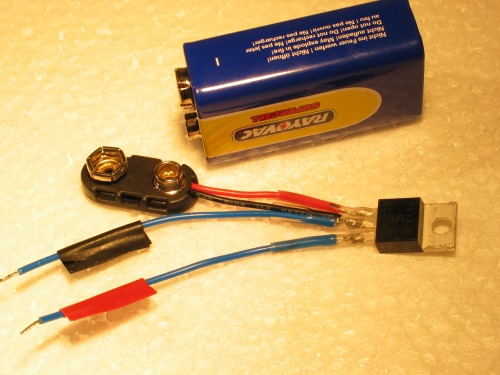
CONNECTION:
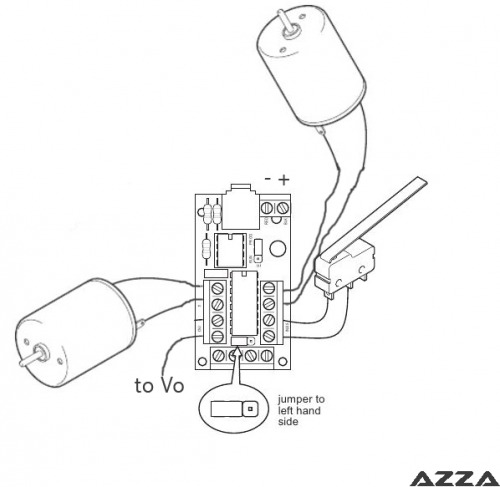
PROGRAMMING&ASSEMBLE

- Actuators / output devices: sgm9
- CPU: 8 Pin Motor Driver Board AXE023 (08m2)
- Power source: 4x1.5V or 9 V
- Programming language: Picaxe basic
- Sensors / input devices: bumper, qrb1134
- Target environment: indoor flat surfaces