


FPV Robot Rover
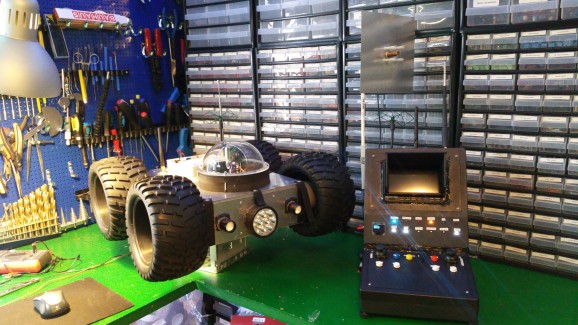
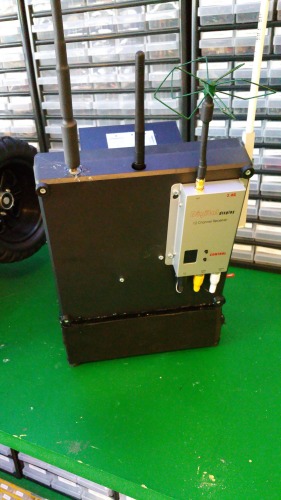
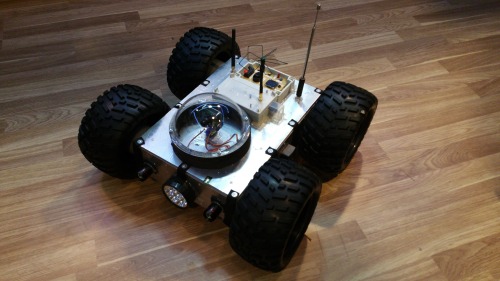
I have rebuild my Large Rover to the FPV Rover.
It has a 2.4GHz video transmitter and the video can tilt up/down and right/left.
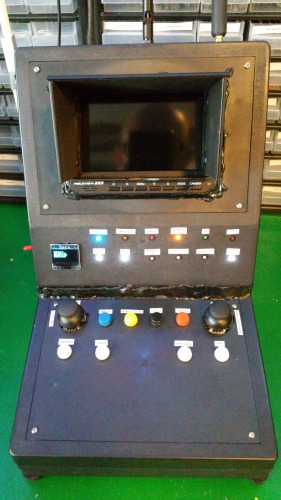
I also made a remote control to host the screen for the video and the control buttons.
More Info see: http://www.steelsquid.org/fpv-rover
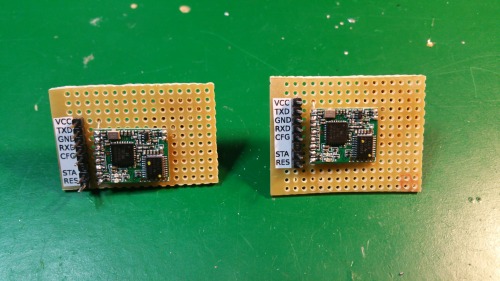
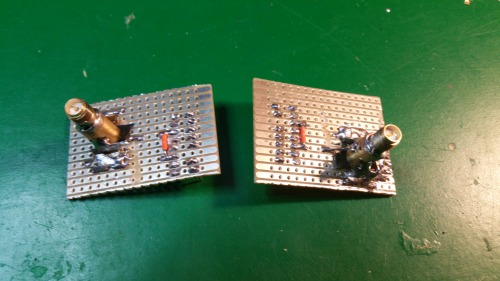
And also change the transceiver for the control signal to a 433MHz HM-TRLR-S.
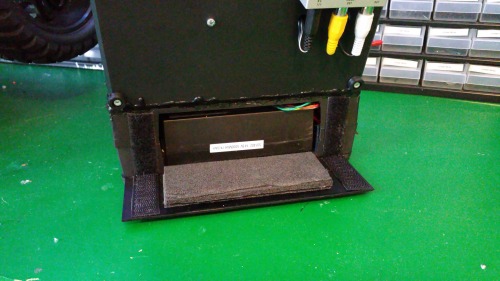
It did not use standard 2.54 mm pins so i had to solder the HM-TRLR-S to a experiment board and i also added a antenna connector.
The remote

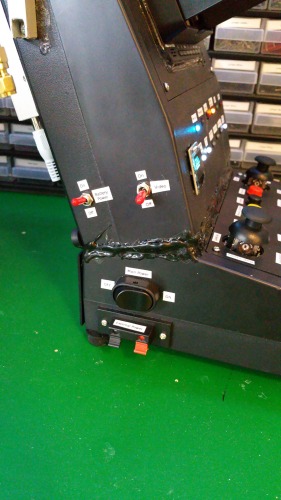
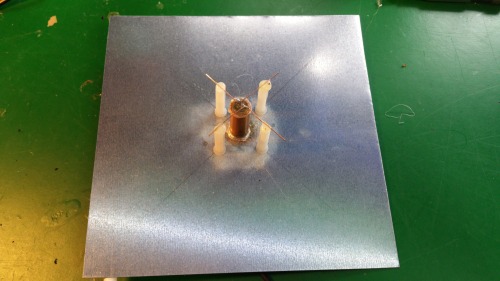
- I mostly use the 2.4 GHz Bluebeam Airblade Antenna but i can also switch to my homemade Crosshair Antenna for longer range.
- The brain of the remote control is a Raspberry Pi with a Steelsquid PIIO Board.
And powered by a 5000mAh 14.8V LiPO battery.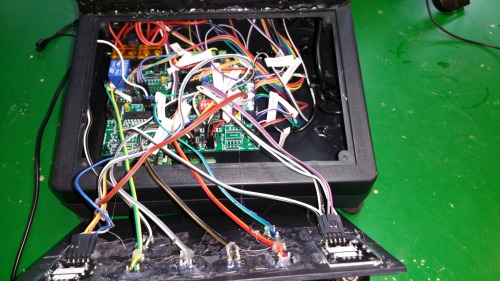
- The remote is constantly polling for status from the rover (LiPO voltage, Headlamp, Cruise Control)
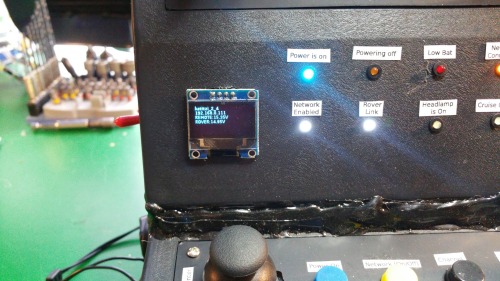
On the remote LCD you can read the voltage of the remote and the voltage of the rover.
By pressing the Linking button you can enable or disable the polling. Useful if you want to leave it on but dont want to transmit all the time.
The remote will also beep and flash the read Low bat led when voltage is under 13.8V on the remote or rover.
And when voltage is under 12.8 V they will power down.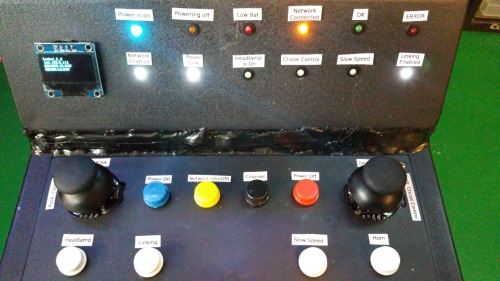
- By pressing Network (On/Off) you can enable or disable the wifi.
When the video transmitter is on the wifi need to be off, they work on the same frequency.
The video transmitter will overpower the wifi...
- By pressing the Channel button you change the channel for the 433MHz HM-TRLR-S transceiver.
- By pressing Headlamp the headlamps is switched on and of on the rover.
- Slow speed will cut max speed by half, easier to drive inside.
- And pressing the Horn will make a load sound on the rover for one second.
The Rover
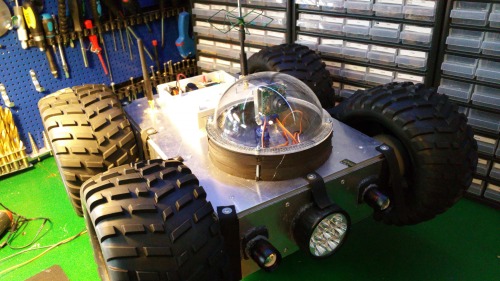
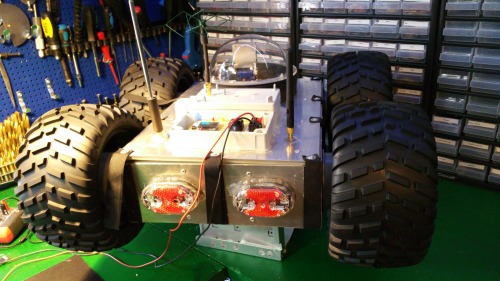
It is the same chassis as in the Large Rover, i have just modified is.
- Stronger headlamp and read lamps at the back.
- A 2.4GHz video transmitter and the video can tilt up/down and right/left.
- And also change the transceiver for the control signal to a 433MHz HM-TRLR-S.

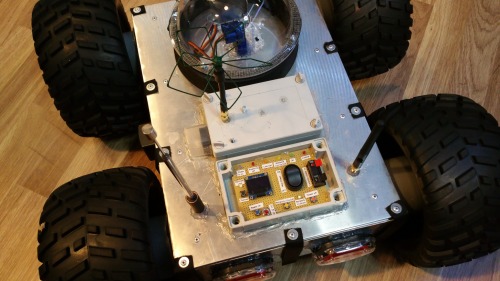
FPV robot rover, 2.4GHz video transmitter
- Actuators / output devices: Servos, 4 DC motors
- Control method: radio
- CPU: Raspberry Pi
- Operating system: Steelsquid Kiss OS
- Power source: 14.8V Li-Po
- Programming language: Python
- Sensors / input devices: video
- Target environment: outdoor