


Flippy the Gap Crossing Robot
This is Flippy, he was built to win the Cross the gap challenge but I couldn't complete him in time. He is the second (and third) implementation of my third design for a gap crossing robot.
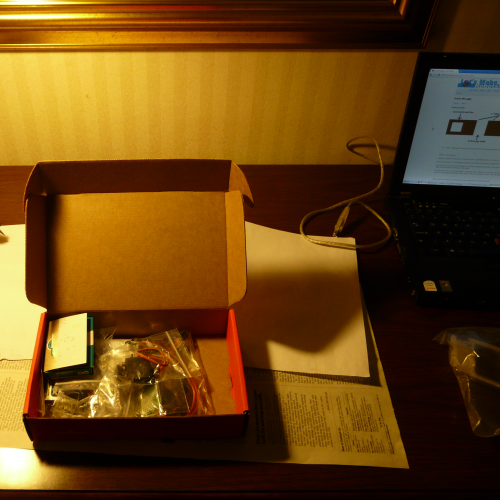
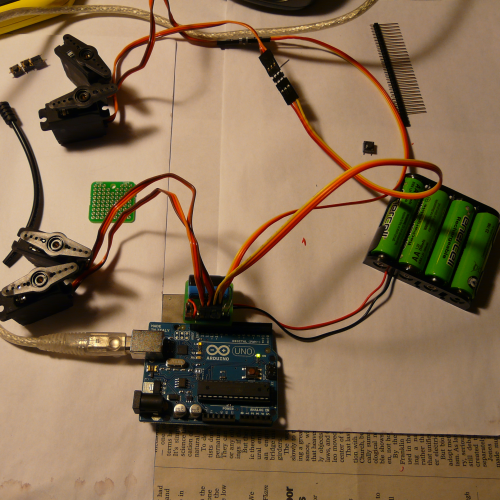
I recently changed jobs and I had to travel to the US leaving an almost working gap crossing robot at home. I had really high hopes for the new design and it really bothered me that I didn't get the chance to get it working so I decided to build it from scratch in my hotel room. I placed and order with Sparkfun and got a few basic tools from someone at work ( Thanks Jerry! ). Two days later I got this:

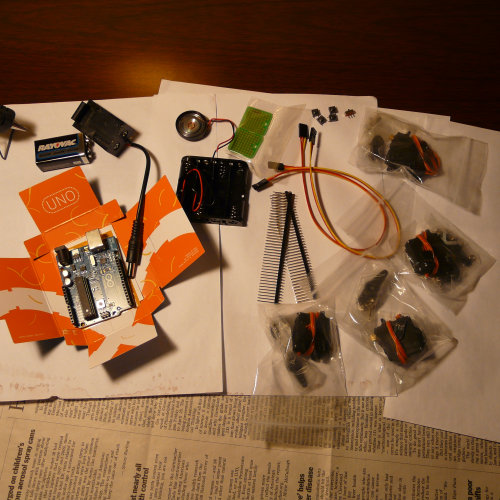
The parts list consists of:
Arduino Uno x1
9 Volt Alkaline Battery x1
9V Battery Holder x1
Servo - Medium x4
Battery Holder - 4xAA Square x1
SPDT Slide Switch x1
ProtoBoard - Square 1"Single Sided x1
Break Away Headers - Long x2
Jumper Wire - 0.1", 3-pin, 12" x2
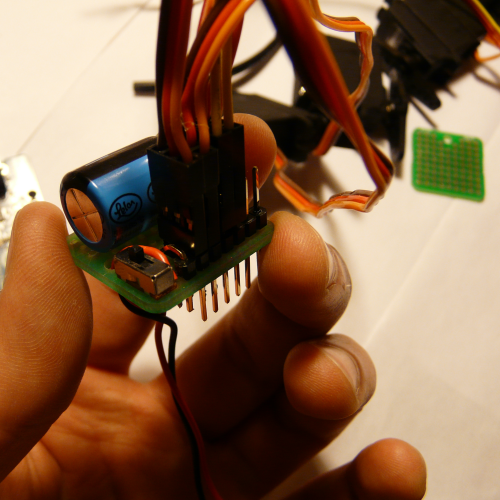
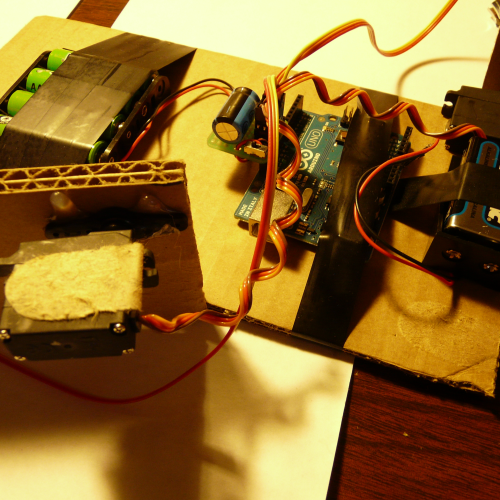
A few hours later I had soldered togather a "mini shield" board to distribute power to the servos. The board has a switch for the main power supply and a beefy capacitor to help with current spikes. Its main purpose is to neatly connect the servos to the arduino and the battery.
After a few more hours hacking and gluing the cardboard box that the parts came in, I had this:
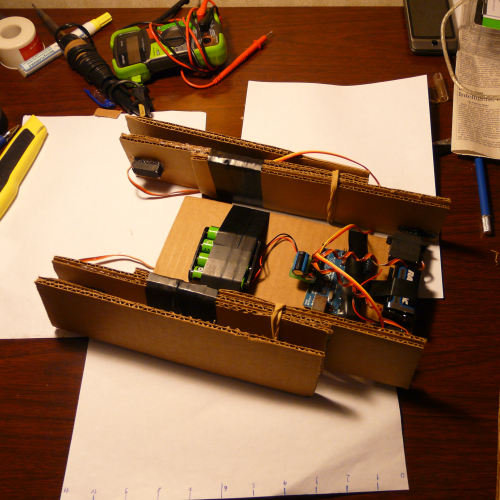
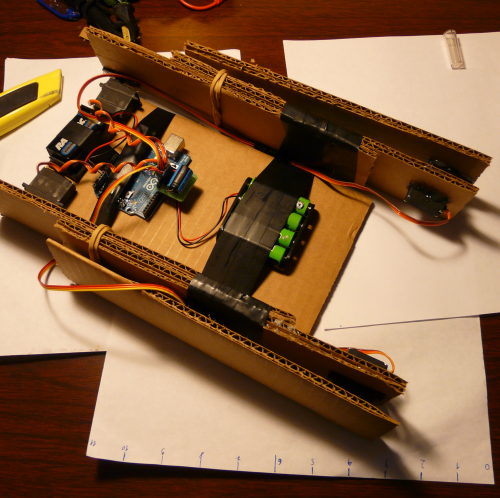
Unfortunately, although cardboard is a very nice robot building material it is not very strong. On the first test, one of the legs broke off:
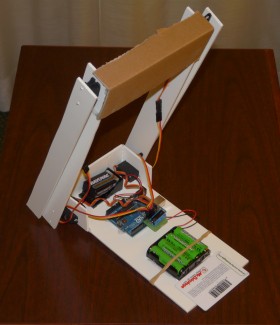
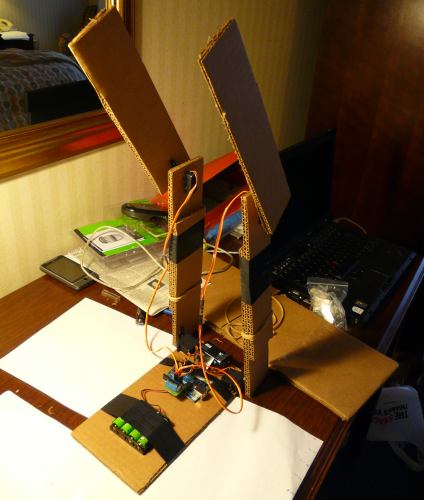
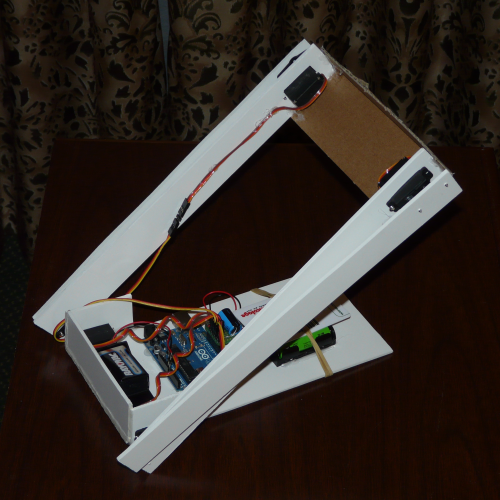
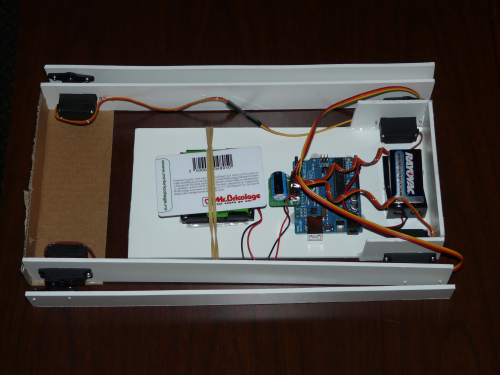
I abandoned the project for a few days, but then I found 3mm expanded PVC foam in an art supply store, so I remade the entire chassis. The PVC foam board is a really nice material. It is very easy to cut and work with. Even so, it took me a few good hours to remake it. Here is the final product:
As you will see from watching the videos, it took a bit of experimentation to get to this point.
PS. I was planning on posting this over a month ago but life got in the way.
Crosses the gap
- Actuators / output devices: 4 servos
- Control method: autonomous, open loop
- CPU: Arduino Uno (atmega328)
- Power source: 4 AA batteries
- Programming language: Arduino C
- Target environment: indoor, Tabletop