First Robot Project - ArdBot
04/18/2012:
Hi everyone,
I've decided to check out amateur robotics as a hobby. I came across a 7-part series in Servo Magazine by Gordon McComb on how to build the "ArdBot", so I've chosen this as my first project.
I've purchased all of the components so now I'm ready to start the build!
I'll post updates and pics as I progress.
Looking forward to learning and sharing on this site.
-Ken
Update - 04/19/2012:
Hi everyone,
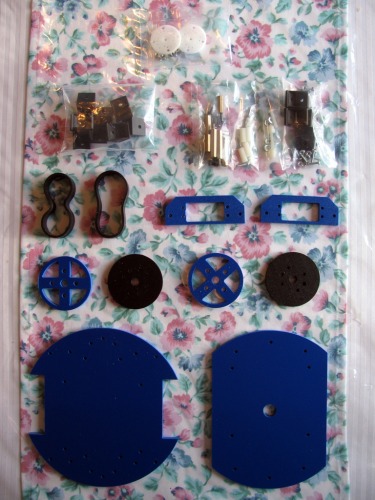
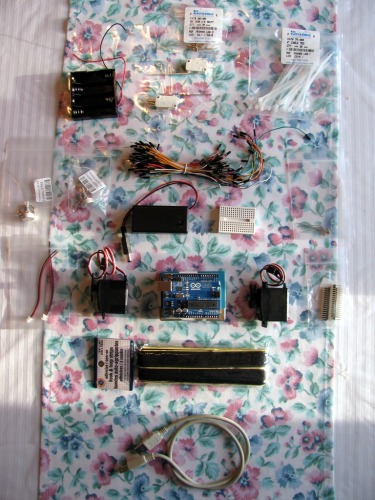
Here are a couple pics of the components that I purchased and will be using to building my ArdBot. I purchased everything online from 3 different suppliers in the US and everything was received within a week. Feel free to send me a private message if you'd like to know what suppliers I used.
I'm using the Arduino Uno R3 microcontroller and successfully hooked it up to my computer last night and uploaded a test program to make the LED blink so I guess that's a start! :)
Today or tomorrow I hope to start assembling the chassis kit.
-Ken
Update - 04/21/2012:
Hi everyone,
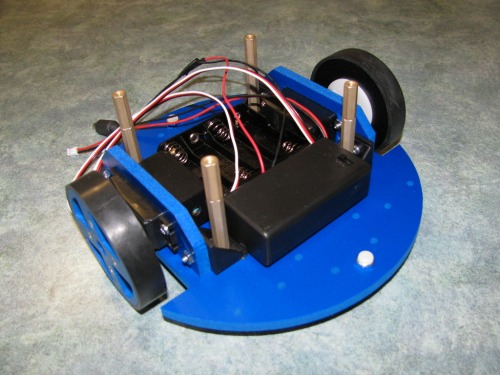
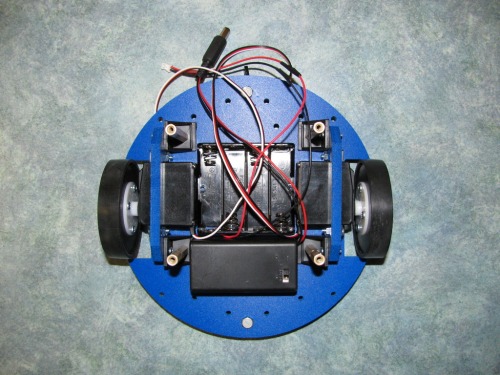
Today I managed to build the bottom portion of the chassis kit. It was all fairly straightforward to assemble and I'm pleased with the outcome. I had to solder a 2-pin female connector to the wire leads from the AA battery holder and I used velcro fasteners for the battery holders which worked perfectly.
A couple pics of what it looks like after today are attached.
Tomorrow I plan to attach the top deck and wire-up the Arduino Uno, solderless breadboard, etc.
- Ken
Update - 04/24/2012:
Hi everyone,
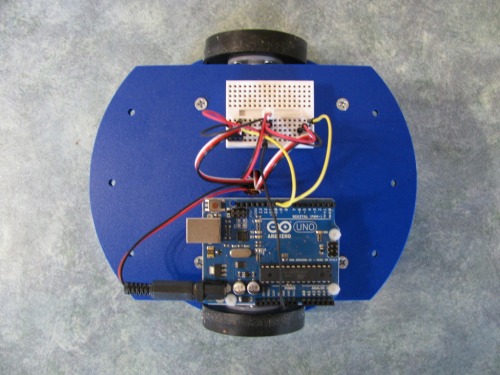
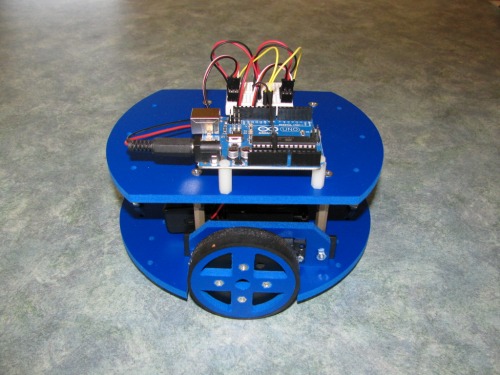
I've attached the top deck, Arduino Uno microcontroller and mini solderless breadboard to my project. I also wired things up and was able to run a sketch to test out some basic servo / wheel movements.
The only issue I encountered was in setting the servos to stop. I used a value of 90, but discovered that for my continuous rotation servos I needed to use 94. Once I figured that out it worked as expected.
My next step is to start adding on some sensors to know when it hits objects while roving, etc.
A couple pics of what it looks like now are attached.
- Ken