


First Robot
The video shows the robot in operation, notice that
if it hits an obstacle that's just out of view and falls
over onto it's back it actually turns itself off! This was
entirely accidental, but now we consider it a convenient failsafe ;)
Thanks go to my friend Chad for helping me out, and the getting started tutorial on letsmakerobots.com
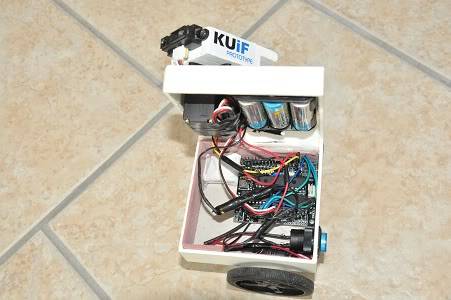
This is actually a MK.II, as the first one we made was in a much smaller and poor quality plastic box, so we found this Pandora jewellery box laying around and decided to rip everything out, drill some holes and bring it to life.
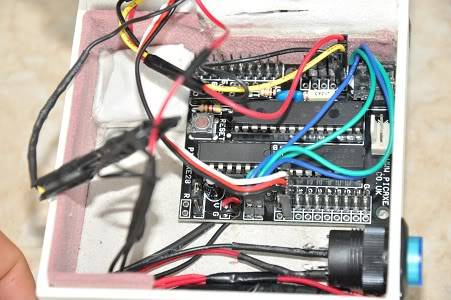
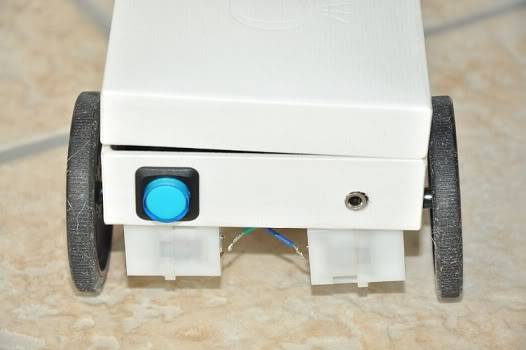
I used the coding example given in the tutorial but made a few tweaks here and there. For example I changed how much the servos turned, how much the robot turned, the time between a lot of the actions and I also tweaked it's reaction from 80 to 100. I found that he was stopping a lot in daylight, so I ran a debug script on the IR Sensors and noticed that in direct sunlight it reads between 80 and 95, so in making this change he rarely stops randomly anymore unless it peaks. All the components on the inside are what were recommended in the tutorial except the servo and the blue power switch that we added.
We'll be changing his chassis AGAIN very shortly as the wheels don't sit quite right and we want more room to add additional componants for testing. You've probably noticed that it doesn't close very well either, so again changing the chassis should fix this. I will upload more information when we get that done :)
Navigates via Infrared, and uses basic obstacle avoidance.
- Actuators / output devices: Two 120:1 Pololu motors & One Futaba S3003 Servo for the IR sensor
- Control method: autonomous
- CPU: Picaxe 28x1
- Power source: x3 4.5v AA Batteries
- Programming language: Basic
- Sensors / input devices: Sharp 2Y0A21 Infrared
- Target environment: indoors