


Dixie
2013-03-28
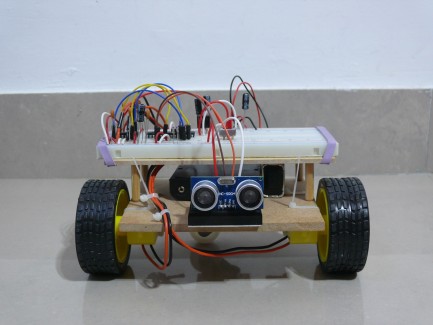
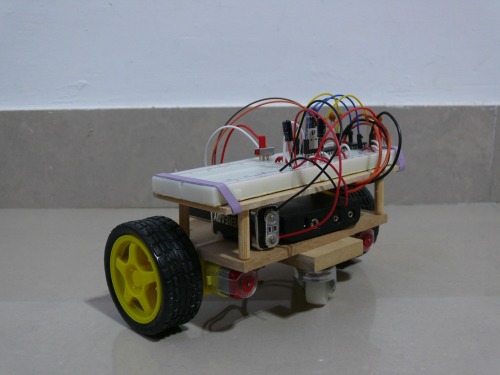
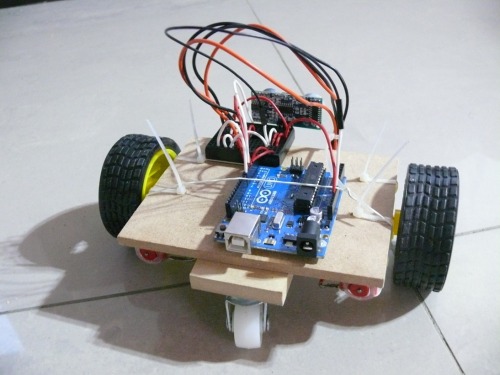
Hi again! I finally took the arduino board out of the robot's body. For now all connections are in a breadboard, at some point I'll move to a PCB. After moving to the breadboard, I had some issues with the motors, but searched a bit in the site and found guibot's post: https://www.robotshop.com/letsmakerobots/node/2074. Followed that configuration, adding both ceramic and electrolytic capacitors, and they started working fine.
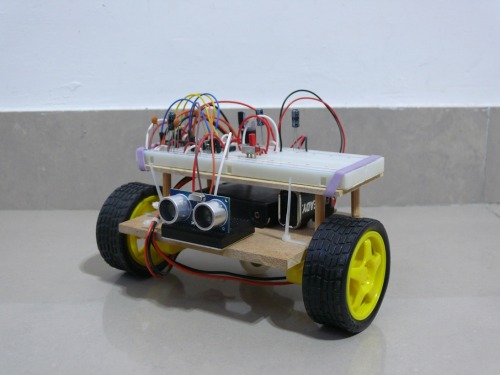
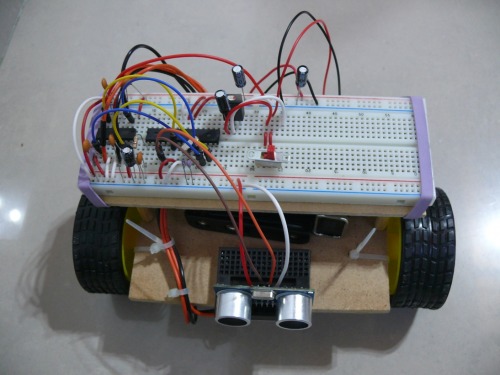
Power supply: I'm using a 9V battery for the arduino and sensor (with a regulator to 5V). For the motors I set 4x1.2V 2500mAh AA Ni-MH rechargeable batteries. It seems they need more power the robot moves really slow. I read that the L293D drops ~1.2V in several posts here, so I'll need to upgrade that power source.
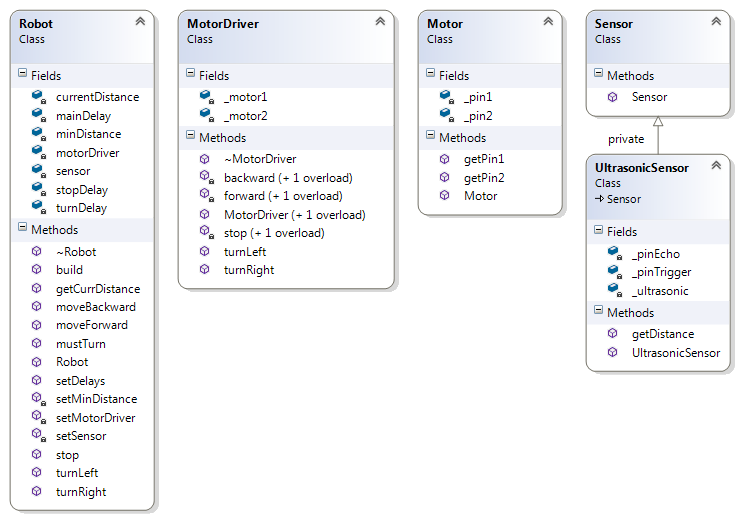
Code: I moved to a OOP approach, creating classes for sensors, motors, etc. This is still in progress, but seems to be working. In the .ino setup() method I'm calling Robot::build() method, that creates the rest of the objects. the Robot class keeps the bot status. I uploaded the code as is now (in progress!!). I'm using VisualMicro (the Visual Studio add-in) as IDE.
Here is the current classes diagram:
Next steps: I started working in an IR encoder for the wheels, one of the motors moves a bit faster than the other. Also this will be useful for tracking. I also need to improve the robot sensors, was thinking on adding IR leds to avoid lateral collisions. finally, I will add a tilt/pan mount for the distance sensor. Still a LOT of work to be done, it's fun! :)
START 2013-02-19
Hi all! This is my first attempt to buid a robot. Trying to learn some electronics in the process.
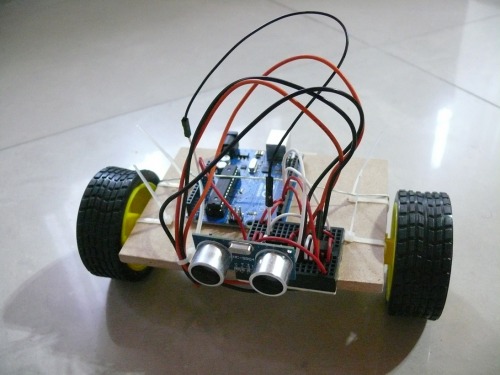
For now it just has one ultrasonic sensor, a L293D for the motors and not much more. If nothing burns or explodes (including my head).
I will change to a standalone Arduino, add encoding wheels to track distance, some sort of algorithm to map the terrain in a grid. I assume the structure will change too, but this is all I have for now :)
Avoids obstacles using ultrasound. It will map terrain to grid and store it in a SD card.
- CPU: Arduino
- Sensors / input devices: HC-SR04 ultrasonic sensor
- Target environment: indoors