


Compact - an Arduino SHR
I wanted to make a small Arduino robot using an original Duemilanove and the Robot Builder's Shield. But I also wanted to have a chassis plate so I can mount the parts on. I started to play with the parts to see how they will fit together and finally came up with this design that looked so compact that it became the name of the robot. After a little AutoCAD drawing, some CamBam fiddling and nerve braking CNC-ing, there is the first imperfect chassis plate:
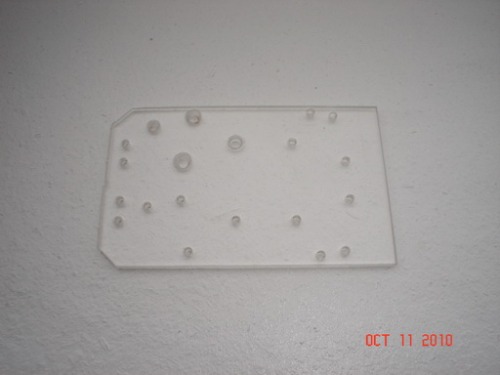
I also made a different one, but I'll show it later.
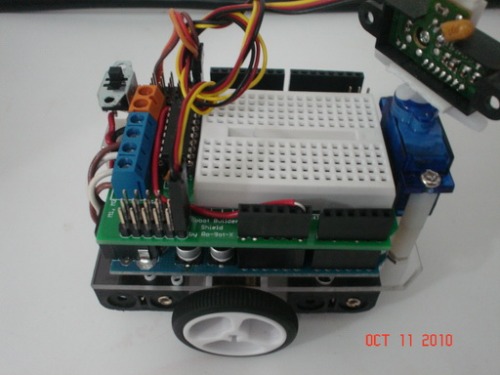
I threaded the holes with a #4-40 tap (that was the only one I had, I'll have to find a M3 tap). Then I started to mount the motors, battery holders, the ball caster, the Arduino board and the servo. Then I had to take off the Arduino board because I needed to add a bigger hole to pass the motor wires through. I installed the shield on top and soldered a switch to the solid wire I used to route the power from the power connector on the shield to the Vin pin so the Arduino board will get the power from there. Since I am using 6V, the resulted regulated voltage is 4.88V. Unfortunately I can't change the SMD voltage regulator with a LDO version onboard the Arduino, too small to solder by hand and of course, I don't have a proper SMD regulator. But I think it'll work fine.
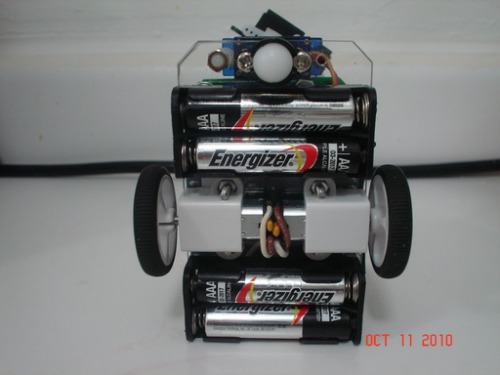
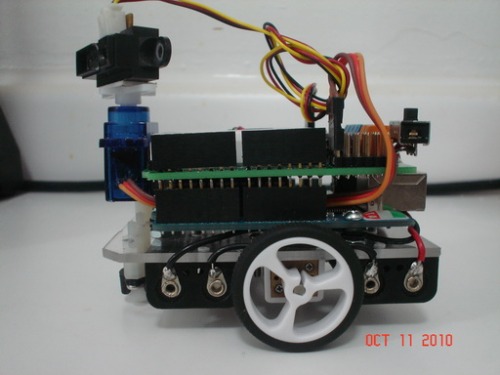
Here are more pictures of the robot, a video will follow soon:


Arduino Start Here Robot
- Actuators / output devices: 2 x 1:100 Pololu micro motors
- Control method: autonomous
- CPU: Arduino Duemilanove 328
- Power source: 6V, 4 AAA Cells
- Programming language: C/C++
- Sensors / input devices: Sharp IR
- Target environment: indoor