Chief Knock-A-Homer
This one is for all you Simpsons fans.
I've been watching them as long as I can remember!
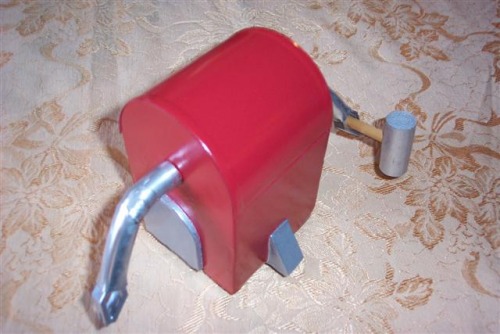
Ever since seeing Homer build Bart a combat robot I wanted to build my own version of Chief Knock-A-Homer.
In the cartoon, that's Homer inside the mail box swinging the hammer while riding a tricycle.


So when a friend started bugging me about cutting a robot with his CNC mill I knew what project I wanted to build.
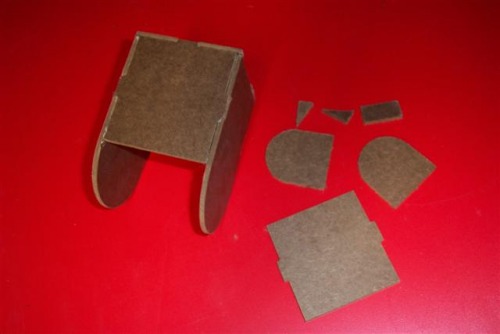
Its cut using regular tab / slot construction, hot glued together.
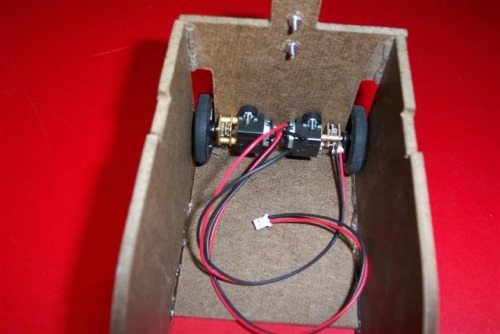
The metal gear motors are 100 to 1 gear ratio.
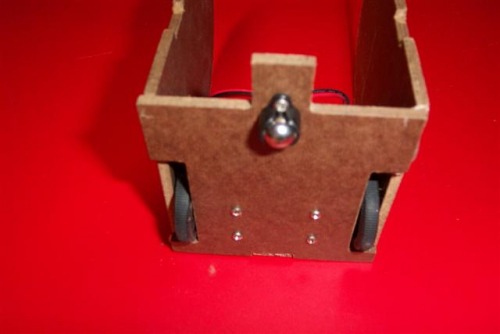
The motors, mounts, tires, and ball caster all came from Pololu.
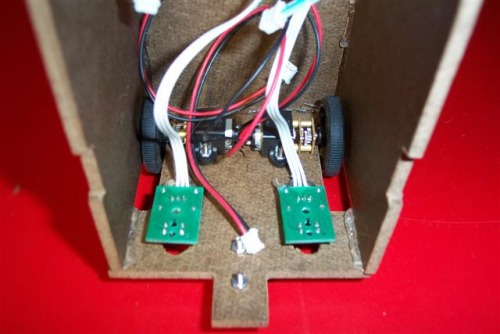
The IR line sensors came from Robot Shop.
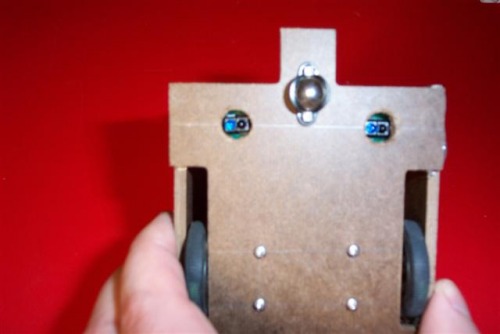
I hot glued them in place. That way I can move them if needed.
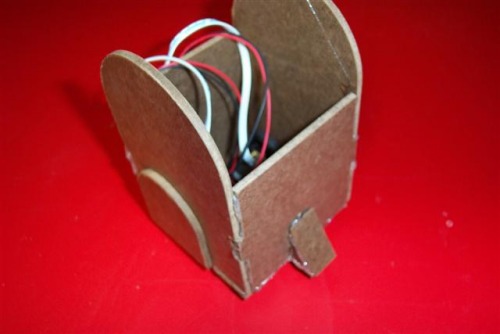
I plugged in the motors and sensors, then slid the controller inside which is also from Robot Shop.
I made the arm mounts from the cut off ends of RC car shocks screwed and hot glued on.

The 4 AA battery holder double sided taped to the back of the controller is from Pololu.
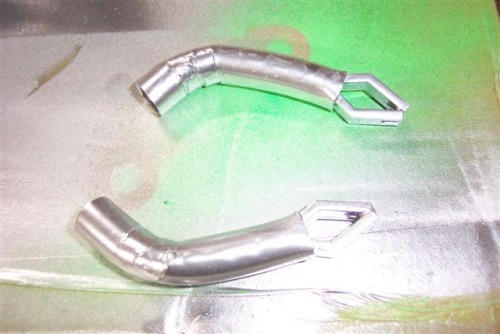
I made the arms from clear tubing, then wedge cut and CA glued them to a downward angle.

The hands are 45 degree brackets glued together.
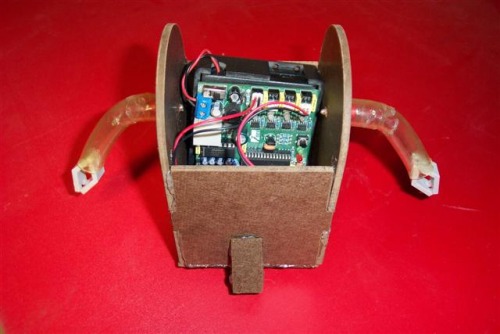
Here's a test fit of the arms. They fit pretty good!

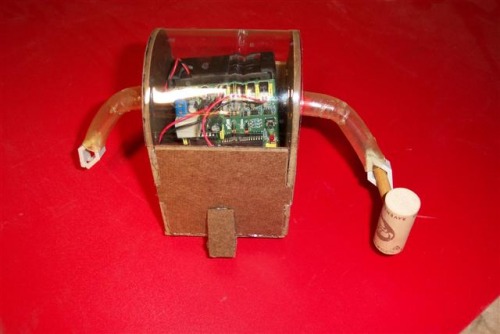
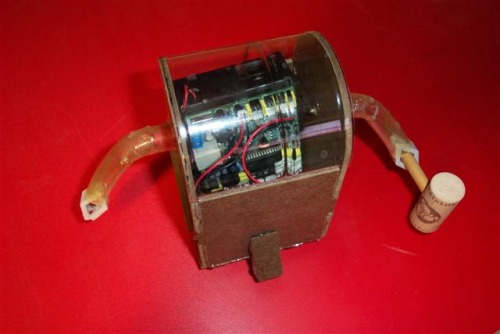
I made the hammer from a cork and a piece of dowel rod.
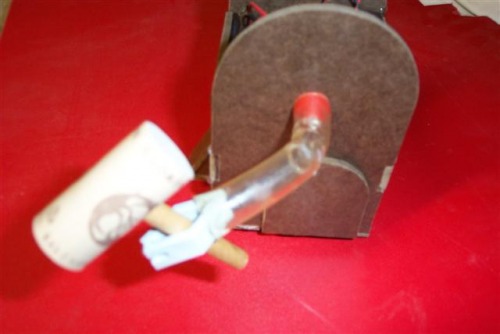
He grips the hammer pretty good, but after painting we will hot glue it in place.

Ok humor me on this one! His top is round so I found something the right size that is also round.
Its a peanut butter jar. So we'll work it over after a good washing! -lol

After chopping up the peanut butter jar I have my top cover. There's an optical illusion from a rib on the back of the plastic.
It can be seen in these pictures. But doesn't stick out on the outside of the plastic. So once painted it shouldn't show up at all.
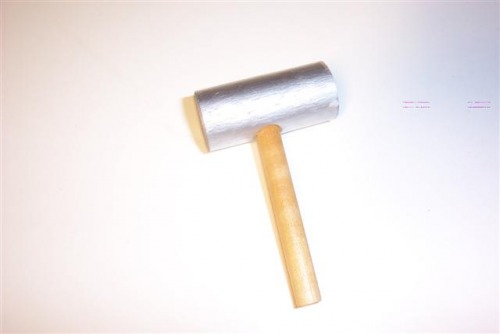
I painted the hammer head silver and tried to brush a "grain pattern" into the hammer's paint to make it look more like metal.
Then I broke out the Bondo Glazing Putty to fill in the chassis seams.

Here I have the first coat applied. Later when its dried I'll sand it down and recoat the seams till they are all mostly filled.
I had planned on making the body perfect. But then though about Homer making it. Also its a combat robot.
So it wouldn't have a perfect finish. As such I've left some irregularities which should look like dents when painted.

I'm at the boring part of this project - Watching Paint Dry! -lol
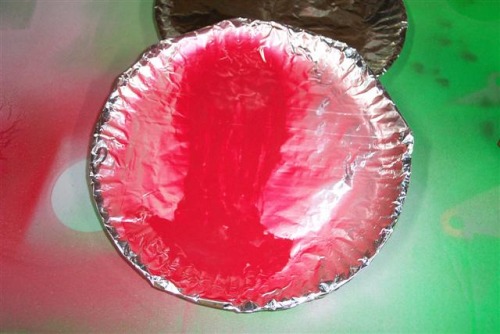
My technique for painting is that I use rattle can paint. But put aluminum foil over a plate.
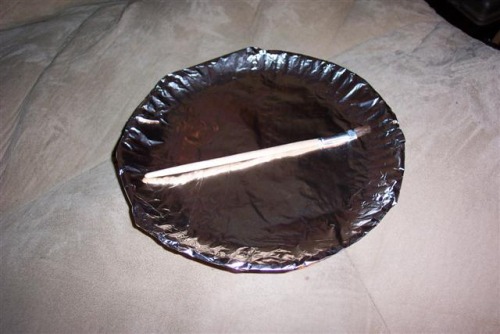
Then I spray the rattle can paint on to the plate. Then brush from it to the robot.
The foil keeps the paint liquid longer while keeping dirt and bubbles under control while brush painting.
Also note that I tilt the plate to keep a paint "pool".
On the arms I just sprayed them regular silver, but will be going back with a stiff brush to add texture / grain pattern so they look more like metal.
The lid is the same thing, sprayed it then later coming back to add texture / grain pattern for a metal look.

Here's the main body painted red and again I'll be going back to each part and lightly scuffing / brushing them to add texture / grain pattern so they appear to be metal and slightly combat distressed.
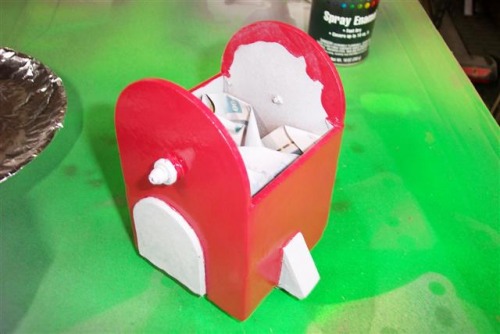
So here's the paint finish curing. I'll come back and paint in some more detail after this dries for another day.

I also wanna work over these arms a bit.
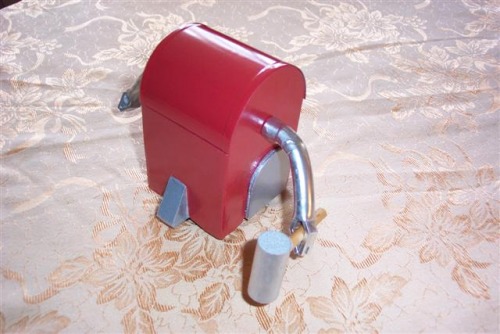
Last one before we start working on the electronics.
I made the antenna's and dome from a fishing bobber cut in half and painted silver.
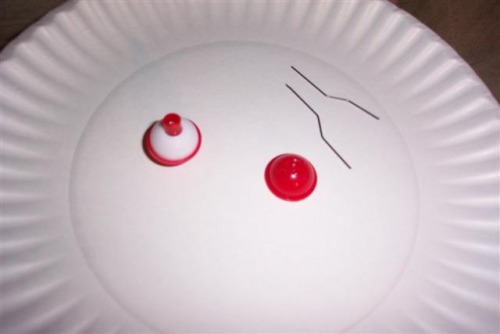
Here the dome with antenna's installed. Also I made a lid hinge with a piece of string tape (also called strapping tape).
But I could not get a picture of it (focus issues). The lid pivots forward / opens from the back.

Here's the sound recorder I got from Solarbotics. Its the same unit used on most LMR drum robots.
I'll be making a relay board to turn it on/off so it will be able to play back Homer quotes.

I searched all over today and found my solution to making the headdress. The problem I was having is finding feathers in the right size, which was why the badminton shuttlecock didn't work out. So I settled for a product called Cross-Cut Rabbit Zonkers in White. Basically its a thin strip of rabbit flesh with the hair left attached. (thanks for the tip Birdmun!) Its used for making custom fishing lures. Plus its appearance kind of looks like a headdress when shaped into a U shape. So I'll be making a frame to hot glue this to. Then gluing it to the robots head.

I tried several different methods to make a frame work for the headdress over the last couple days. The method that worked best was using Polymorph. I heated mine different than listed elsewhere on LMR. I used a ceramic plate and a heat gun to make a flat sheet then rolled it as shown.
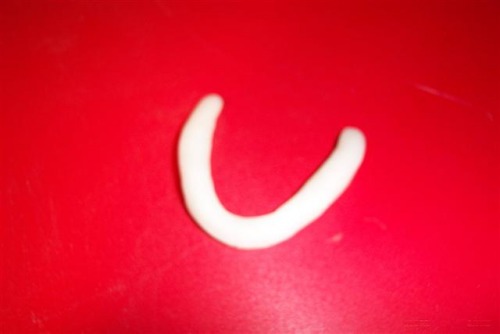
I hot glued a piece of Zonker to the Polymorph. Then hole punched cardboard for the blue dots which were also hot glued on.
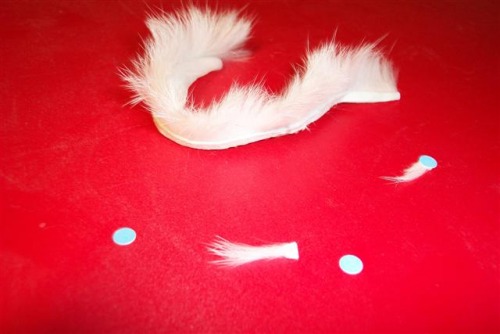
I left the headdress removable as I prefer the robot without it.

Here's from the other side.

And here's without it.
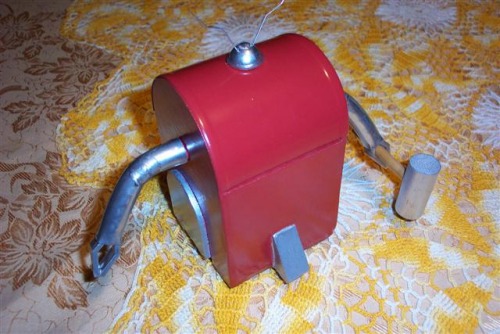
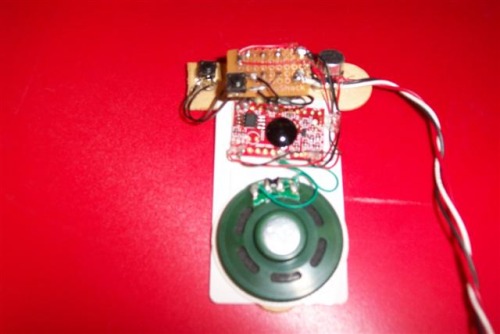
To mount the sound module I made a T from a tongue depressor cut in half and hot glued together.
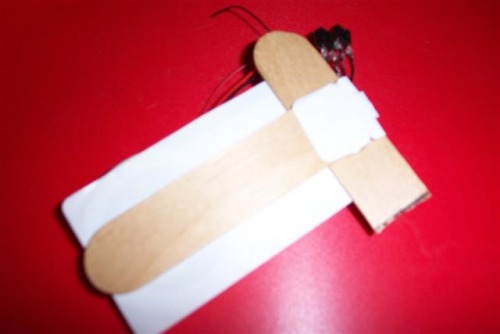
Then I stuck the sound module on the T using the sticker that came on it.
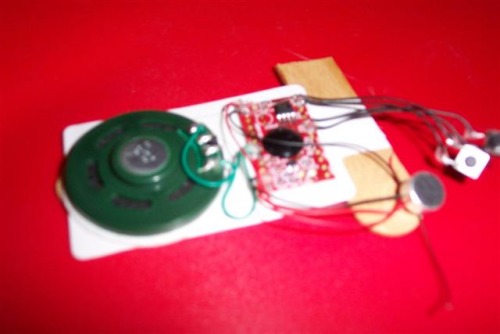
I then soldered up a relay to turn the sound module on/off for play back.
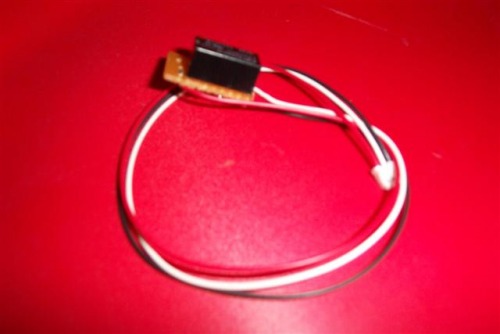
Here's the completed sound module. You hold the switch on the left side to record, then either you or the micro switches the other for play back. I hot glued everything to the T as shown.
So that's it. He's done! See the video's above.
Thanks for following along!
line follower


