


Cardboard Robot Series
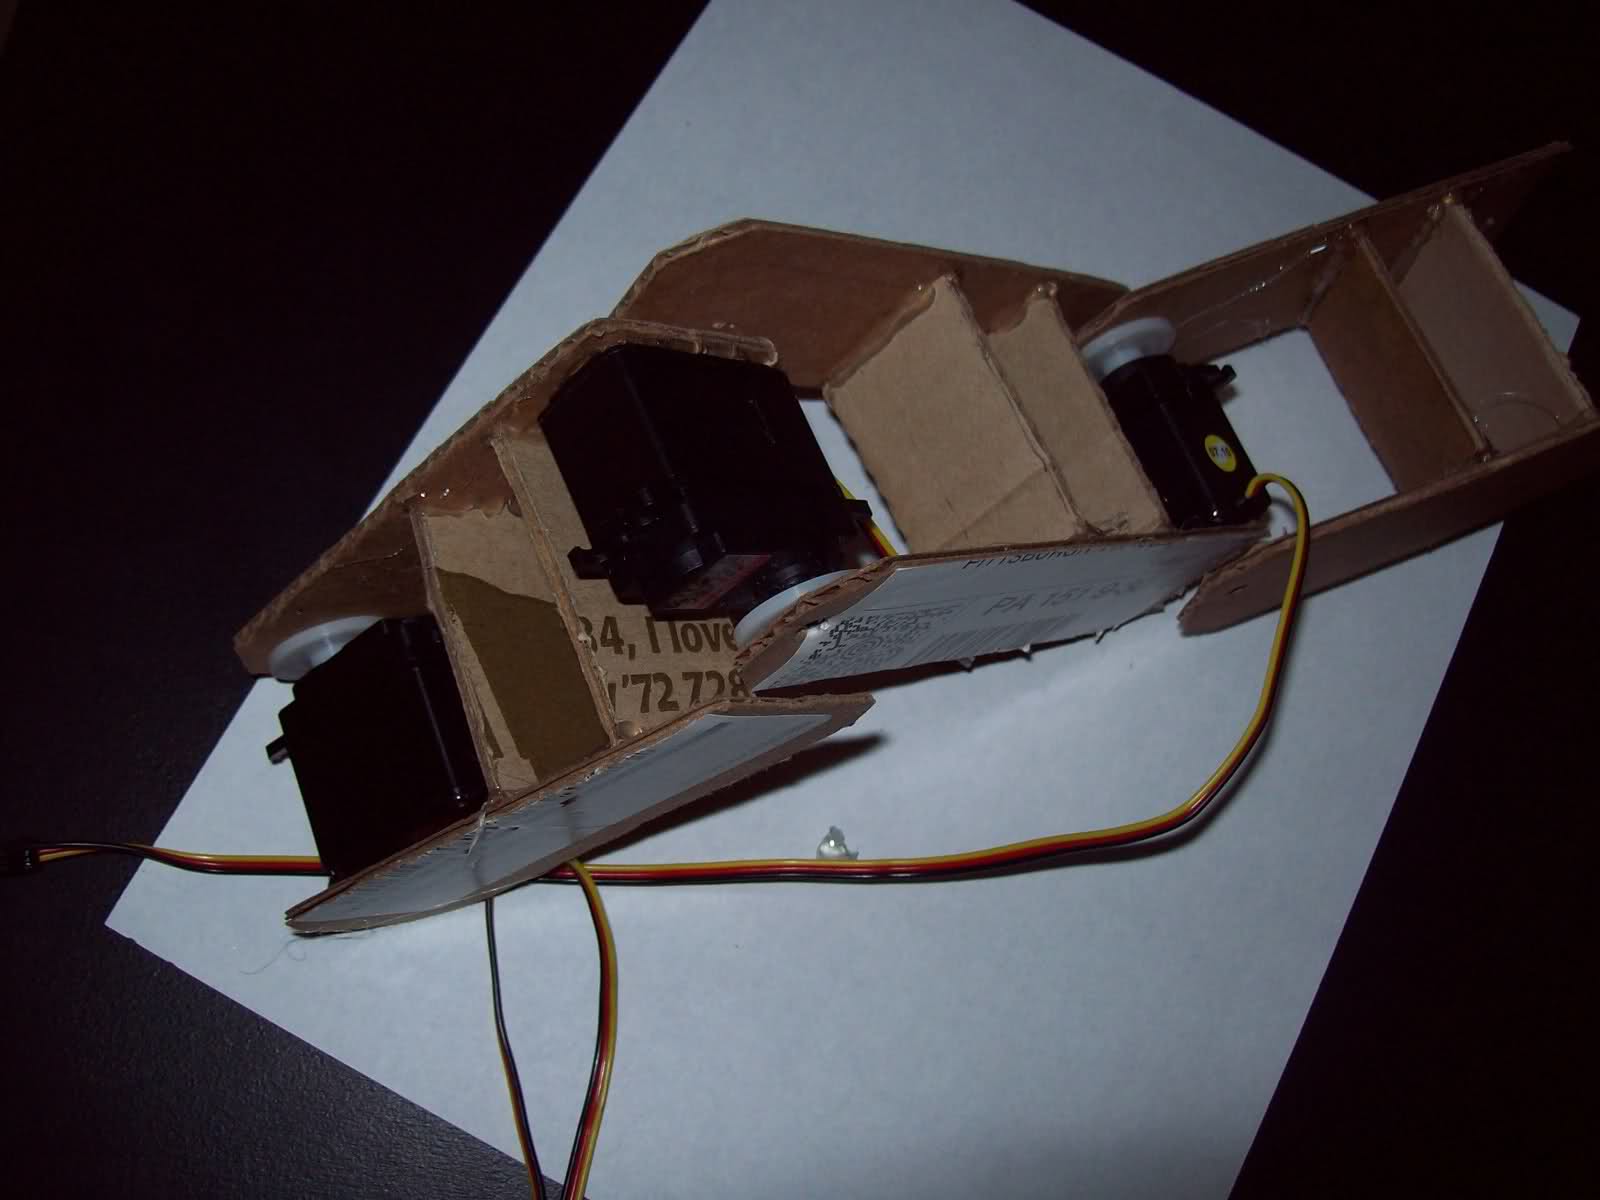
So far all I have is this cardboard prototype. I chose to make it out of cardboard instead of making a CAD model cause I thought it would be FUN! :p
Well it's pretty obvious what it is...it's a robotic arm...and it's name is A.R.M. which stands for Autonomous Robotic Arm. It's perfect! I made the cardboard model in hopes that I could mount my servos inside of it...but I don't know how to attach a servo to cardboard. So I used thumb tacks instead. This is actually my second model that I made because the first one had dimensional problems and the servos couldn't rotate the full 180 degrees.
Plans for the future 0.o
When I finish this ARM project (which shouldn't take long,) There will be 3 translation joints (as with the model) but also a rotation joint at the base and a rotation and translation joint at the wrist before the gripper. The ARM will use machine vision to track objects that it wants to grab. Using a camera (probably CMUcam) the arm will be able to distinguish between different color objects and will be able to track them using middle mass detection. The body will be made up of HDPE and I'll probably be using standard servos, but I haven't done any force calculation yet. Using the input from the camera as well as varies distance sensors, the arm will use simple reverse kinematics to mathematically determine how to reach the target. I'll probably use the Arduino at first to get everything working, and then simply use an AVR ATMEGA-168 by itself.
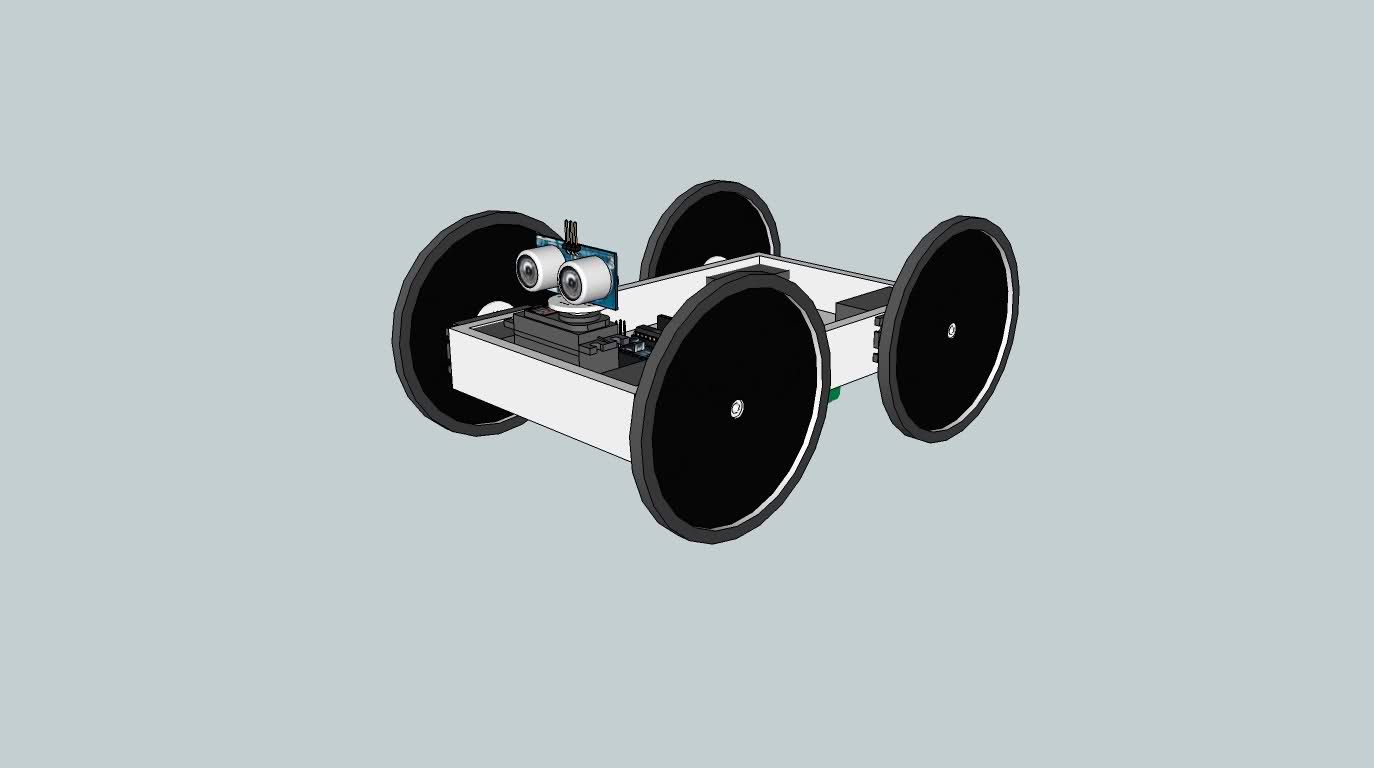
After the ARM project, I plan on building a simple 4WD platform on which it can rest. The Camera (not shown) that will be mounted on the ARM will (hopefully) be use for obstacle detection when the ARM is not in use.
That's about it for now. If anyone has some cool idea for this poject or have any questions, let me know...
UPDATE 01.18.09 0420
Upon further consideration...I chose to complete the cardboard model!
I hot glued in the servos (first I tested it to make sure I could get the glue off...thanks Oddbot)

There I mounted it into a cardboard box with the front and sides cut off but left a small portion in the middle to glue the shoulder servo on.
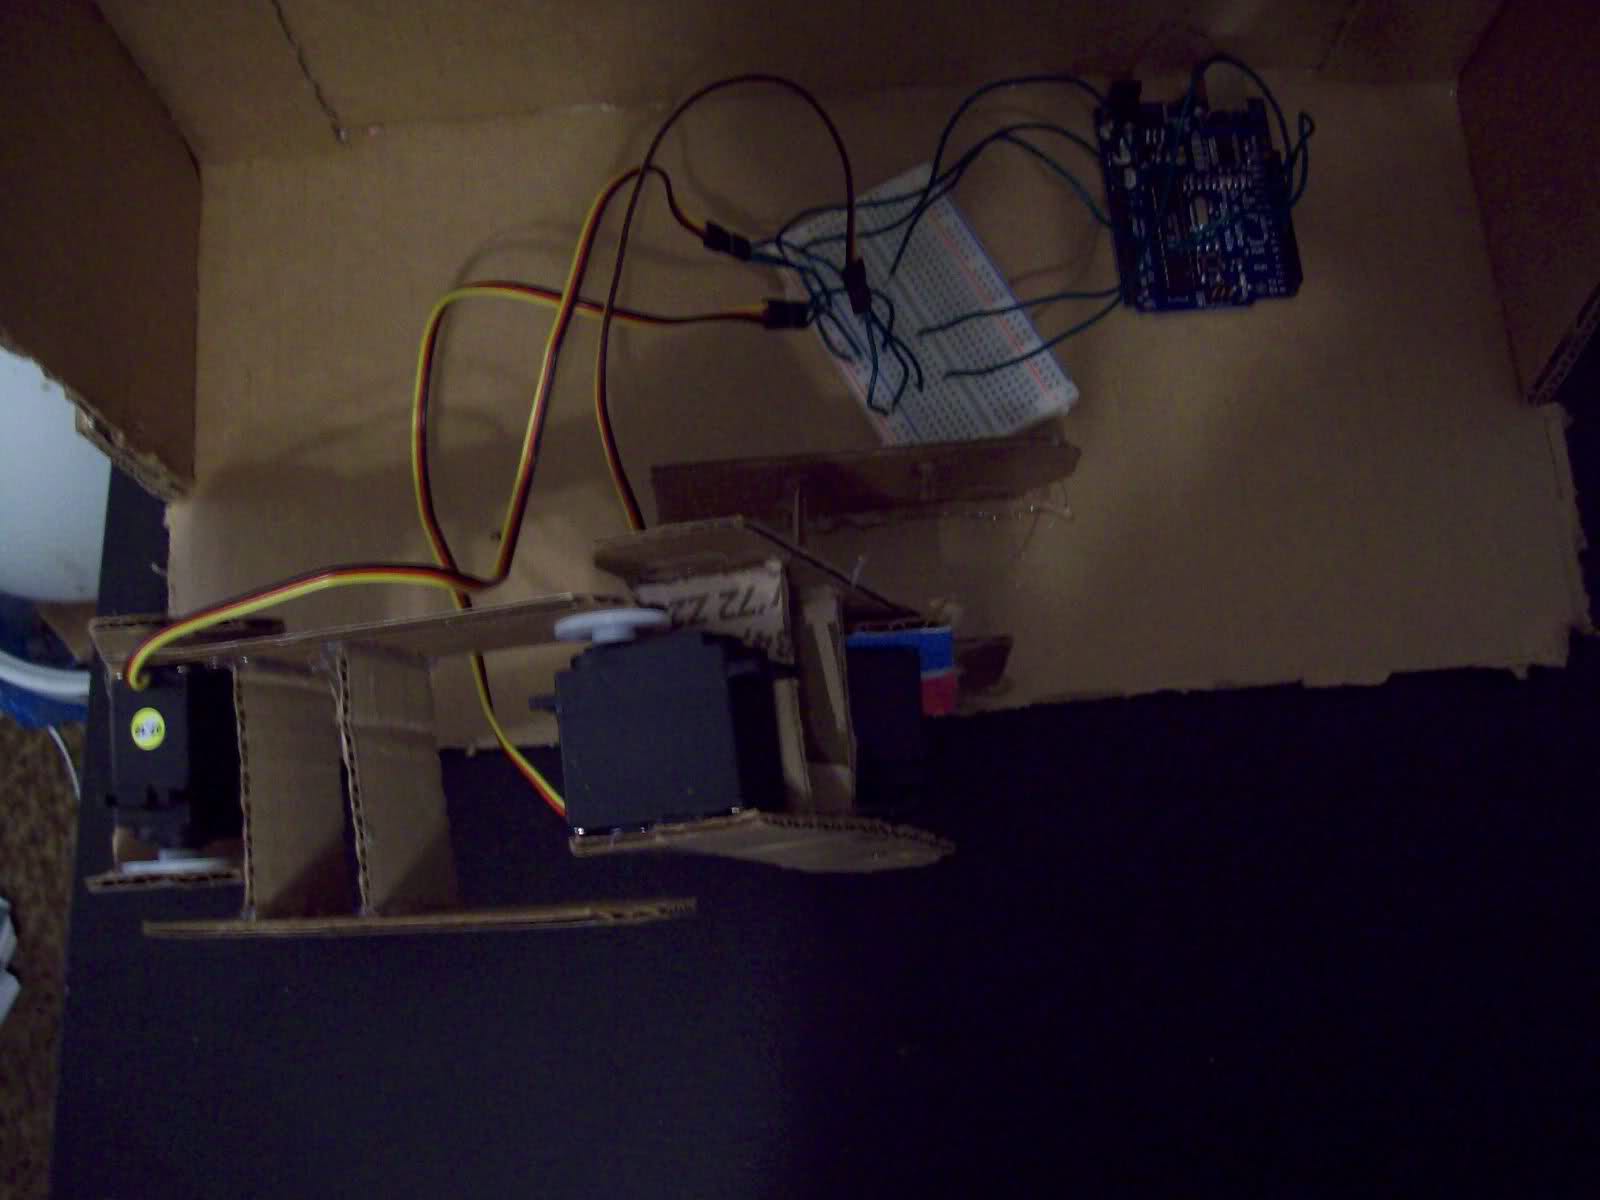
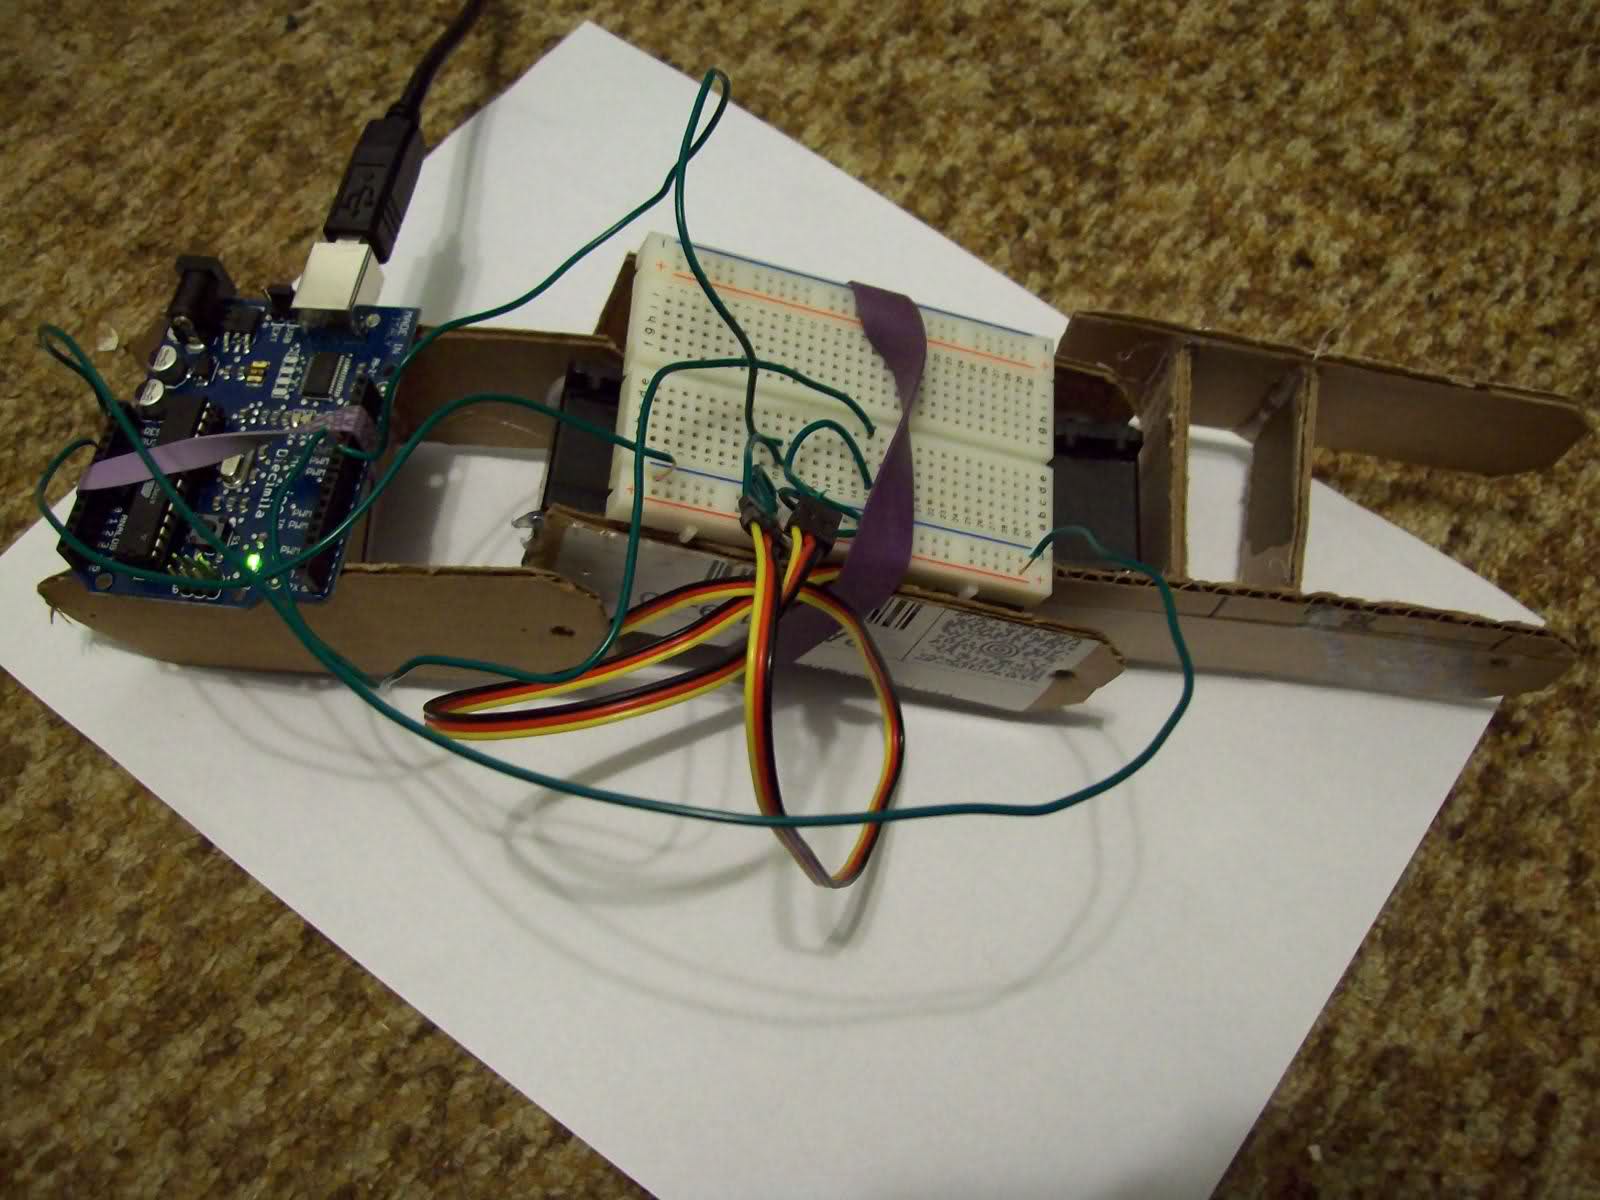
Here you can see how the joints are set up, they're all the same. You can also see the Arduino over there, and the crappy breadboard because I don't have any headers :'(
Now I just have to program it and a video will be up ASAP!
UPDATE 01.18.09 0533
VIDEO VIDEO VIDEO! But you probably aready knew that because it's up there and not down here because I don't know how to get it down here....but o well. Just watch!
As of now, each servo is being controlled in unison by the code, meaning that they're not hooked up using a Y adapter or anything like that, they're all just getting the same PWM signal from the Arduino. I'll be writing new code that will allow full control over each servo soon.
I'm guessing that the servo for the shoulder joint is pumping out max amps....so I'll need a stronger one there...especially since the real one won't be using cardboard....the other ones seem to be fine, but I still need to do calculations.
P.S. Sorry the video's so awkward...I'll try to get a better one up tomorrow...or rather, later today....it's 0648 and I've been up for a while....
UPDATE 01.18.09 1712
Thanks to Oddbots' suggestion, I decided to create this:
it's a cardboard robotic catapiller (thanks to oddbot who gave me the idea). A video will be posted as soon as YouTube is done processing. It was my robotic arm, but I took off the shoulder joint and then attached the circuits using rubberbands. I also added homemade washers because the more you work with cardboard, the more it tears.
Plans for the future 0.o
I plan on making this a full fledge robot as well. I'll use HDPE to make the body (which will be more effecient at moving thanks to rubber grips I'll be adding) and I'll use sub-micro or micro servos for the control...so it will be small...and cute...and FUN!
I decided to change the name to Cardboard Robot Series because it's no longer an A.R.M. project, it's cardboard robot projects!
Maneuver said the following:
"Daring to take a differnt approach and going for "fun" over "practical" is what will spawn new ideas."
and obviously, he's right!
UPDATE 01.18.19 1815
VIDEO!
Looks like cardboard...now it moves like cardboard too!!!
- Actuators / output devices: 3x Hitec HS-311 Standard Servos
- Control method: non-autonomous
- CPU: Arduino Diecimilla
- Programming language: Arduino