


BumpBot
hi
this is another "my first robot" kind of thing.
Got inspired after seeing the robots on this page and bought a picaxe 28x1 kit and a pair of motors with gearboxes. I thought I'd see how hard it is to program these things before I go and buy a bunch of servos and sensors, so I started out simple.
I bought two of these:
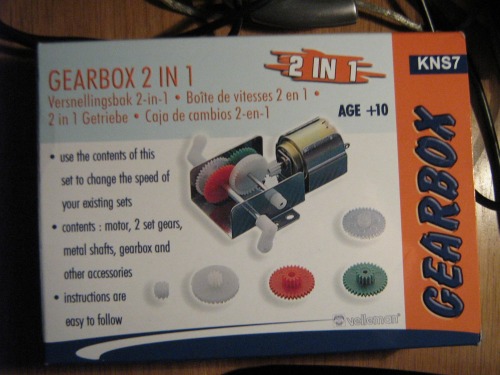
You get a choice of 1:60 and 1:288 gear ratios and they're pretty cheap. It's possible to get additional gears and axels for these as well. If you live in sweden you can get them at www.kjell.com .
For a base I used one of those clear cover discs you get on the top of CD spindle packs. To mount the stuff on it I used some double-sided tape I had. The first version of the bot looked like this:
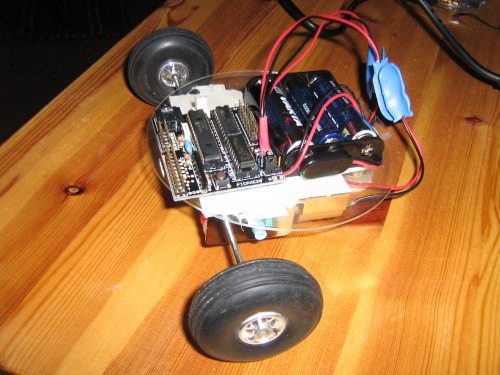
For wheels I used a discarded pair from an RC-plane kit and to get the back off the ground I used a wine cork. Hey, it worked ok :)
I used some wires with battery connectors on them to hook the motors to the chip. I thought it might be a good idea since I'm going to re-use the parts. And I had some of those connectors lying around. I used this version to learn how to control the motors and made it drive in some different patterns on the floor. When I had that down I wanted to move on to using a bumper switch.
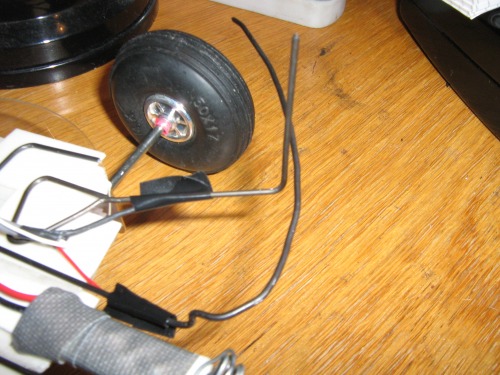
I wanted to use this thing:
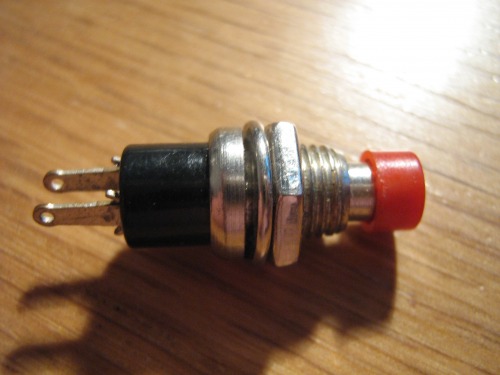
but the robot didn't hit stuff with enough force to trigger it, so I had to improvize. I used a piece of plastic, tape and some metal wire to make this:
ugly as hell but works like a charm :)
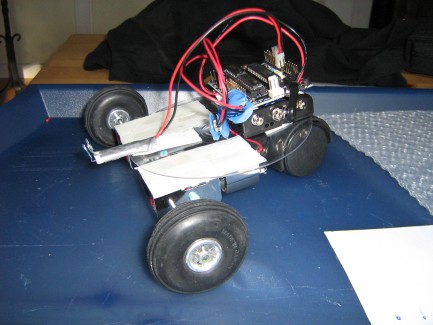
And then I got rid of the cork and put on a wheel from an old computer case I had.
so, yeah. That's my first robot. I took it apart because I didn't want the components to get damaged when I moved from my summer home back to my apartment today, but I'm going to put it back together and keep playing around with it soon. I might change the gears on the motors to see how much faster it is at 1:60. I'll get some video up once I've re-built it.
update 080828:
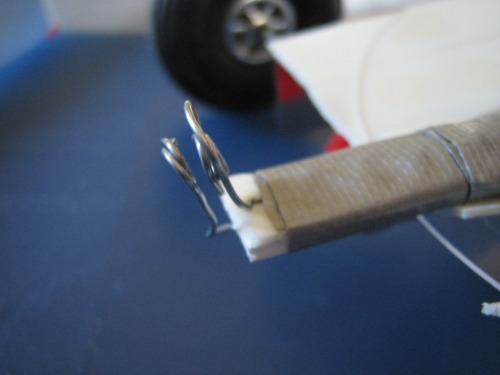
I've put the little guy back together again to mess around with the programming. But I thought he was a bit boring since he only had one bumper and only did something when colliding with an object head on. He needed more bumpers to make him a little more interresting. I've seen others make "feelers" like bug antennae, out of microswitches, on each side to make their robots turn when they drive into something. Well I don't have any microswitches here at home, and I didn't want to wait for tomorrow to go get some, so I thought "what the heck, i'll make some feelers myself". So I went to work with some metal wire and came up with these:

Each bumper is made up of two pieces of wire. When the robot hits something the outer wire bends and makes contact with the inner wire and the robot turns to get away from the object. It works just fine. At the moment only one of them is connected, but I'll get to the other one later tonight.
I've gotten rid of the large wheel in the back. I've actually gone back to the wine cork, but now I have a bit of rounded plastic on the end to reduce friction. What can I say... it works...
I think I'll try hooking up a speaker next.
Not much. It's a testbed for me when learning some programming.
- Actuators / output devices: two 3Vdc motors geared 1:288
- Control method: autonomous
- CPU: Picaxe 28x1
- Power source: 3 AA's
- Programming language: Picaxe basic
- Sensors / input devices: home-made bumper switch
- Target environment: indoor