


Brabenec
Overview
We are building this robot with my friend. It is (when finalized) supposed to be able to detect metal objects and interact with them (move them, ideally...). So far it has only two IR sensors for obstacle detection, so no metal detection.
Current state
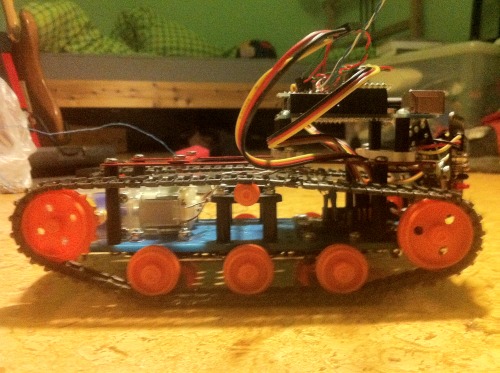
It uses the Tamyia gears and Pololu motors with Tamyia tracks. The brain is an Arduino Uno.
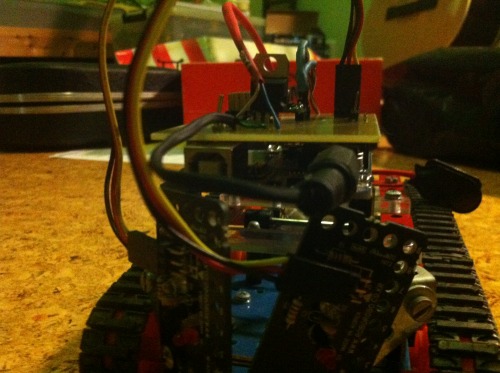
I have made (after three attempts and failures) my own PCB, that is used similarly as the Arduino shields - it plugs completely into the Arduino and distributes the needed signals, powers and grounds so that everything can be plugged nicely, easily and quickly.

It features the 7805-STM 5V stabilizer and a TB6612FNG dual motor driver as well.

Asides from this, I made some plastic parts to fit the strangely placed screw holes on the Arduino into the Merkur base (Merkur is a great construction kit for kids!).
The batteries are some 7,2V 1500mAh LiPol packs from electro RC helicopters - they work really nice! I made a little reduction to the 9V battery connector to easily plug and unplug the batteries with the ability to switch to 9V battery without any problems (with the stabilizer in Arduino taking from 6 to 12 V and the 7805-STM up to something about 36V it's just fine...).
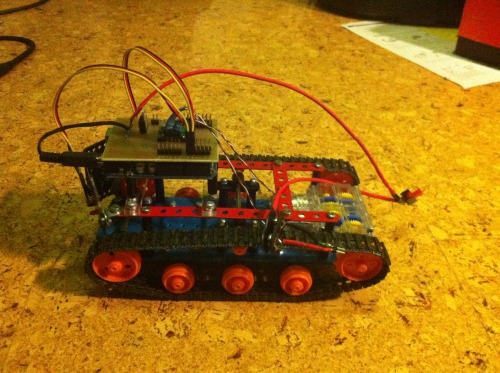
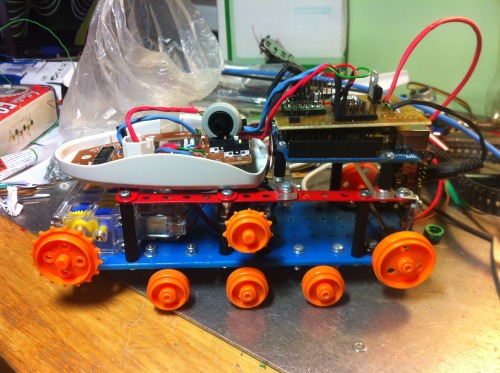
This is how it looks now:
The FUTURE!
Well and that's about it for now! I am gonna work on both the tracks moving the same speed, so that the robot does go straight (probably some oil or PWM at worst will do the trick) and my friend is (hopefully) going to work on the programming (so far it just barely avoids some simple obstacles).
Thanks for checking this out, hope you like it!
Update 17.9.2012:
OK, so I wrote this very simple wall-following program, making use of the two IR sensors the robot possesses (a nice word, btw.).
Sadly, the IR sensors are quite inaccurate and as I said before, the program is really very simple, so it does not work very precisely... It tends to bump with its tracks into the wall and therefore turn and it has some other mistakes, but - see for yourselves - here is a video!
Anyway... I fixed the tracks-not-going-the-same-speed problem - first I used some grease on the gears and than used PWM to get rid of the rest of the problem. Now it's working all right.
I have ordered an accelerometer (an ADXL345), so I'm looking forward to receiving it and using it! Maybe I'll design a new PCB for the Arduino to hold the sensor's board - I started to like making my own PCBs!
Update 17.11.2012:
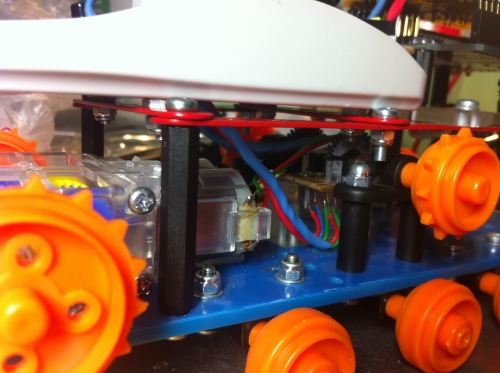
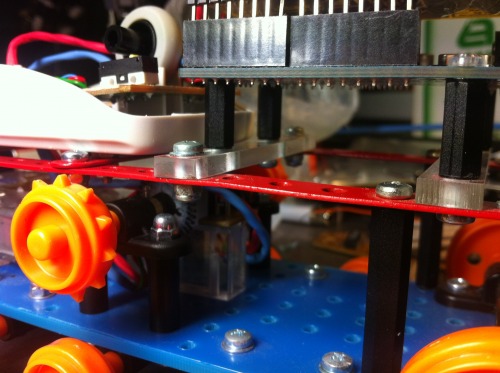
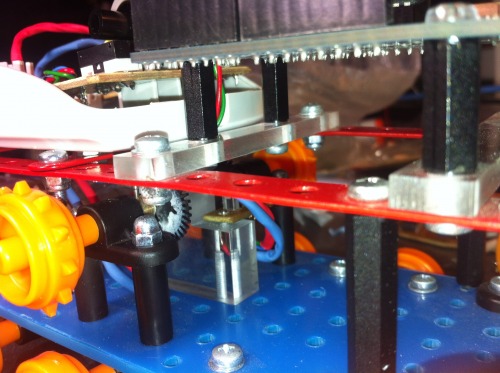
After two months of fiddling with the Parallax PING)), the accelerometer and other stuff, I finally got to make some encoders for the robot. I ordered four ball mice and used one of them to create the encoders. I also had to make a part of plexi-glass to hold the axis of the wheels (I was lucky, that there were two more geared wheels and a hexagonal axis in the Tamyia chassis), so I had some fun with our CNC milling machine!
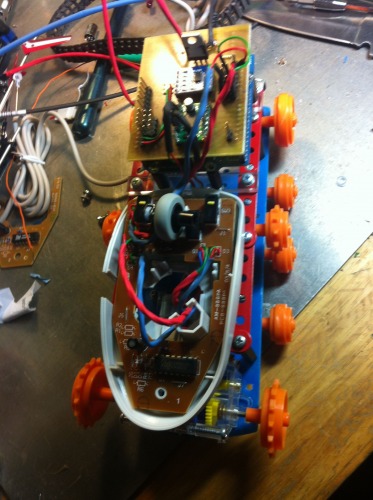
Here you can see the encoders (the geared wheels behind the motors):
More pics:
follow wall/avoid obstacles
- Actuators / output devices: TM70168 Tamyia gears
- Control method: autonomous, Arduino
- CPU: Atmega8U2
- Operating system: Arduino Uno
- Power source: 7, 2V 1500mAh LiPo battery pack
- Programming language: Arduino C++
- Sensors / input devices: Infrared obstacle detection sensor
- Target environment: indoor, flat outdoor