


BoxDroid [rebranding from BBbotz]
Hey LMR!
Just finished 80% hardware of my new robot named BBbotz(Baby Box robot + z(to make look cool)). Somehow the project already run for 4 days. This robot inherit the cool&cute design of TED biped and BOB. I can't resist to make one look like them and improvise some of the hardware & software portion.
Big thanks to Protowrxs for sharing the TED servo speed controlling method and K120189 for the cute BOB design. I can control properly the speed of each servo. Really cool!
OK!, material use to construct the BBbotz body are from Plastic Signboard. I have purchased DREMEL Speedclic disc for plastic cutting. Now life feel easier compare to use knife in old days. Below are the progress:
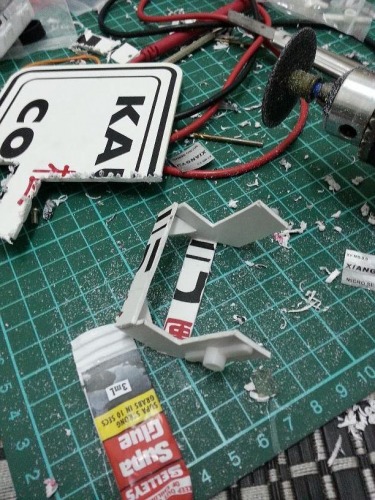
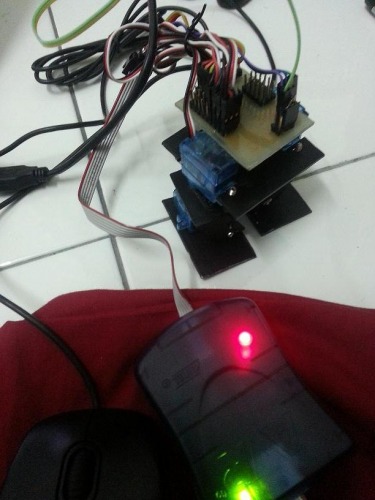
And Supa Glue obviously to glue all the part together. That is my beloved cutter disc mounted to a drill. And my workspace is messy.. Initially this robot was tested with 2 legs only. Its walk to slow and unstable. During development, it is powered up by USB cable connected to my laptop. All the program loaded using AVRISP mkii and coding are done in Arduino IDE.
Once the half BBbotz can walk properly, I start to build new frame and attached another 2 microservo as it hands. All the servo are purchased directly from China cost around 2~3USD/pcs. In Malaysia this microservo might cost up to 4~7USD/pcs..Still find out the proper location for the customize Arduino Pro Mini driver.Ive put a rubber band to hold it. LOL
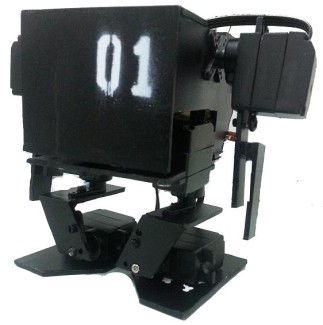
Then I ask BBbotz to walk again and find tune the walking gait a bit to make it more stable. Last night I'm doing the painting job. I only got black paint, no choice.

Below are the ~empty body without a soul~
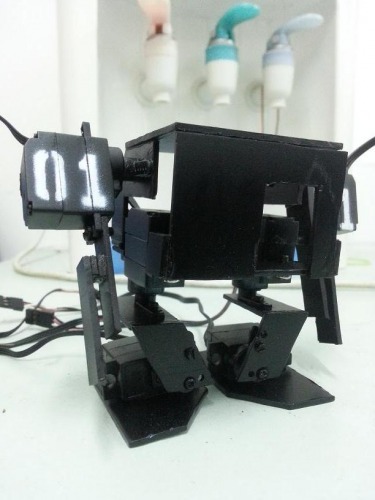
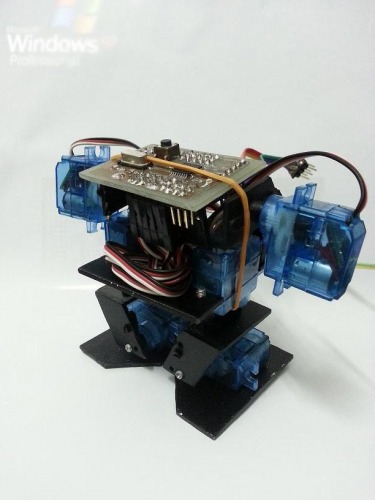
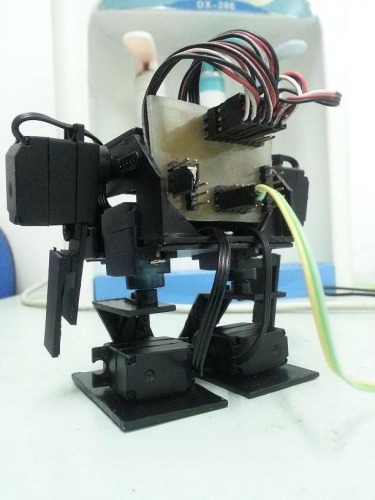
Then put some organs and soul to make it moving. The blood vessel to messy and I'm lazy to cut and redo the header part. (@,@)
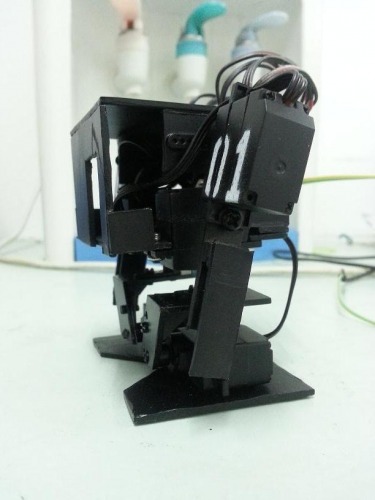
Side View:
Back View: Clearer view of Organz
That all for today. I'll continue to add the IR sensor and fabricate the Switching regulator so it can powered up independently. Fews idea keep flying around my mind now. Executing it my take sometimes. Cheers LMR!
Update [25th July 2013]
This is my link to my mecha blog :
http://artofmecha.blogspot.com/
Done fabricating the switching regulator to drop 9V box battery to 5V.
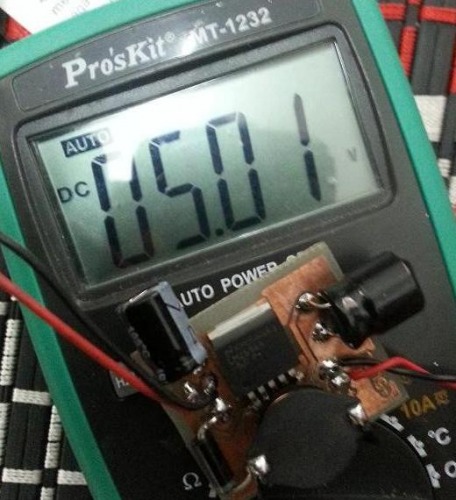
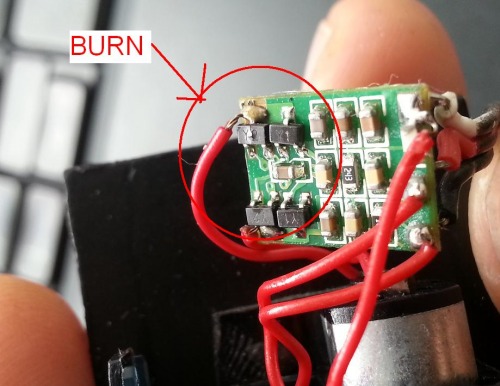
Previously I have use Linear regulator, however it heated up and cause some power problem to my CPU ,make my robot twist it own leg until broke! LOL, and one of the servo totally damage.The PNP transistor burn out inside the micro servo electronic. Guys any ideas what part number transistor is that. only marked with Y1 and Y2 ,I think for H-bridge purpose.
Then re-built the body structure. Make it bigger so it can hold 9V battery + 2 PCB board. Weight and height cause problem to the balancing during walking. No choice, need to tune the walking gait again.And here the new look, taller ,before and after painting. "I'm growing up master!",he said.


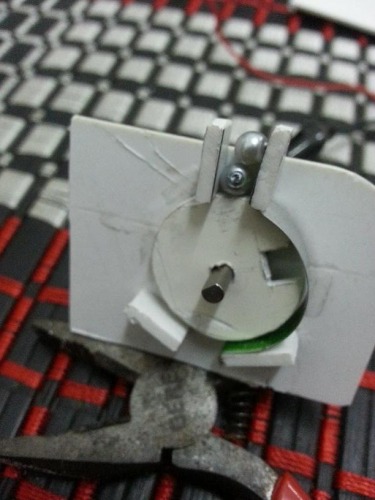
Video about the new walking style will be publish together with weapon update. Currently I'm working with "Spring Gun" that shoot small plastic ball or beads in automatic mode. Below is the bullet reload mechanism. Hope tonight can get it work.
Life with LMR move on..
Update [1st August 2013]
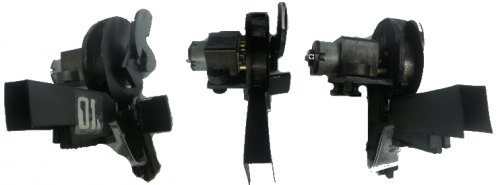
Finish design and test 1st micro gun prototype. Not really good at aiming target, but the ball speed already satisfied me.
Below are the image of the prototype design.
Quite busy with my daily design job for my company. Still try to get sometime finish this. Hehehehe.
Attached two new video for the standalone droid running with internal battery and the weapon in action. Not so good
but that is the best I can do now. Have some idea on weapon modification later. However, I need rest for two week because I'm going married. =)
Enjoy guys!
Walk around, Fighting , Dancing, and Light Seeker.
- Actuators / output devices: Six micro servos
- Control method: autonomous, Bluetooth, USB Port ( messages through Serial protocol and FTDI adapter )
- CPU: atmega168
- Power source: 7.4V Lipoly
- Programming language: Arduino, VC++ GUI
- Sensors / input devices: Two contact switches, LDR, IR sensor
- Target environment: indoors mainly